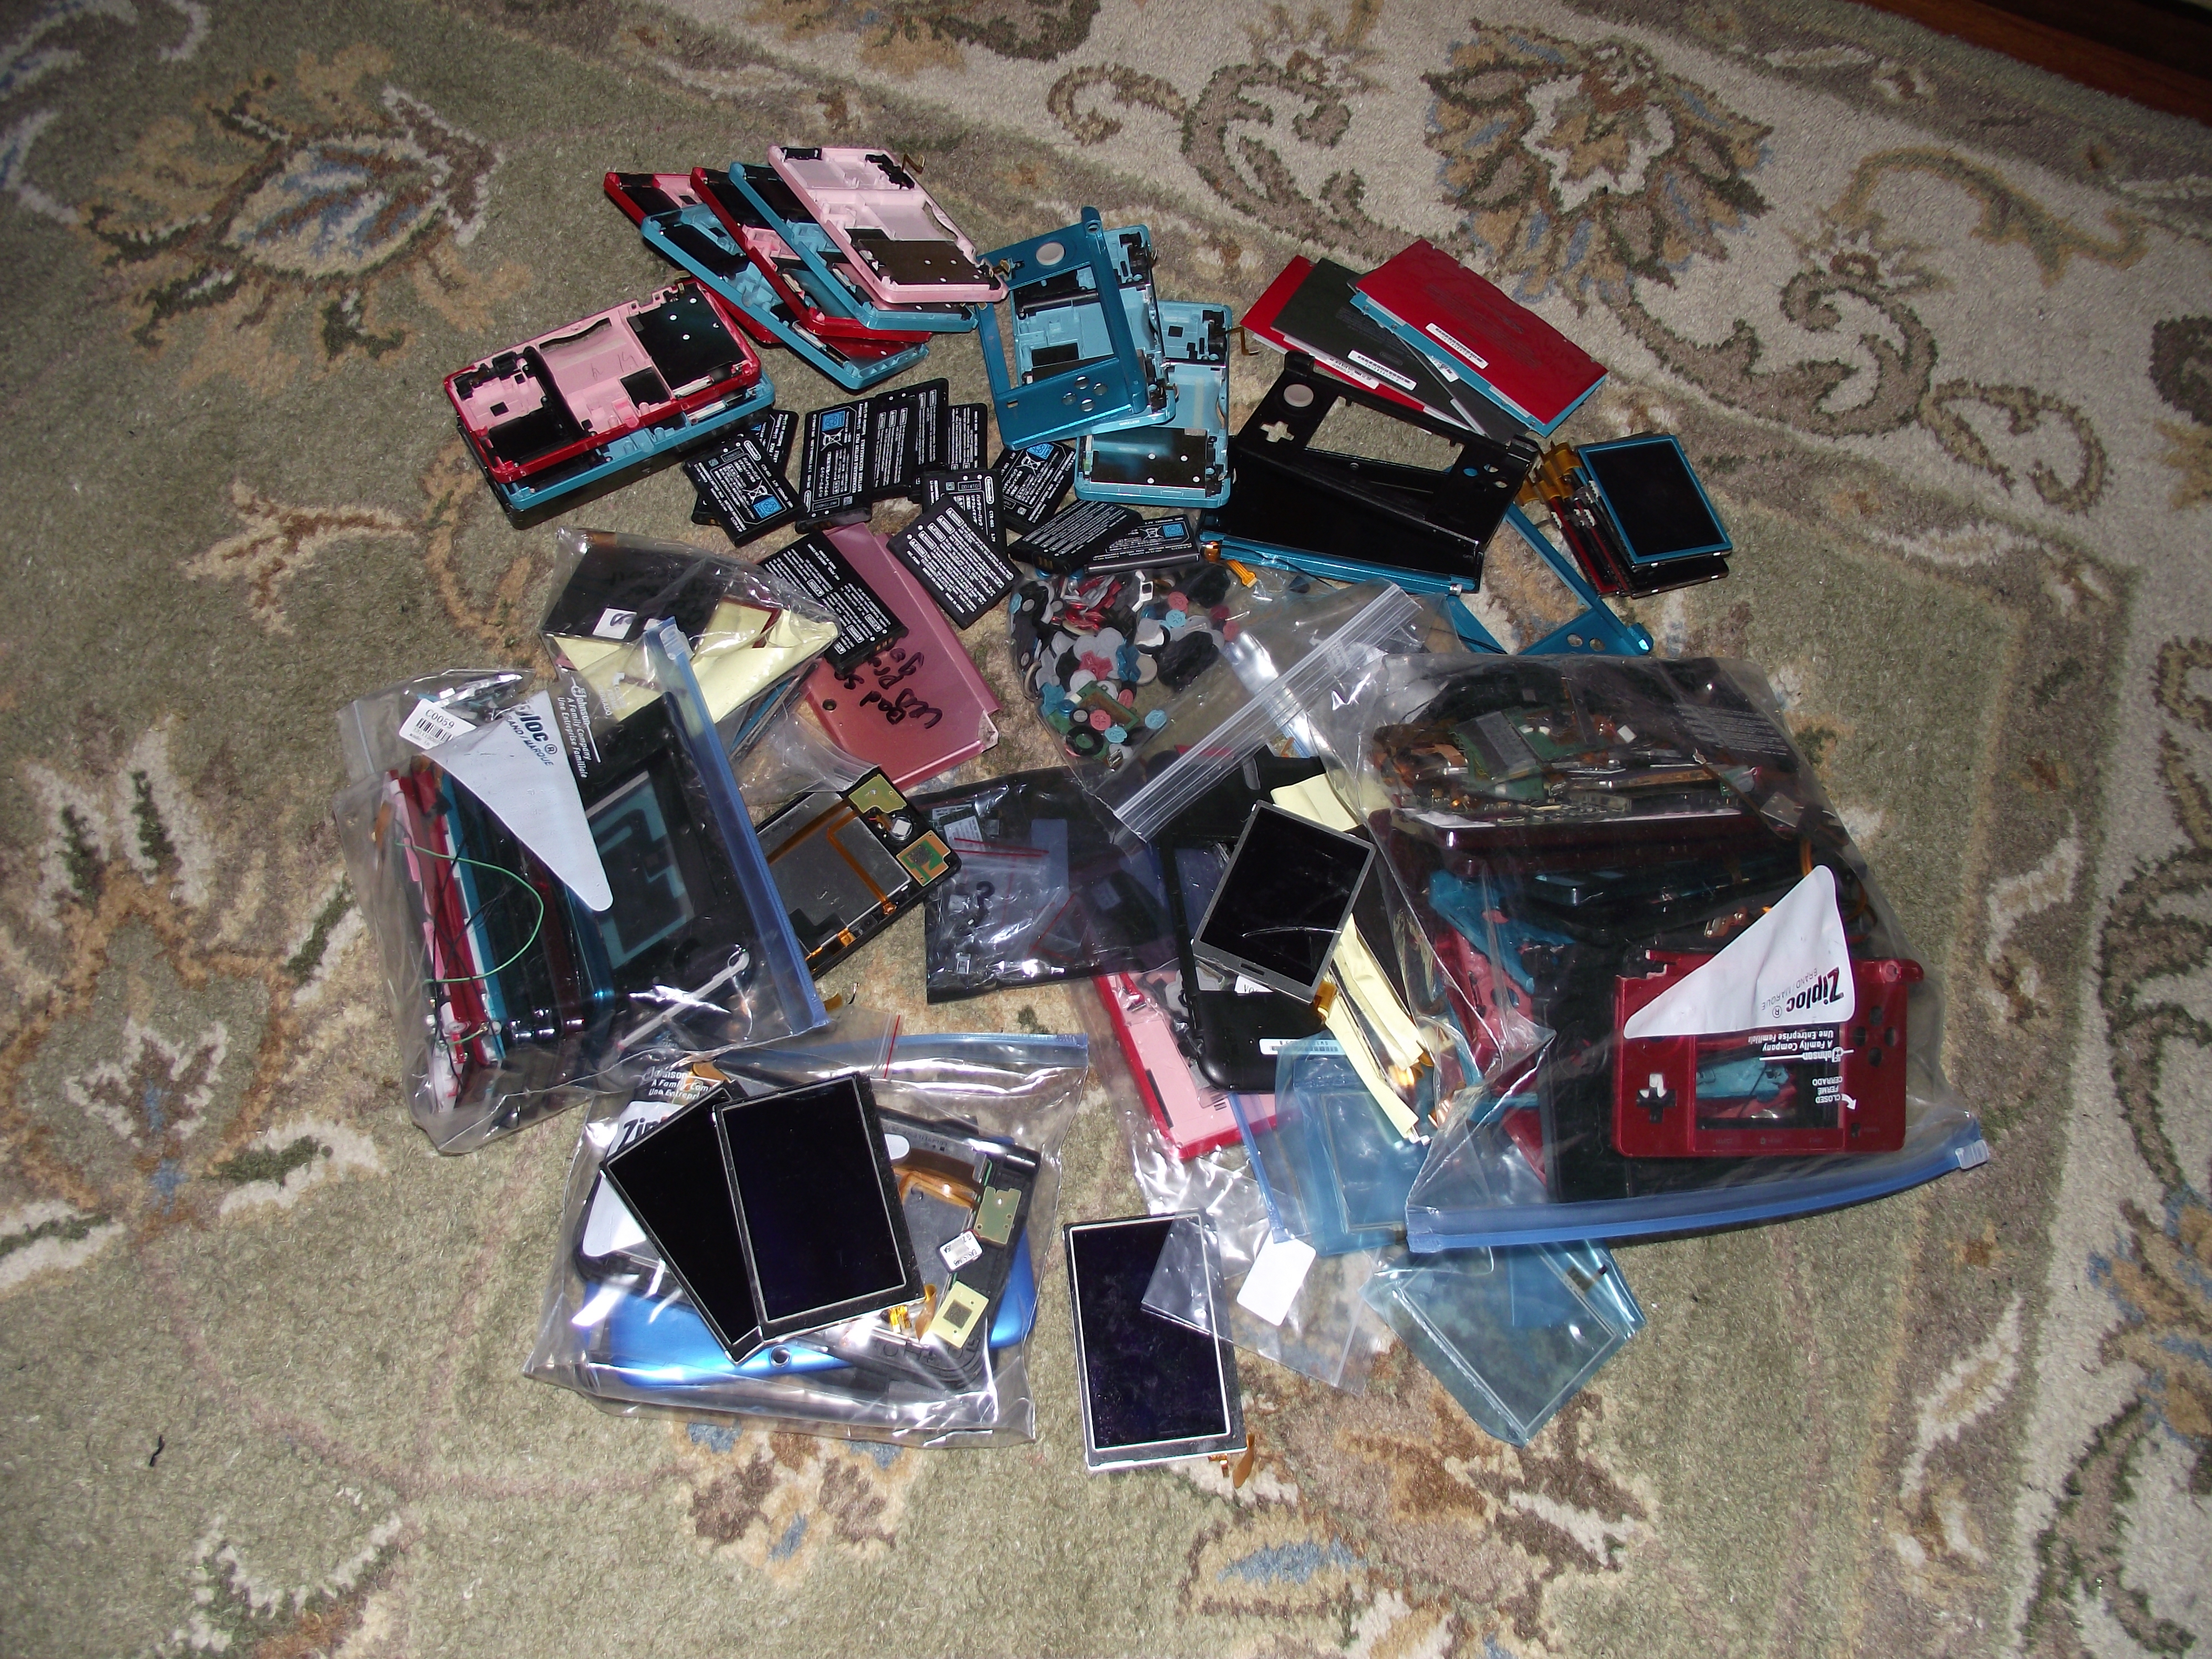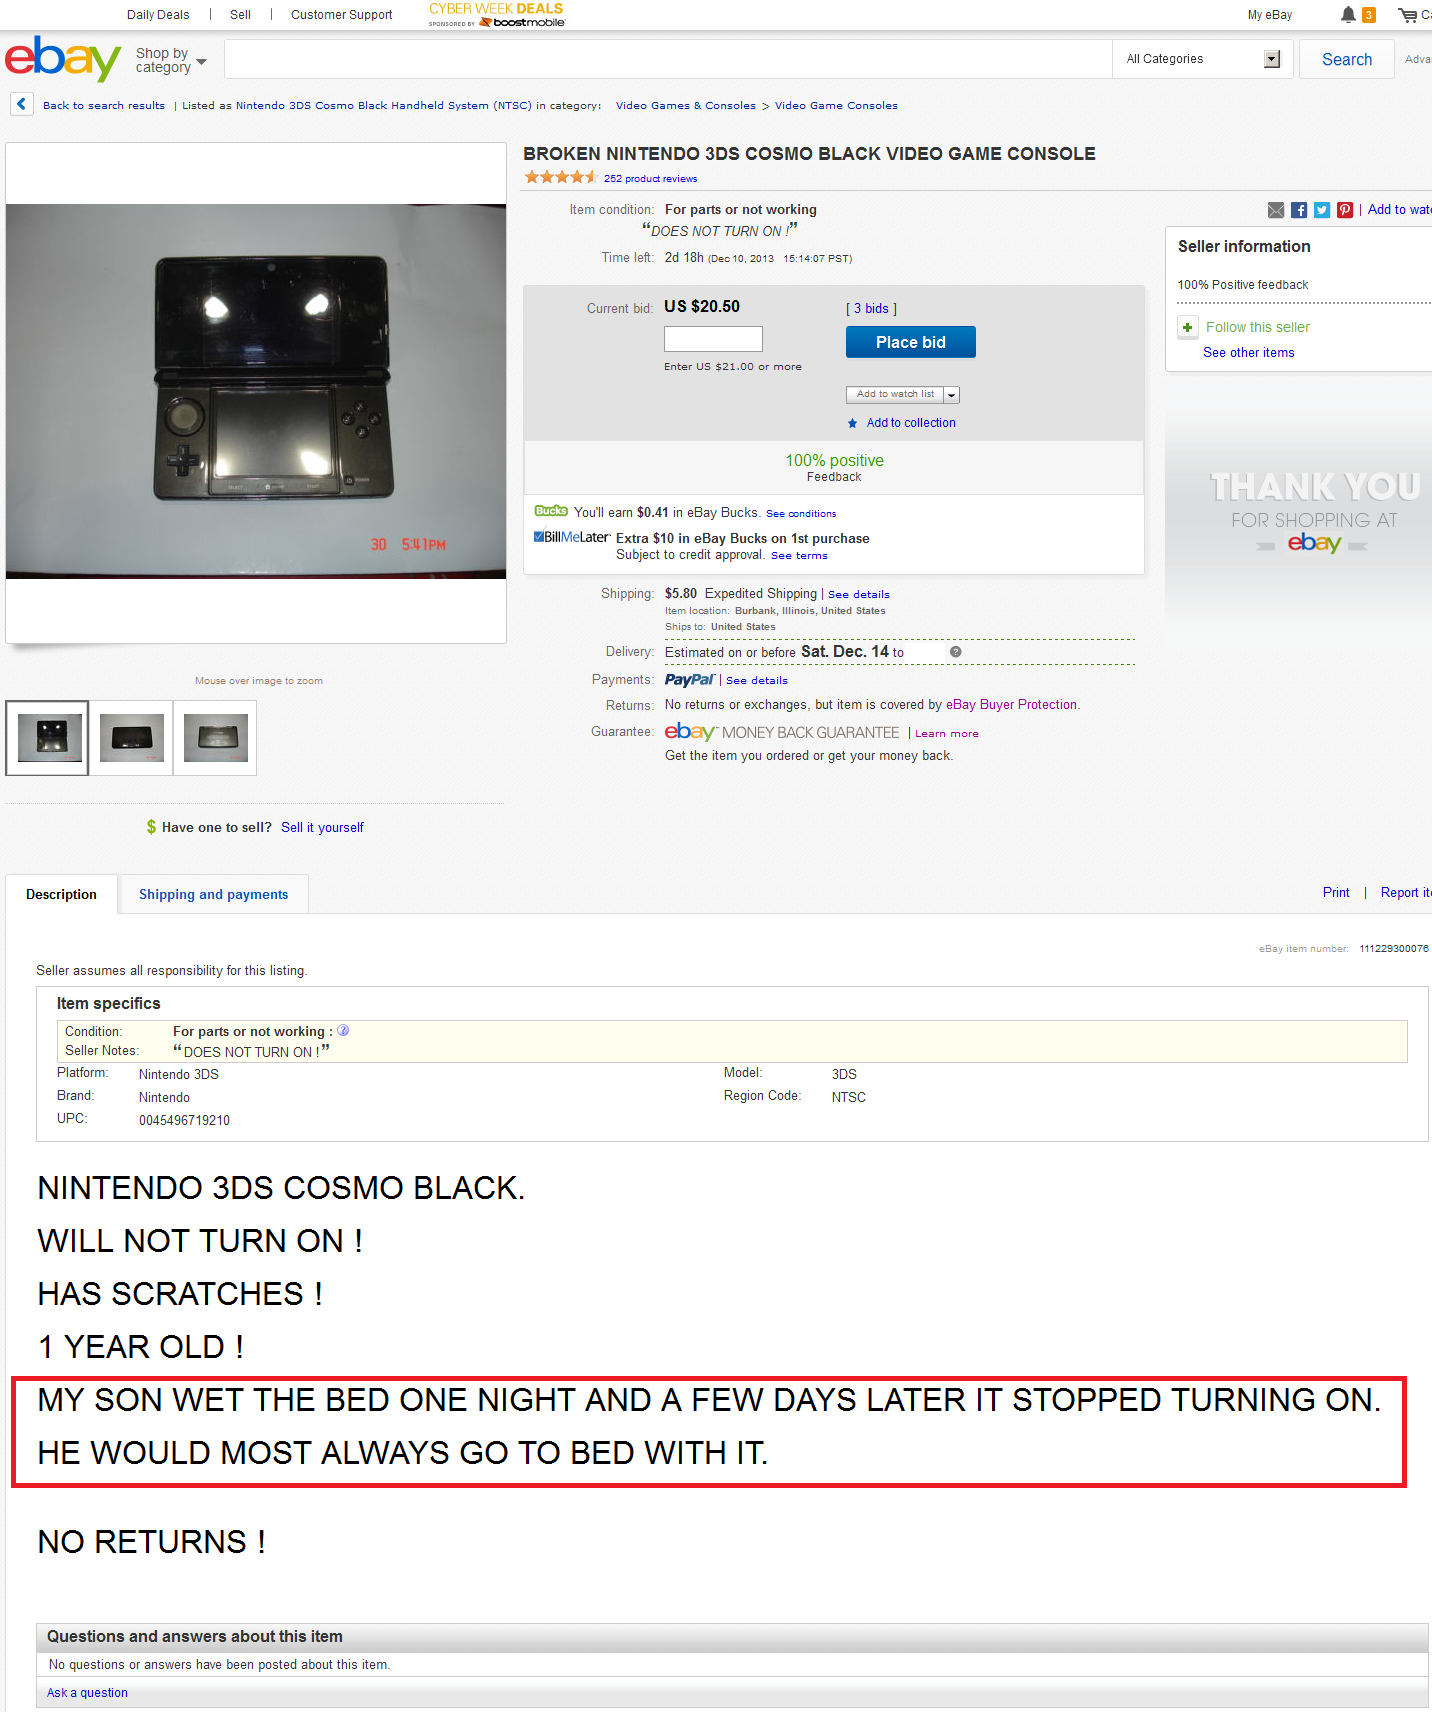
This entire blog entry is about why I no longer avoid liquid-damage auctions as much as I used to, but even I wouldn’t mess with this shit.
One of the greatest things I’ve recently discovered about repairing 3DS consoles — and any small electronic gadget in general — is that I really don’t need to be avoiding “liquid damage” items as I once thought. Now, with mobile phones there’s the ick factor involved, since we’ve all seen people who use a mobile phone while in the restroom and, of course, when you see a liquid damaged mobile phone in an auction you can’t help but wonder if it fell in the toilet. That’s something I’m still not sure I would want to mess with. When it comes to 3DS consoles, however, the risk of the item touching shit or piss is far less since I think that the number of people who use a 3DS while on the toilet is far less than the number of people who use mobile phones while on the toilet. In other words, it’s not zero, but it’s a relatively low risk.
With mobile phones you more often have damage caused by the phone becoming completely submerged in a liquid (such as toilet water or a puddle in the street). However, because of the nature of a 3DS it’s more likely that liquid-damaged 3DS consoles experienced spillage, rather than submergence. It’s easy to imagine a clumsy person sitting, let’s say, on the couch with a beverage on the coffee table. Maybe this clumsy person sets the 3DS down next to the beverage and the beverage somehow spills. Spillage means that it’s often the case that the screens are not damaged and that there is less time in contact with the liquid , which means less widespread corrosion.
I have repaired six or seven heavily liquid-damaged 3DS consoles and, contrary to the warnings I see all the time, I haven’t yet seen one with any blown fuses. I’ve read warnings all over the place about liquid damaged consoles where people cry wolf, “It’s a waste of money because they all have blown fuses which are too hard to replace so you end up replacing the whole motherboard instead”. That’s hogwash.
When I get a liquid-damaged console I first take some WD-40 and spray a bit into each external screw hole. I let the console sit for about 45 minutes before attempting to open it. This is because the screws rust easily. I sometimes have to use WD-40 even for non-liquid-damaged consoles, but in the case of liquid-damage it is especially important because if you try to remove those small screws when rusty you can very easily strip them.
99% alcohol and a soft toothbrush are the main tools here. Yes, it’s pretty low-tech, but you often don’t need much of anything else. I take out all the internal screws, remove the WiFi board, SD card slot, analog stick, IR sensor, camera, and speaker ribbon cables. I take the motherboard out and scrub it clean with the alcohol and toothbrush. It’s fine to be rough on the board. Nothing will come off the board. It’s all soldered on there well. The key is to get every nook and cranny. The fuses are most likely fine. Let it dry and hold a battery to the connector. If it works, great. Connect screens and speaker and try to power on. If it works, reassemble. If no power, keep scrubbing. If still no power after cleaning the board very well, then get out a multimeter and do a continuity test on the fuses.
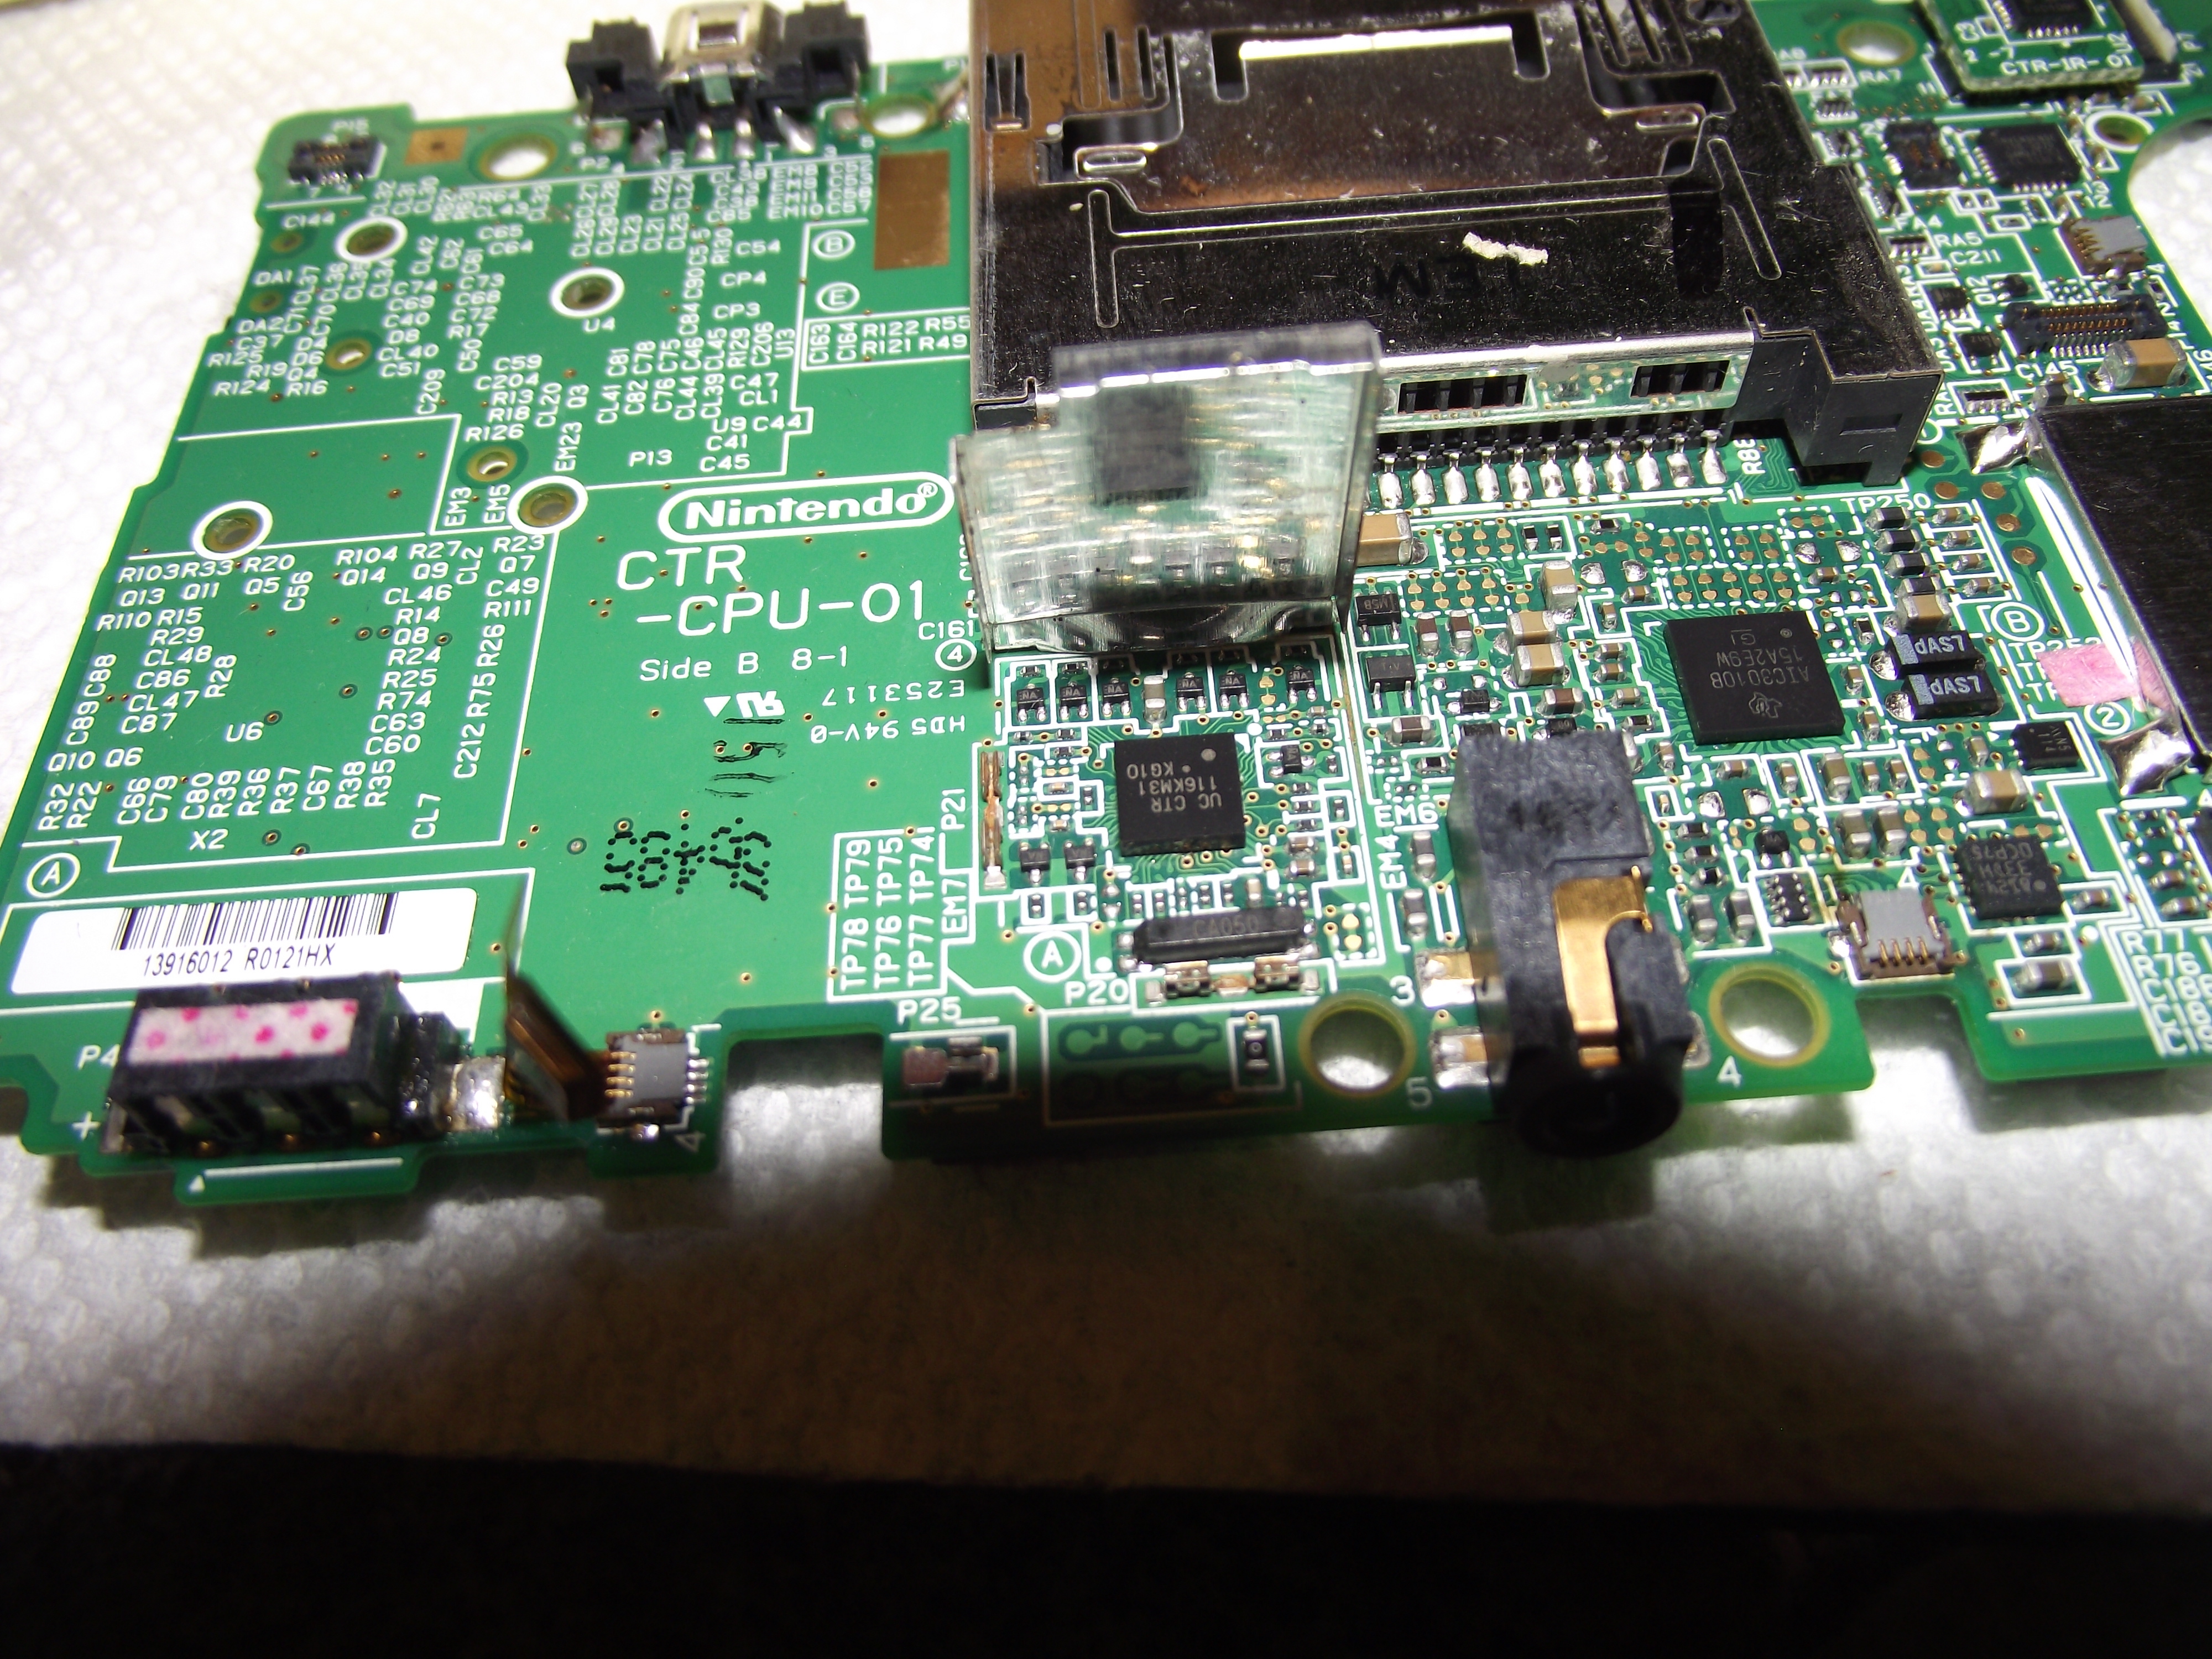
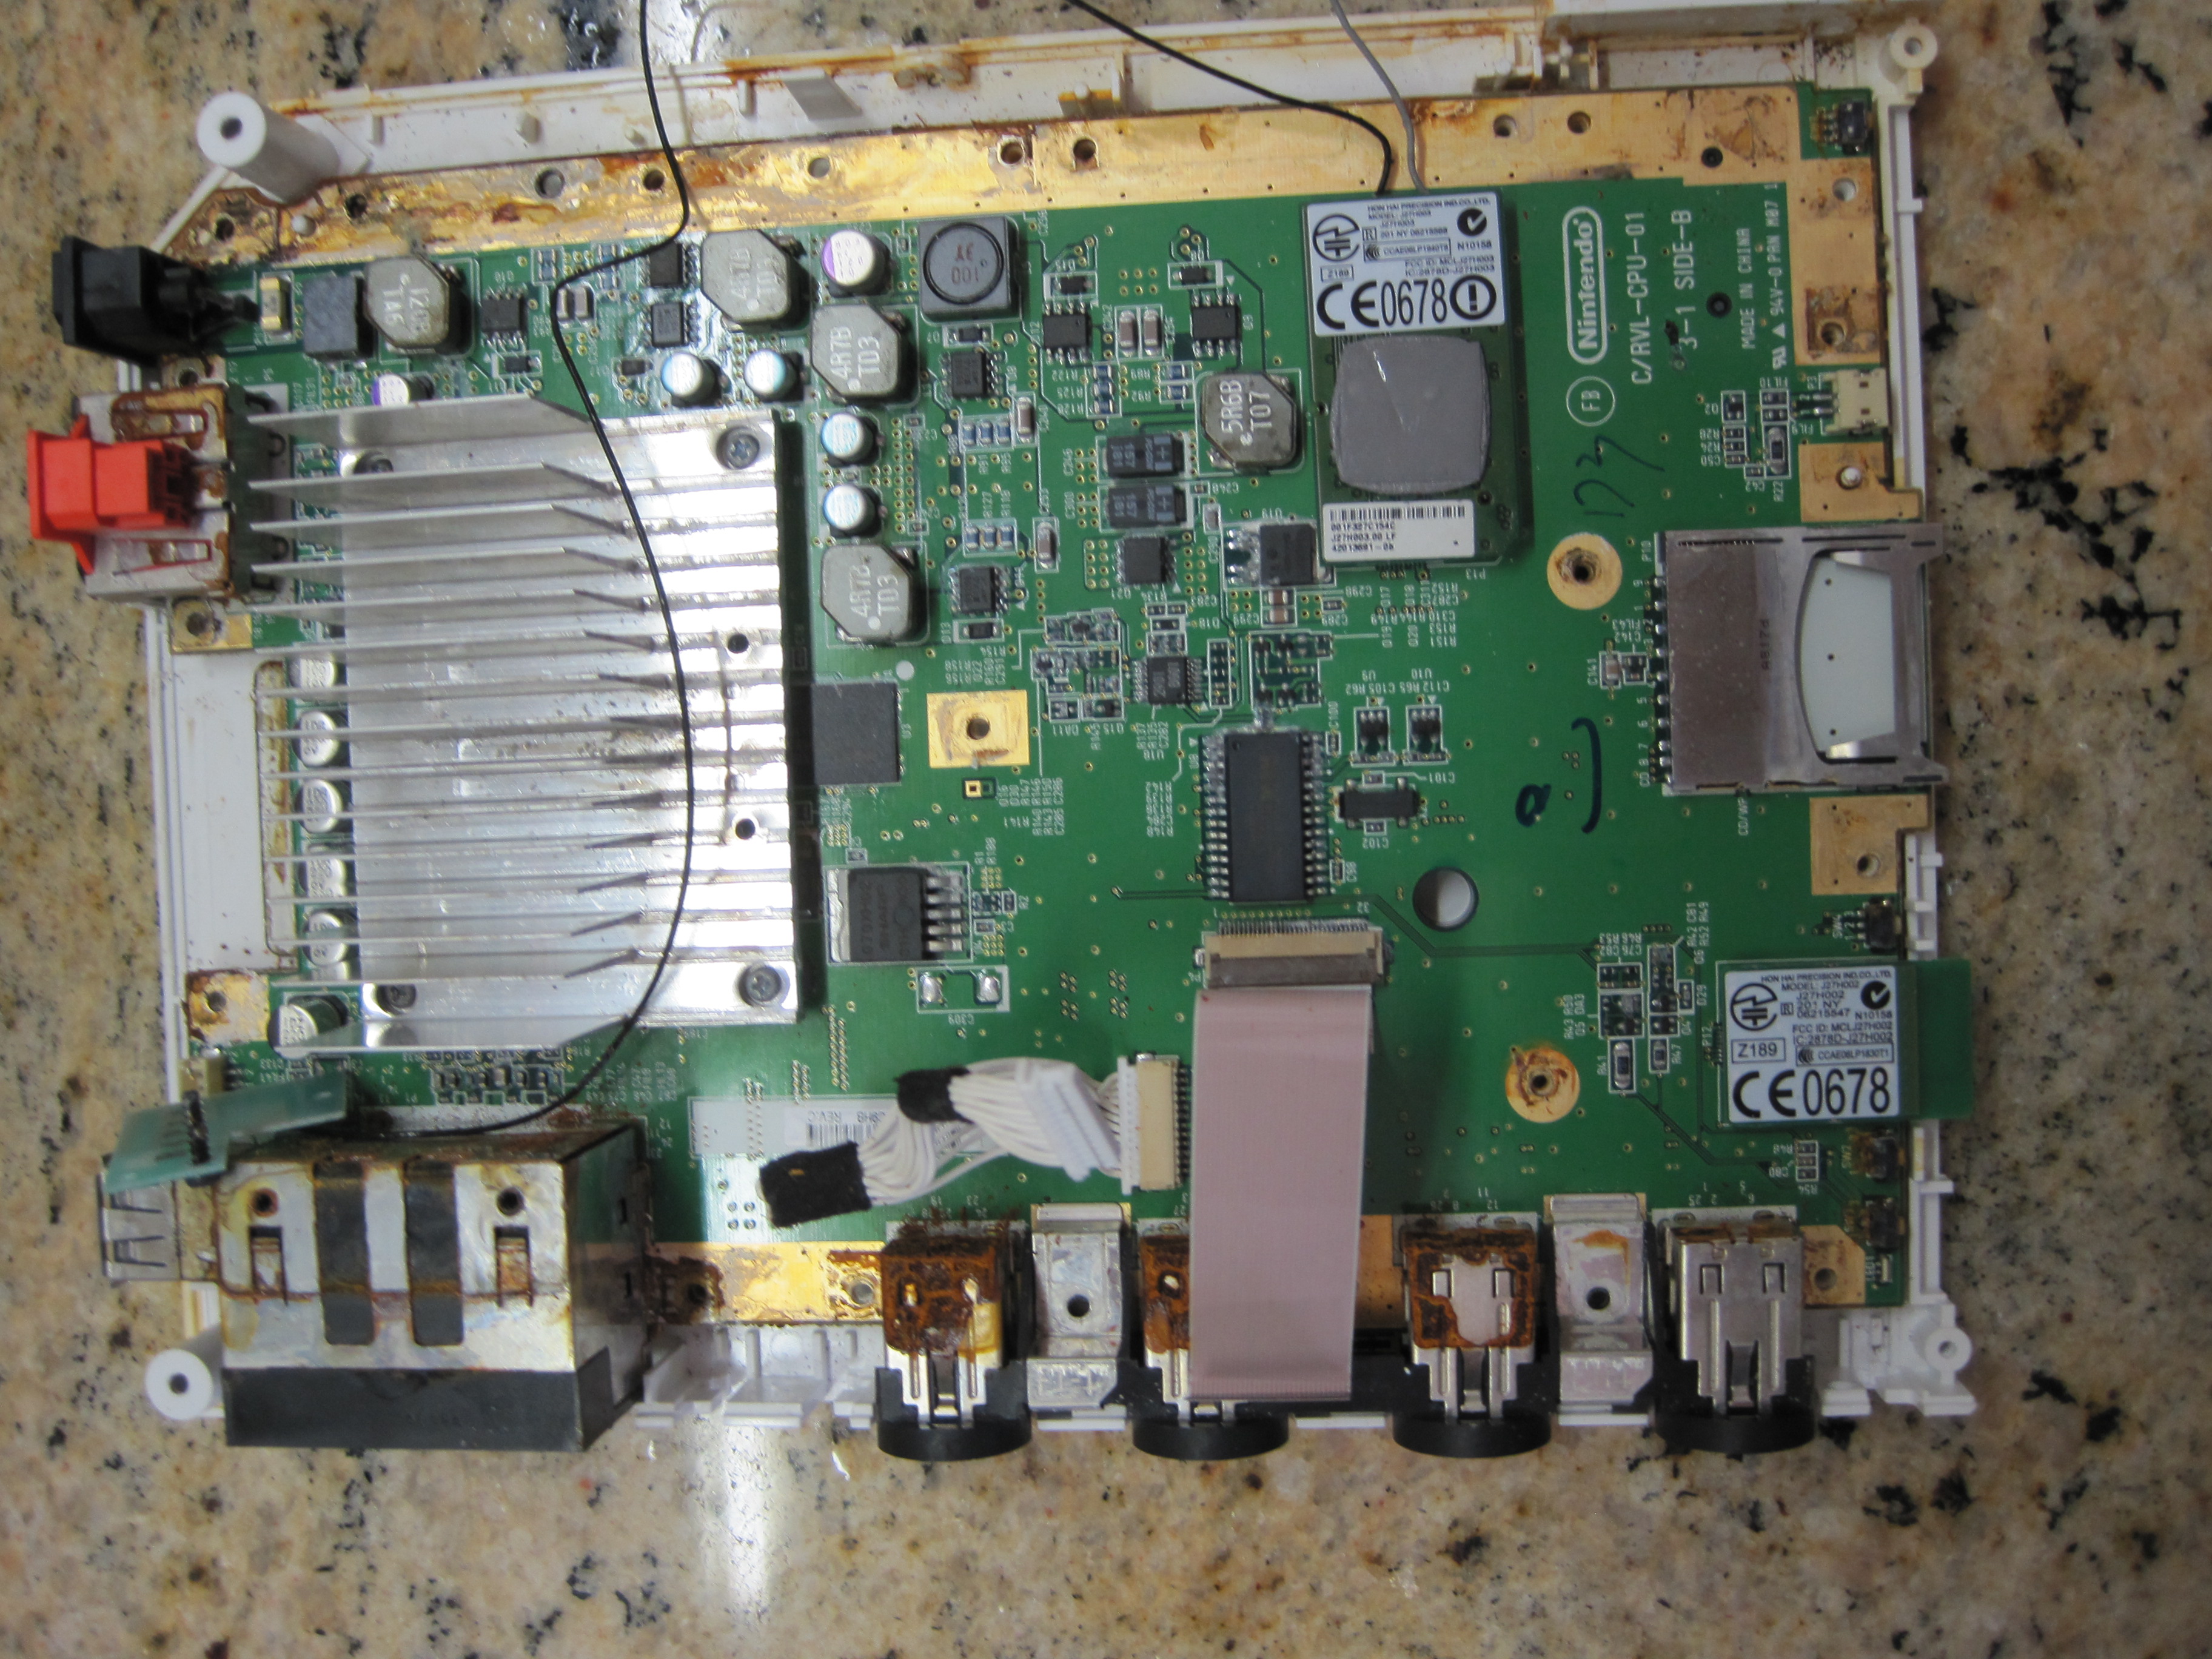
I recently had a console with only slight liquid damage near the battery connector area and it exhibited strange symptoms. I had scrubbed and scrubbed and scrubbed the board front and back to pristine condition, but the trouble persisted. The symptom was that the instant you pressed the battery to the connector the orange charge light would immediately turn on and one to two seconds later it would boot on its own. Once powered on it both charged and functioned totally normally and you could press the power button to turn it off. However, once you turned it off, the only way to power it back on was to remove the battery and then re-connect it, at which point the orange light would turn on again and it would power on one to two seconds later. I had no idea what was wrong, so I set it aside for a while and worked on some other consoles. A few days later I decided to turn it on to check all the other functions to make sure they still worked. When I tested WiFi I got the “An error has occurred. Press and hold the POWER Button to turn the system off. Please refer to the Operations Manual for details” message. This was strange, since WiFi had worked when I first tested it after cleaning the board. Nevertheless, I took a Post-it note, wrote “check wifi board” on it, and stuck it to the console and set it down for a few more days. Eventually I had some spare time one day and decided to open the console back up and check to see if the WiFi board was loose. I popped it off and just as I did so, I noticed the tiniest bit of corrosion just peeking out from beneath the metal frame on which the WiFi board rests. I took a spudger and lifted up the metal frame and, sure enough, there was some sludge under there.
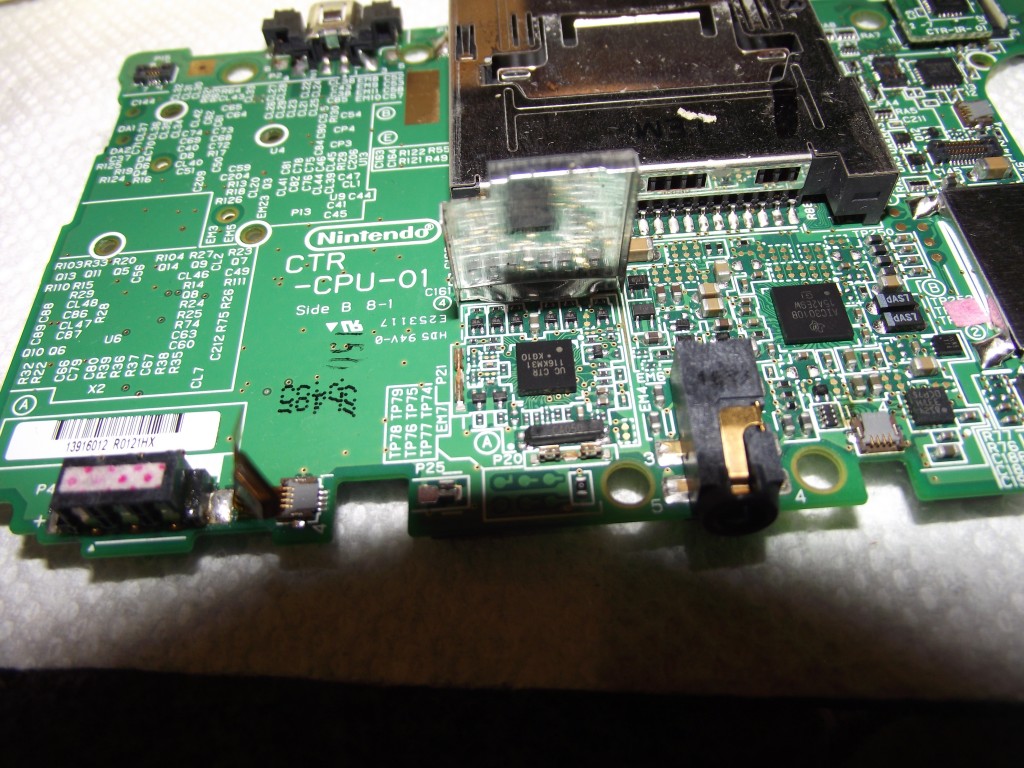
Just this tiny amount of corrosion was enough to break WiFi and cause weird power and battery problems.
Thirty seconds of scrubbing cleaned the area up. I bent the metal frame back into place, popped the WiFi board back on and, sure enough, this fixed all the problems with the 3DS. Yes, it fixed the battery and power issues, too. The charge light no longer turned on when I connected a battery. It no longer booted automatically as soon as the battery was connected. WiFi worked. I could turn it on and off reliably using the power button. Just this small amount of contamination can mess your system up. The good news though is that, once you find it, it’s generally very easy to clean and fix the problem.
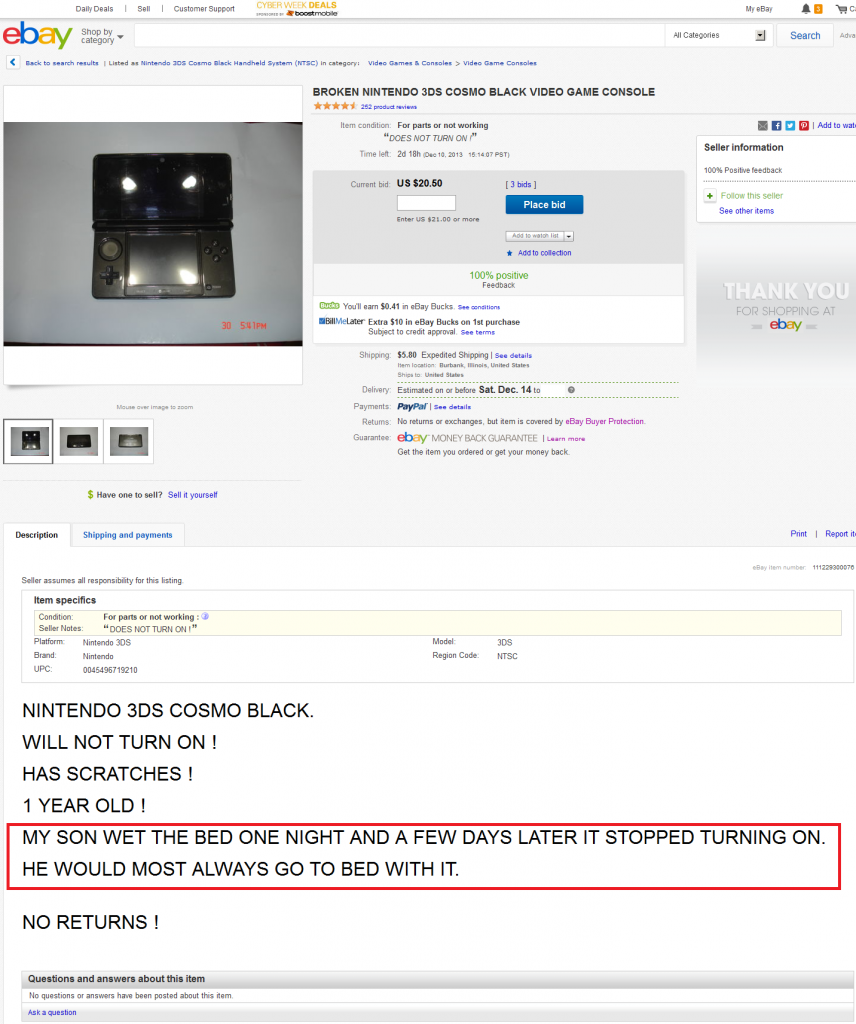
Changing gears here, another reason that people avoid liquid-damaged consoles is because, there’s a widespread belief that a liquid-damaged LCD must be replaced. It’s common to see mobile phones that the owner put in rice or something after getting them wet to save the motherboard. And sure, those phones work, but if you look at the LCD you see those drying marks that get left behind. Even quickly putting a device in a bag of rice doesn’t necessarily save it from those drying marks, often described by unscrupulous eBay sellers as “cloudiness” of the LCD. “Cloudy LCD” means “device dropped in the toilet” in eBay doubletalk. It’s like how “genuine” means “it is tangible” and not “it is made under license from the IP owner”. Anyway, those LCDs don’t necessarily need to be replaced. You can remove those drying marks. While you can’t restore the LCD to like-new condition, you can make it good enough for resale in many cases.
Now, I don’t know the proper terminology or even how exactly an LCD works, but it doesn’t really matter for my purposes. The LCD has several “papery” layers behind it. There is a reflective layer, then a backlight, then a slightly transparent white layer, and then some others that I forget the order of. We need to wipe all of those papery layers clean, since that’s where the drying marks are. When the backlight shines, those drying marks are made visible on the screen. In other words, it’s like taking the greasy wrapper that a burrito came in and holding a flashlight in front of it. If you do so, all the grease marks become more prominent on the semi-transparent burrito wrapper. But unlike a burrito wrapper, the papery layers behind the LCD can be cleaned with tap water. I use about 50% alcohol and 50% tap water. I originally used 99% alcohol but I found that it was too strong and left streaks. Tap water on its own will work fine though. I just use the 50% alcohol to help it dry faster.
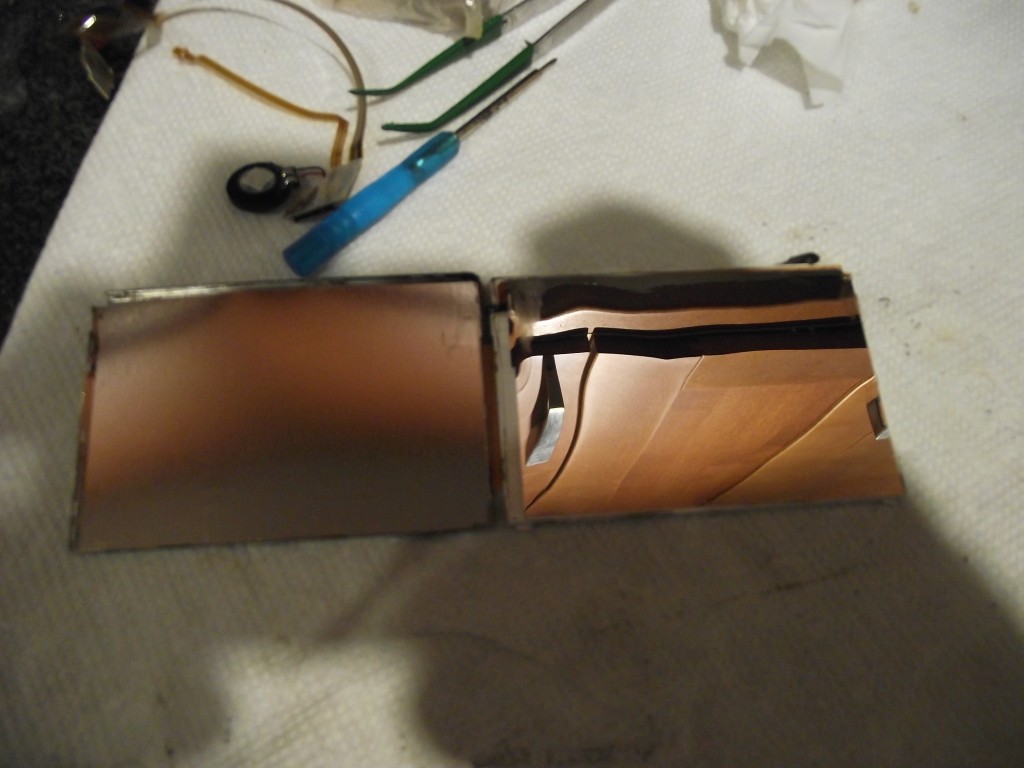
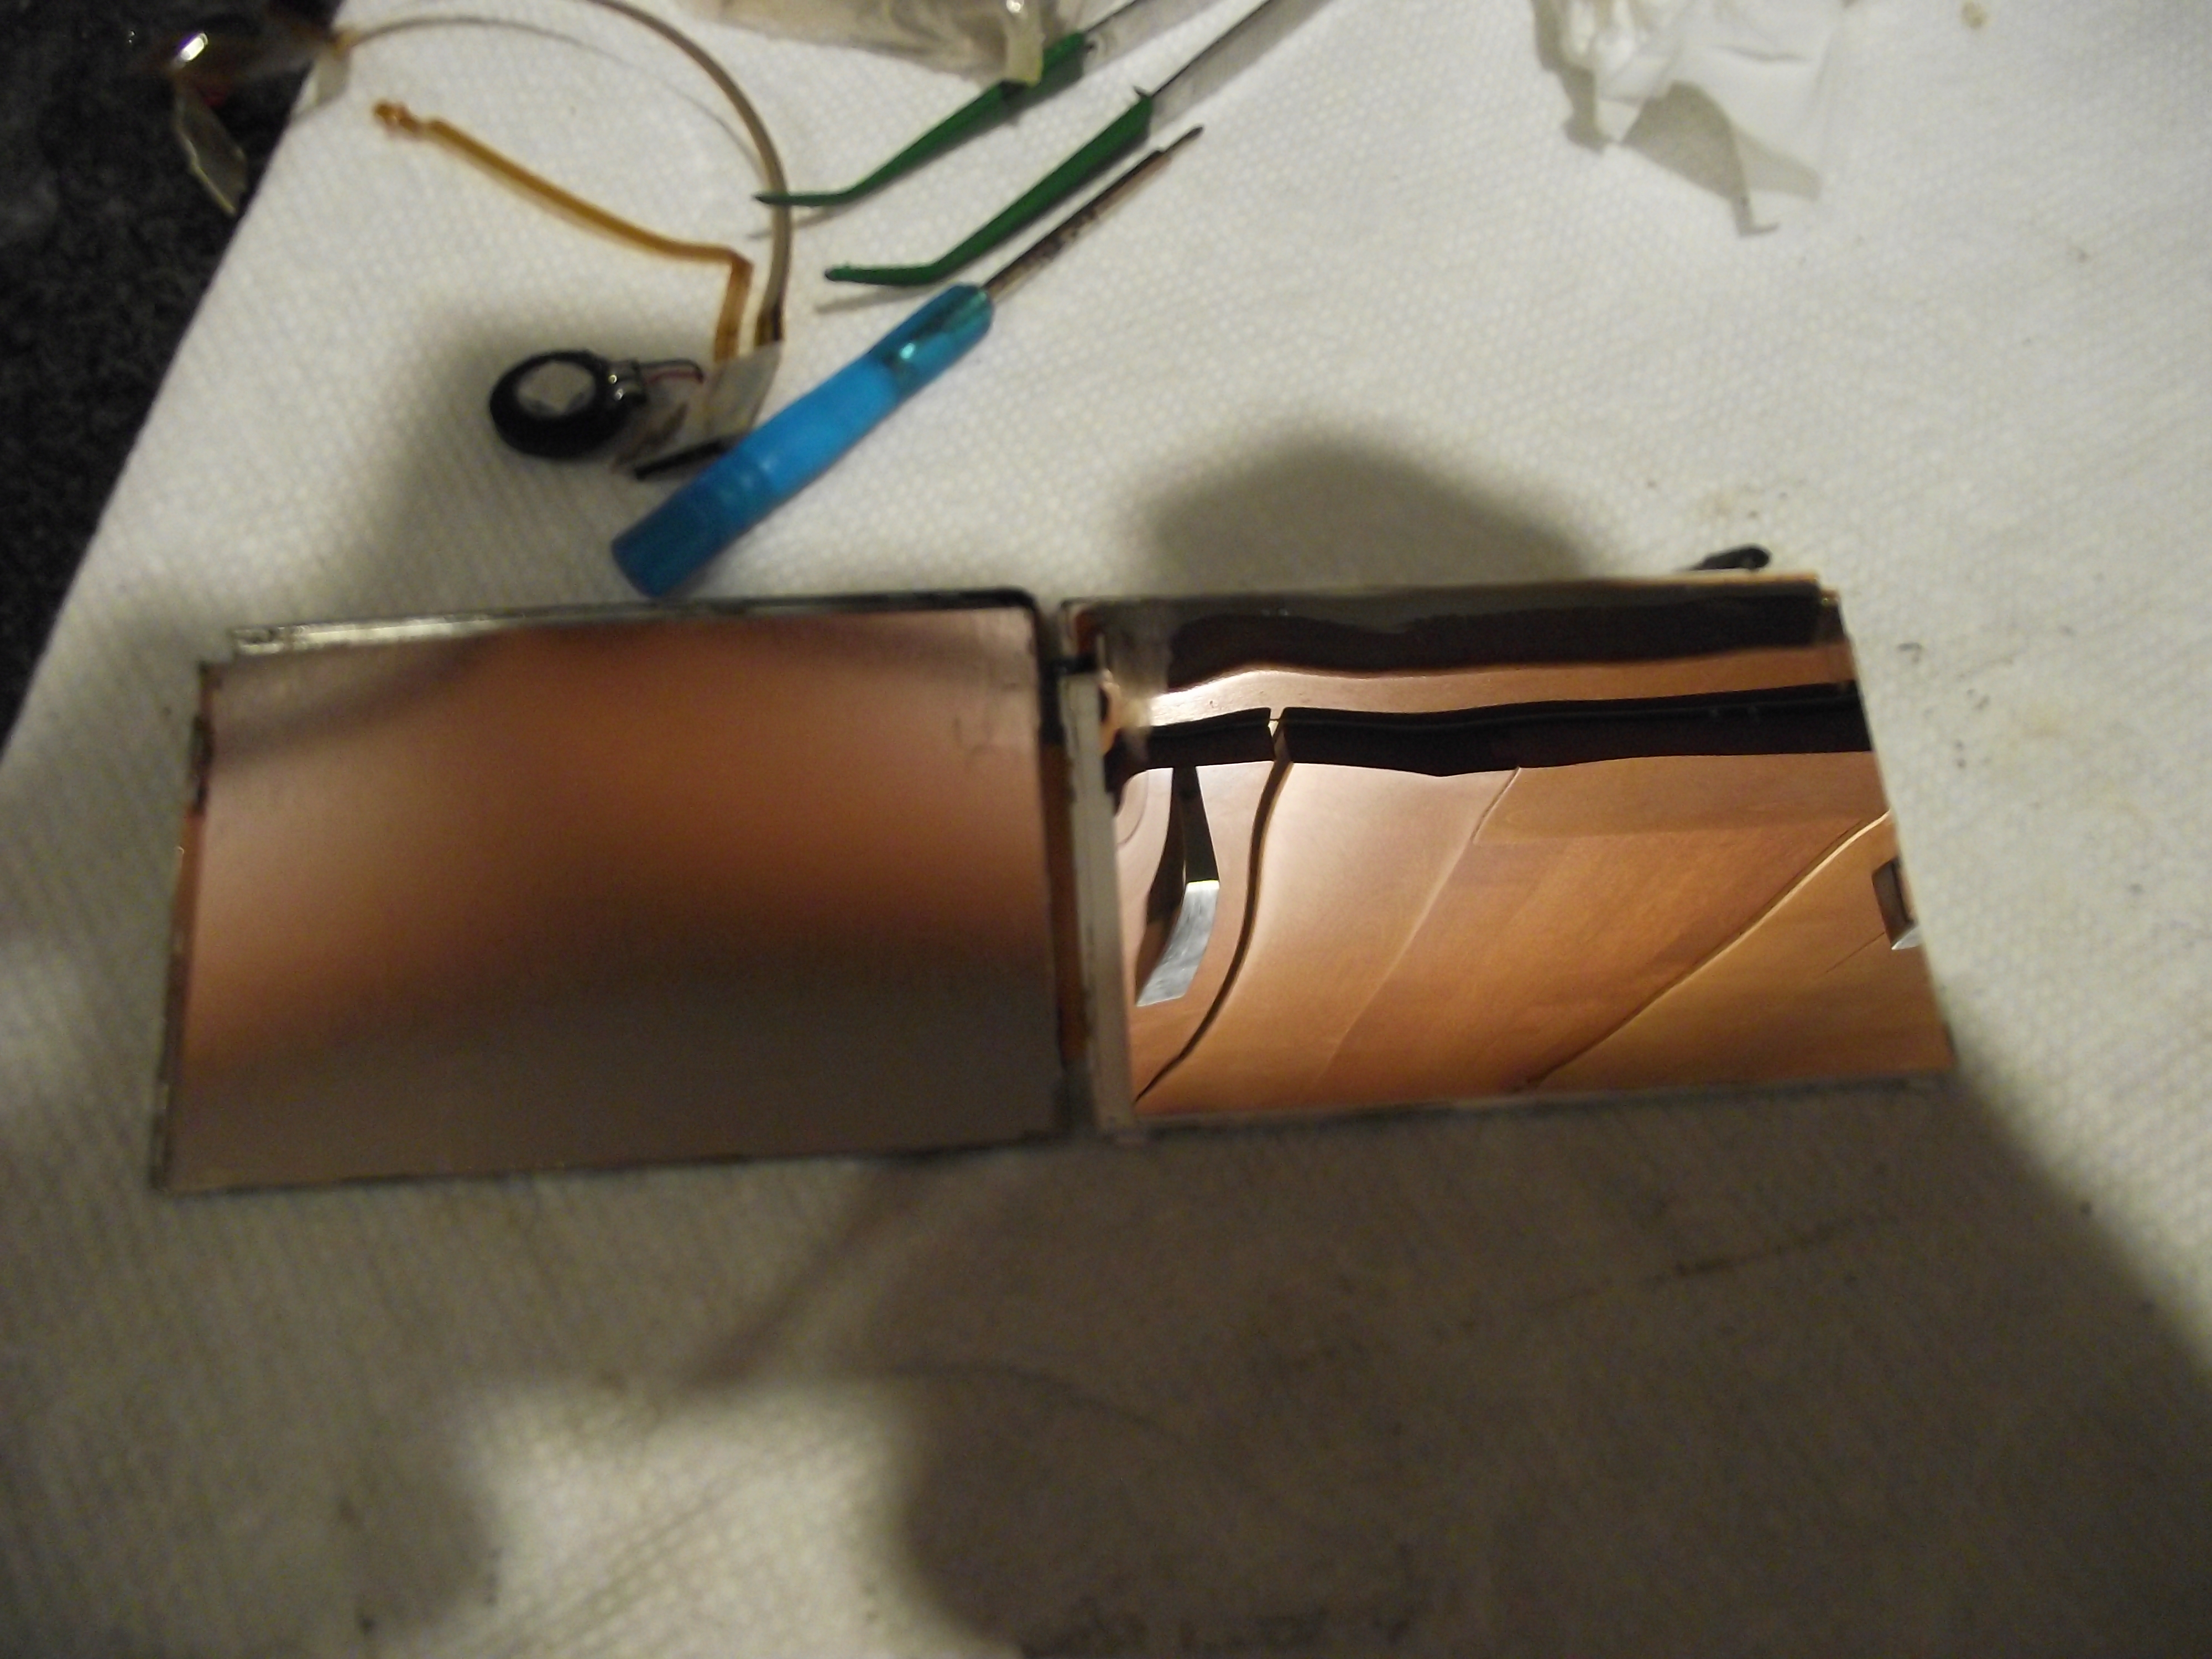
Open the metal frame of the LCD and the backmost layer is this shiny one. On the left is the metal frame.
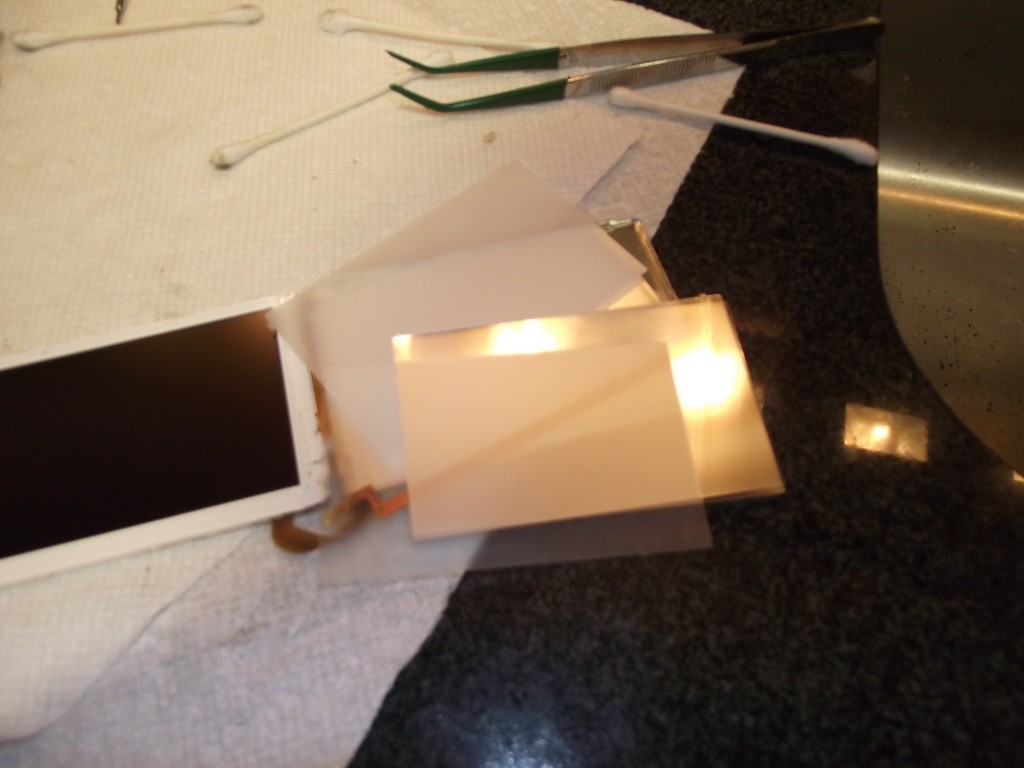
In this picture the LCD is on the left. On the right are the various layers and backlight that must be cleaned.
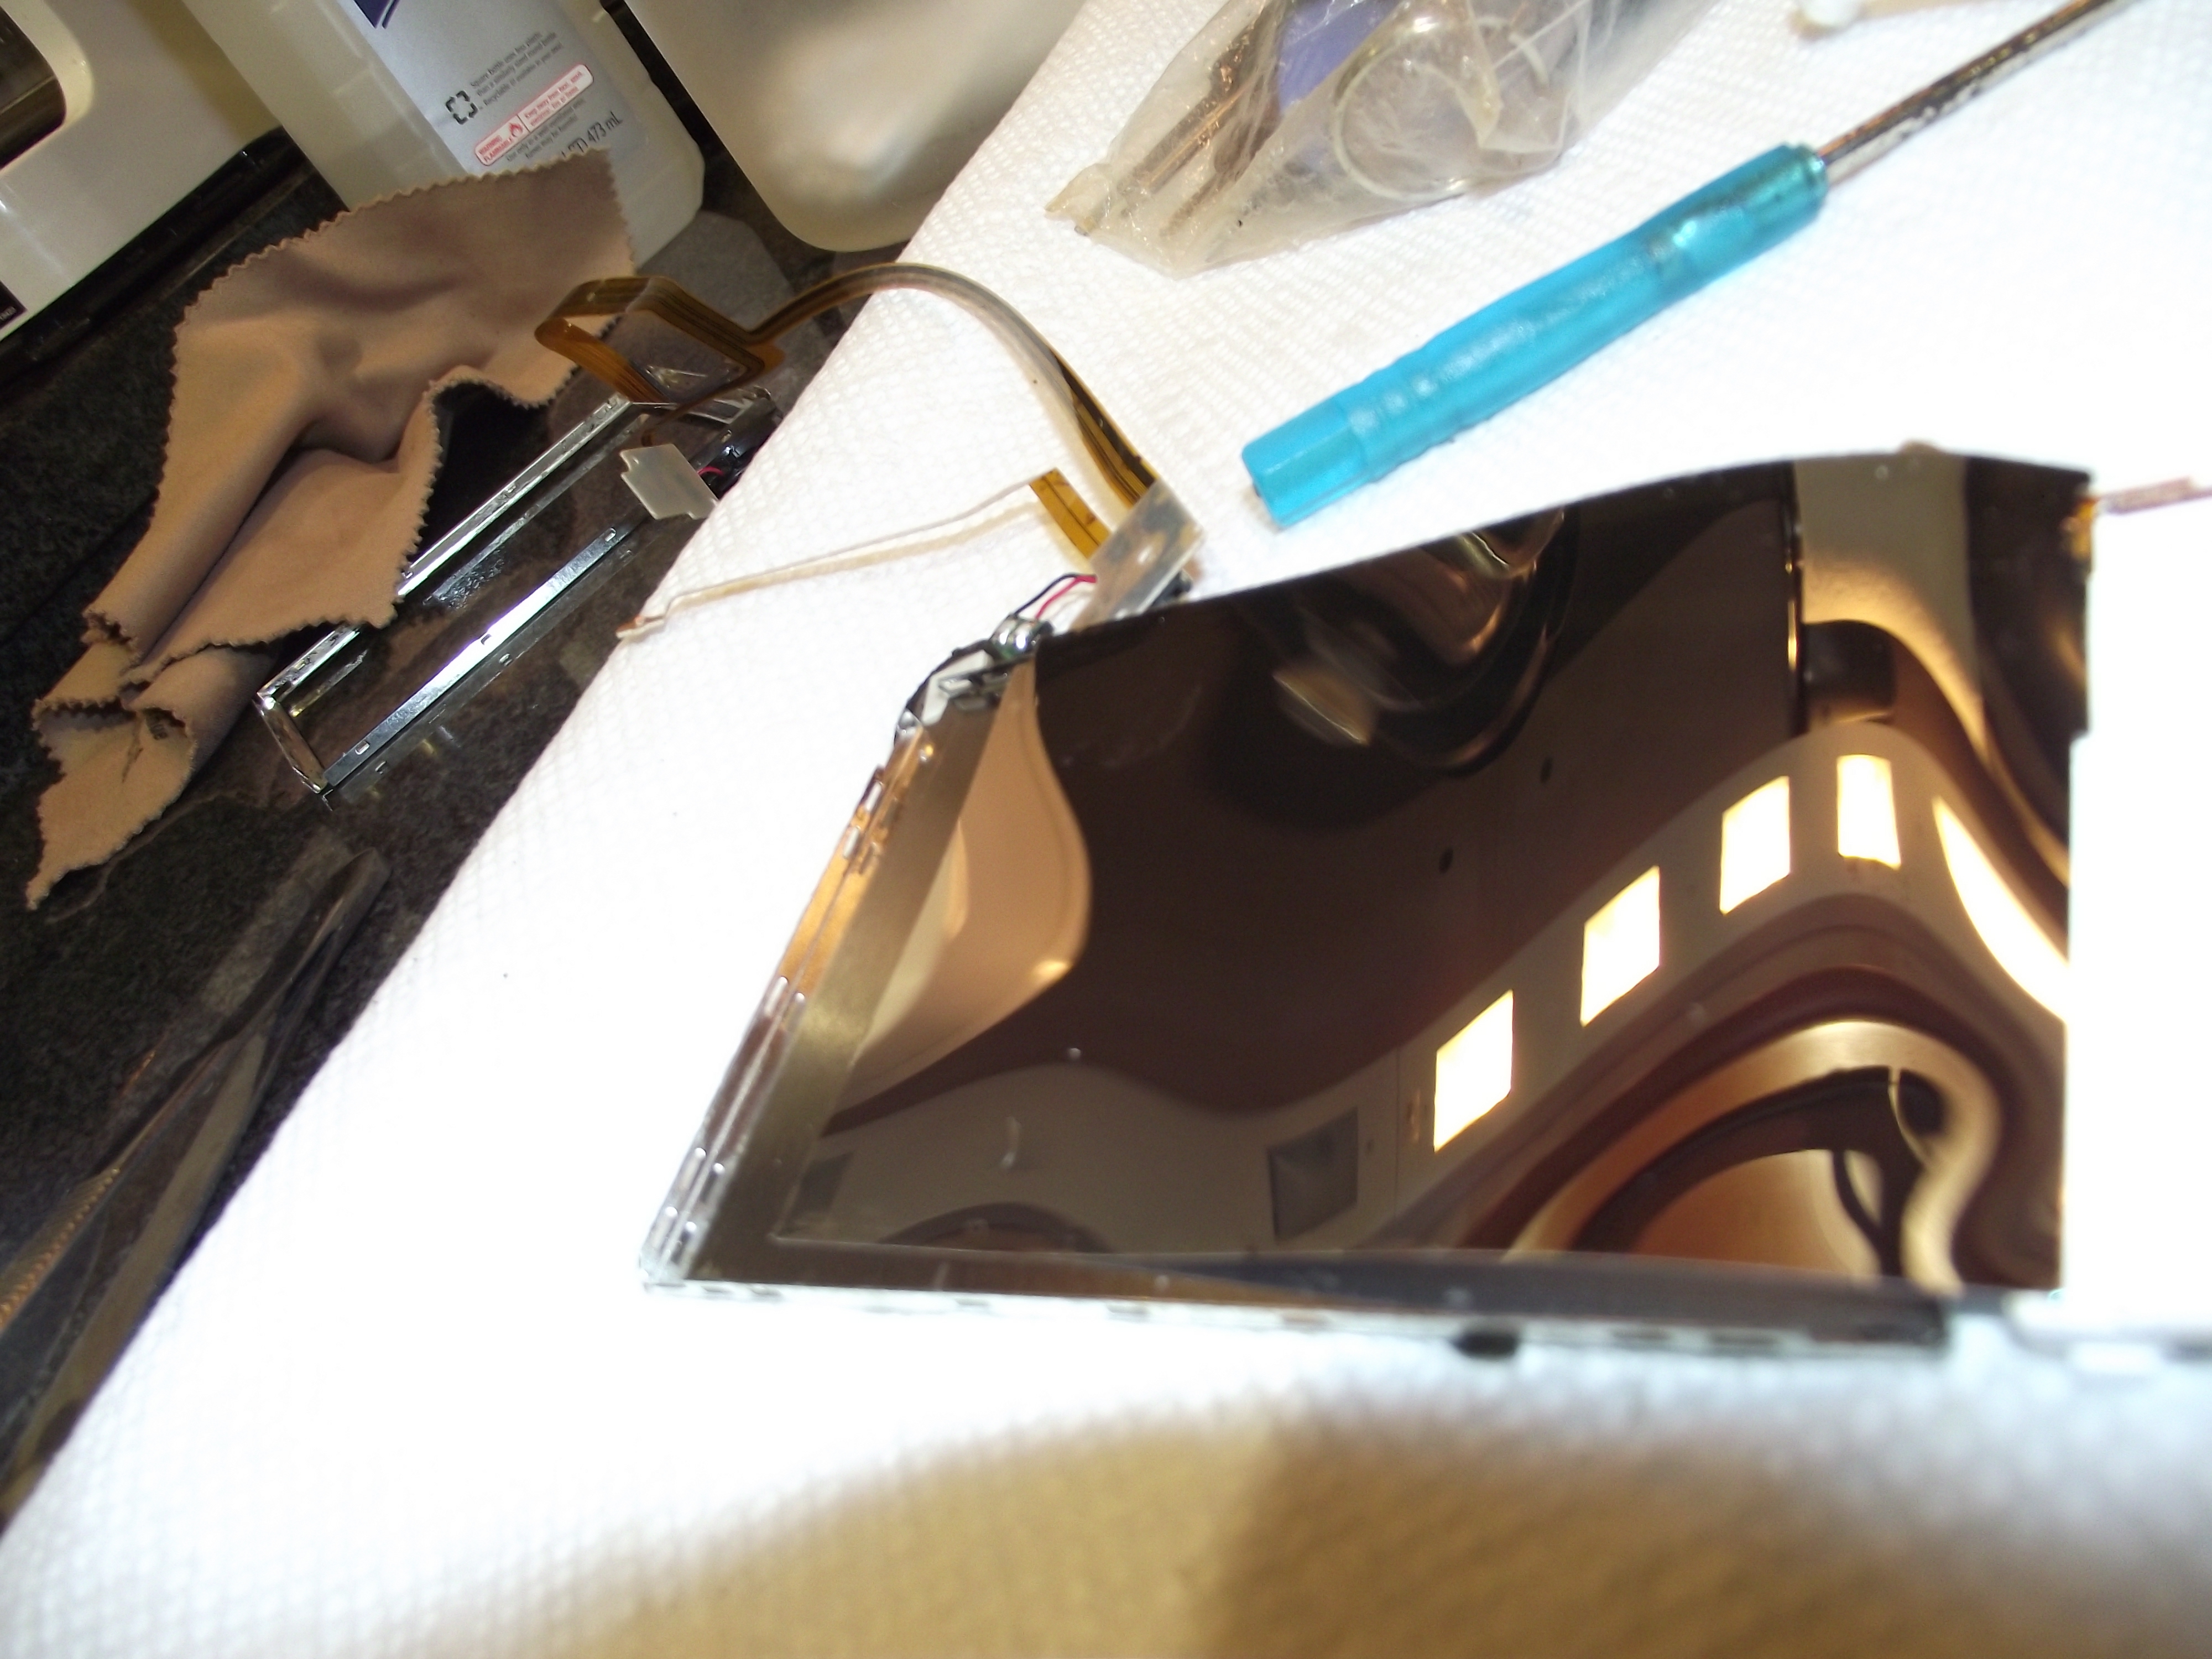
Anyway, just remove the metal frame in which the LCD is held. On the 3DS there are some clips that you can open using your fingernails. Above is what it looks like when you open up the top LCD of the 3DS. The first (backmost) layer is the shiny one. The easiest way I’ve found, so far, to clean these things without getting any marks or fingerprints on them is using a combination of one pair of microfiber eyeglass cleaning cloths and a pair of rubber-tipped tweezers. We must clean both sides of each layer, so it’s important to make a plan of action before we start. I put the microfiber cloth over my fingertip and hold the layer down as I clean it using a cotton swab and a half tap water half alcohol solution. I then dry it using a second microfiber cloth (while holding it down using my fingertip covered by the first microfiber cloth). I flip the layer over using the rubber-tipped tweezers and repeat on the back. After doing this for each layer I close the screen up and test.

Yes, that’s a coffee maker in the upper left. The kitchen is the only place with the right lighting for this type of cleaning. Checking for smudges or specks of dust is important and good lighting is indispensable. There’s nothing worse than screwing a console back together only to find that you have overlooked a speck of dust remaining under the LCD.
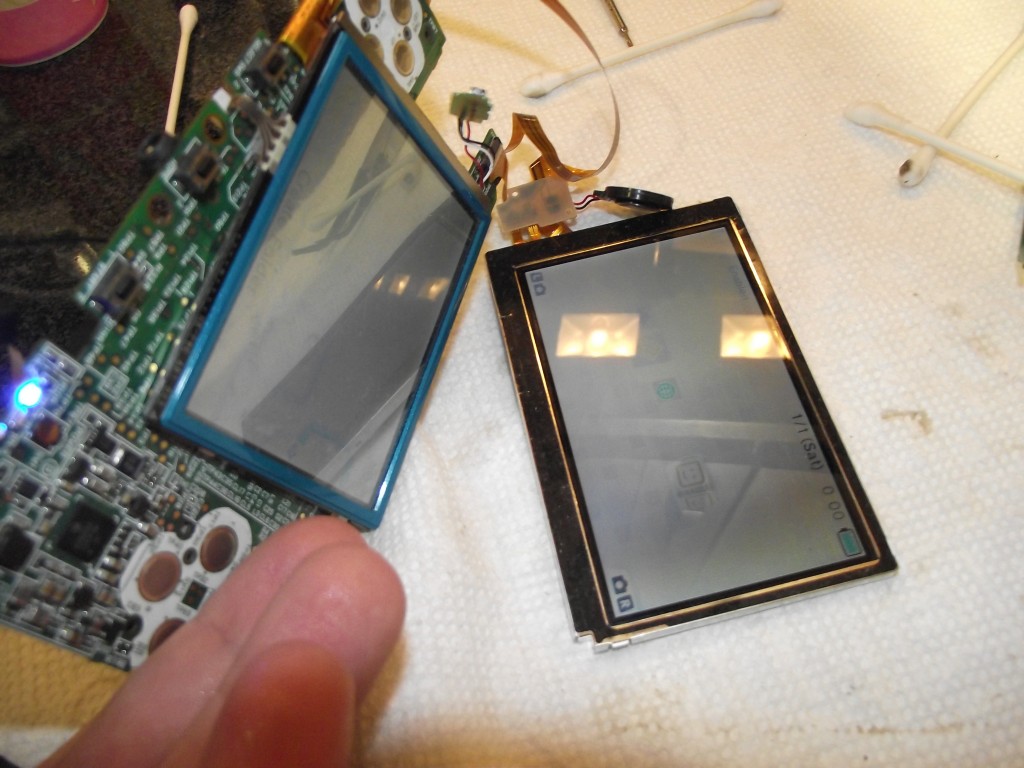
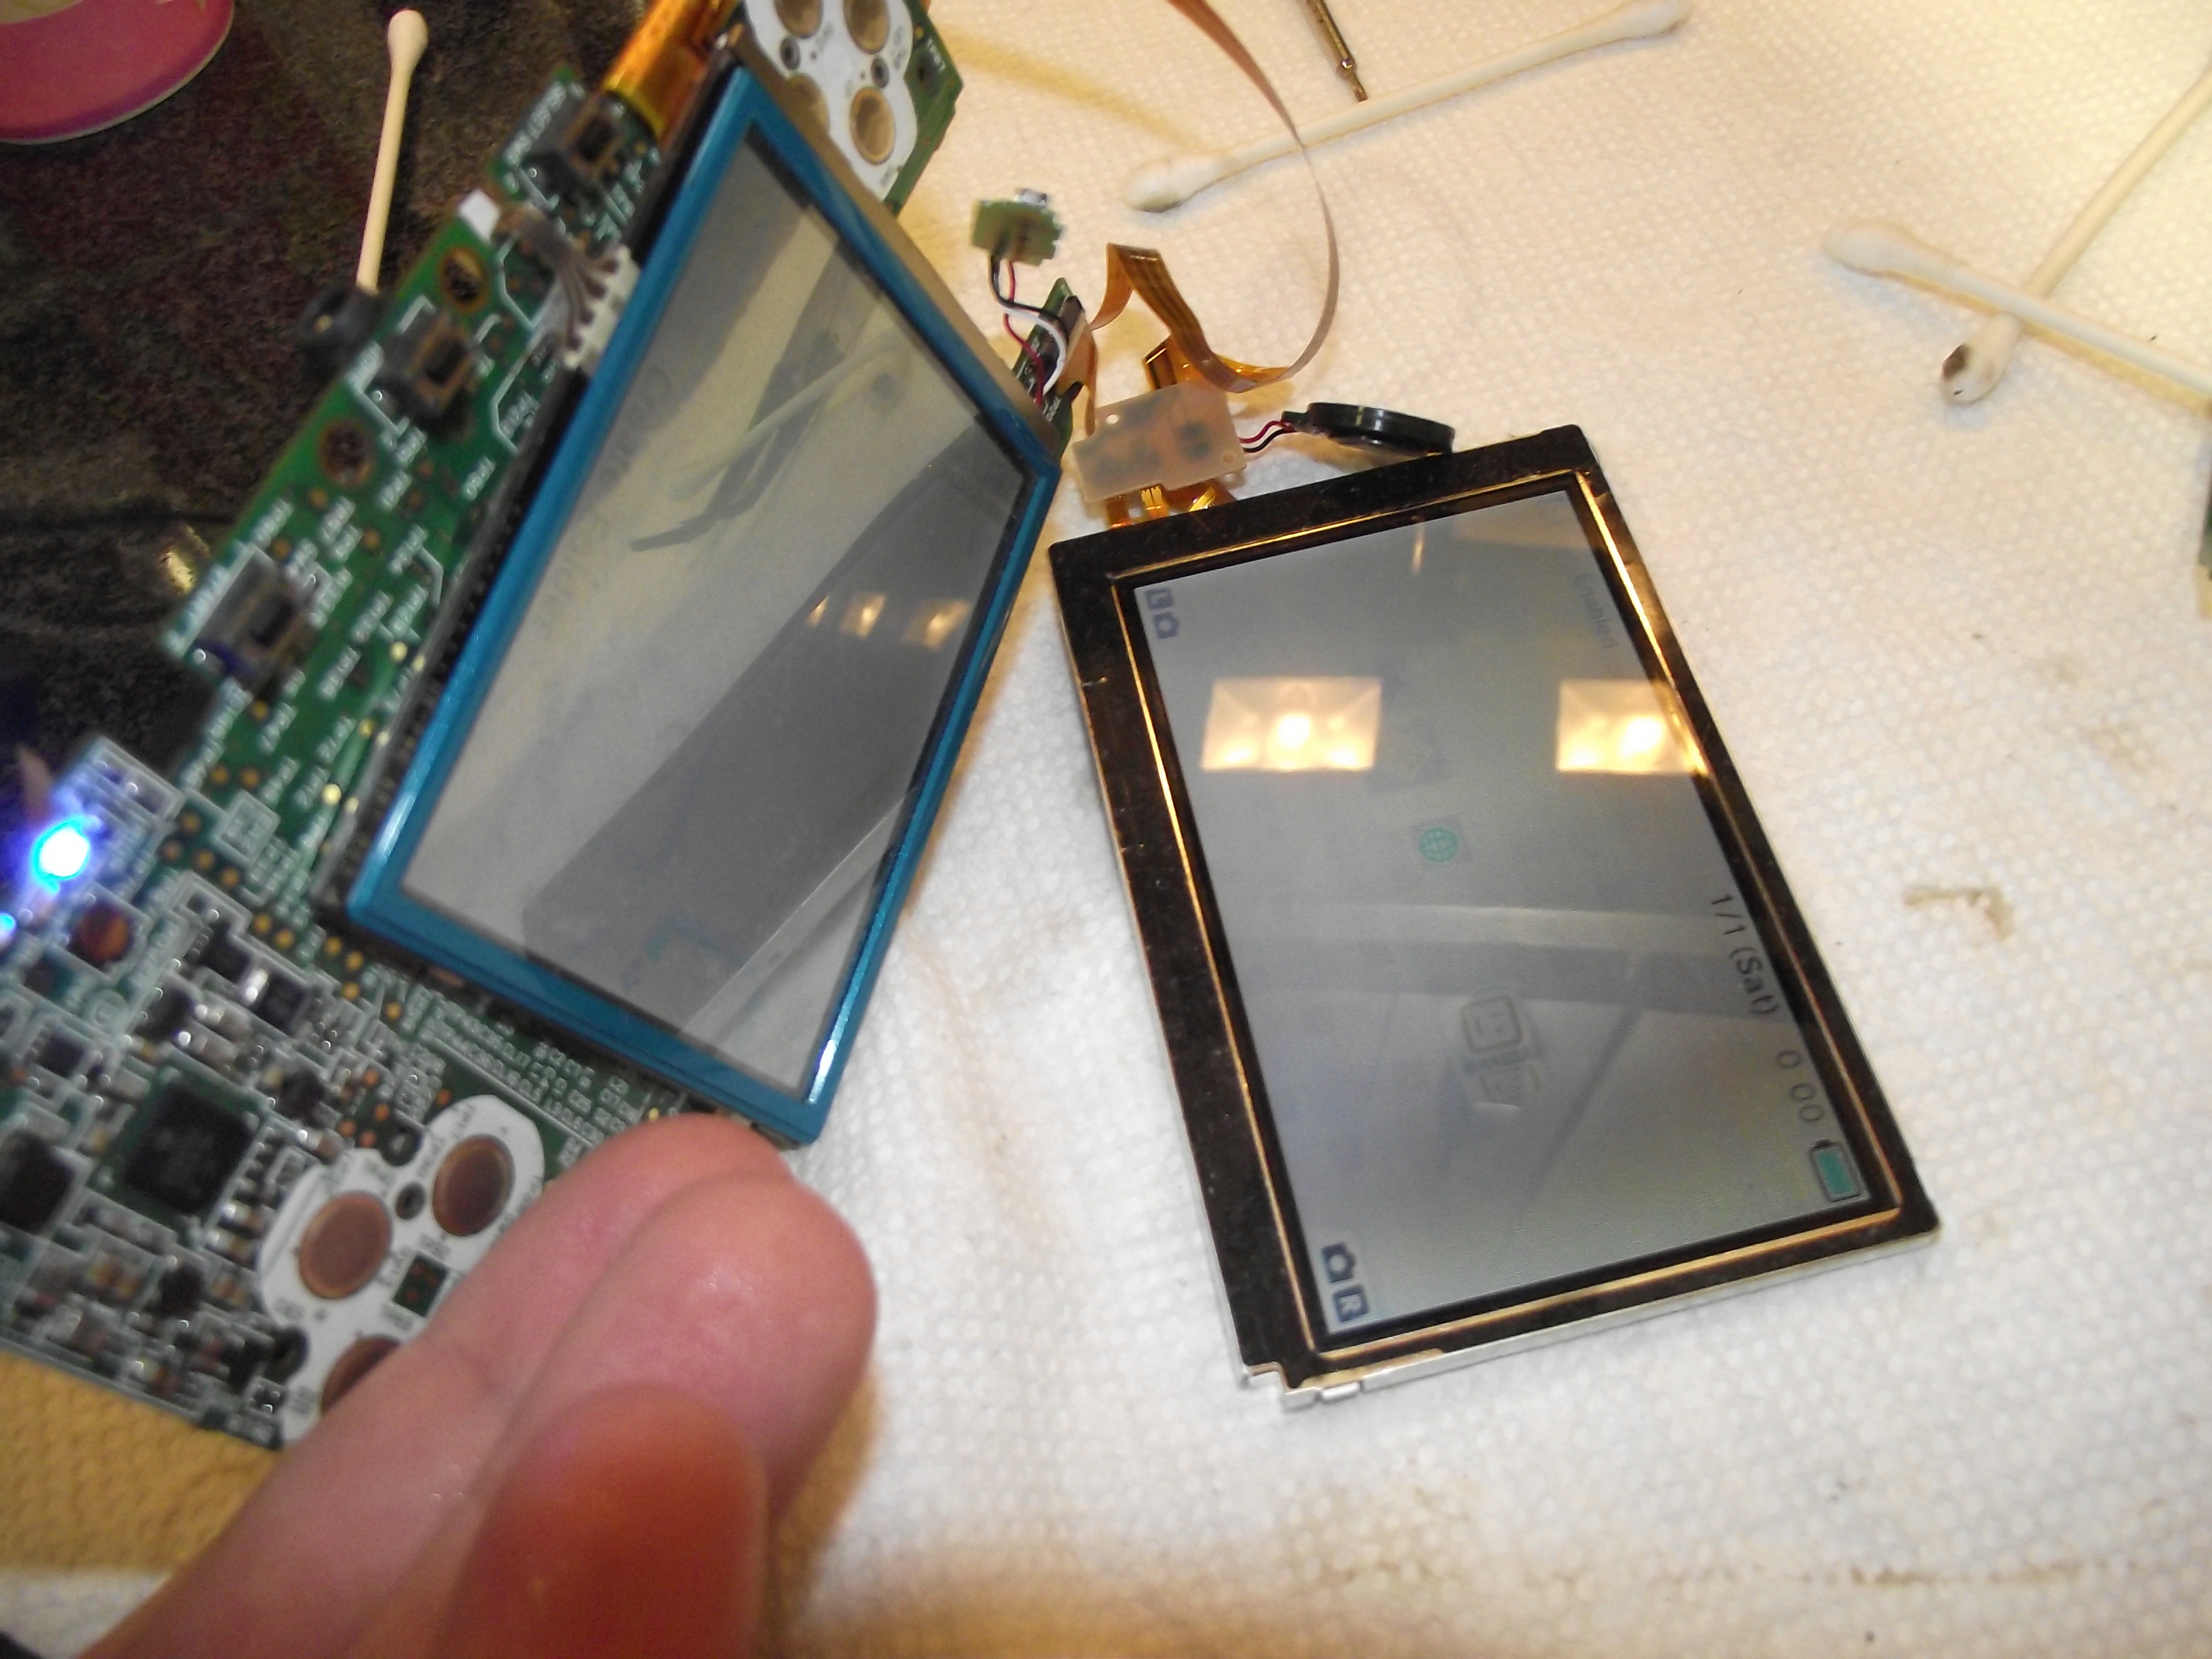
To test we need to connect the lower LCD, speakers, and upper LCD to the motherboard. The two little ribbons cables from the upper LCD must be connected to the appropriate connectors on the speaker/3D/brightness ribbon cable. It’s a tough balancing act connecting all those things, holding the battery in place, and taking a photograph all at the same time!
We check for streaks, dust, or any other blemishes at this point, since it would be a colossal pain in the ass to install the upper LCD, camera, speakers, WiFi antenna, and reassemble the housing only to find afterwards that there was some schmutz left under the LCD. Yes, this has happened to me before and no, you would not have wanted to be in the room at the time.
In the end this screen was 100% fixable. Sure, replacing it would be less work, but you can save money by cleaning it instead.
To connect this to my earlier point, it is far easier to clean these LCDs and get them in excellent condition suitable for resale when the liquid damage was of the spillage variety, rather than submergence. I’ve had some LCDs that I tried this process on that were just not salvageable because there was so much dirt in there that I couldn’t clean it all off without leaving streak marks. But if there are just some drying marks here and there on the LCD there is a good chance that you can clean them off well enough that you would never be able to tell there was liquid damage afterwards. Although 3DS screens are rather inexpensive, this can save you some money on parts, especially if both screens are liquid-damaged.