This is the same console owned by the blighted mudcrab whose shoulder buttons I had the pleasure of cleaning previously.
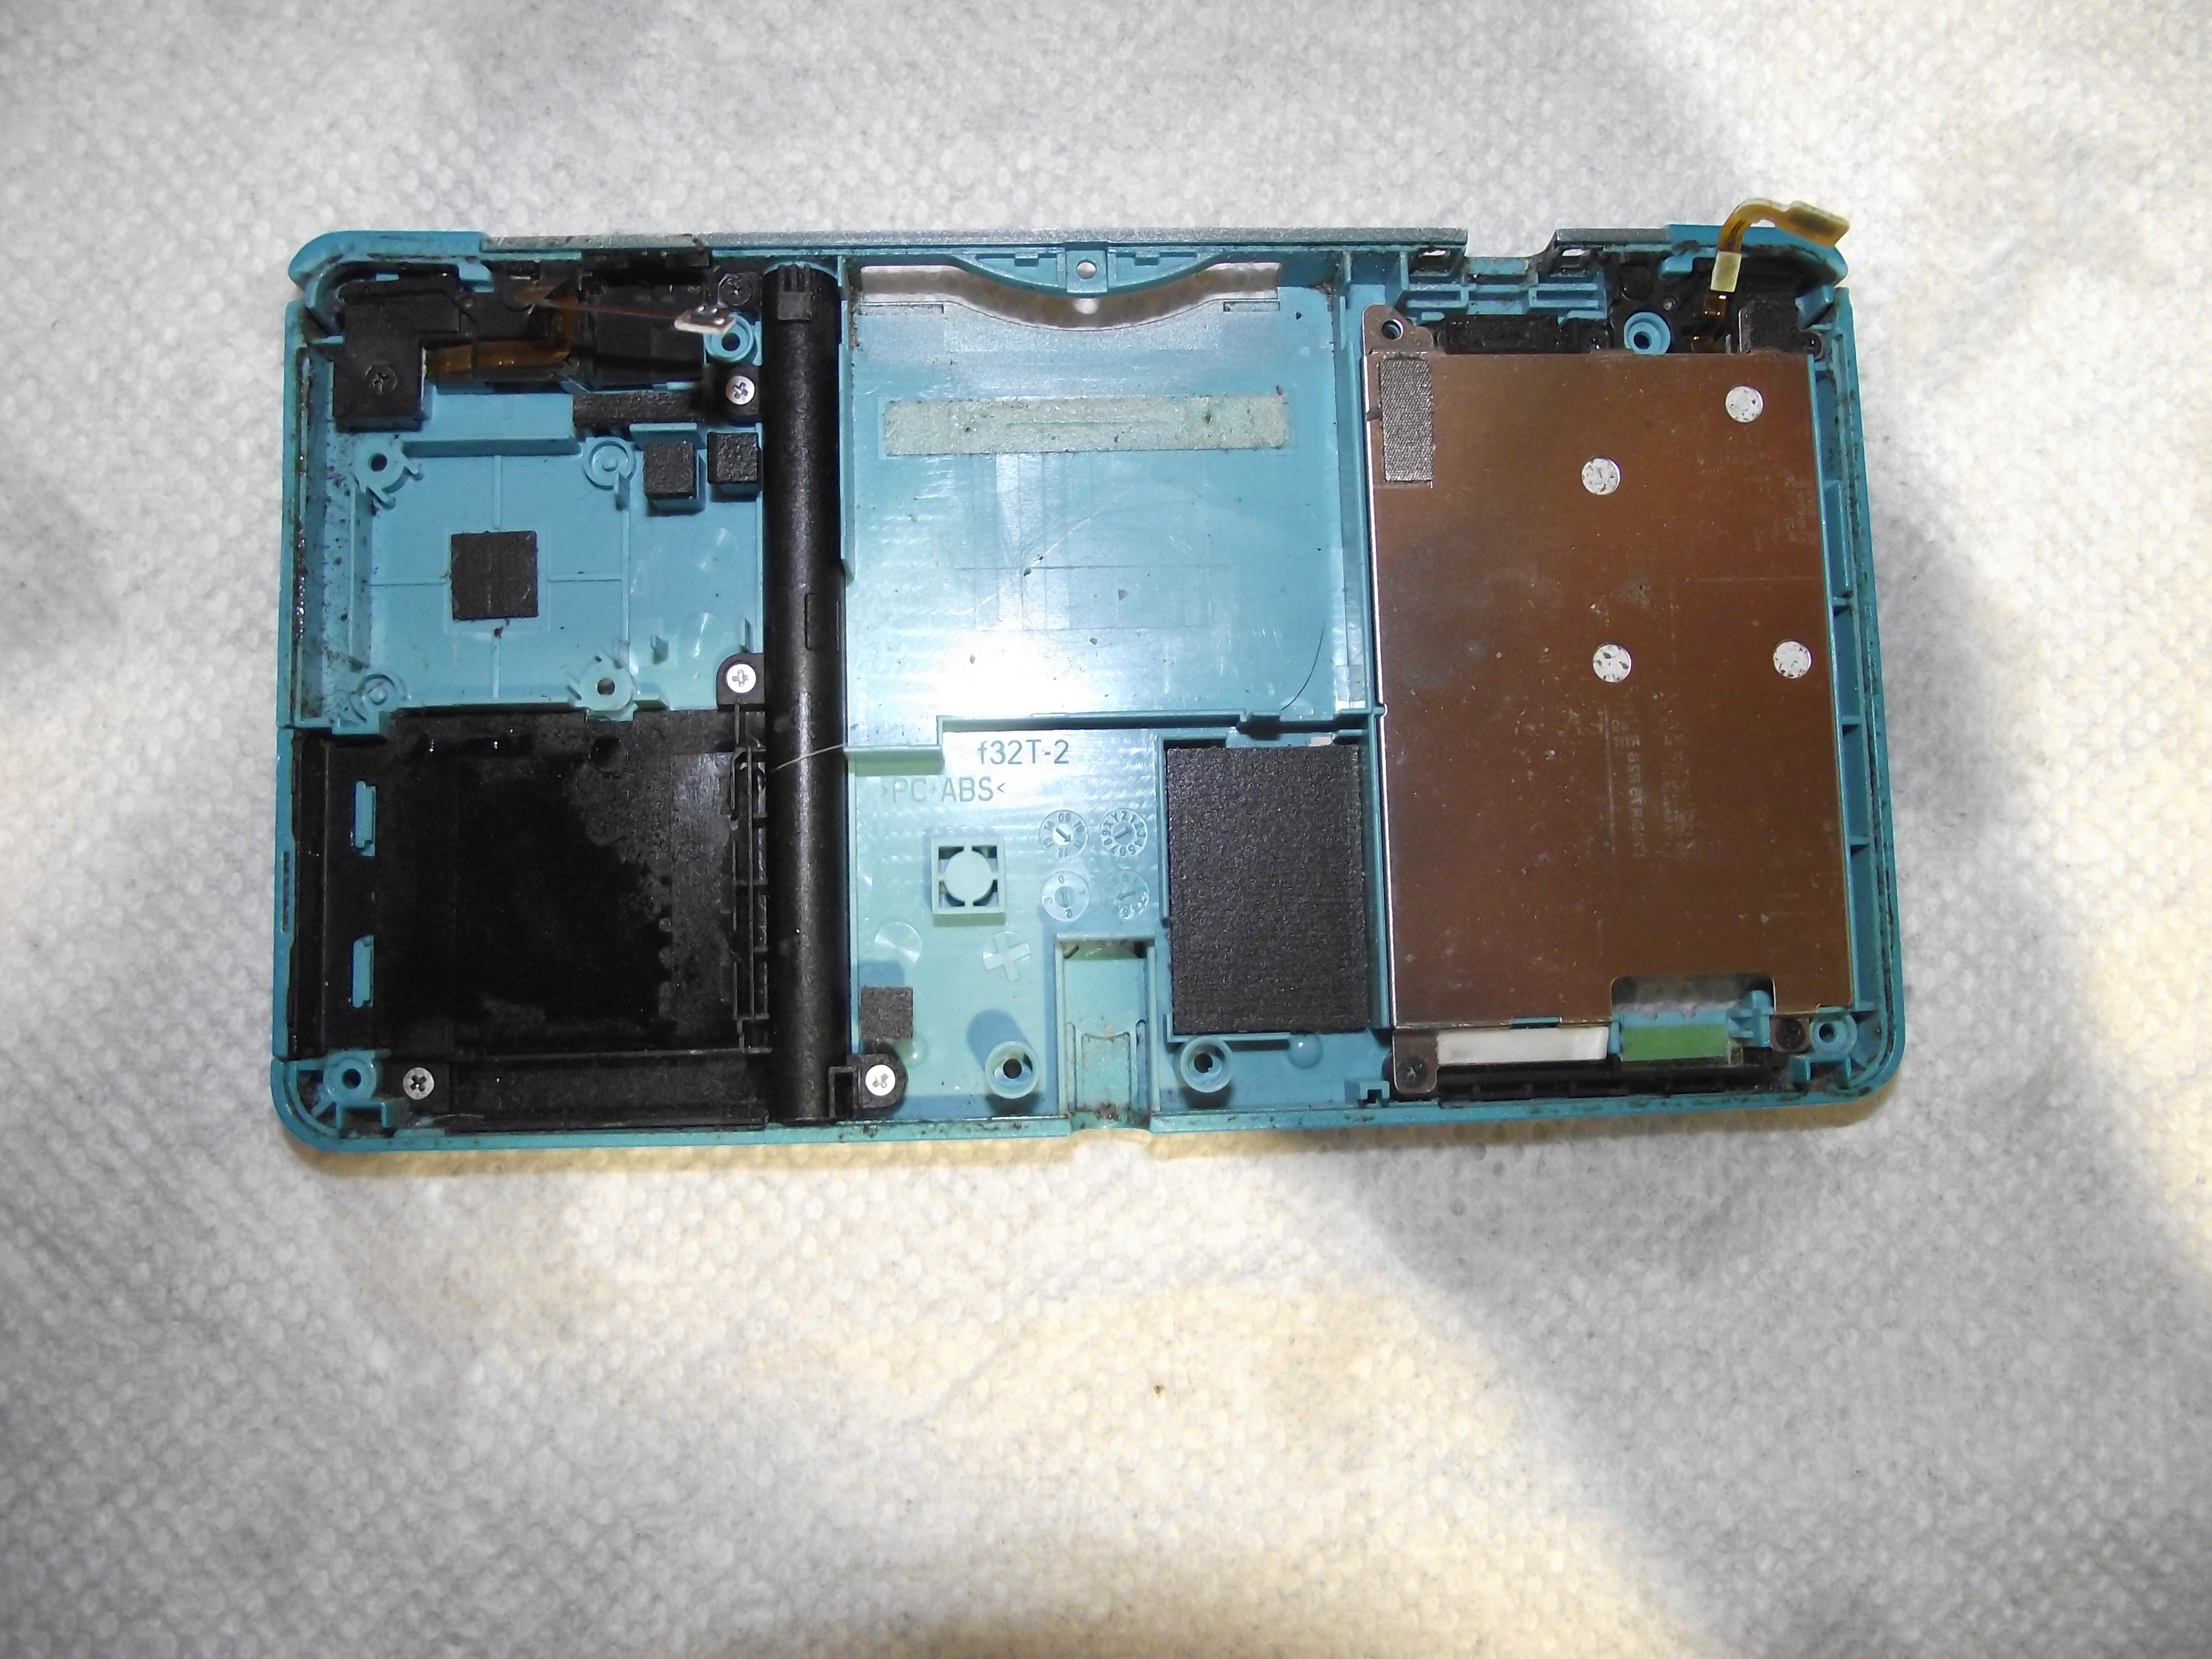
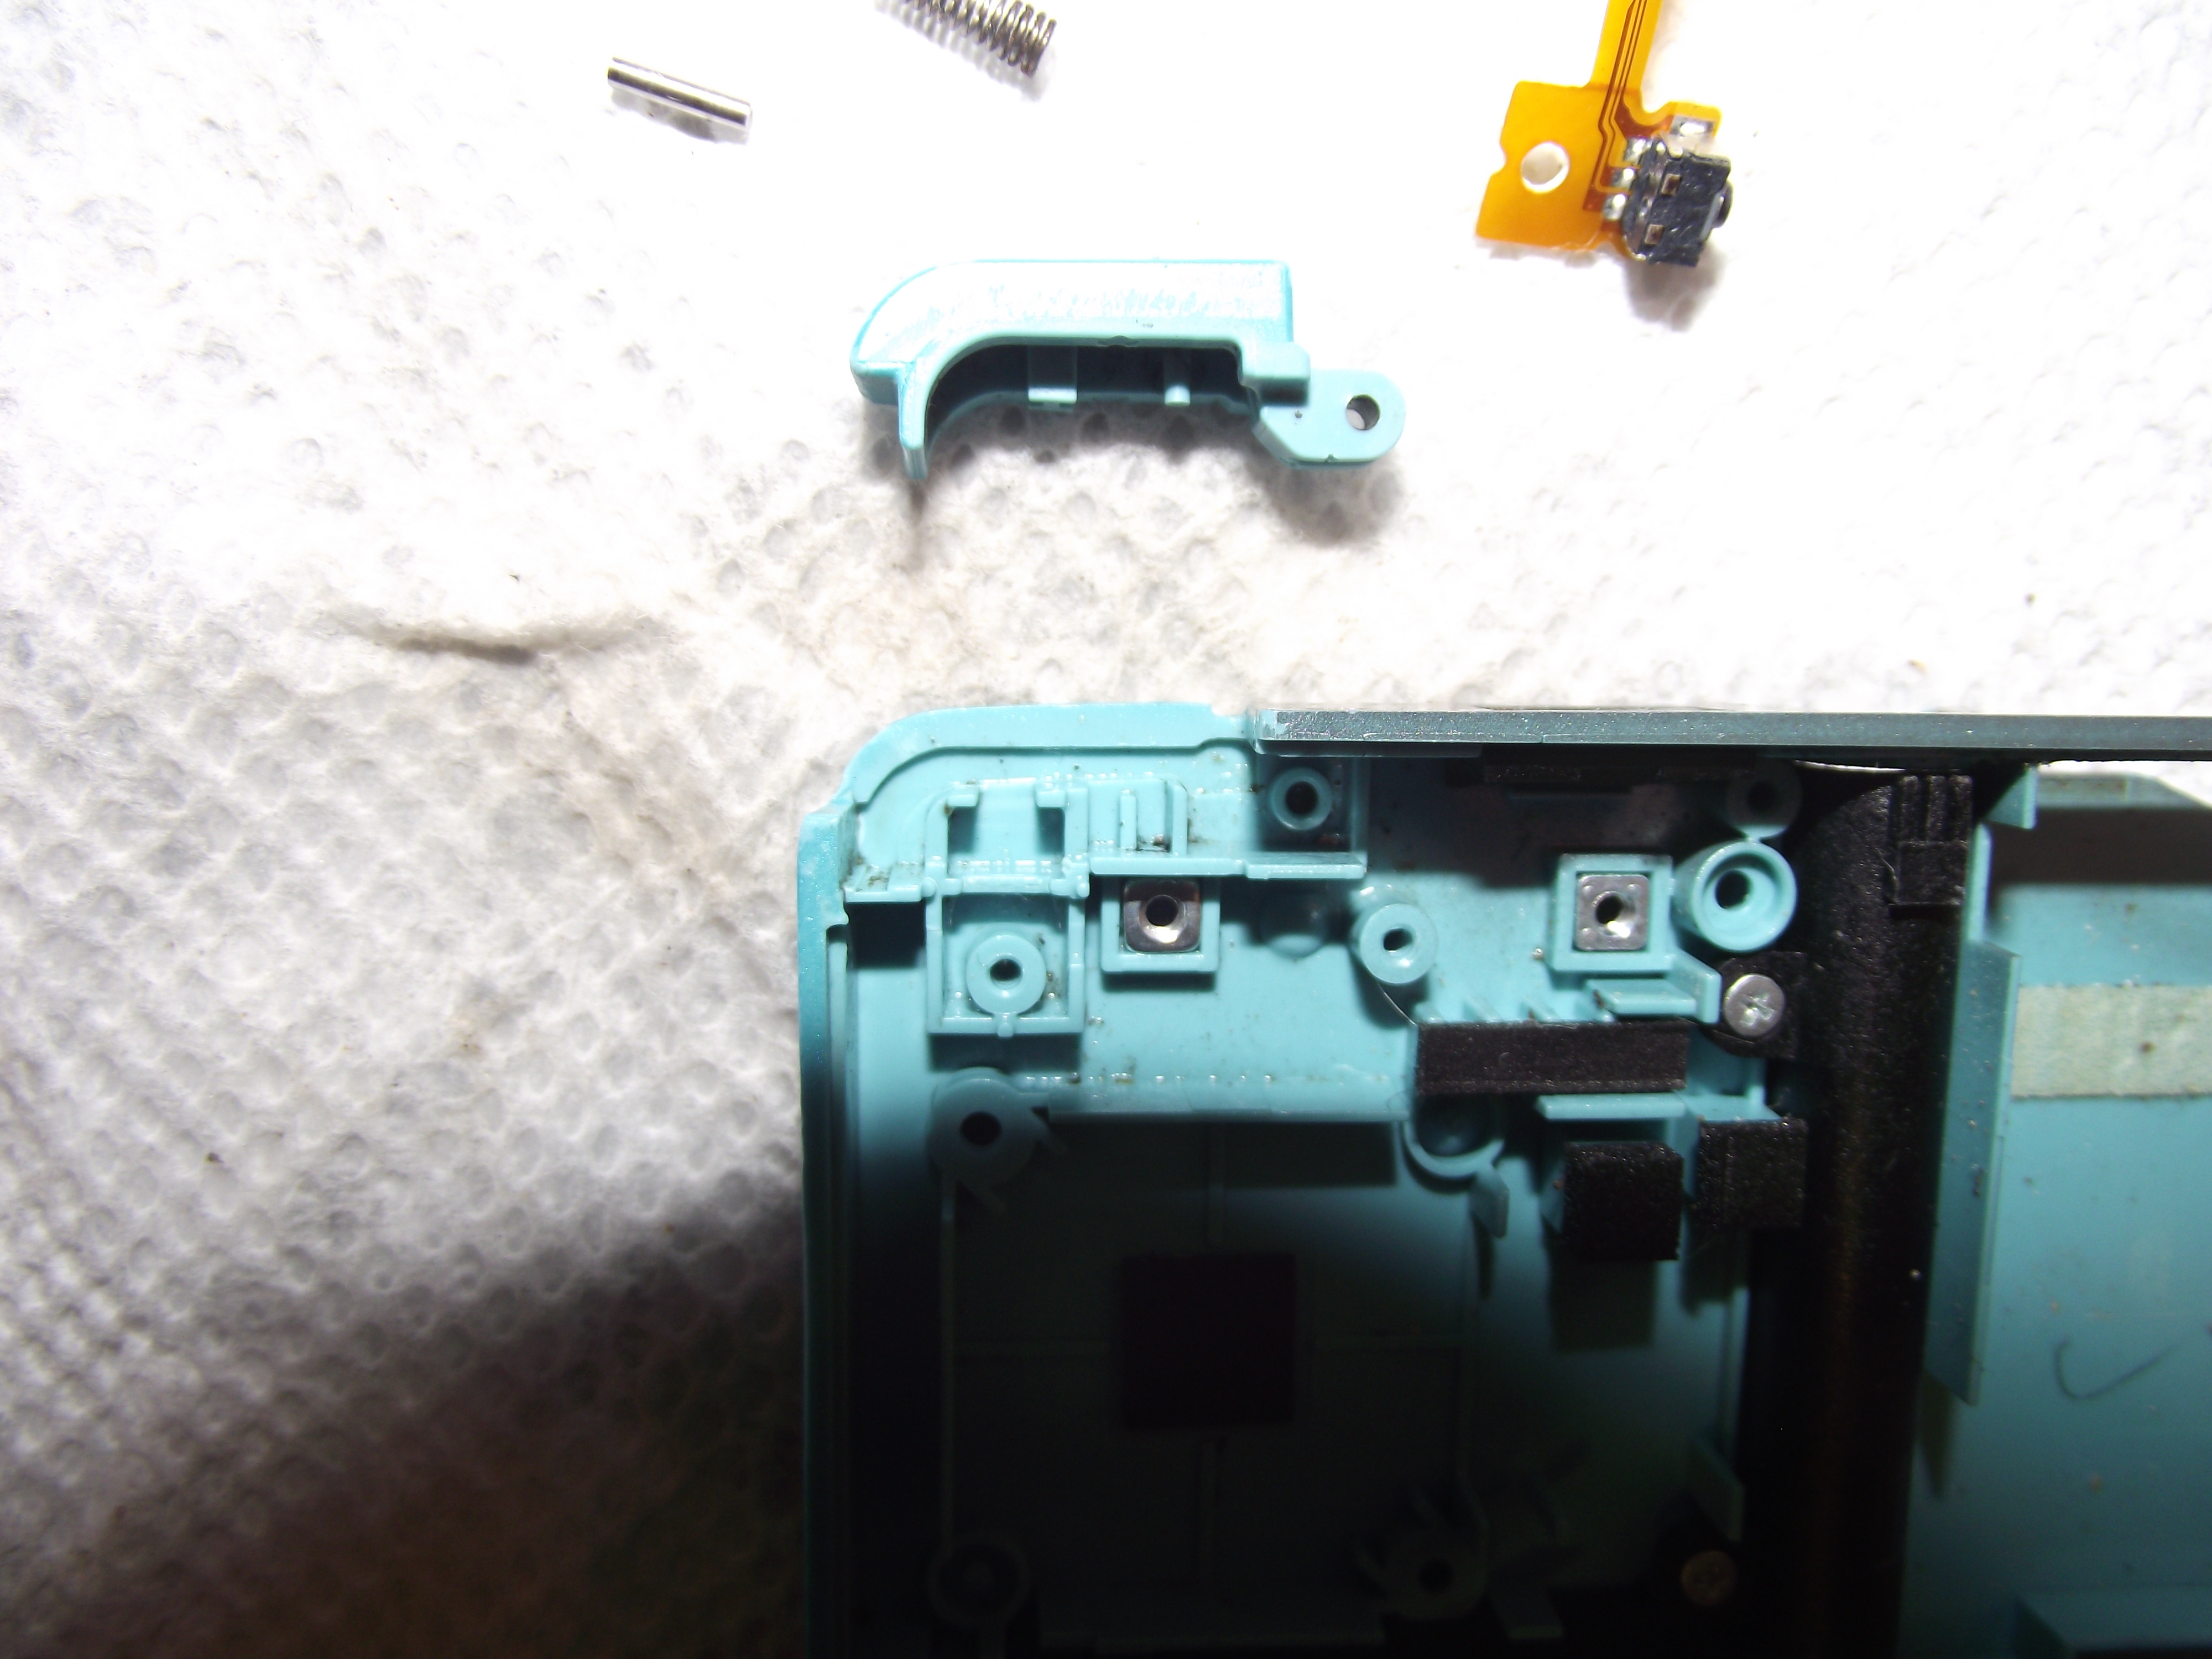
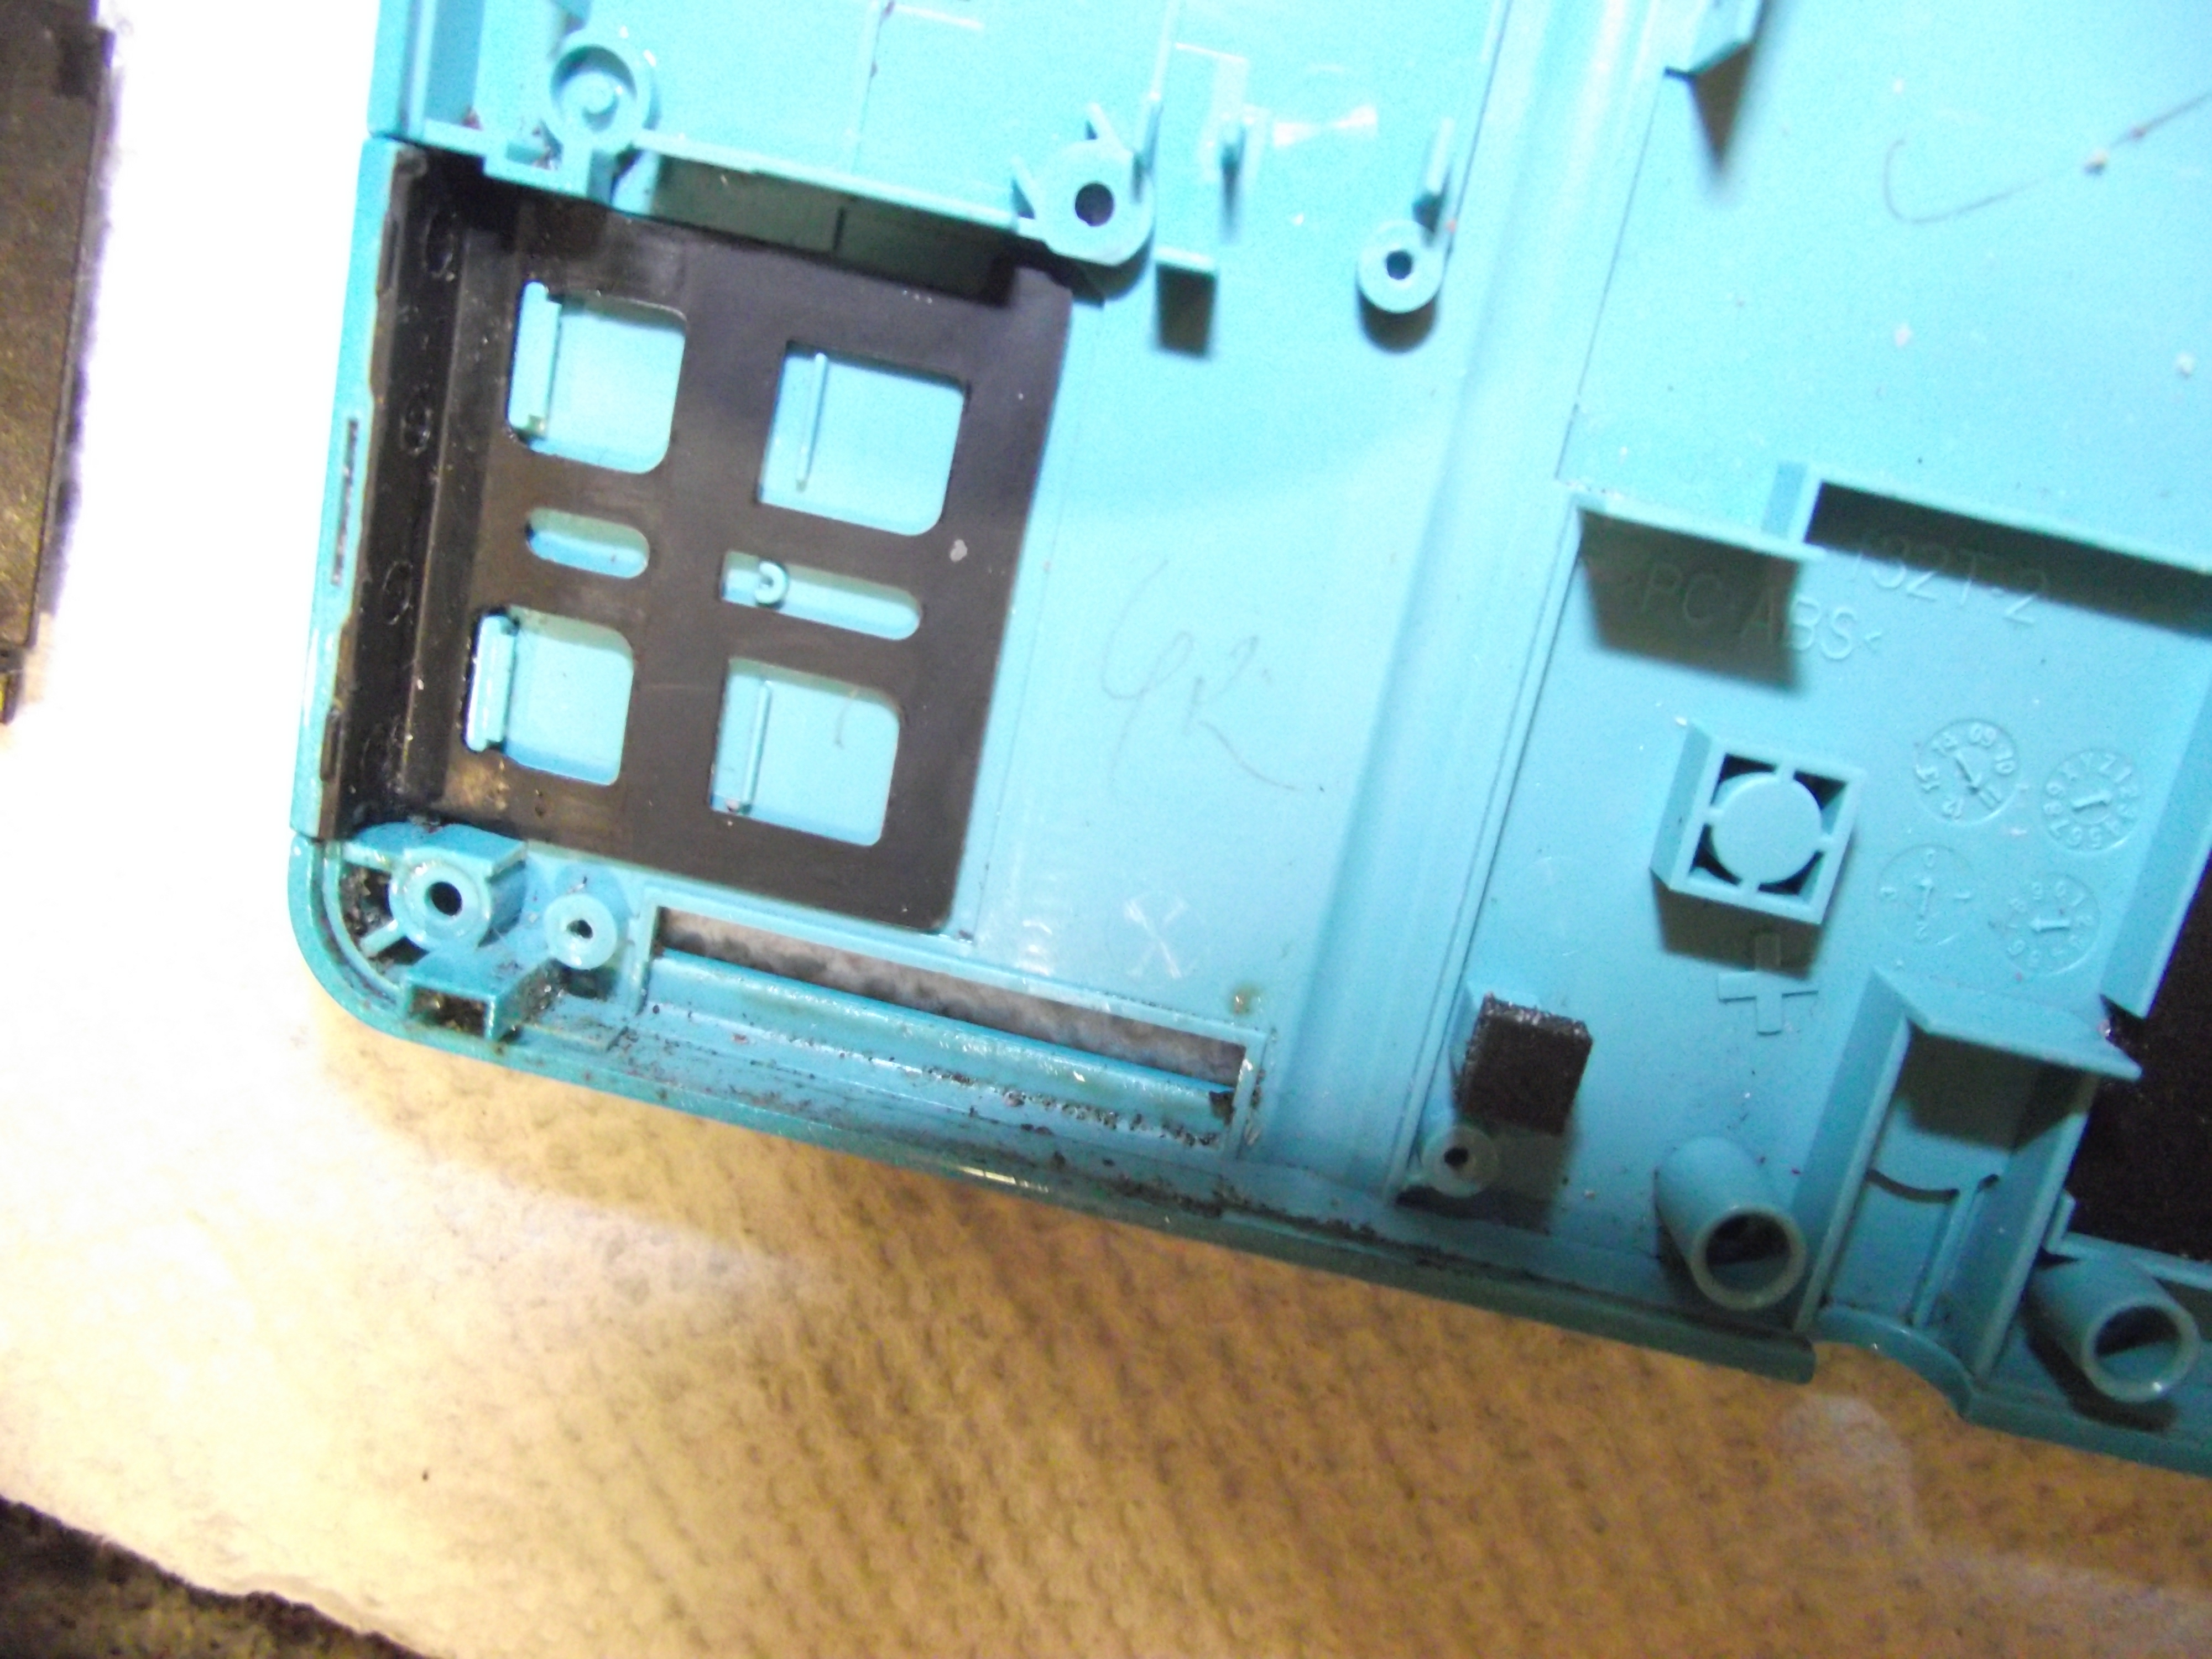
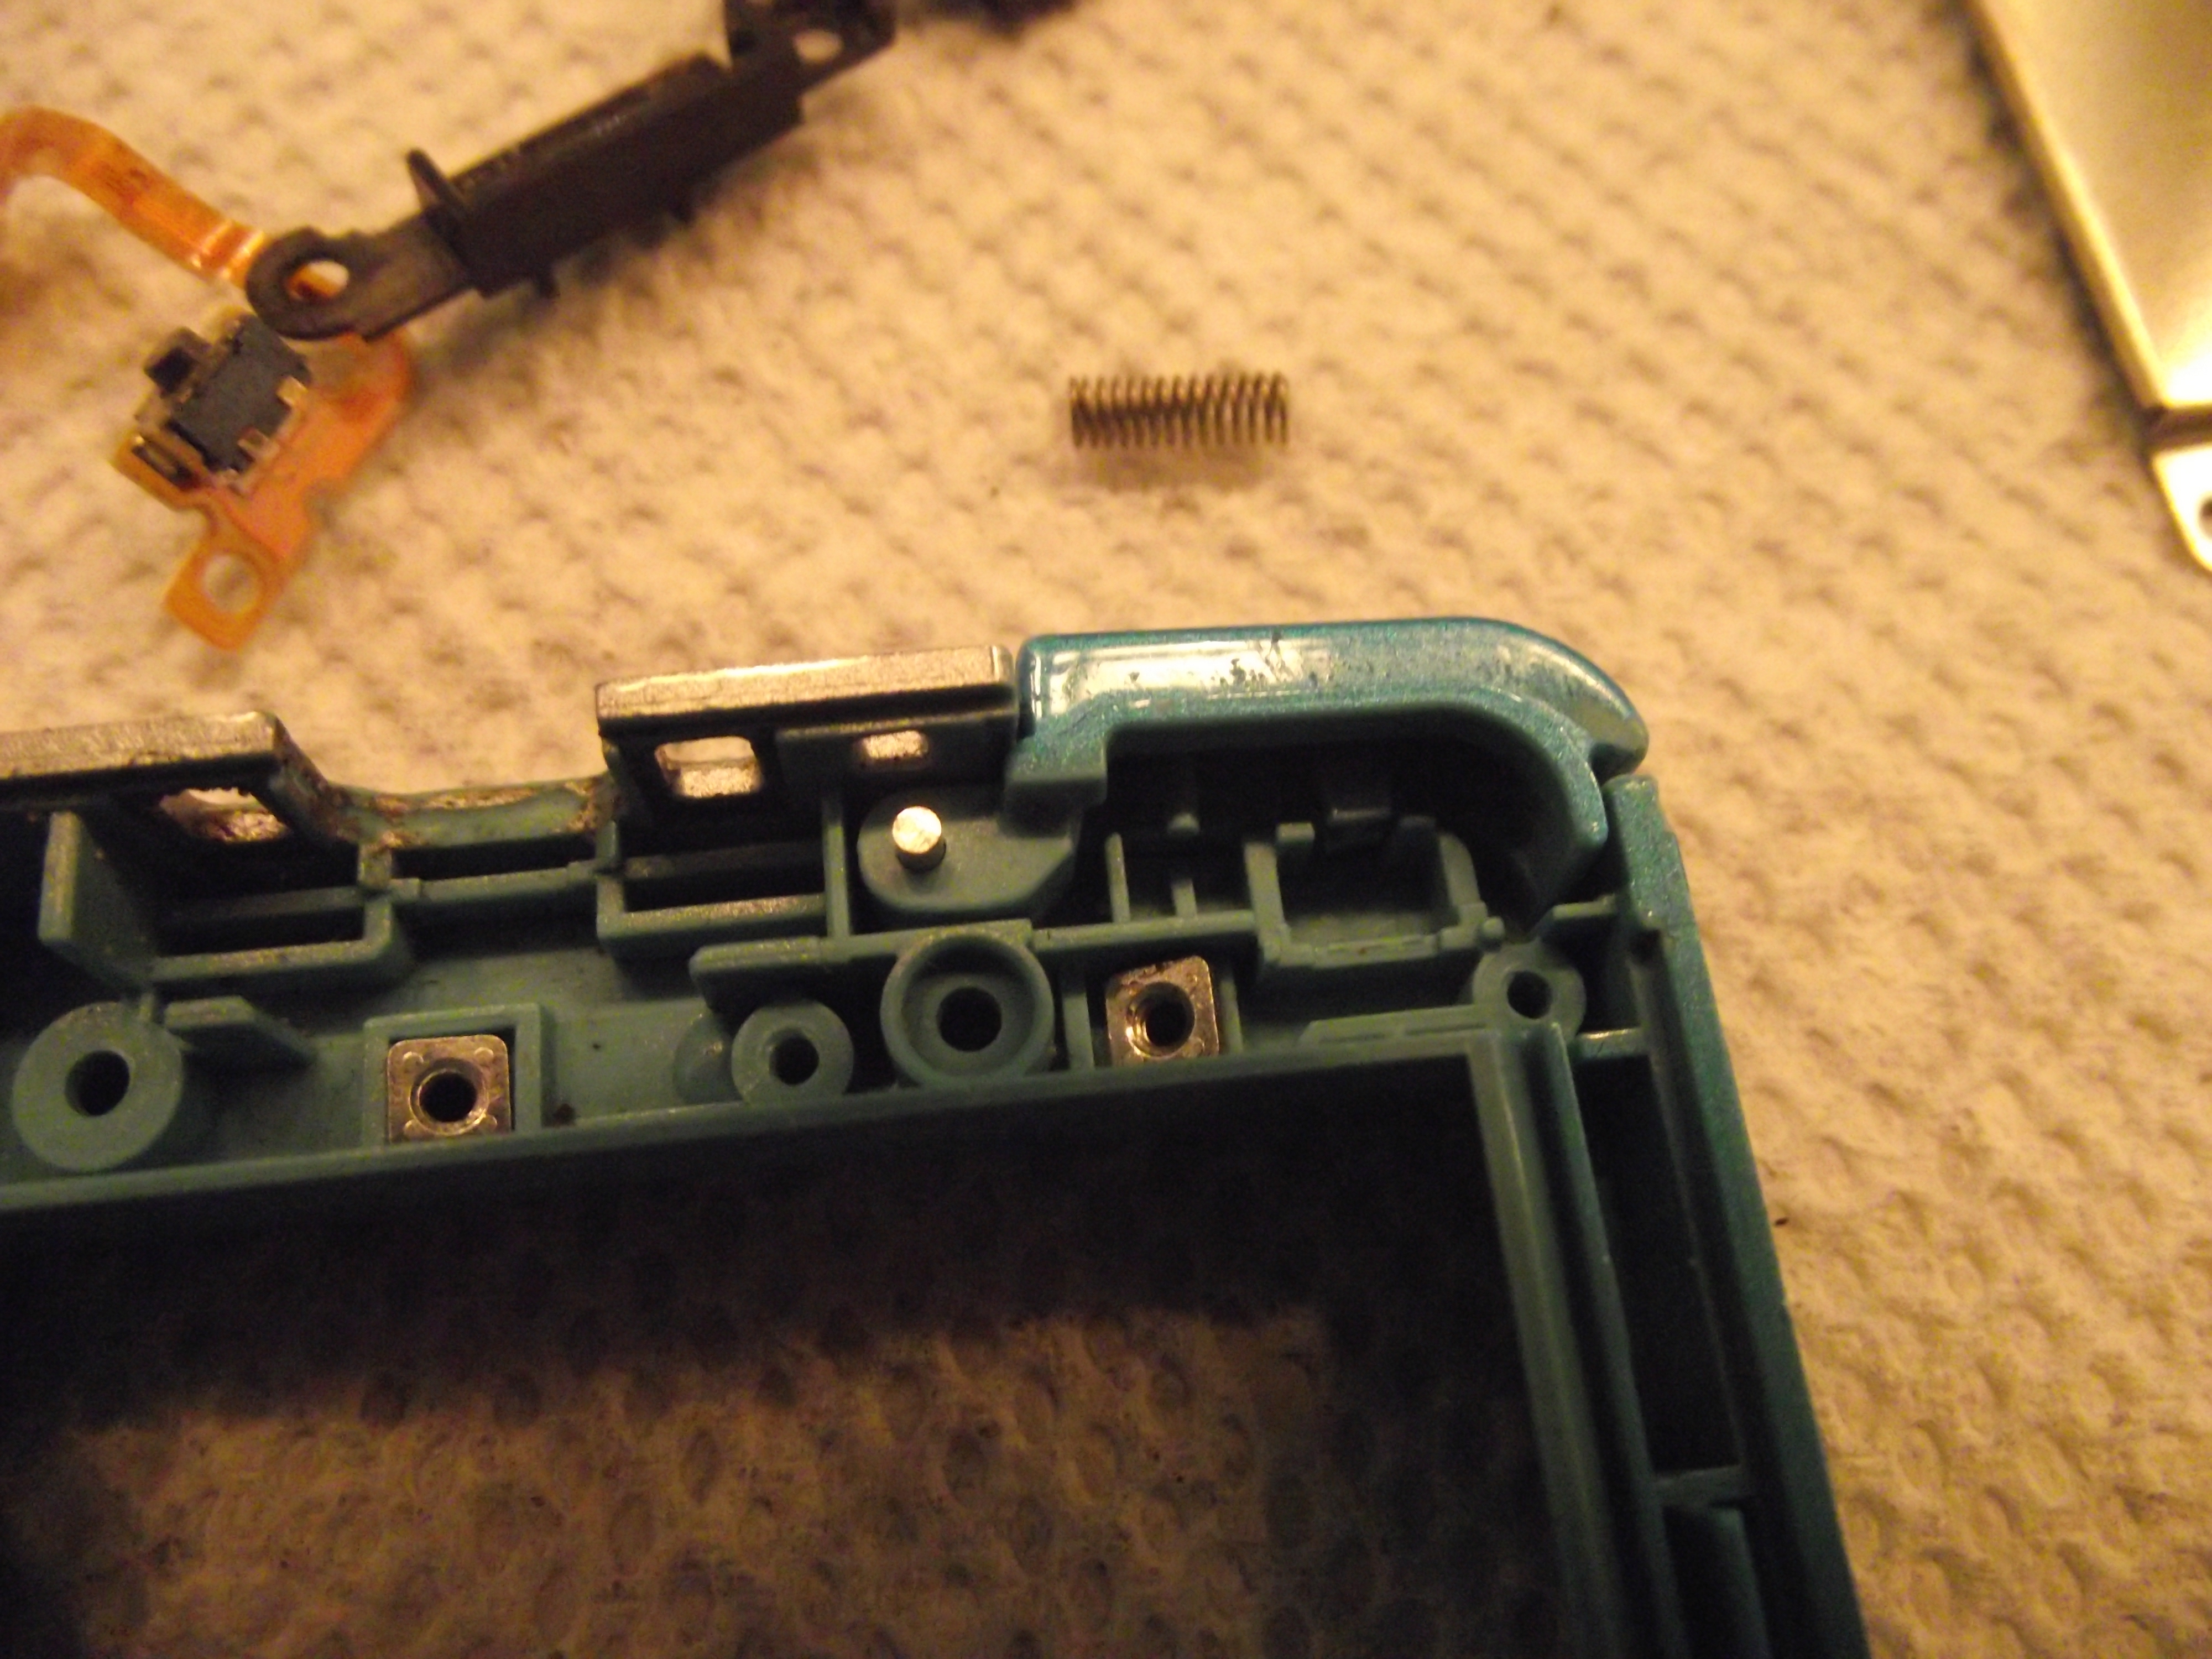
While unresponsive shoulder buttons are far more common, sometimes the face buttons of a 3DS or other console become sticky or unresponsive. If the button works when pressed very hard but not when pressed lightly, it’s almost certainly due to dirt accumulation. If the button feels sticky or jammed, it’s most likely because there’s dirt built up around and beneath the plastic buttons, as in the above photo where thick rings of filth have built up around the circumference of each button. If the button doesn’t feel jammed but it’s not as clicky as it once was, it may be due to dirt under the conductive pads on the motherboard. In either case, it’s necessary to remove the motherboard from the housing (or at least remove the screws securing it in place and flip it over, if you’re in a hurry, like I was).
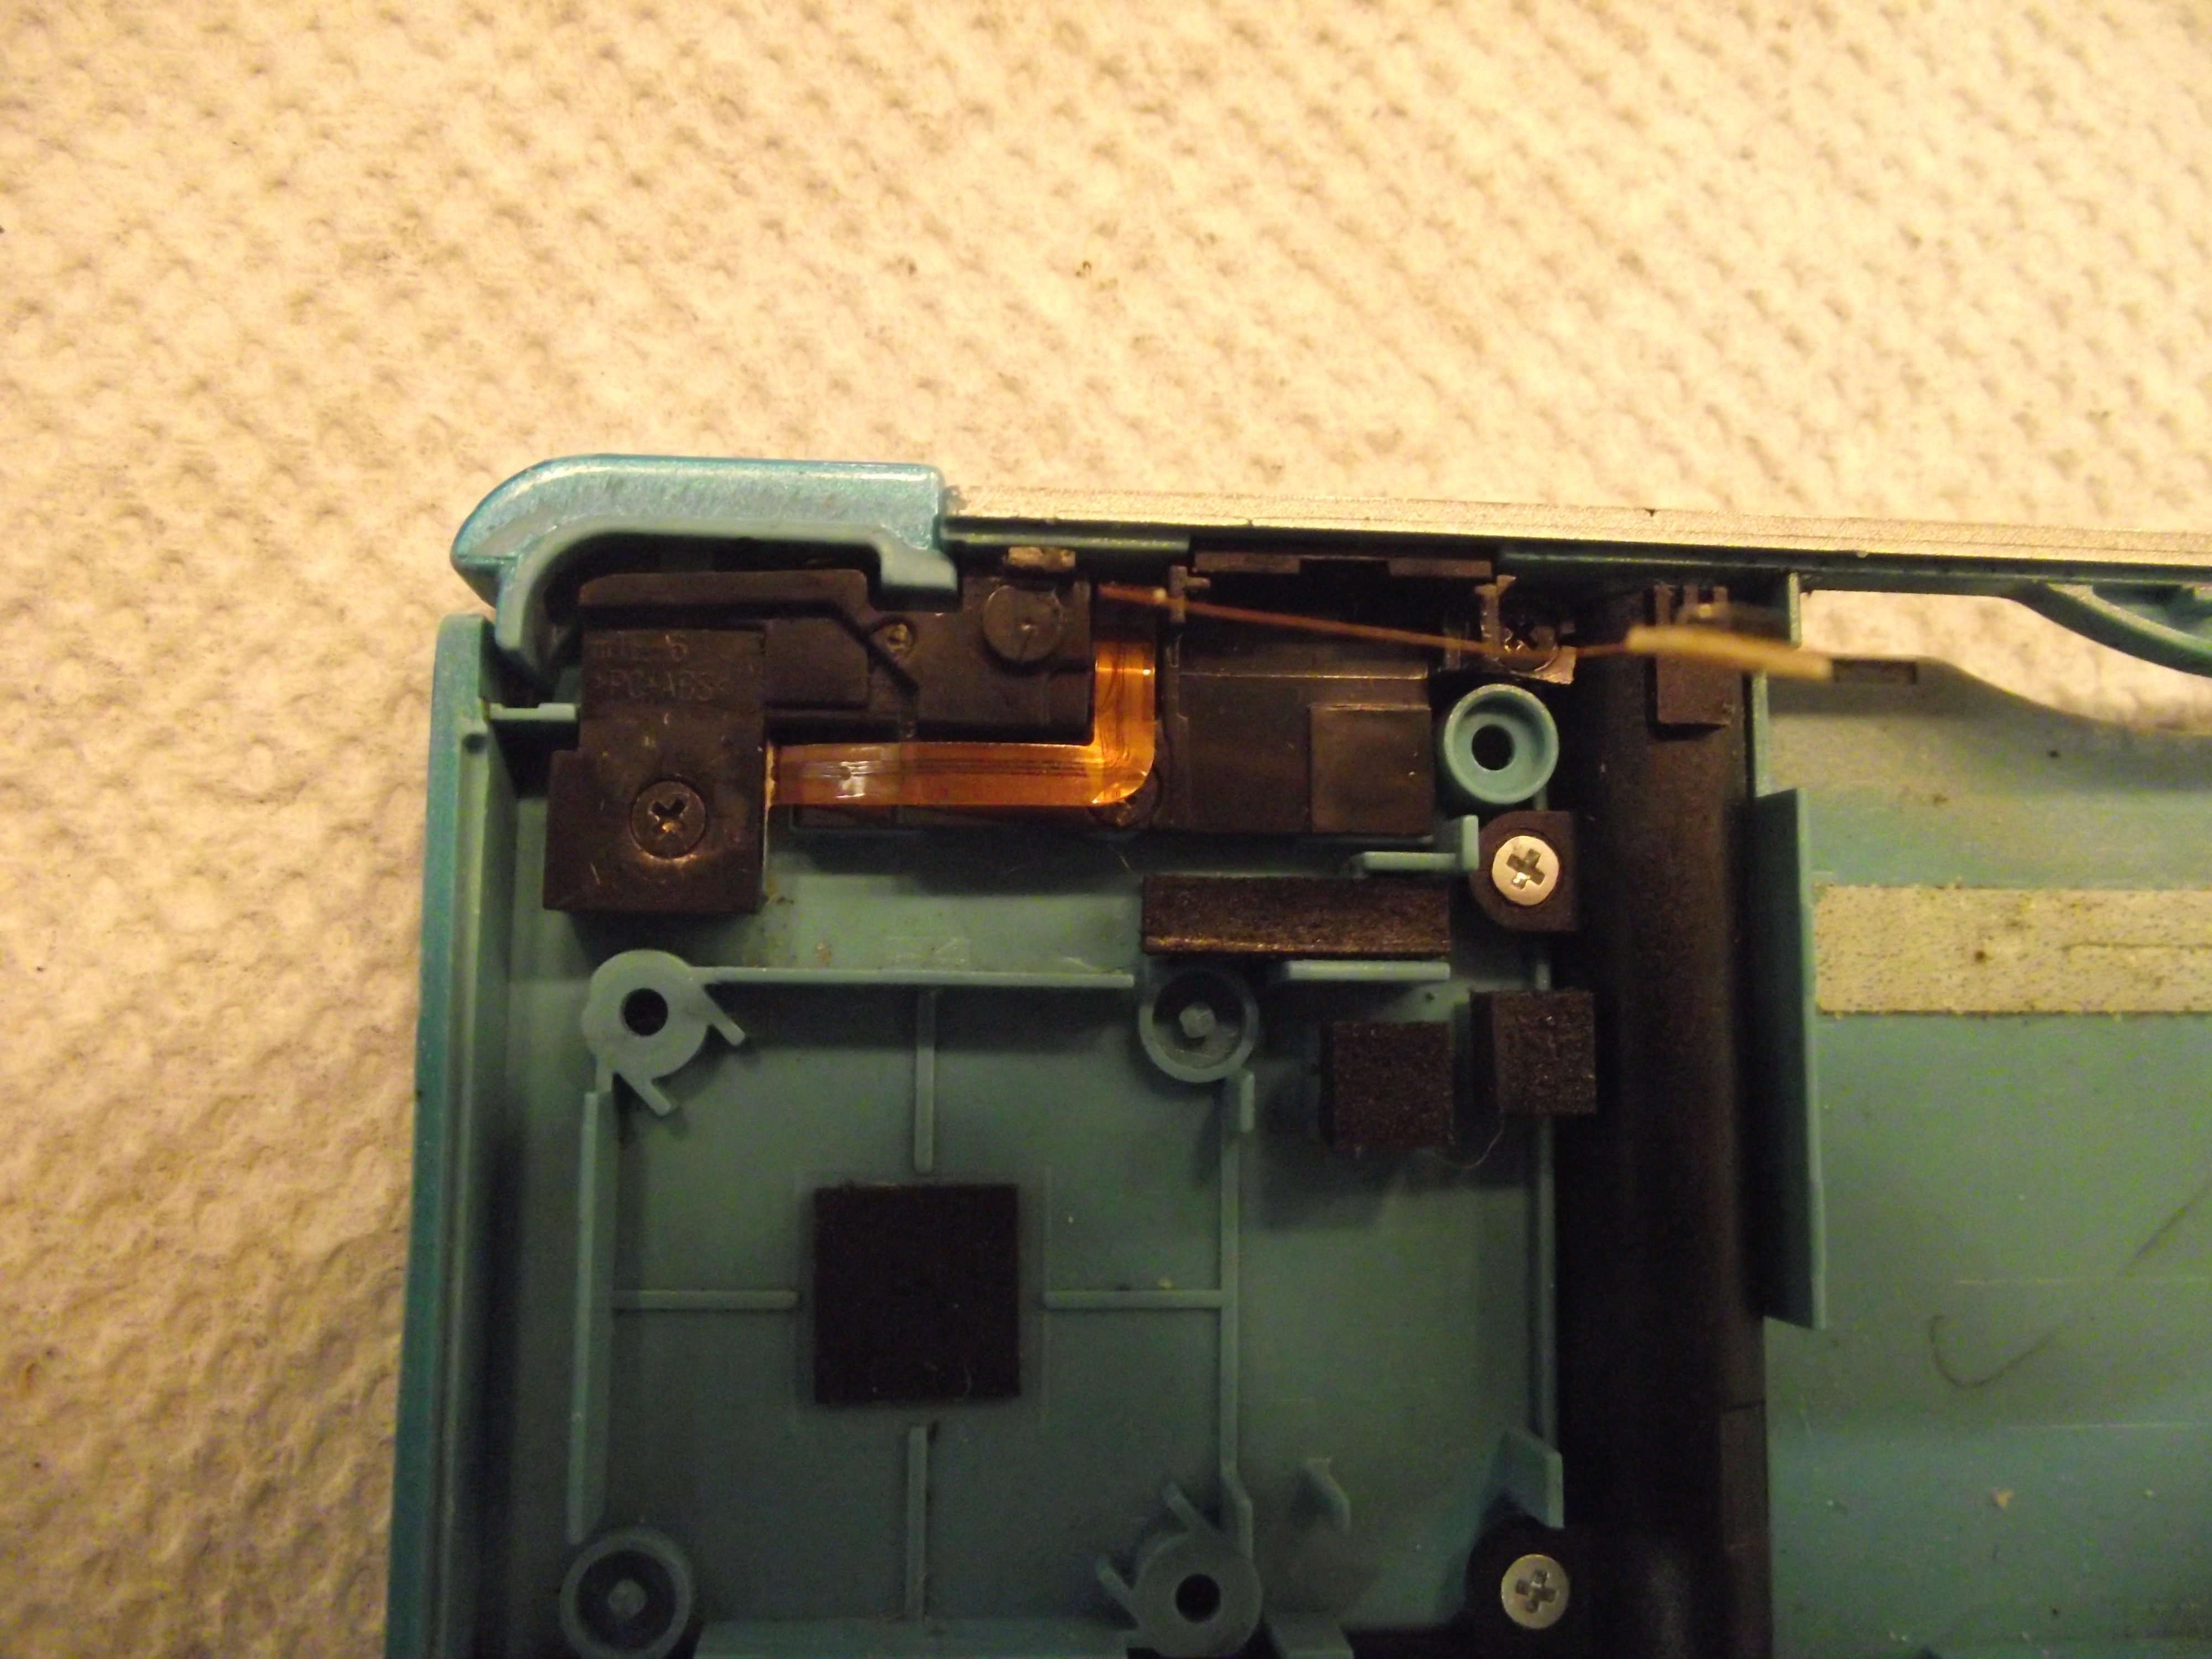
 Here’s the rubber pad between the plastic buttons and the contacts on the motherboard. Doesn’t look too bad, does it? 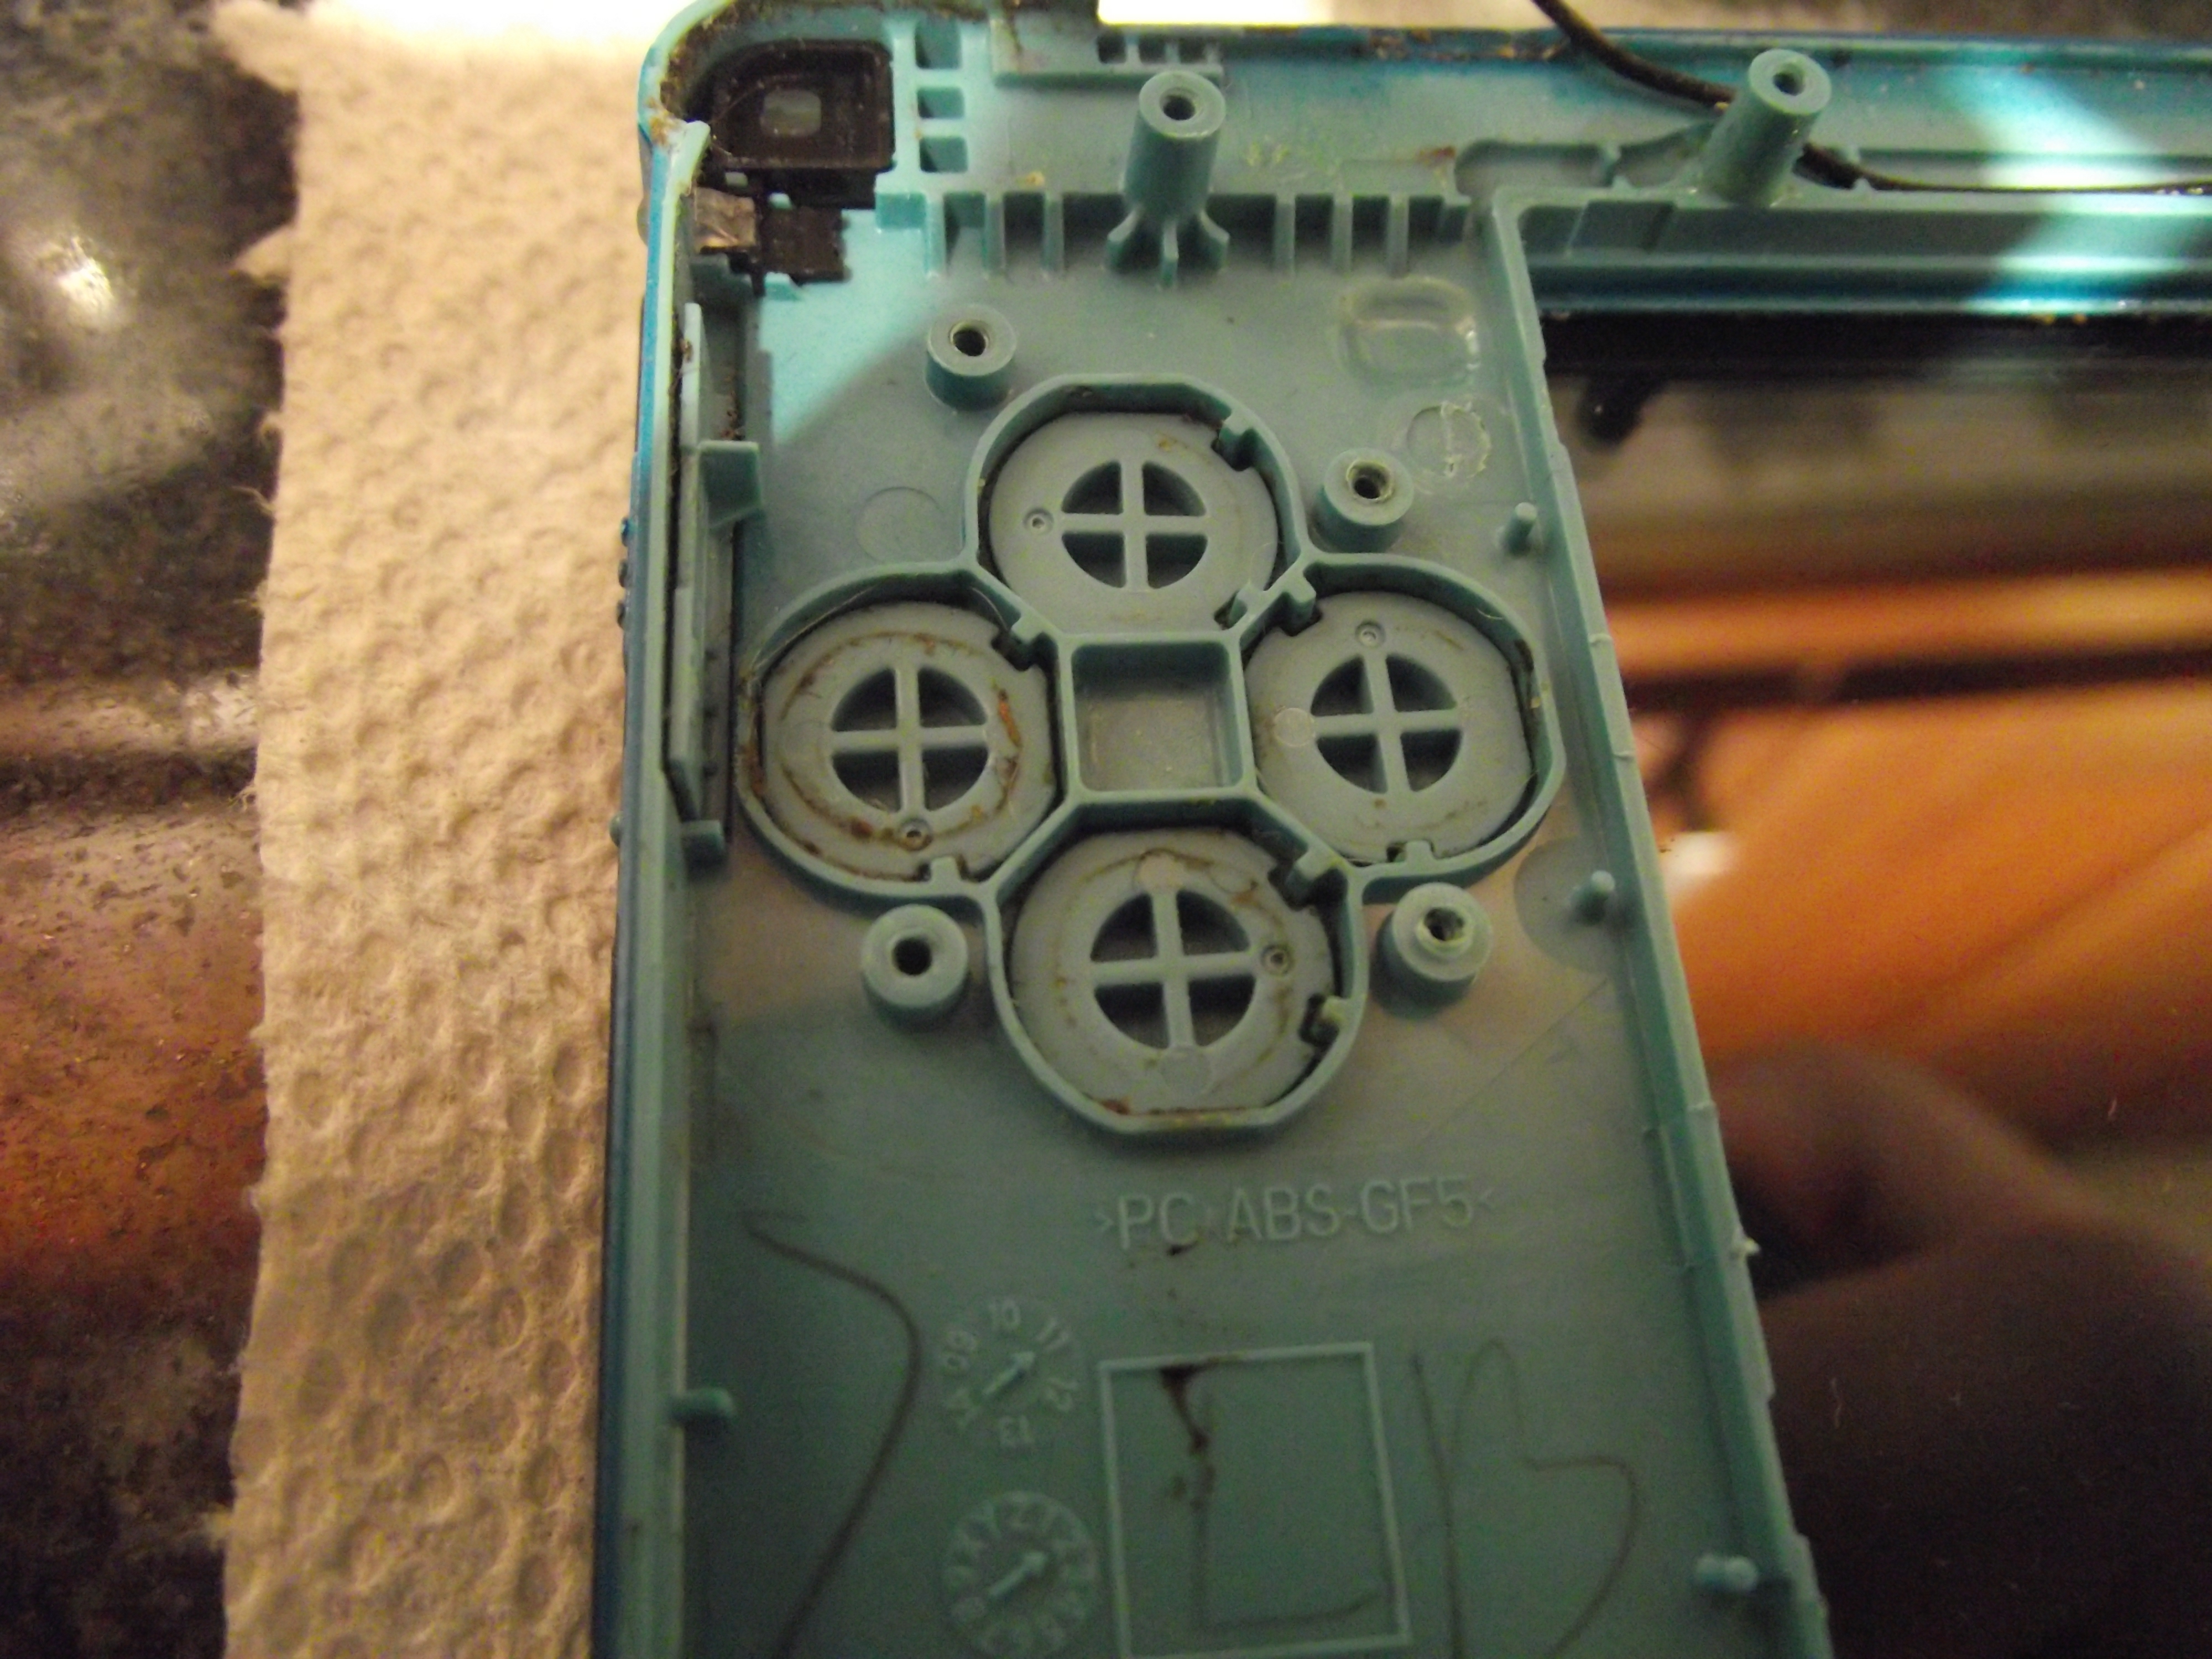 But peel it away to reveal a cache of shit and grease. |
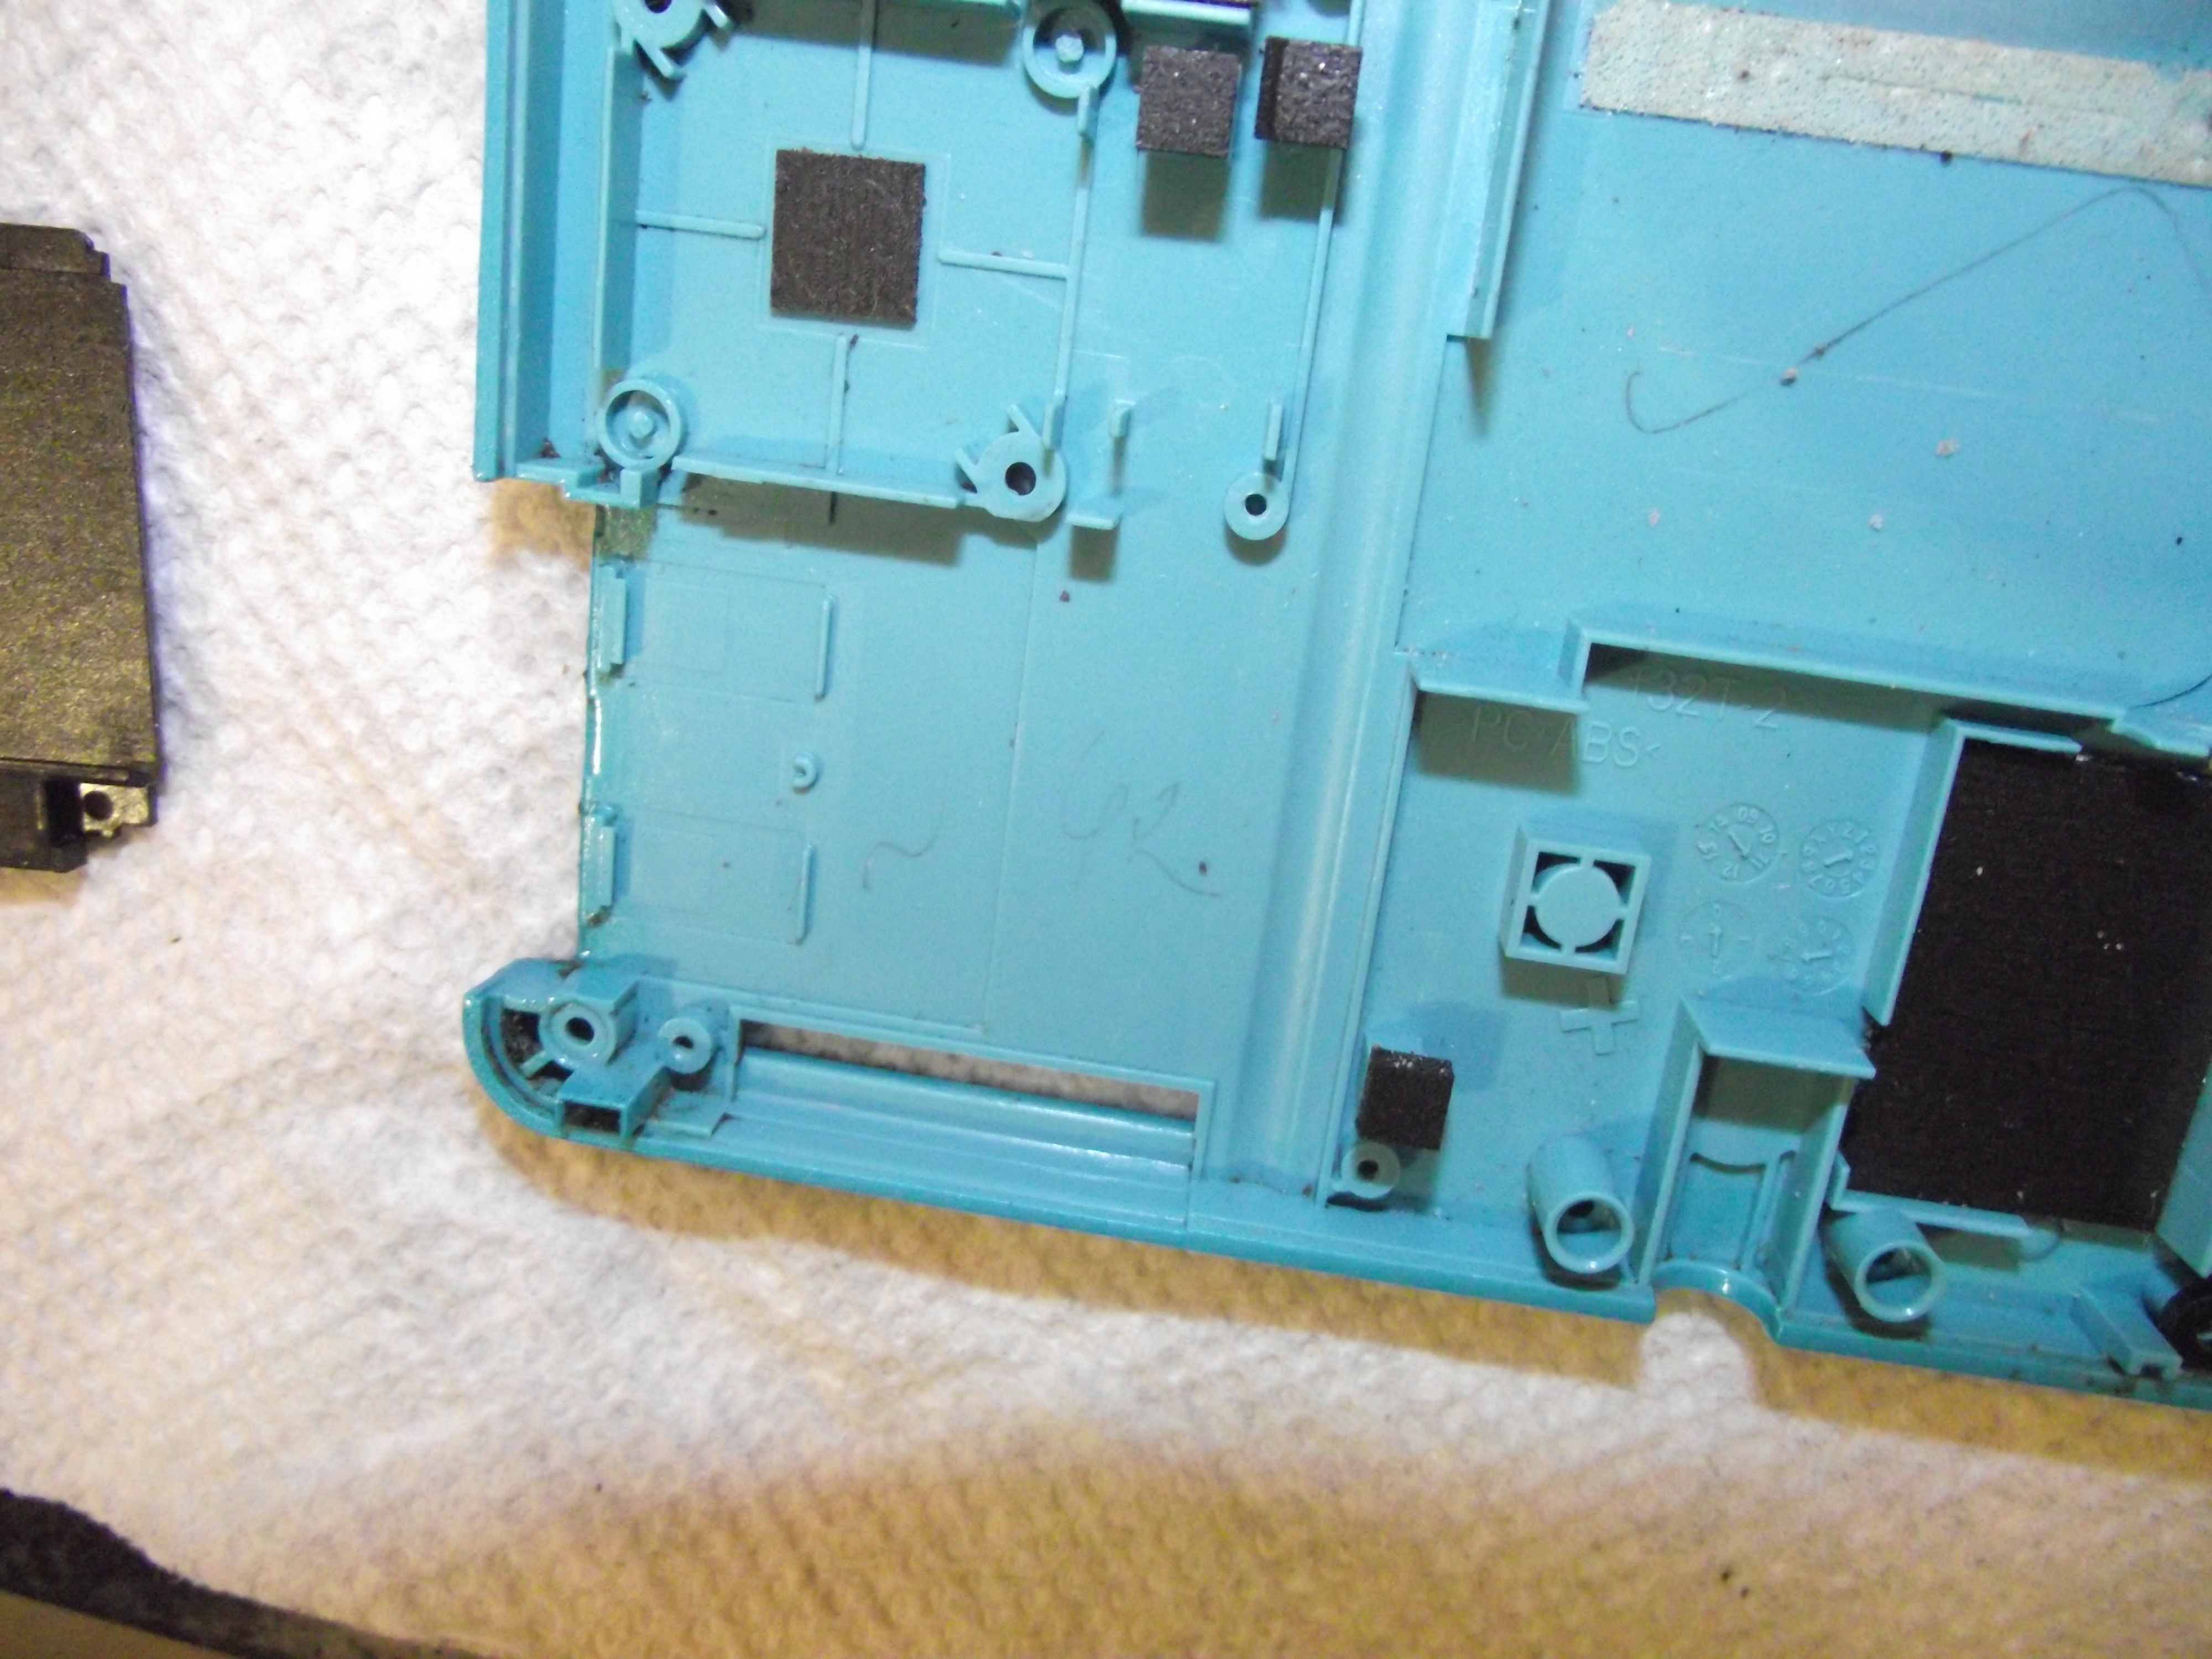
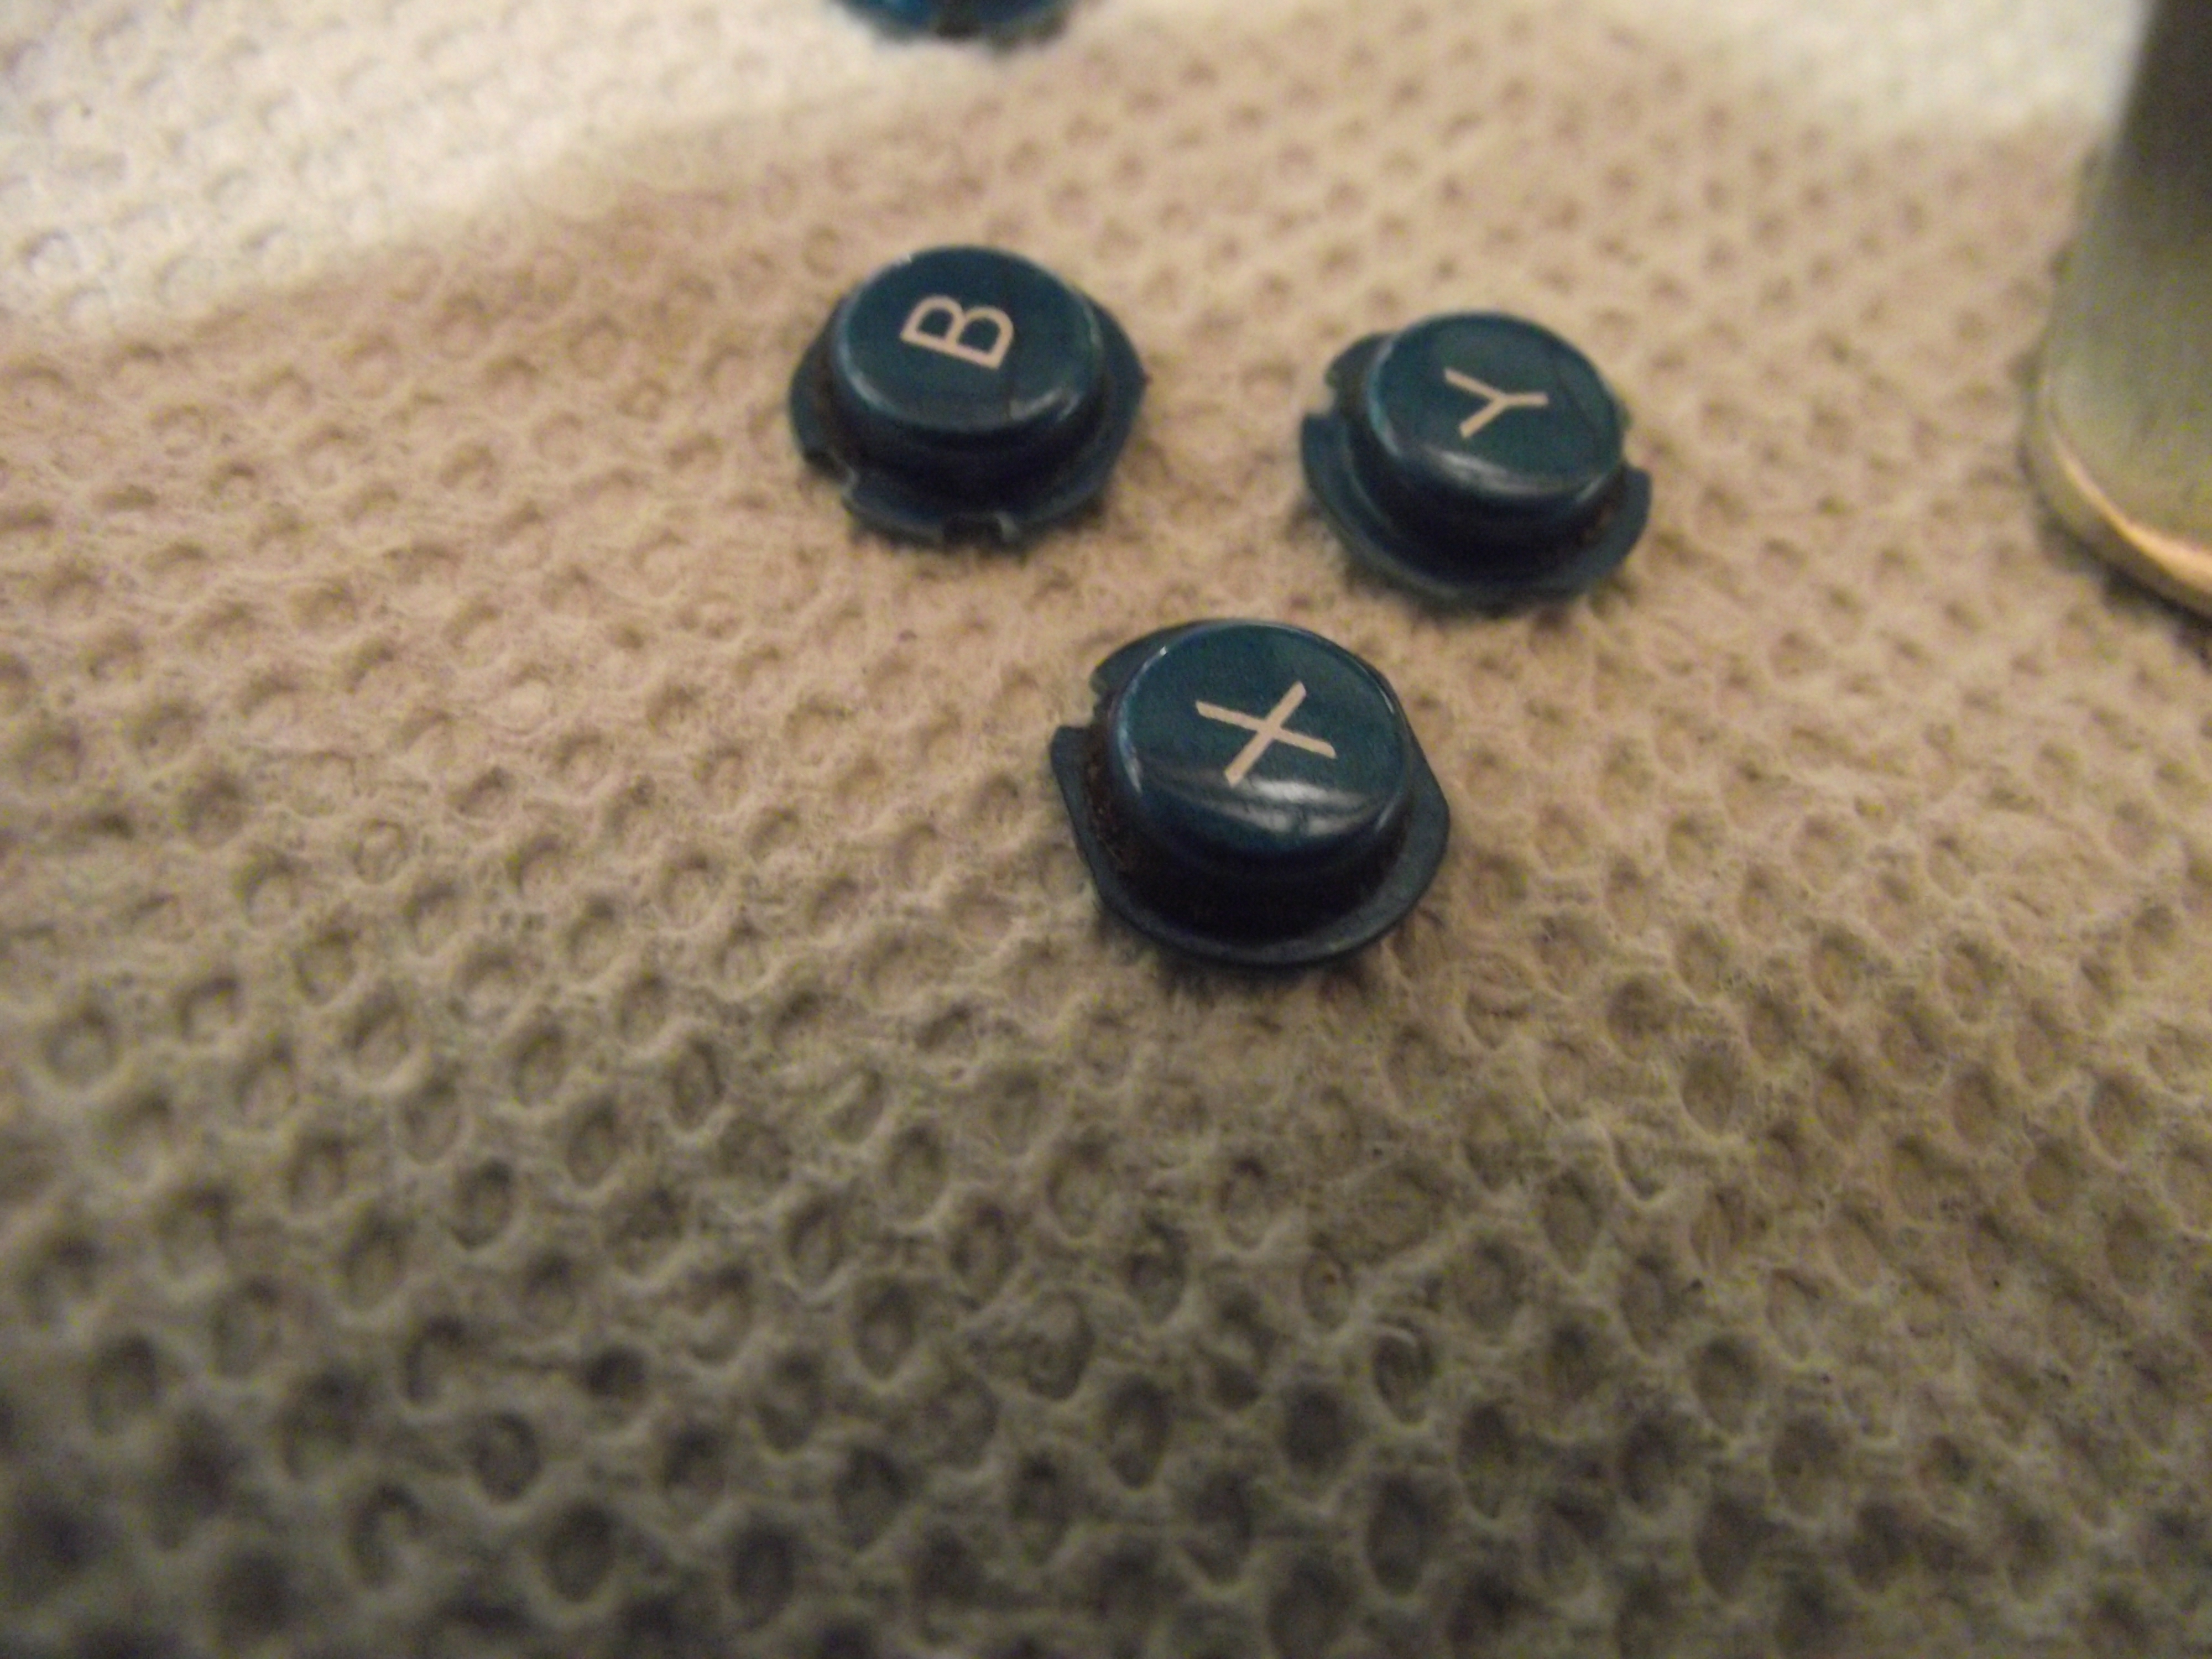
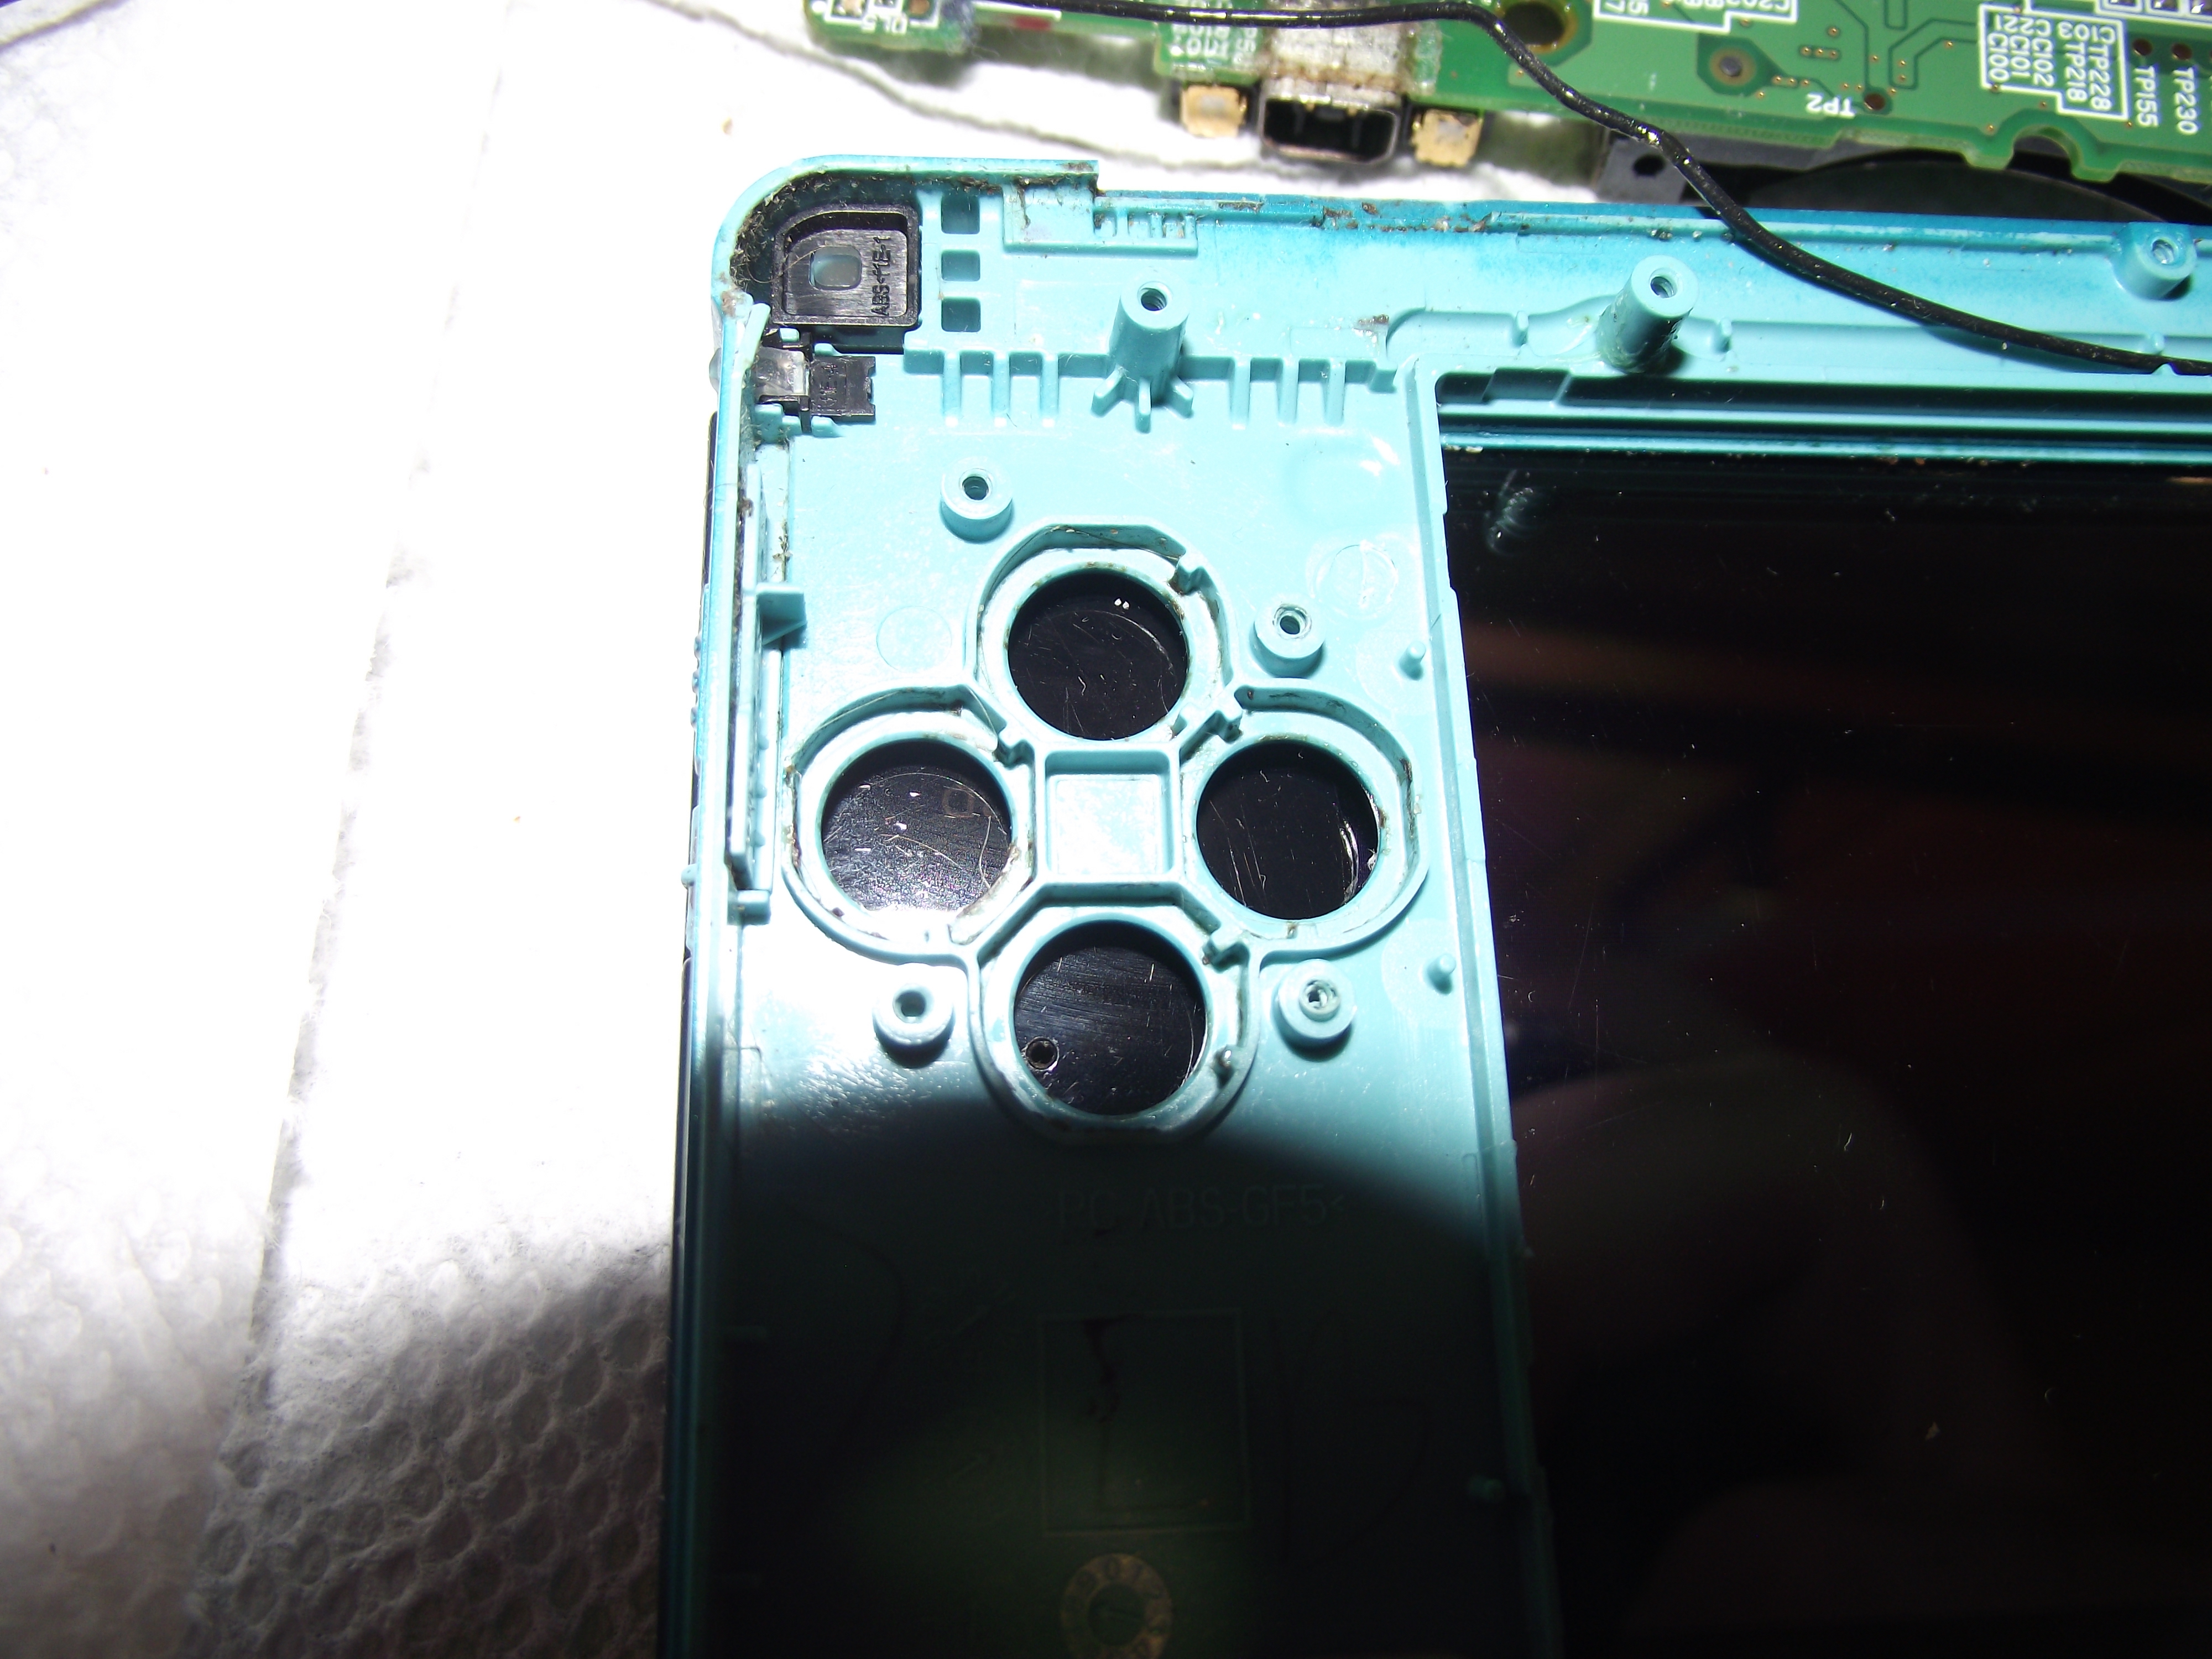 Remove the buttons one by one and clean the slots. Toothpicks help. 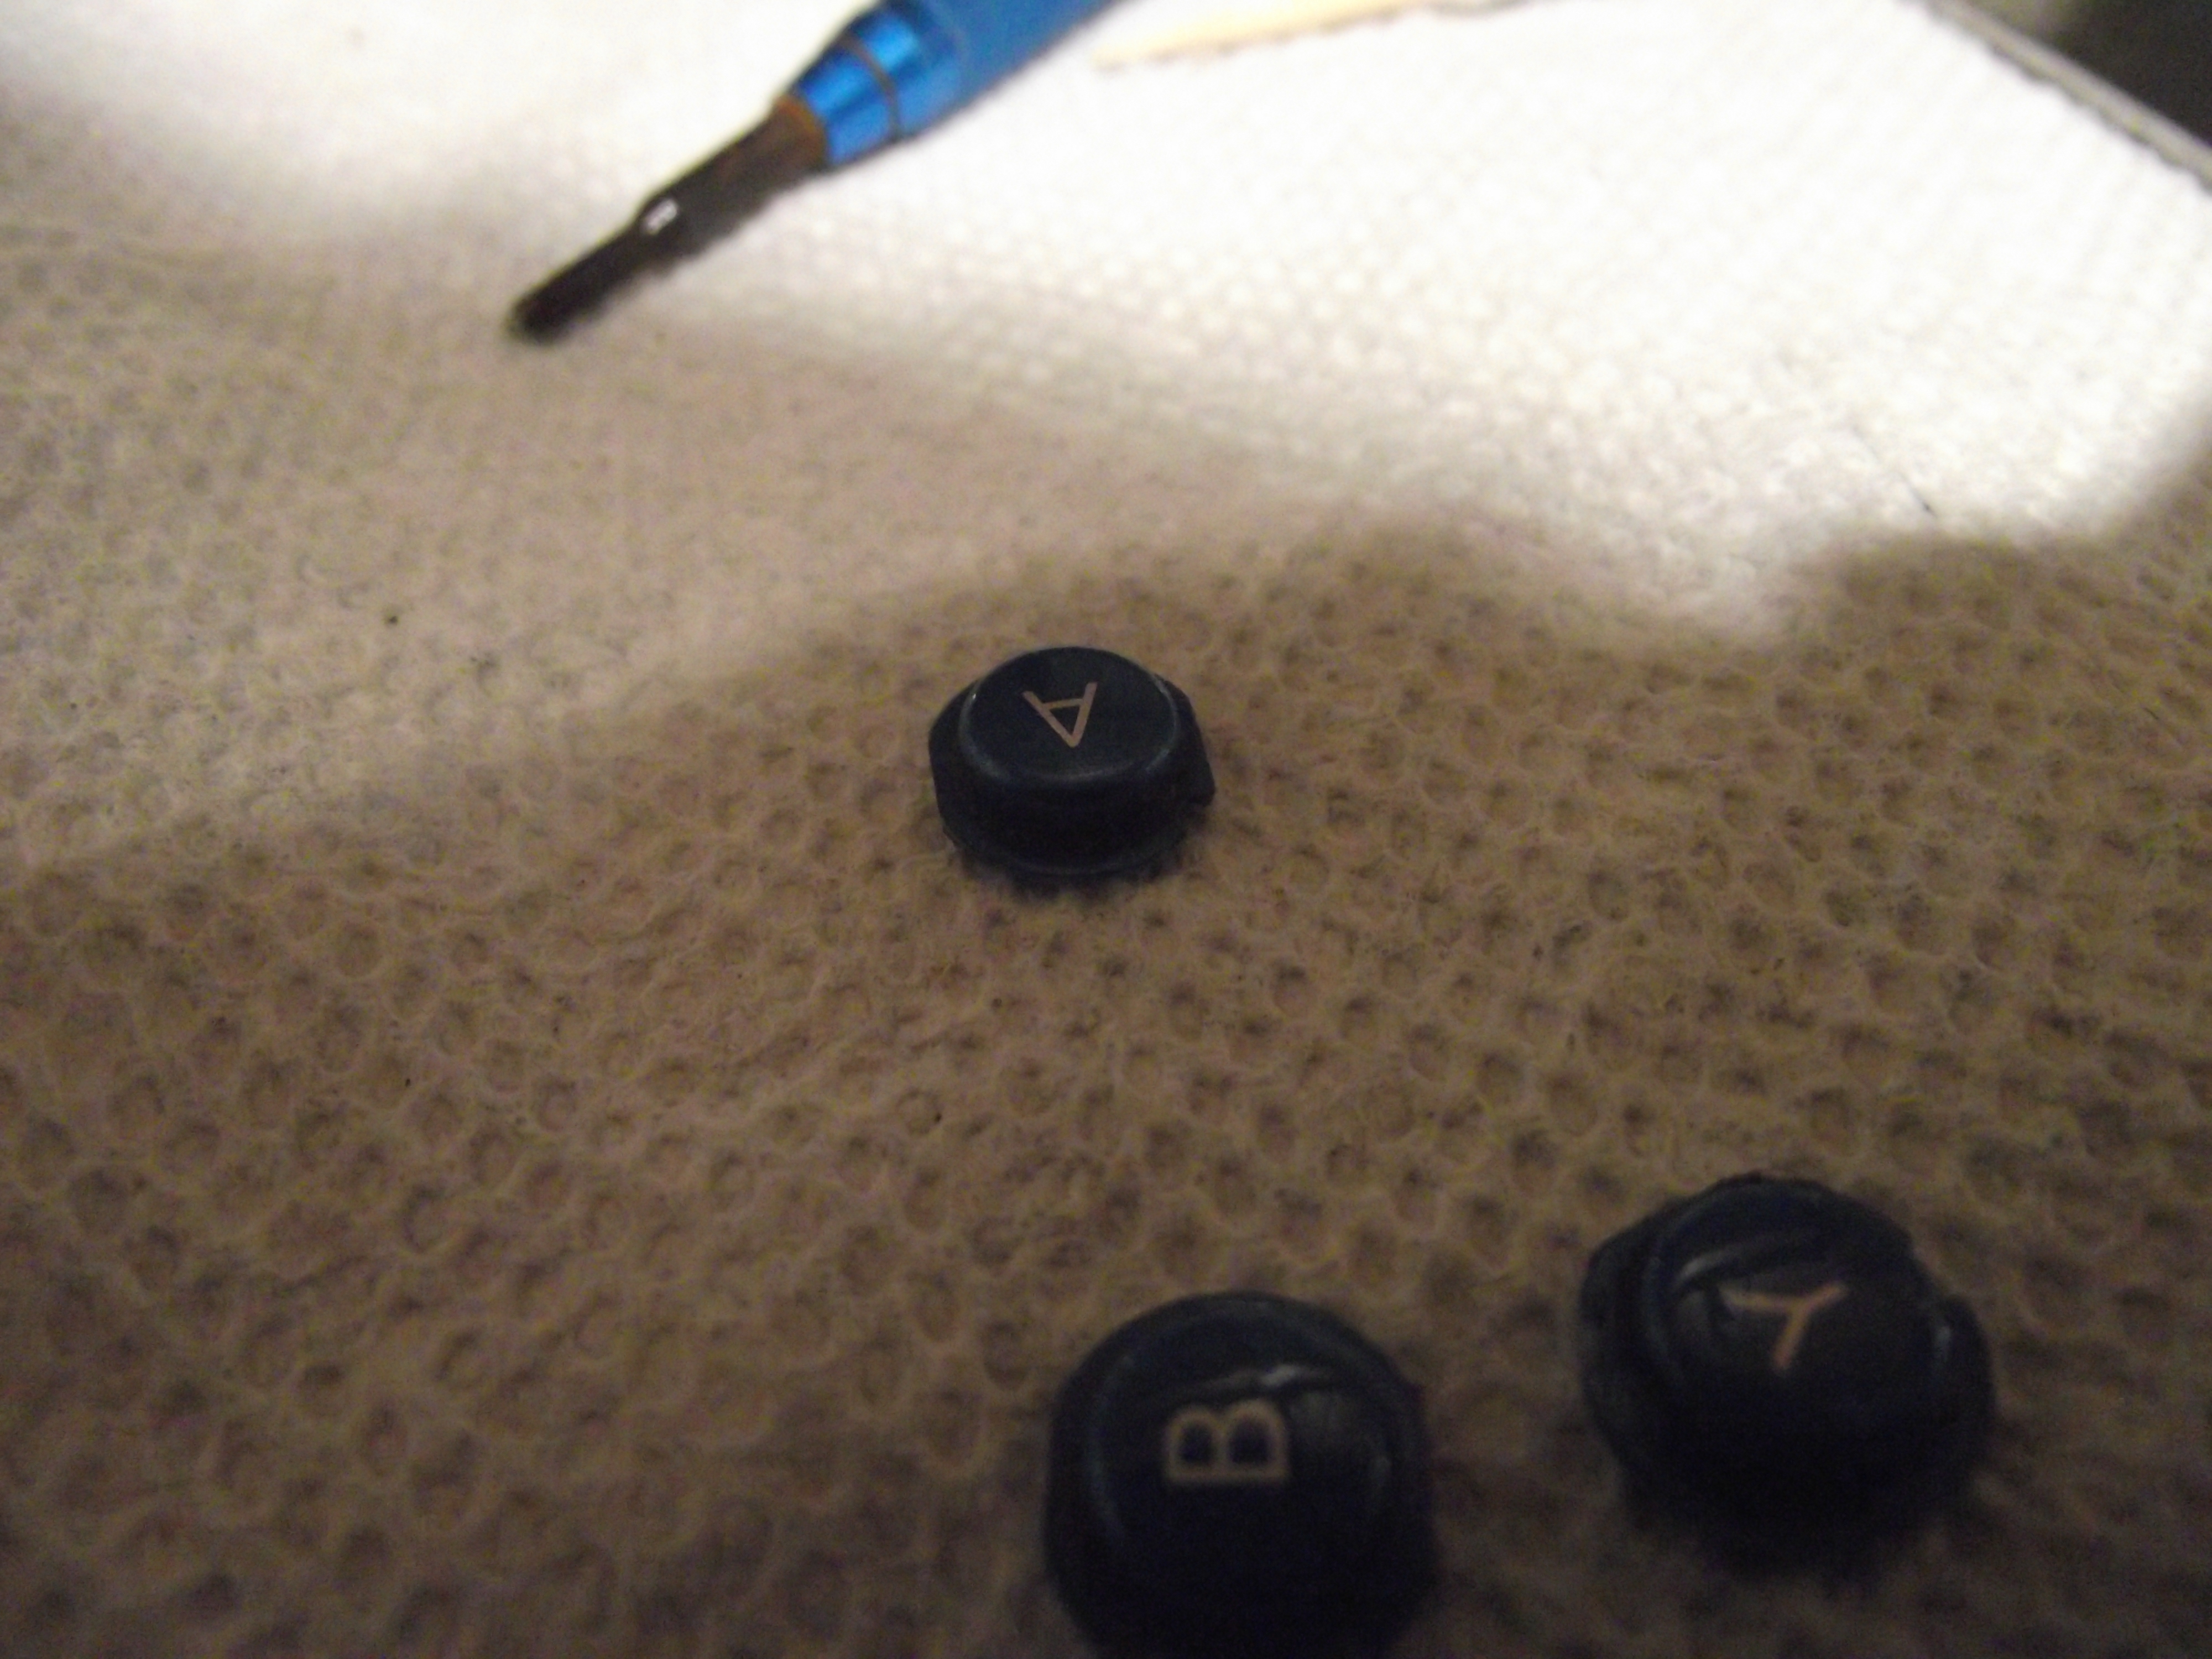 Clean the buttons, too. As you can see, they’re usually even dirtier than the slots in which they sit. |
Of course, while you’re at it you should also clean the D-pad and power buttons. It’s the same nauseating process as for the ABXY buttons, so I didn’t bother photographing them. When you have to disinfect your camera after each part of the process, you’ve got a strong incentive only to photograph the most essential steps.
Don’t close up your console yet. The most important part is to clean the contacts on the motherboard. If you’re a particularly depraved slimebucket—or if the console has suffered liquid damage—you should clean beneath the contacts as well.
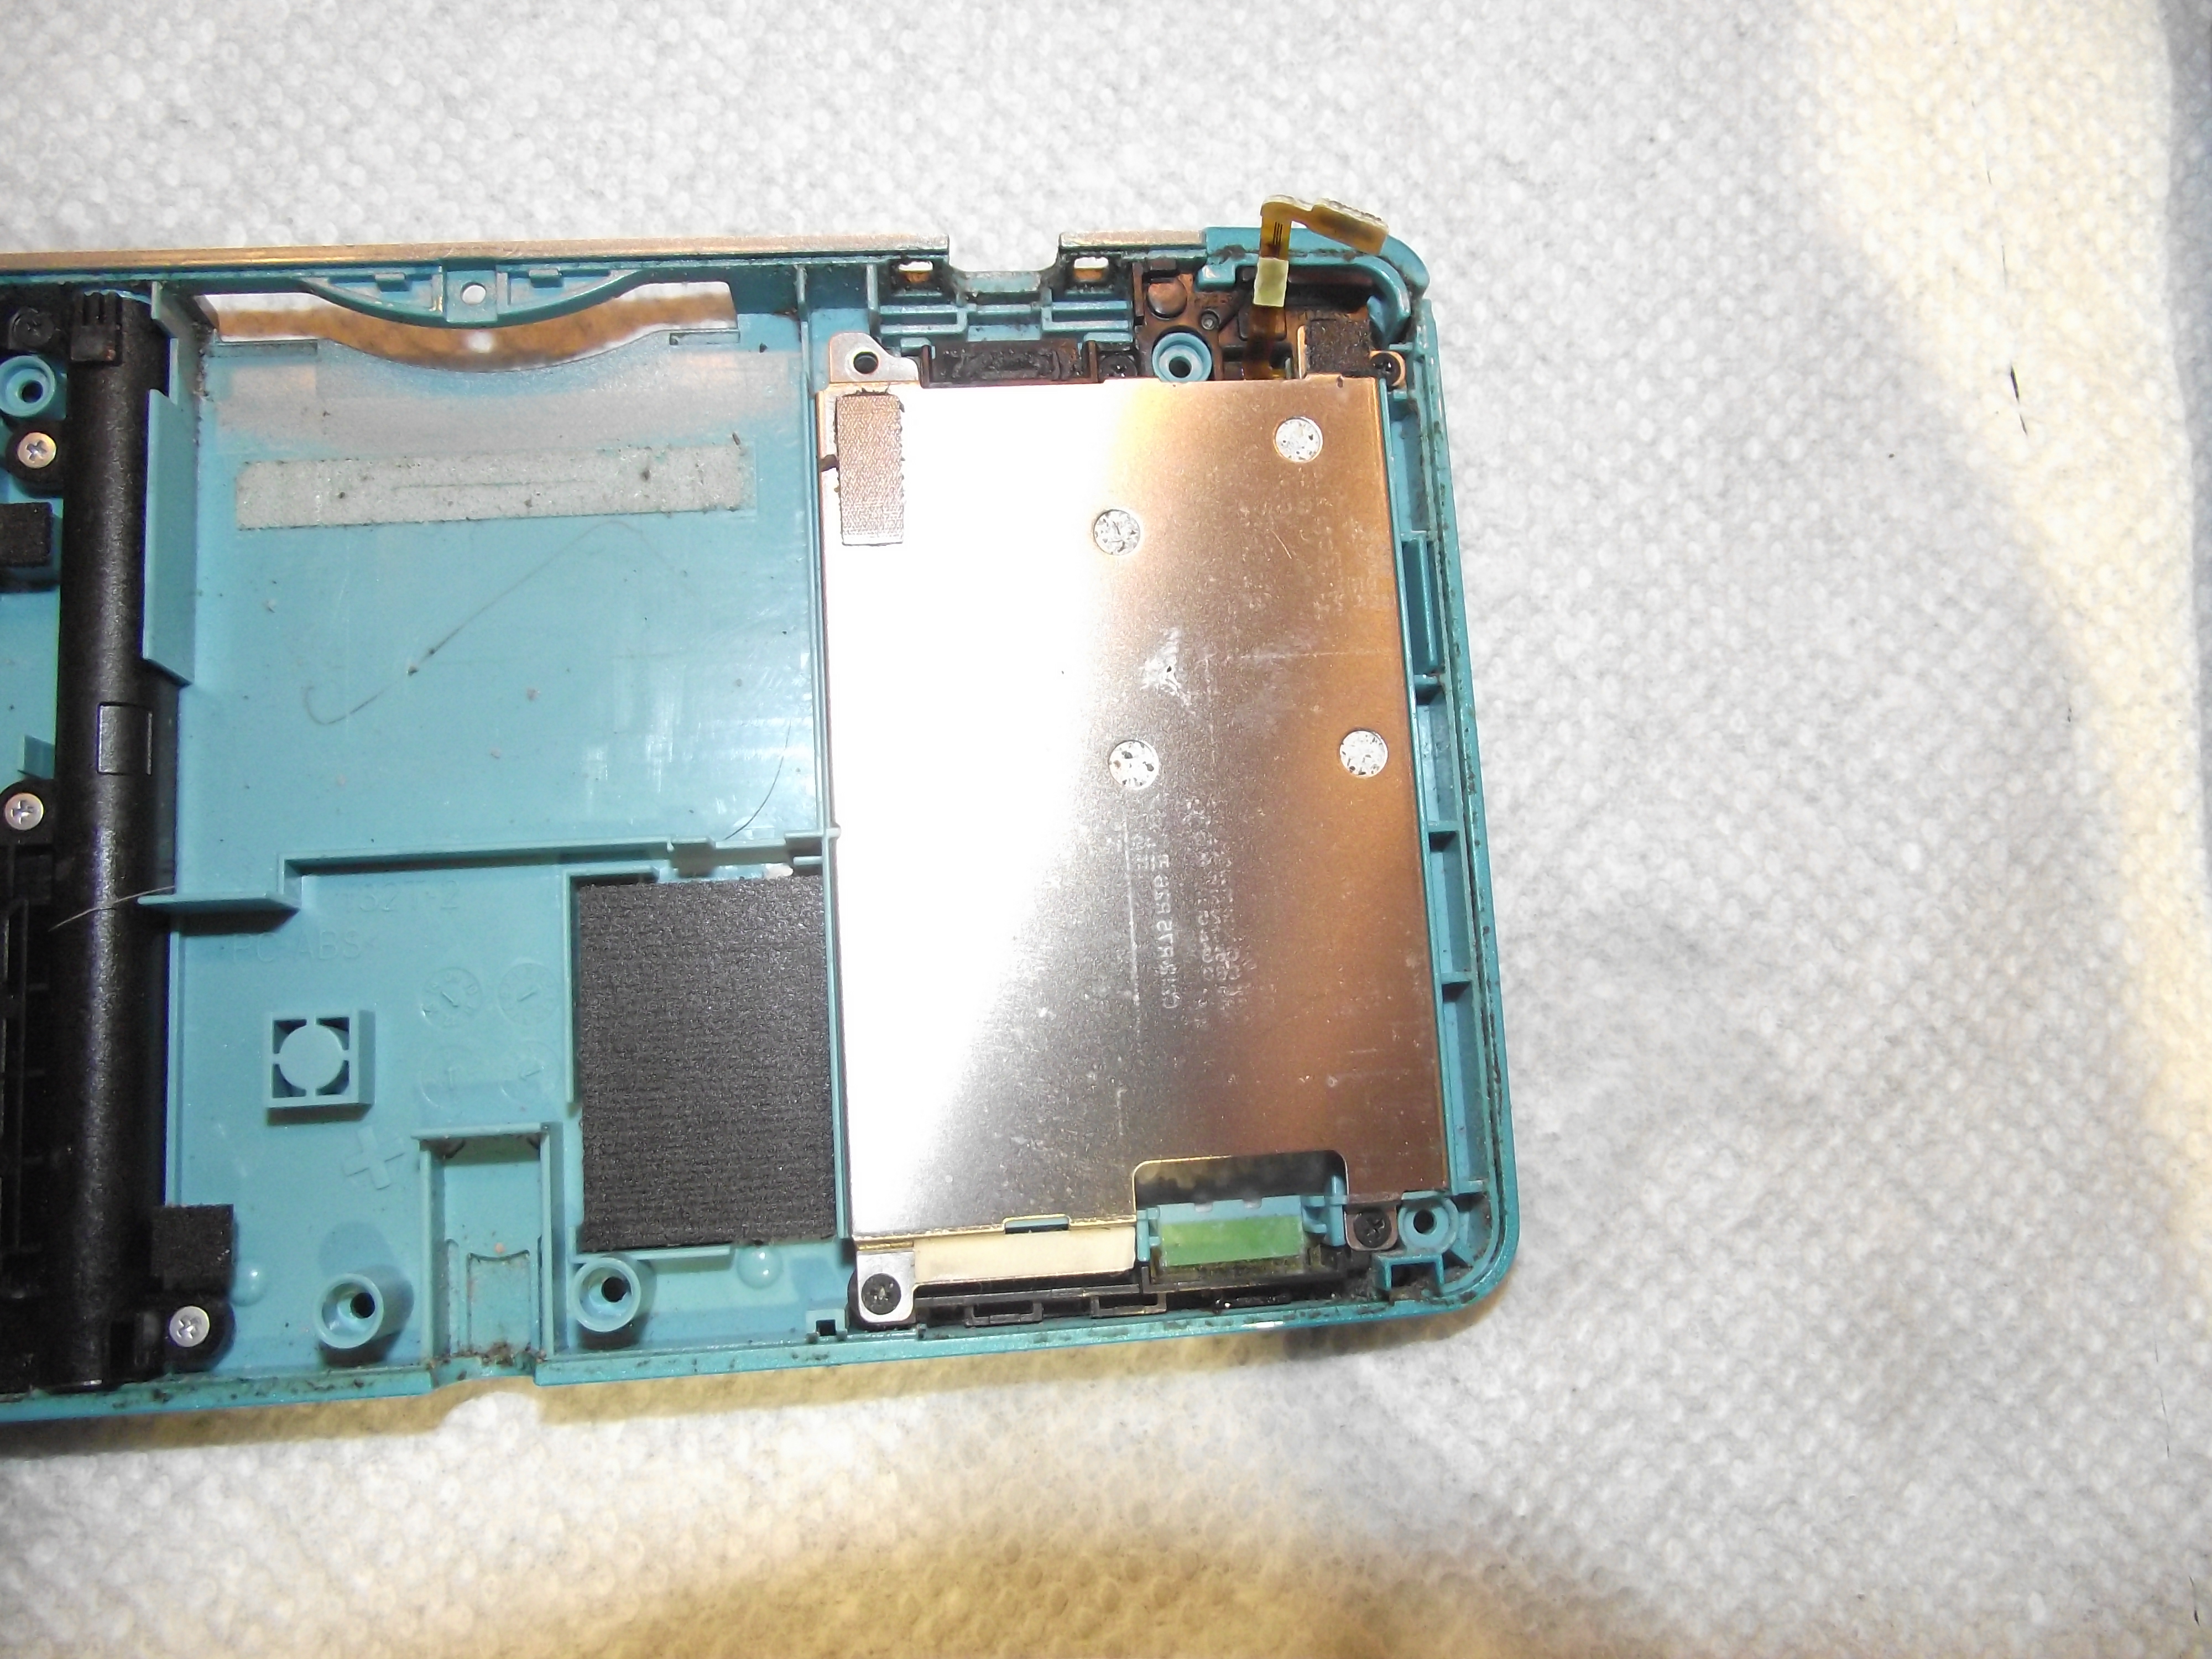
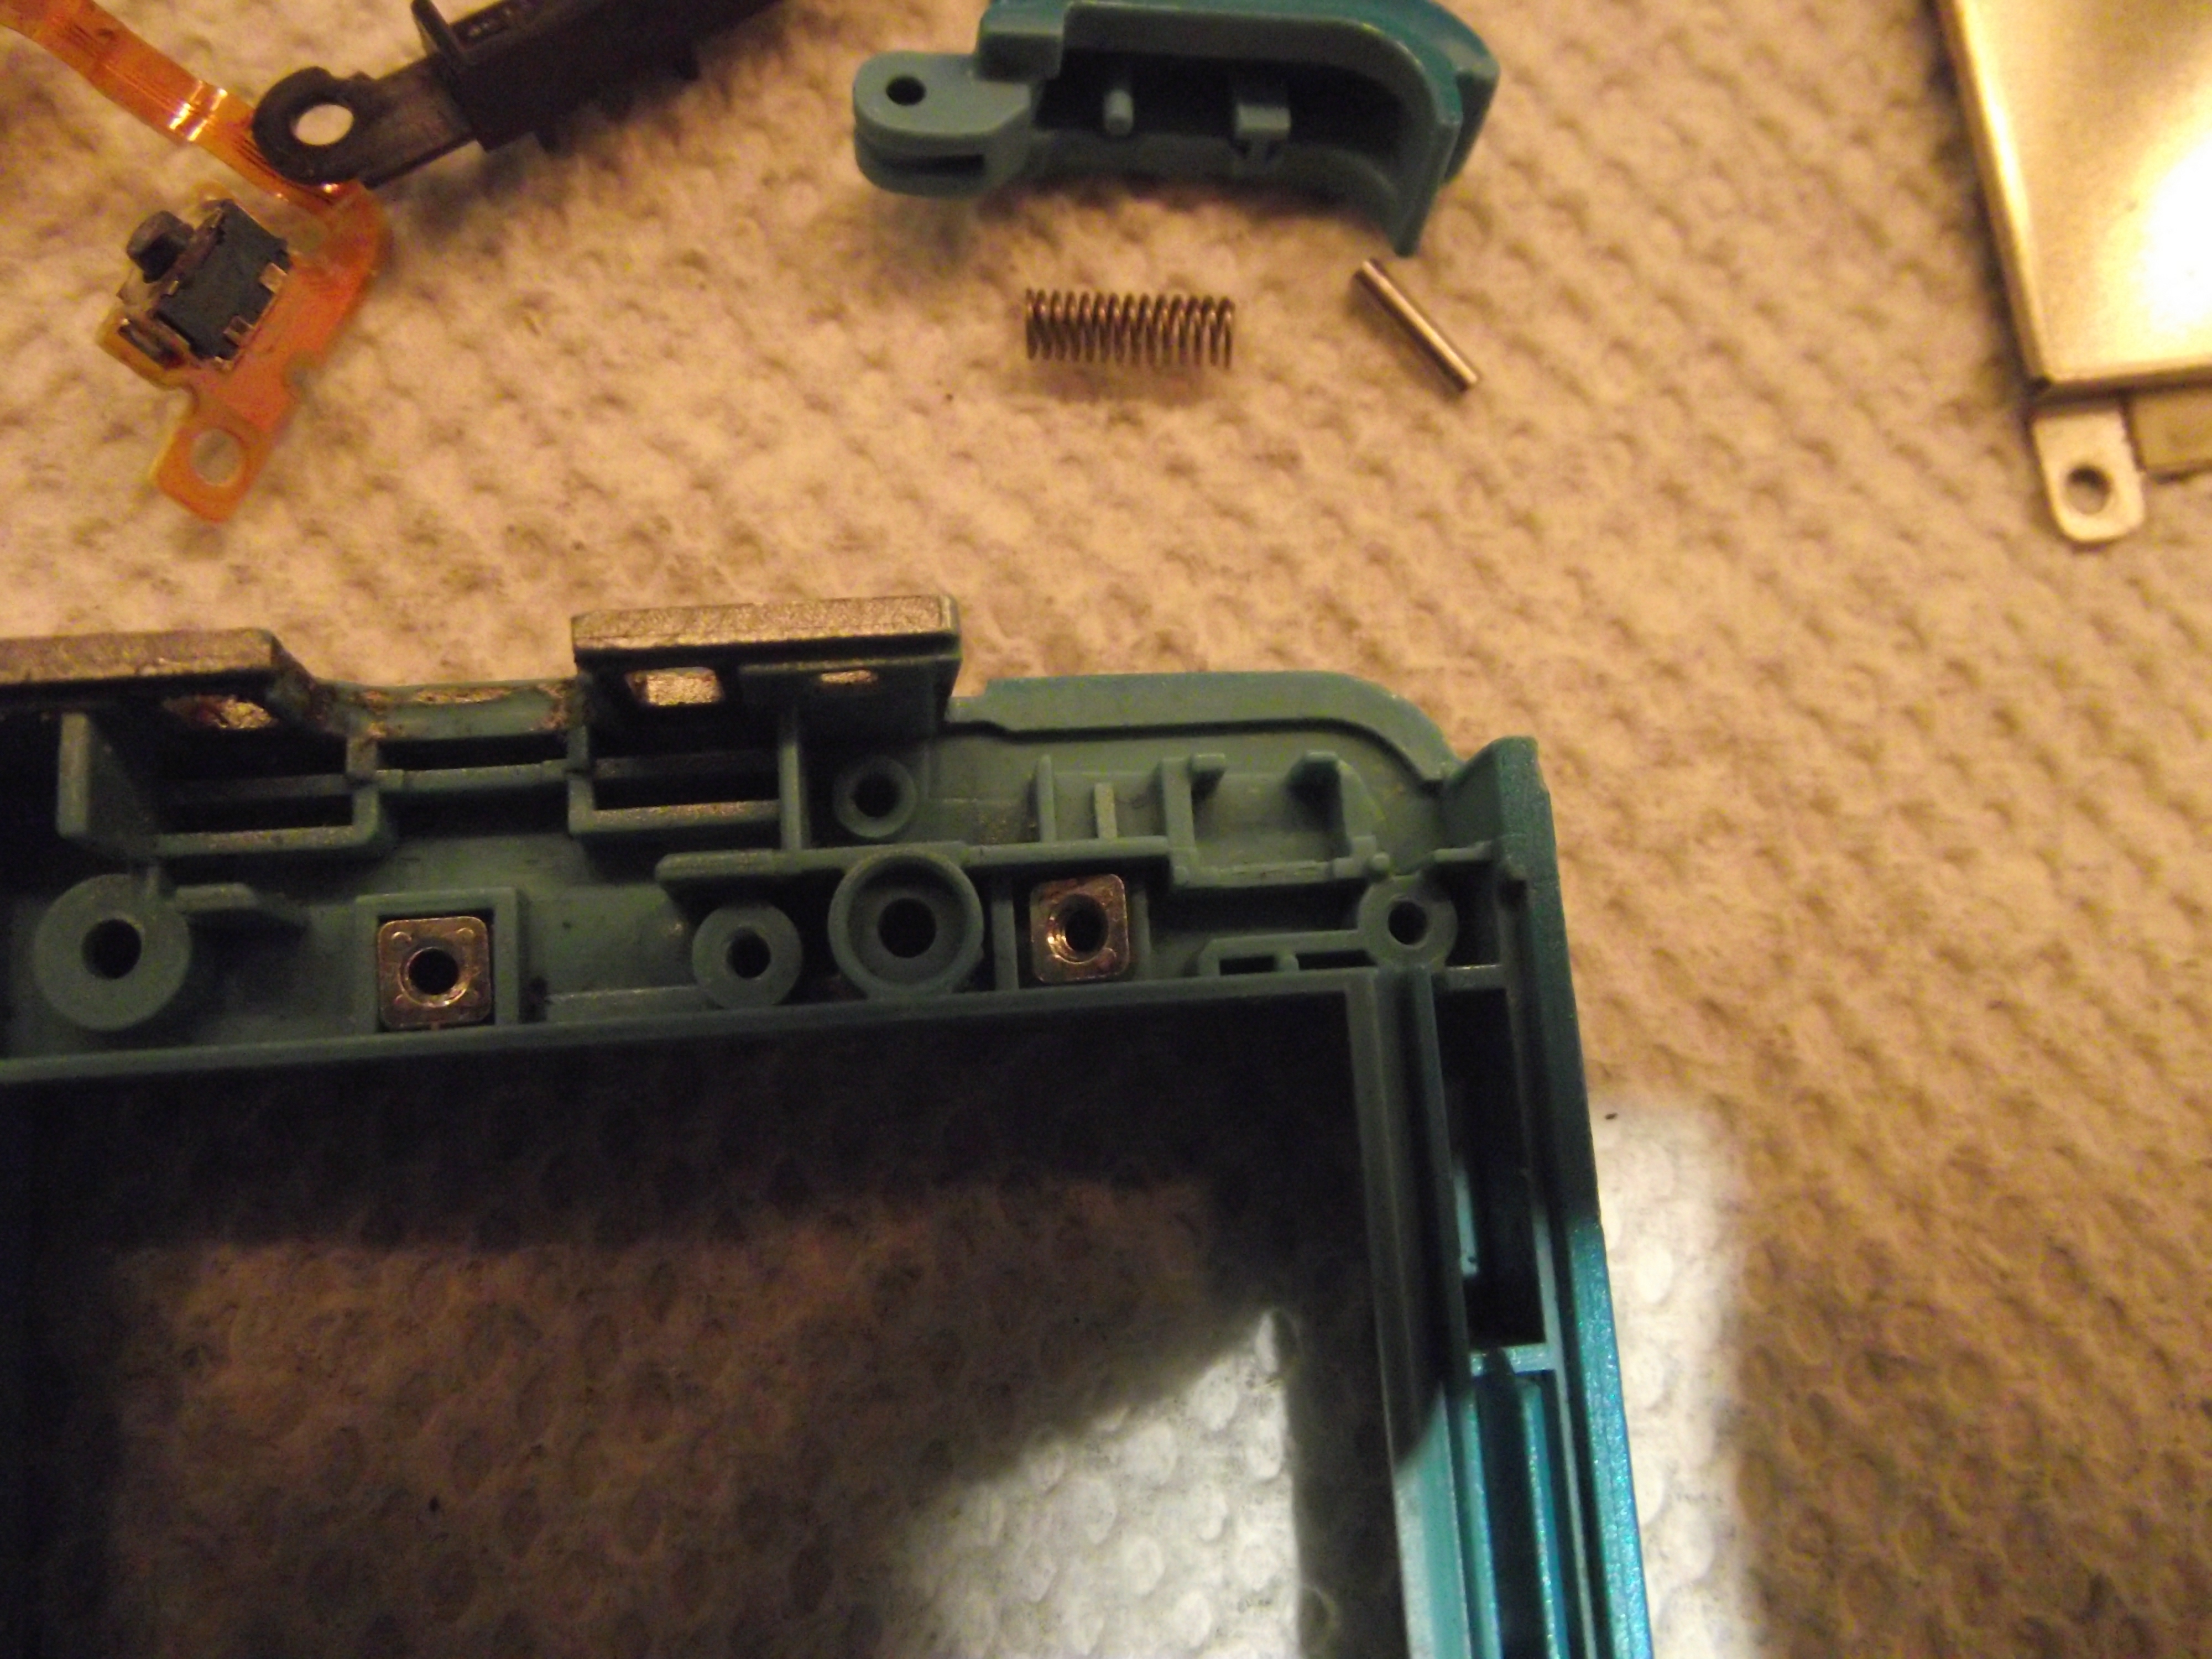
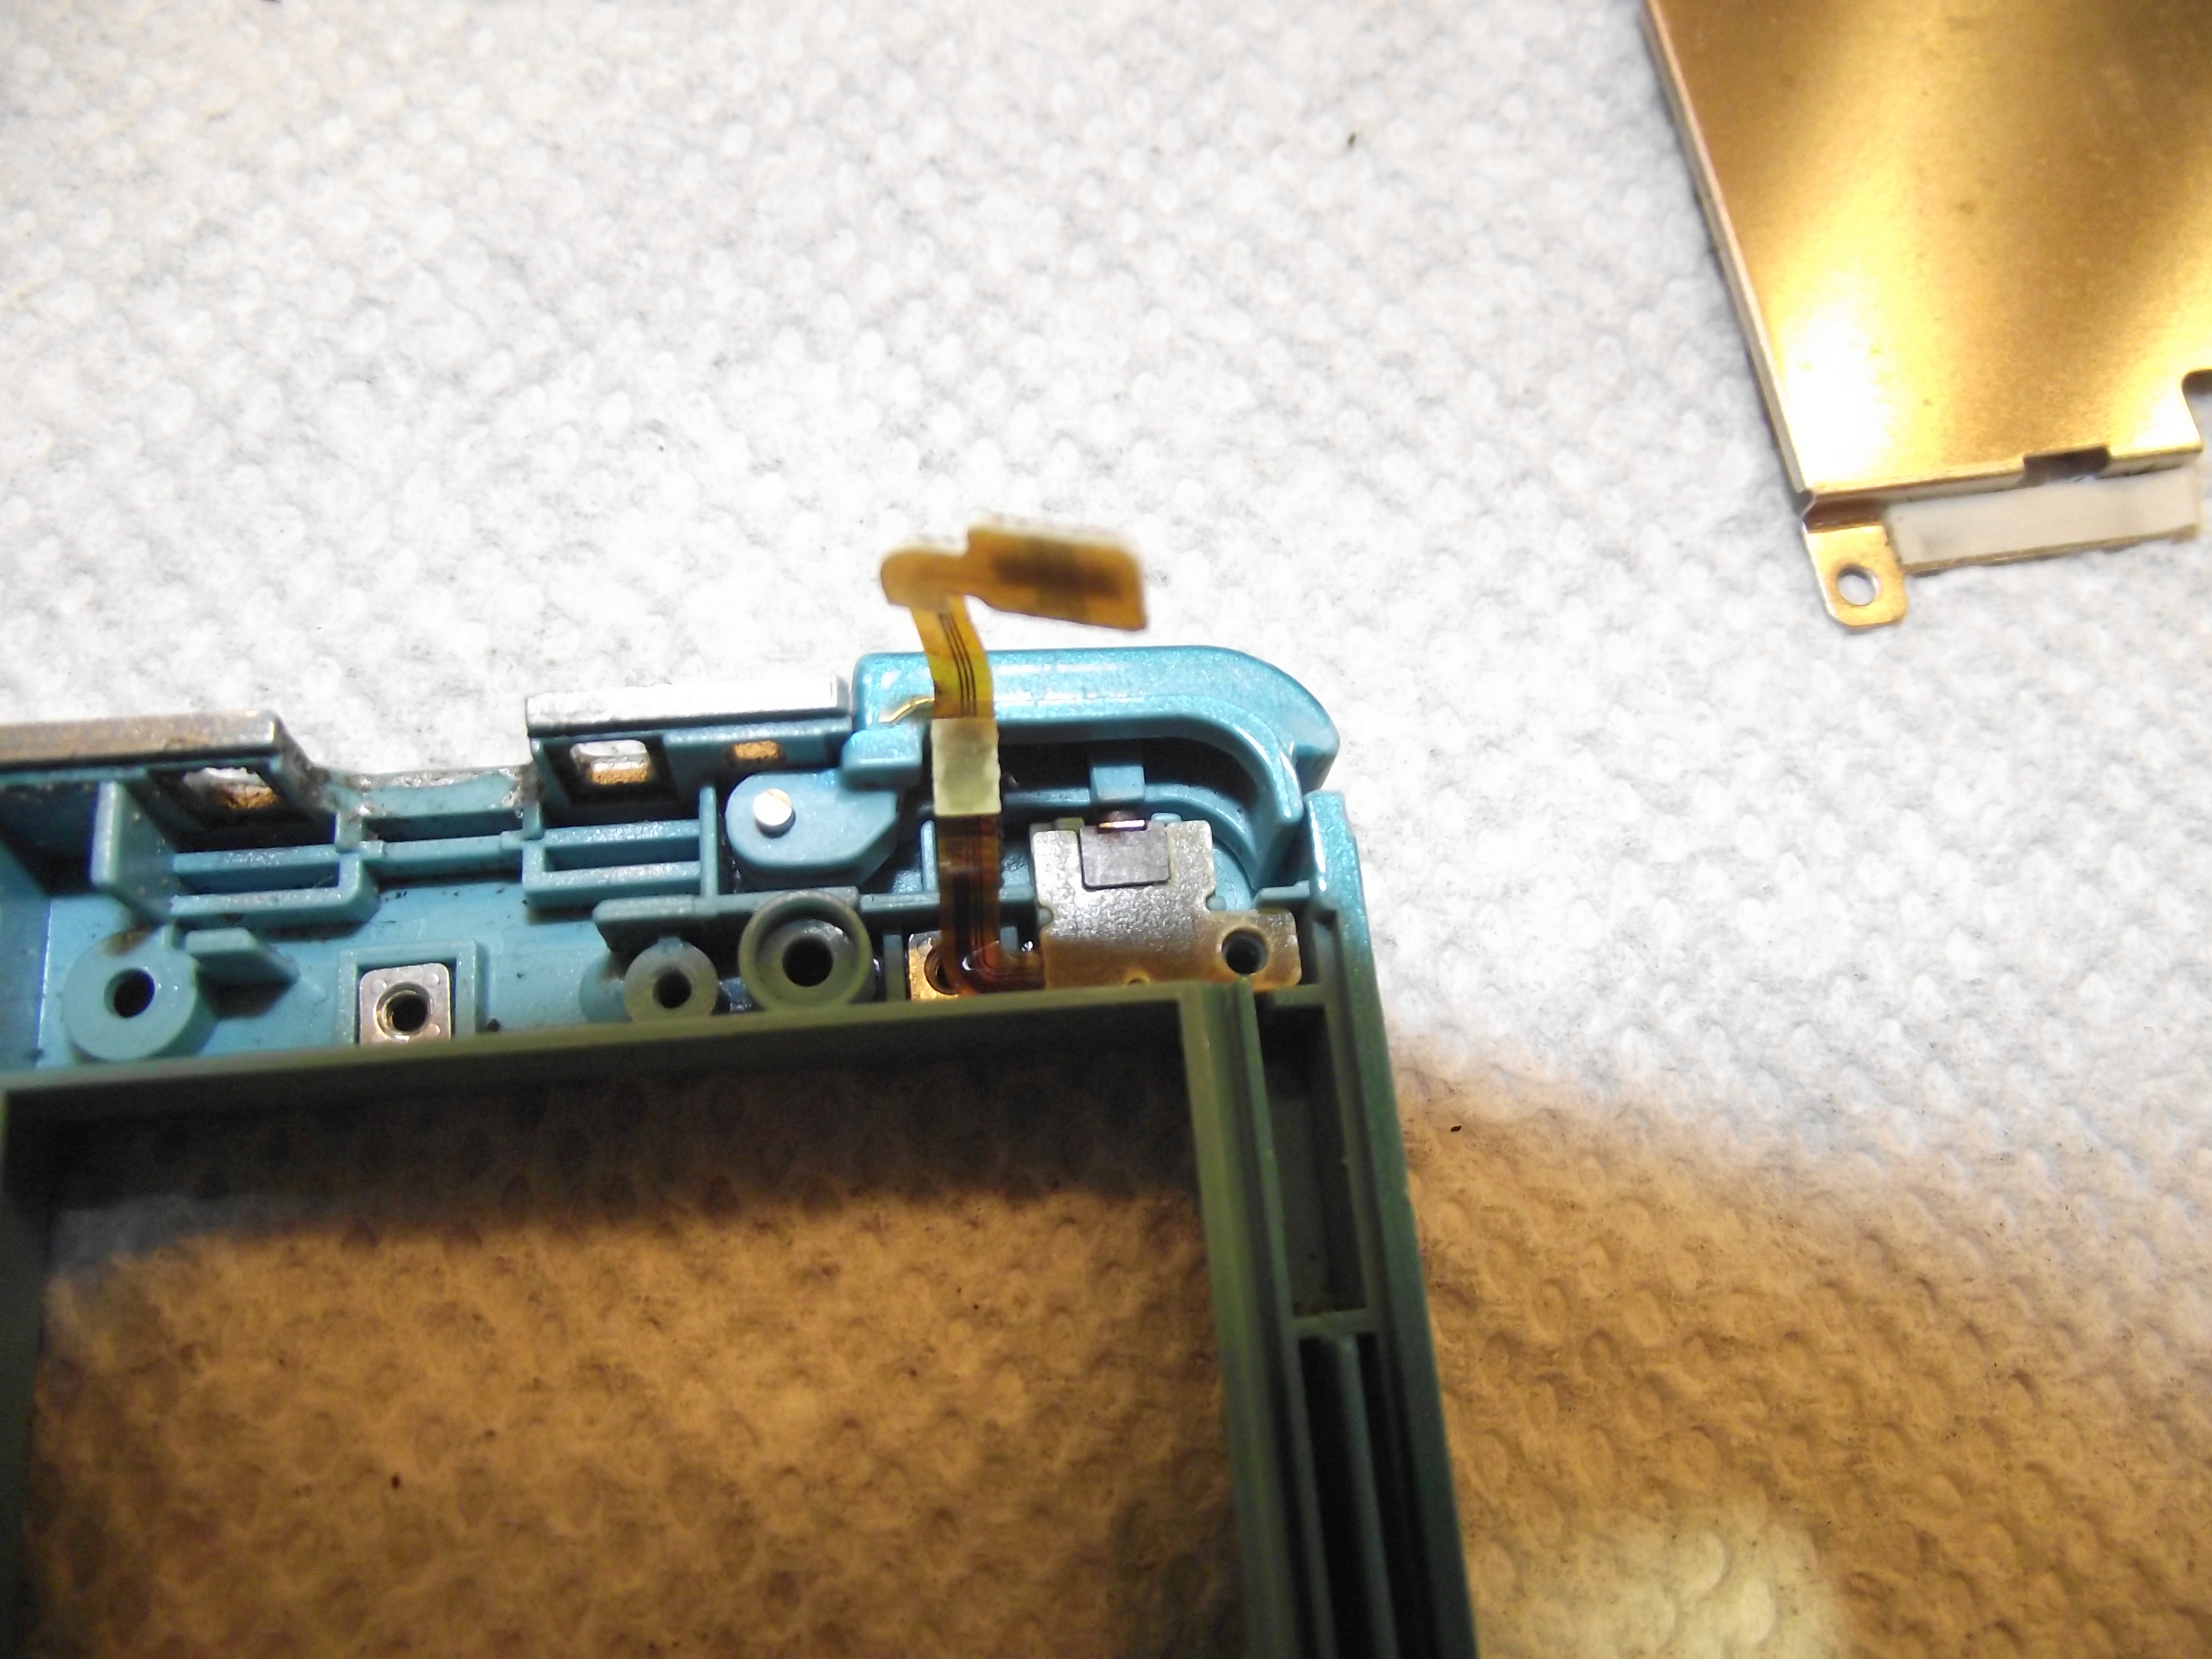
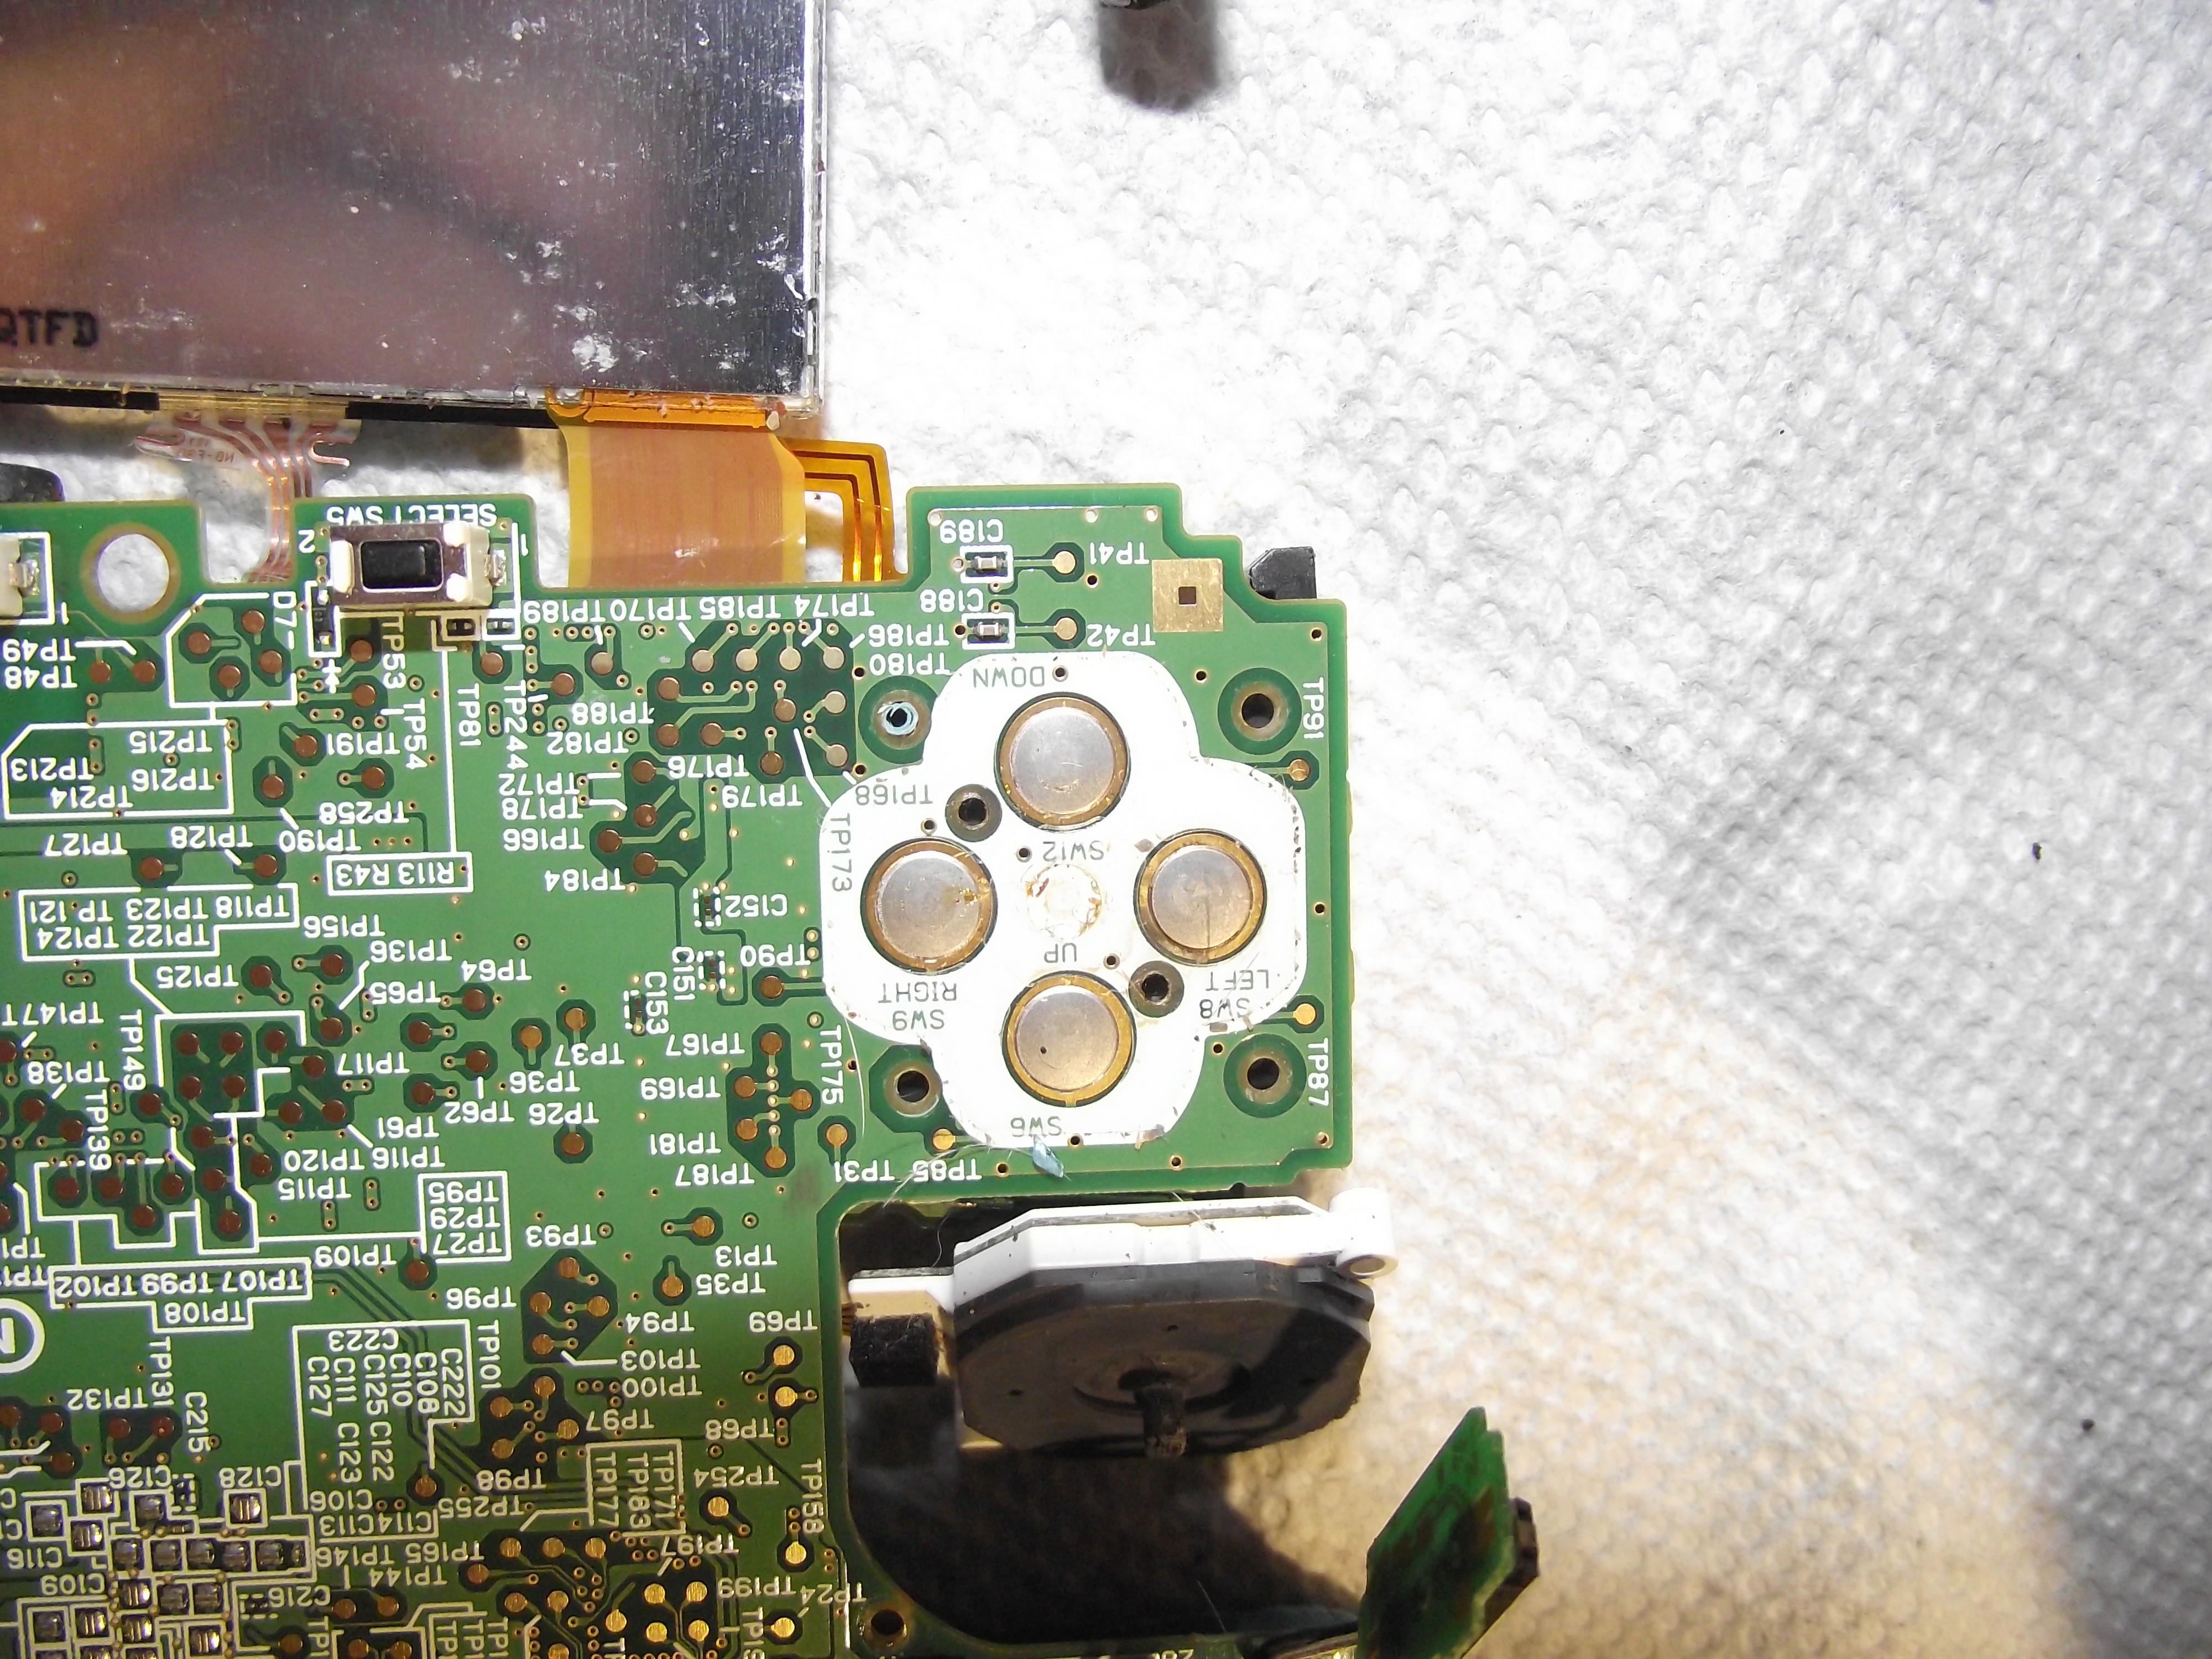 As with most things, these contacts don’t look too bad from afar. 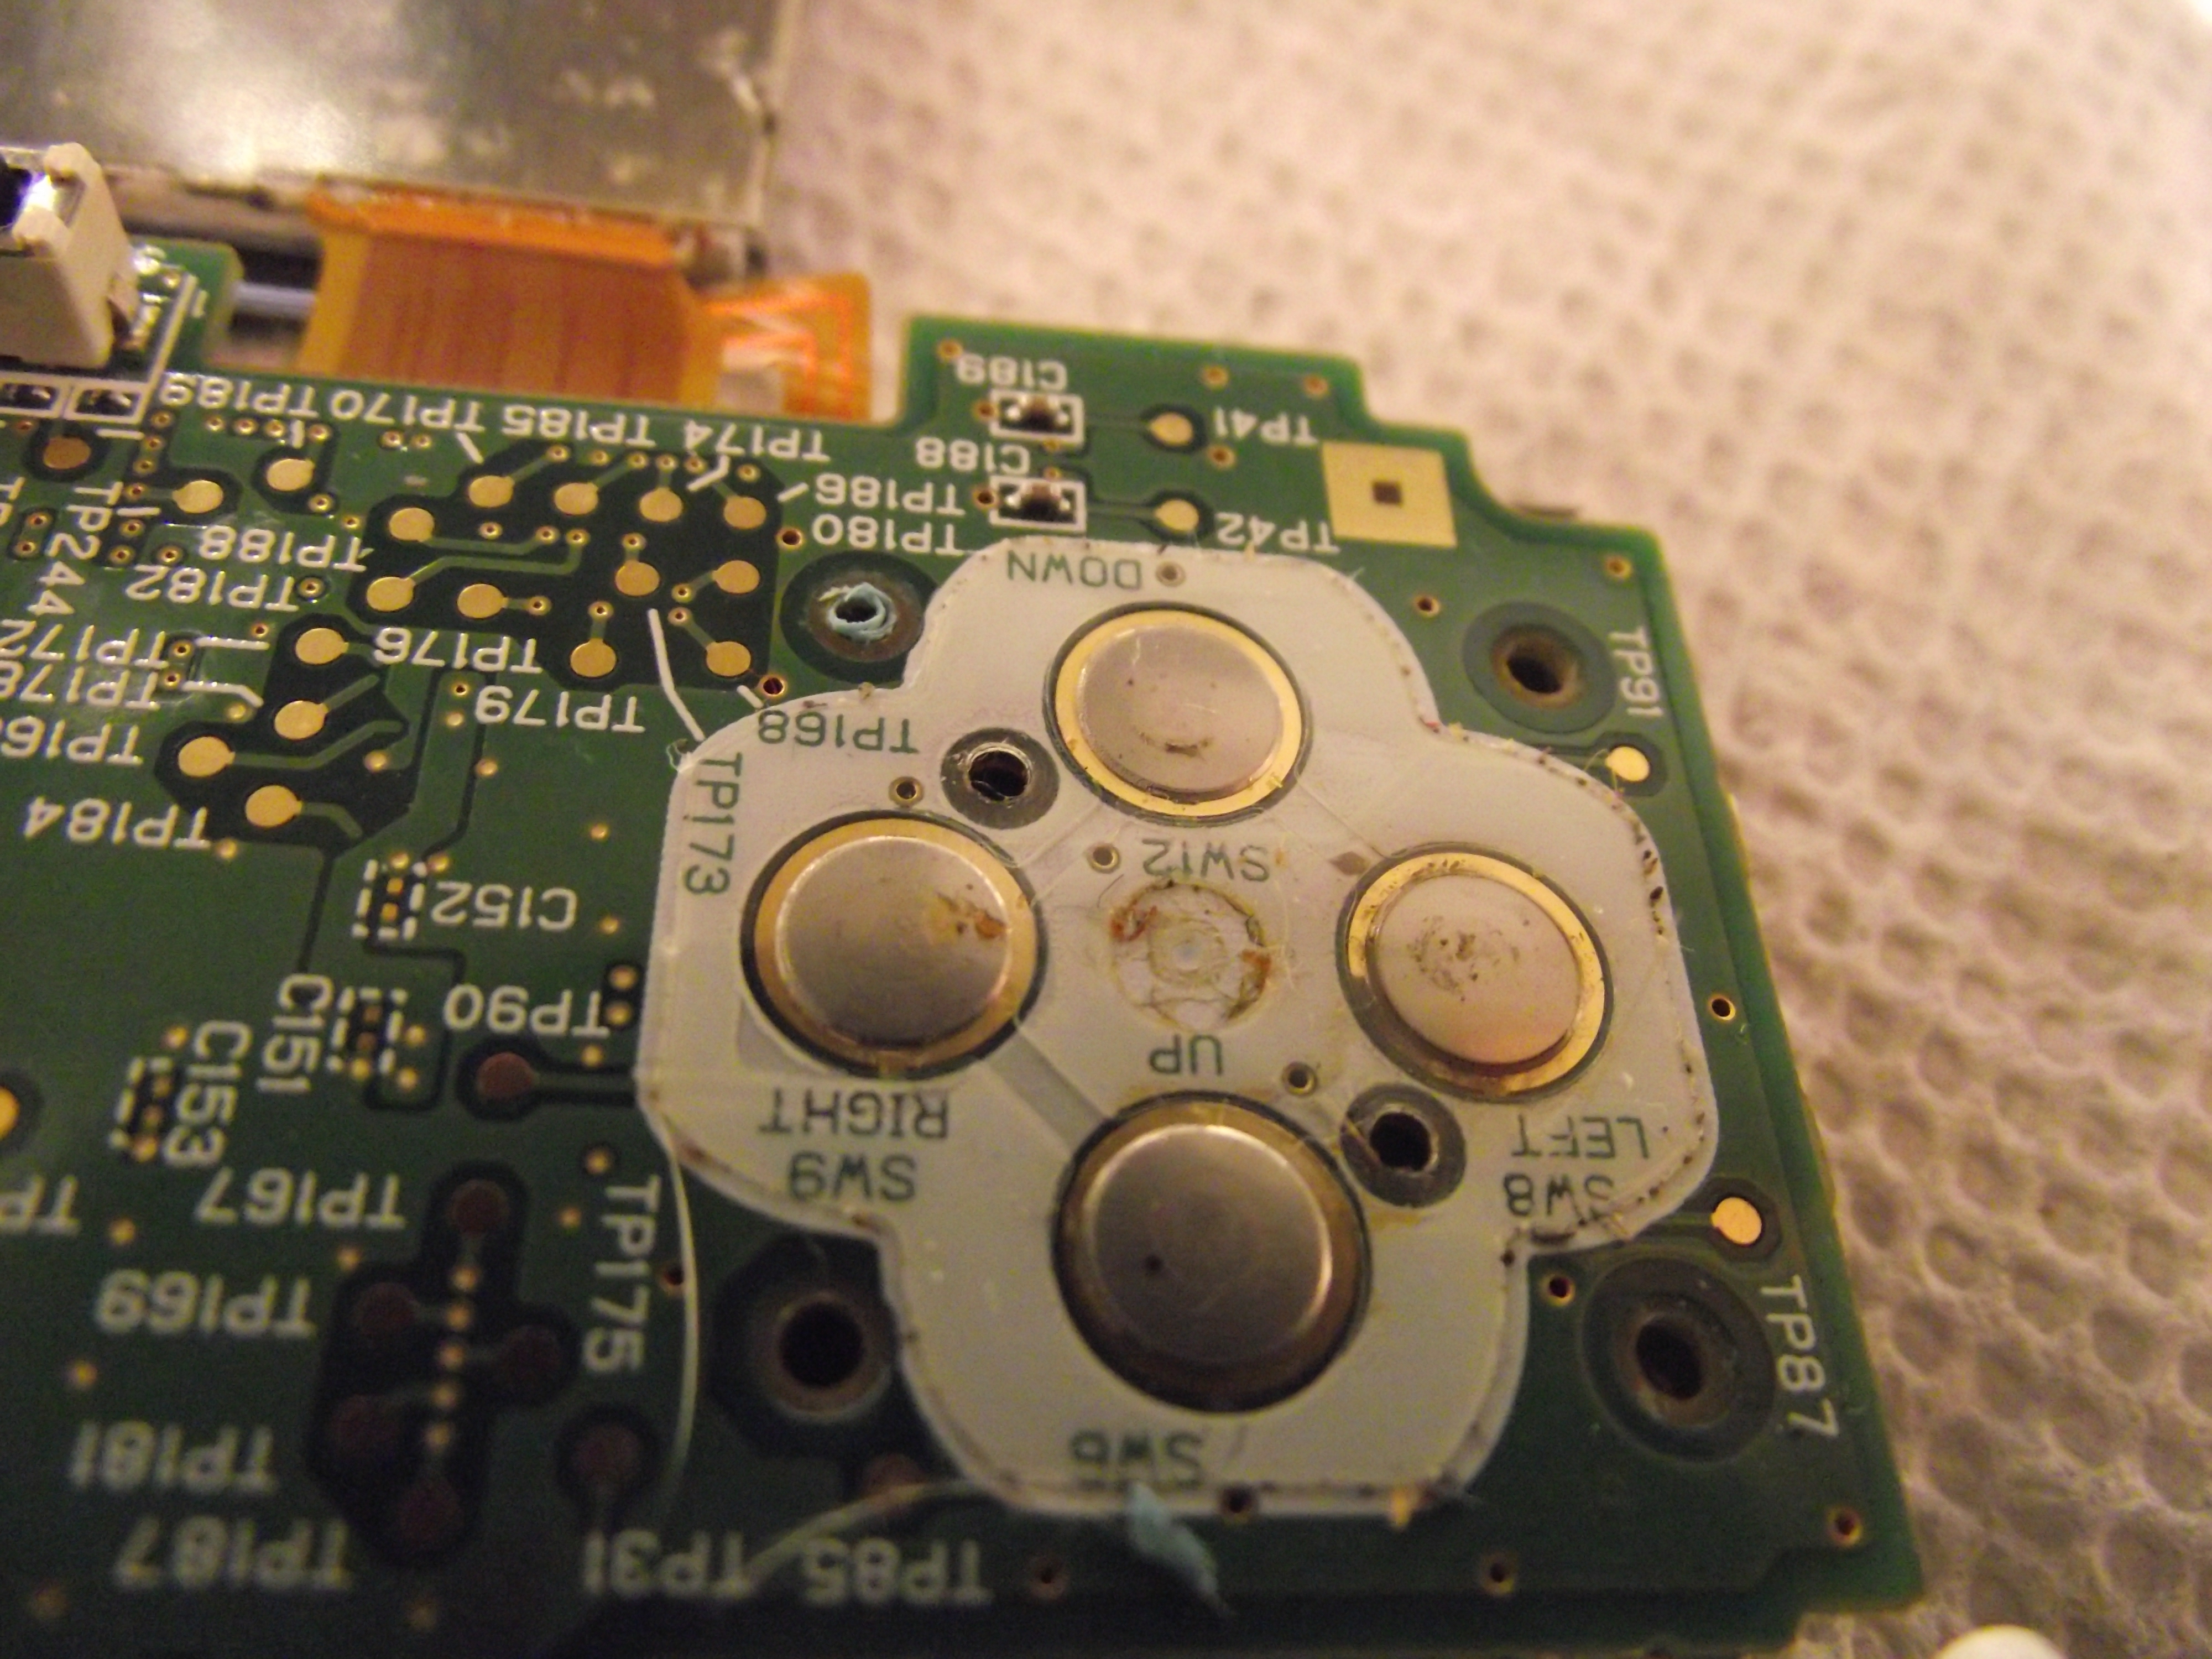 But look more closely and you’ll be horrified. We need to clean this sludge off with isopropyl alcohol and a cotton swab. |
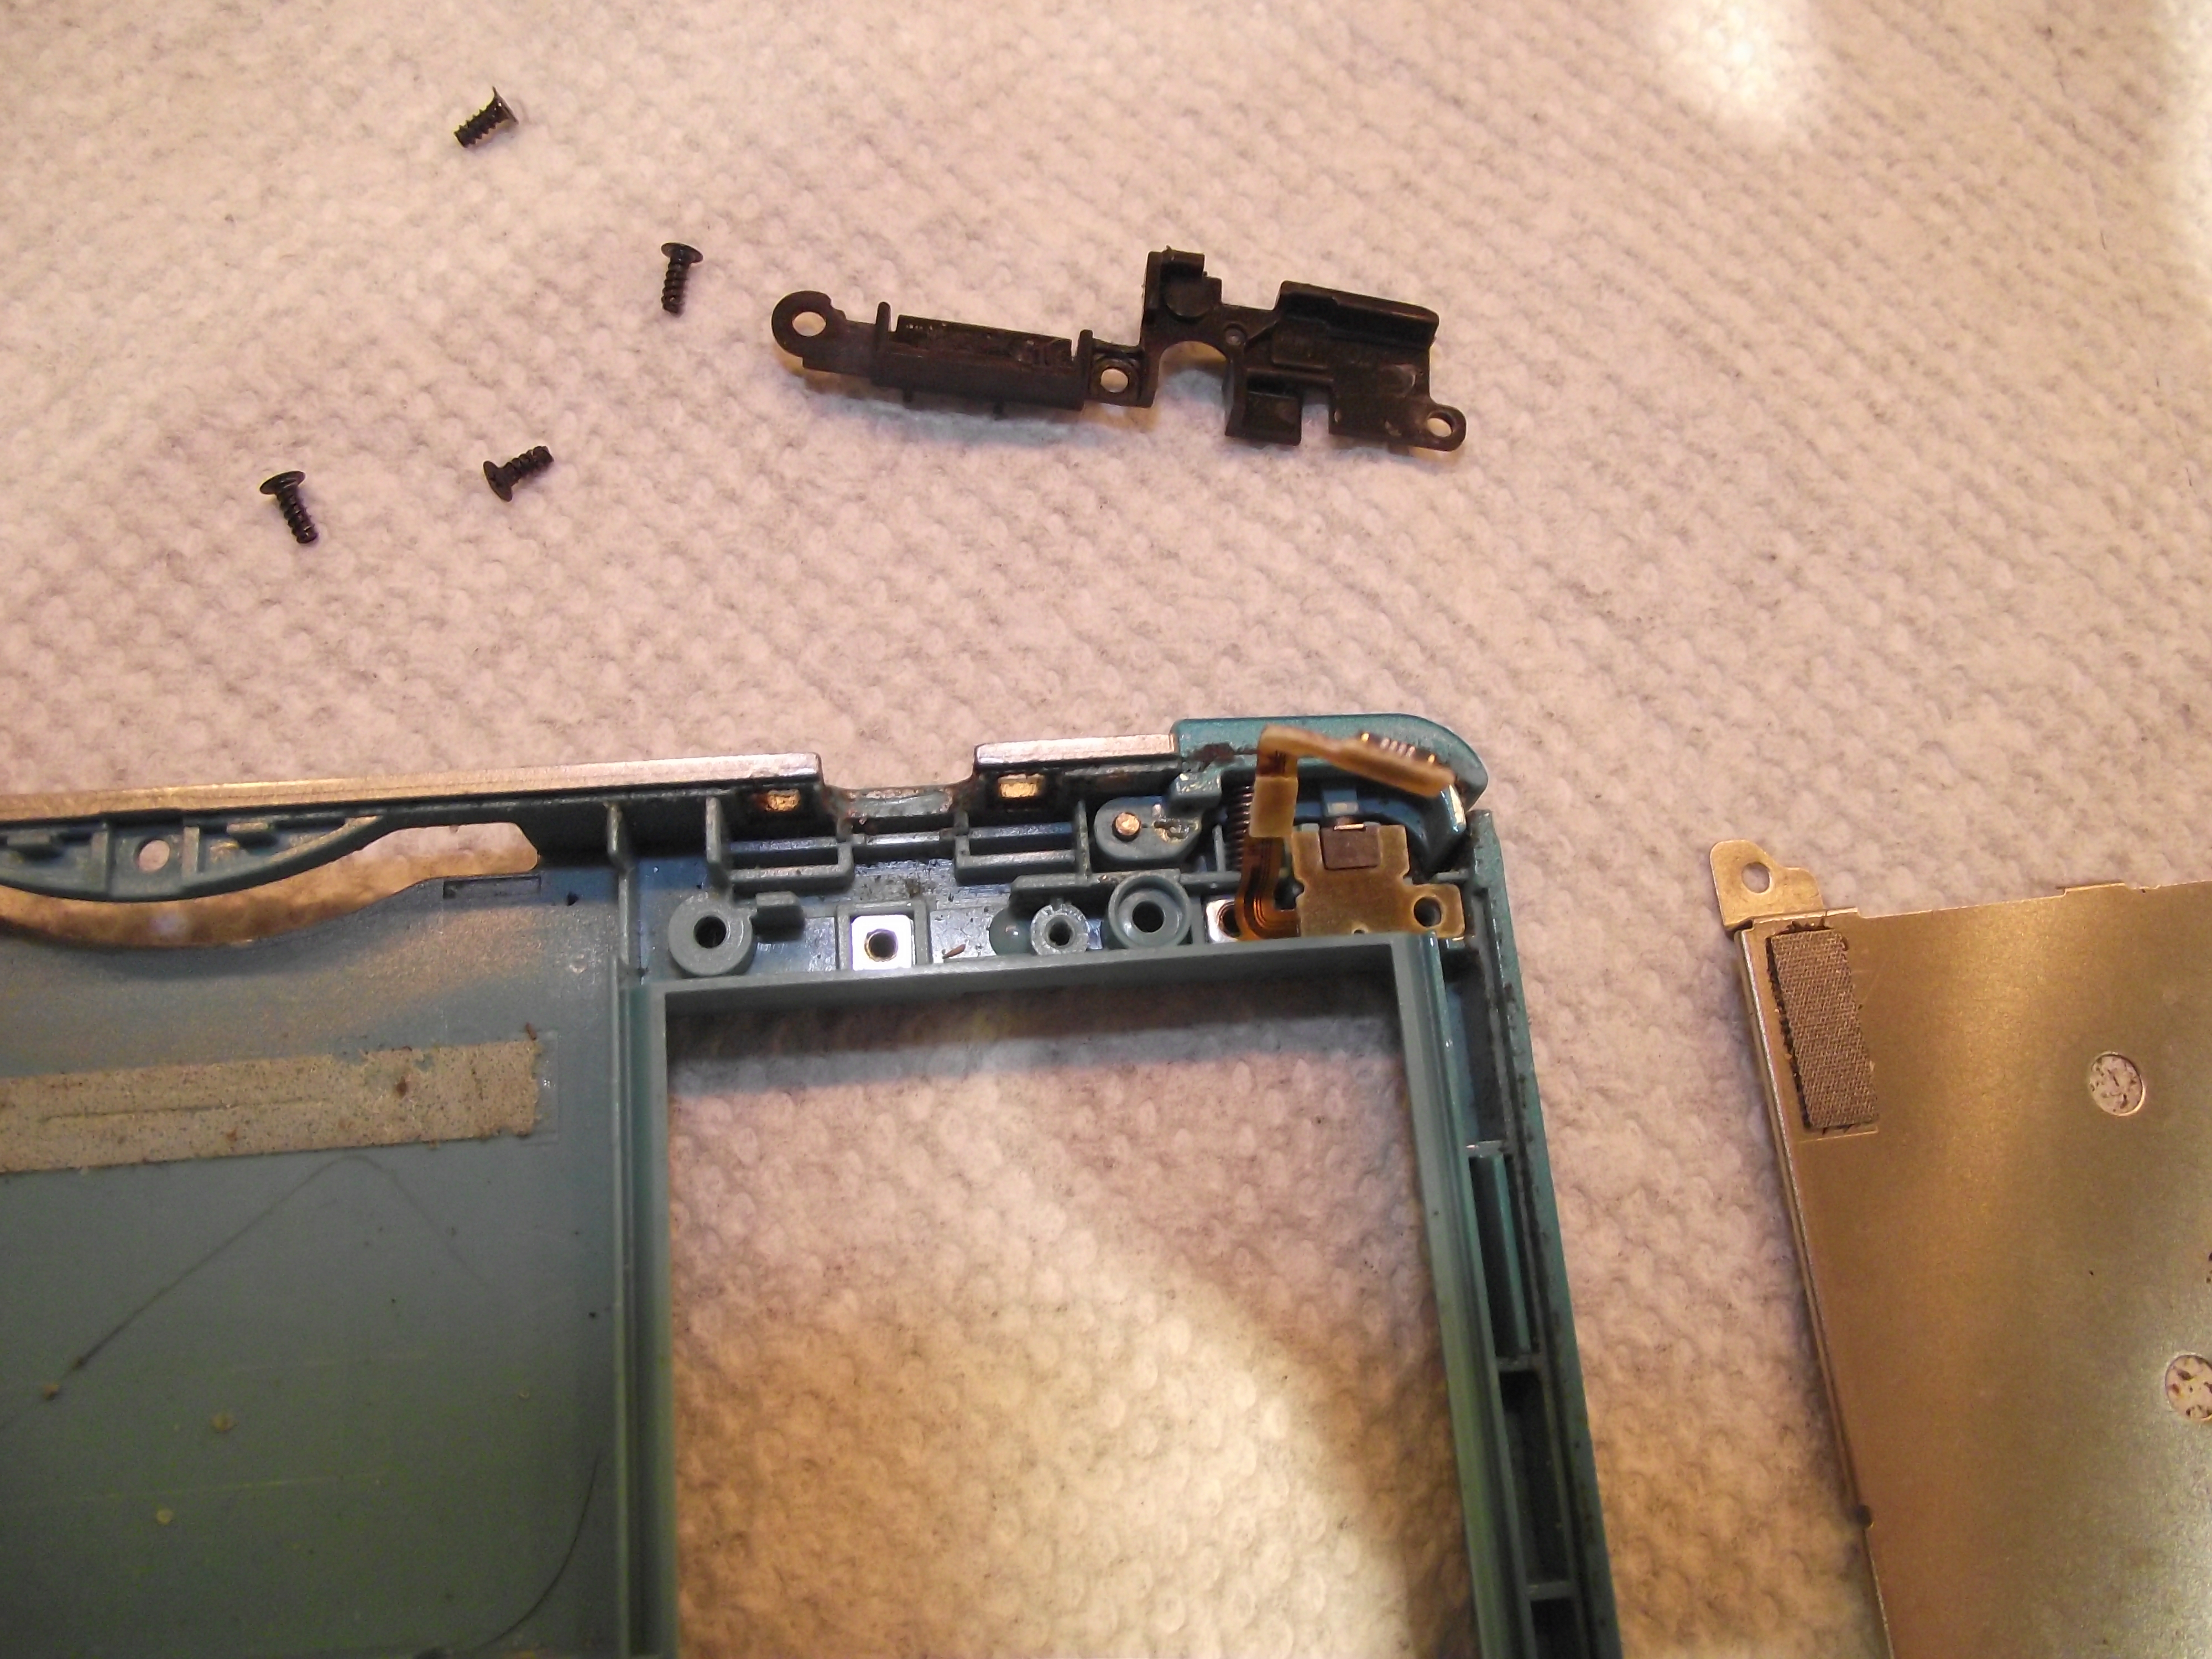
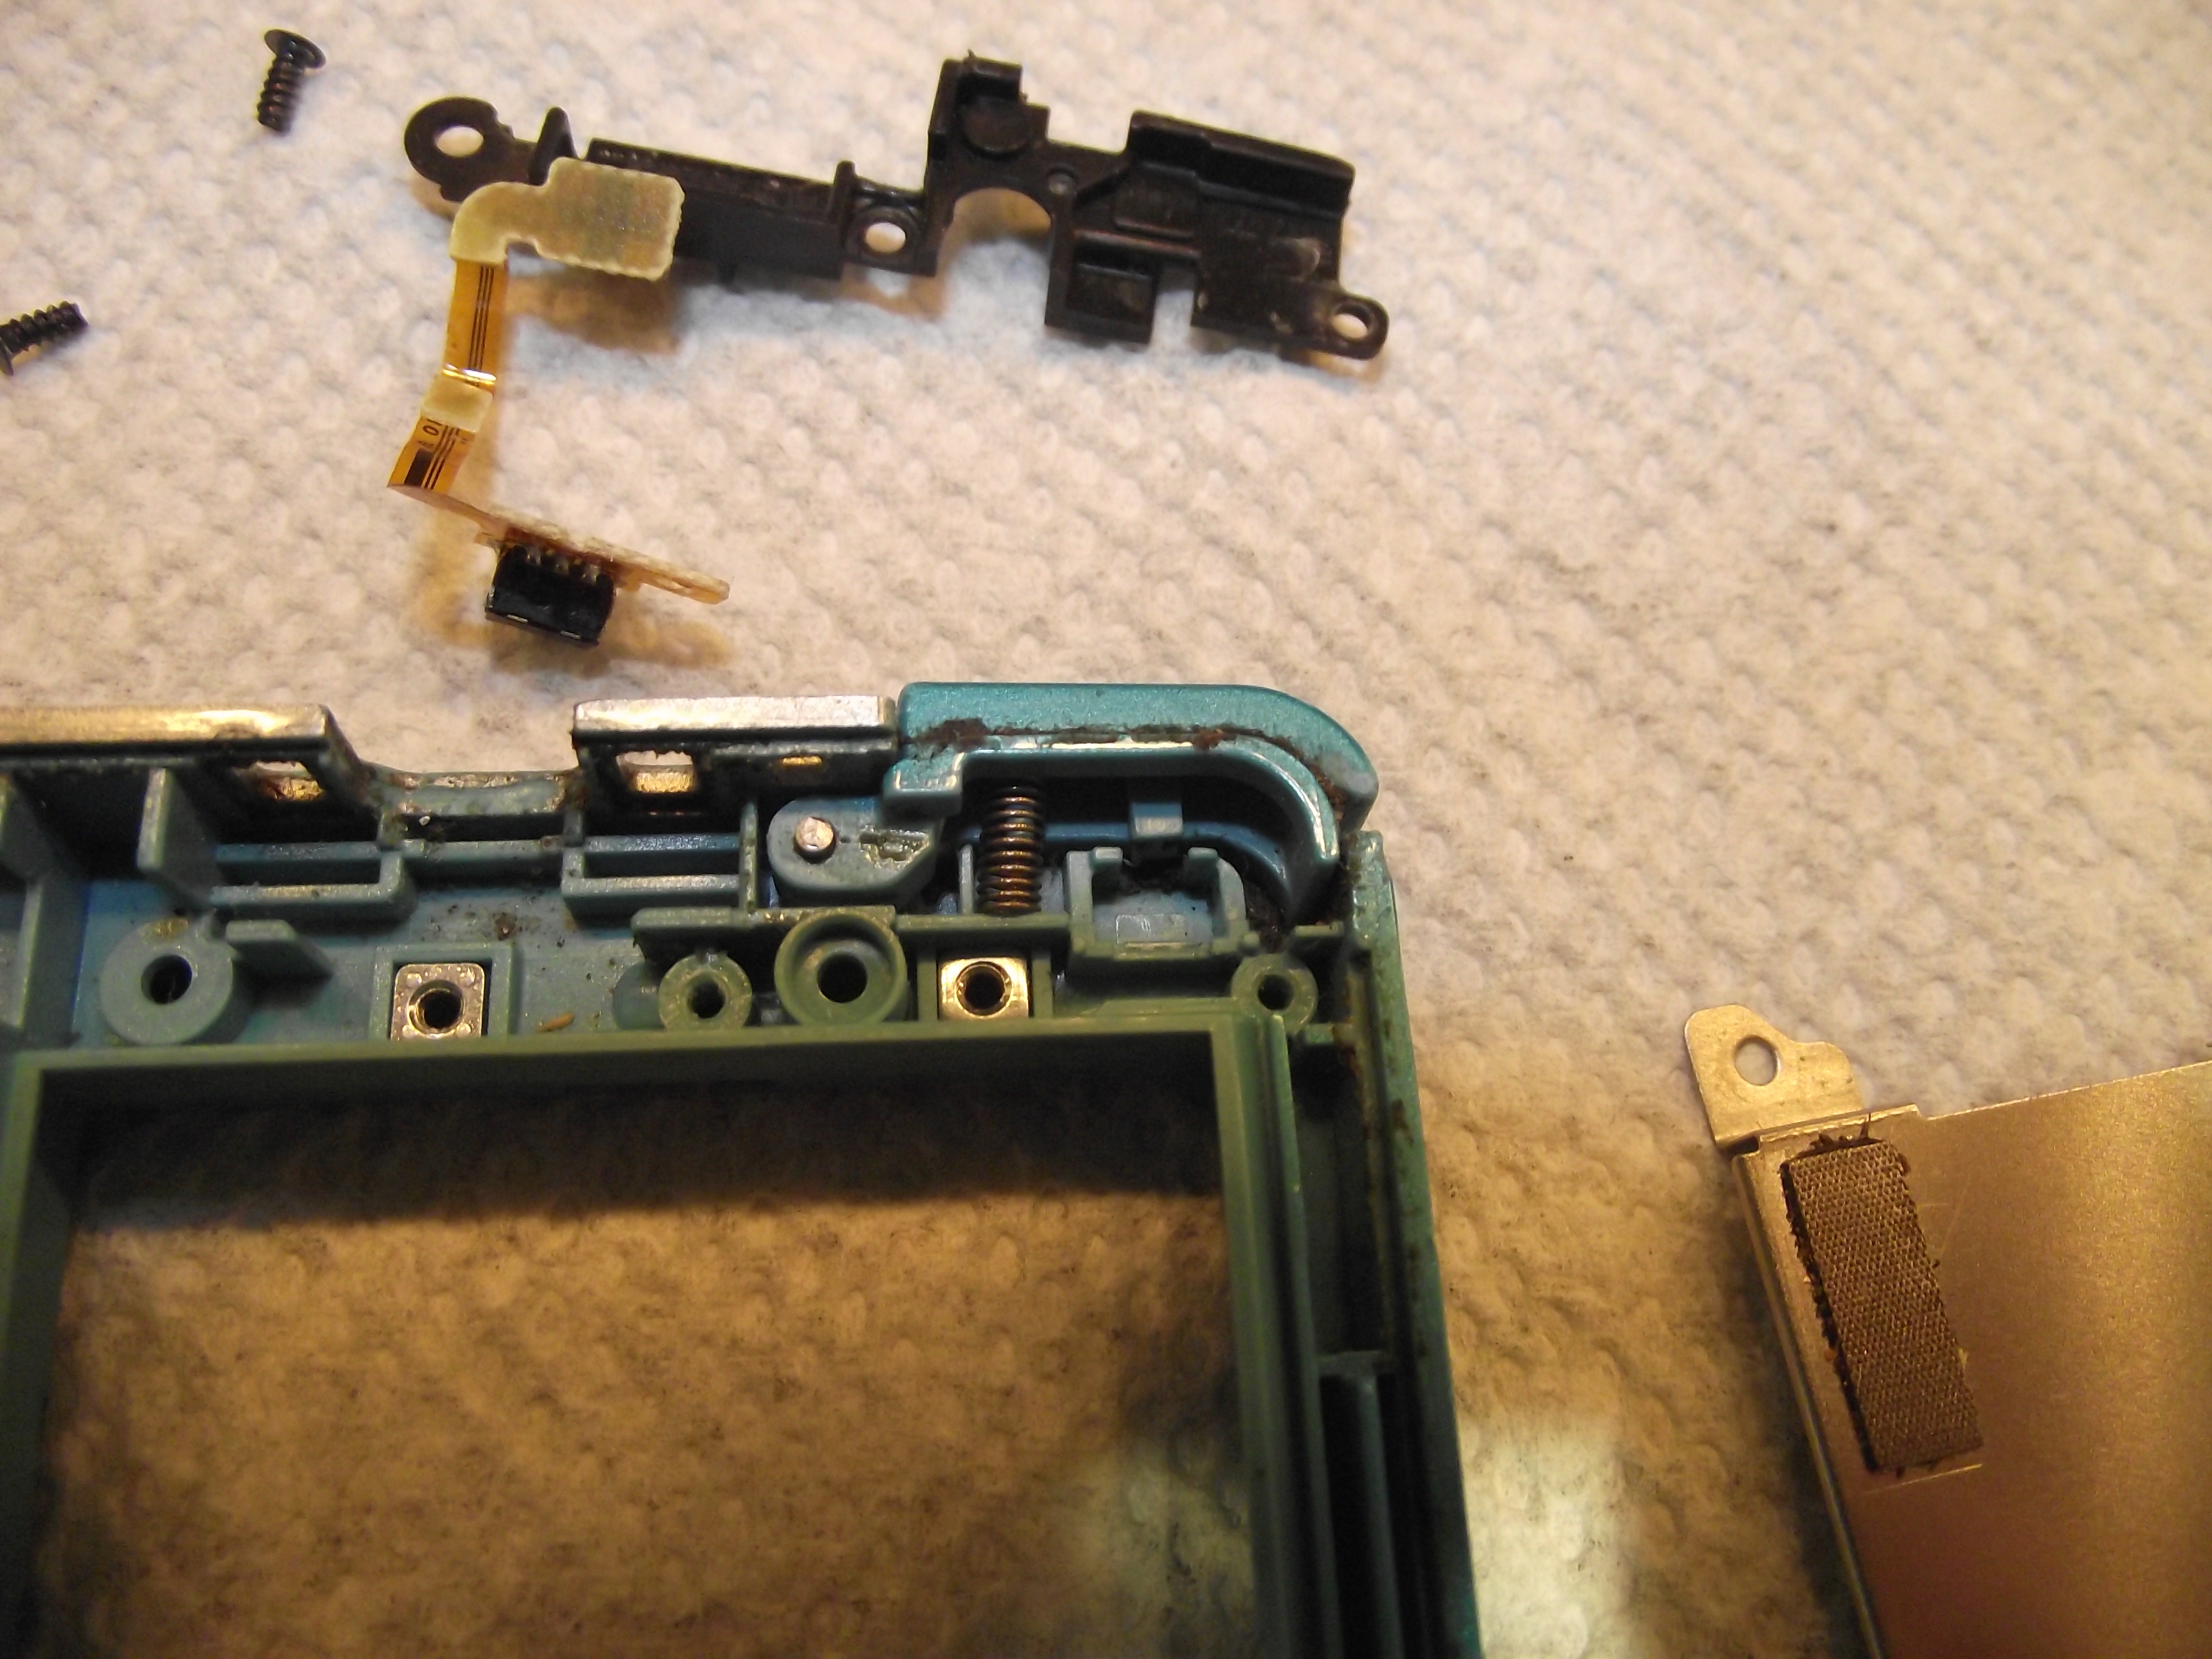
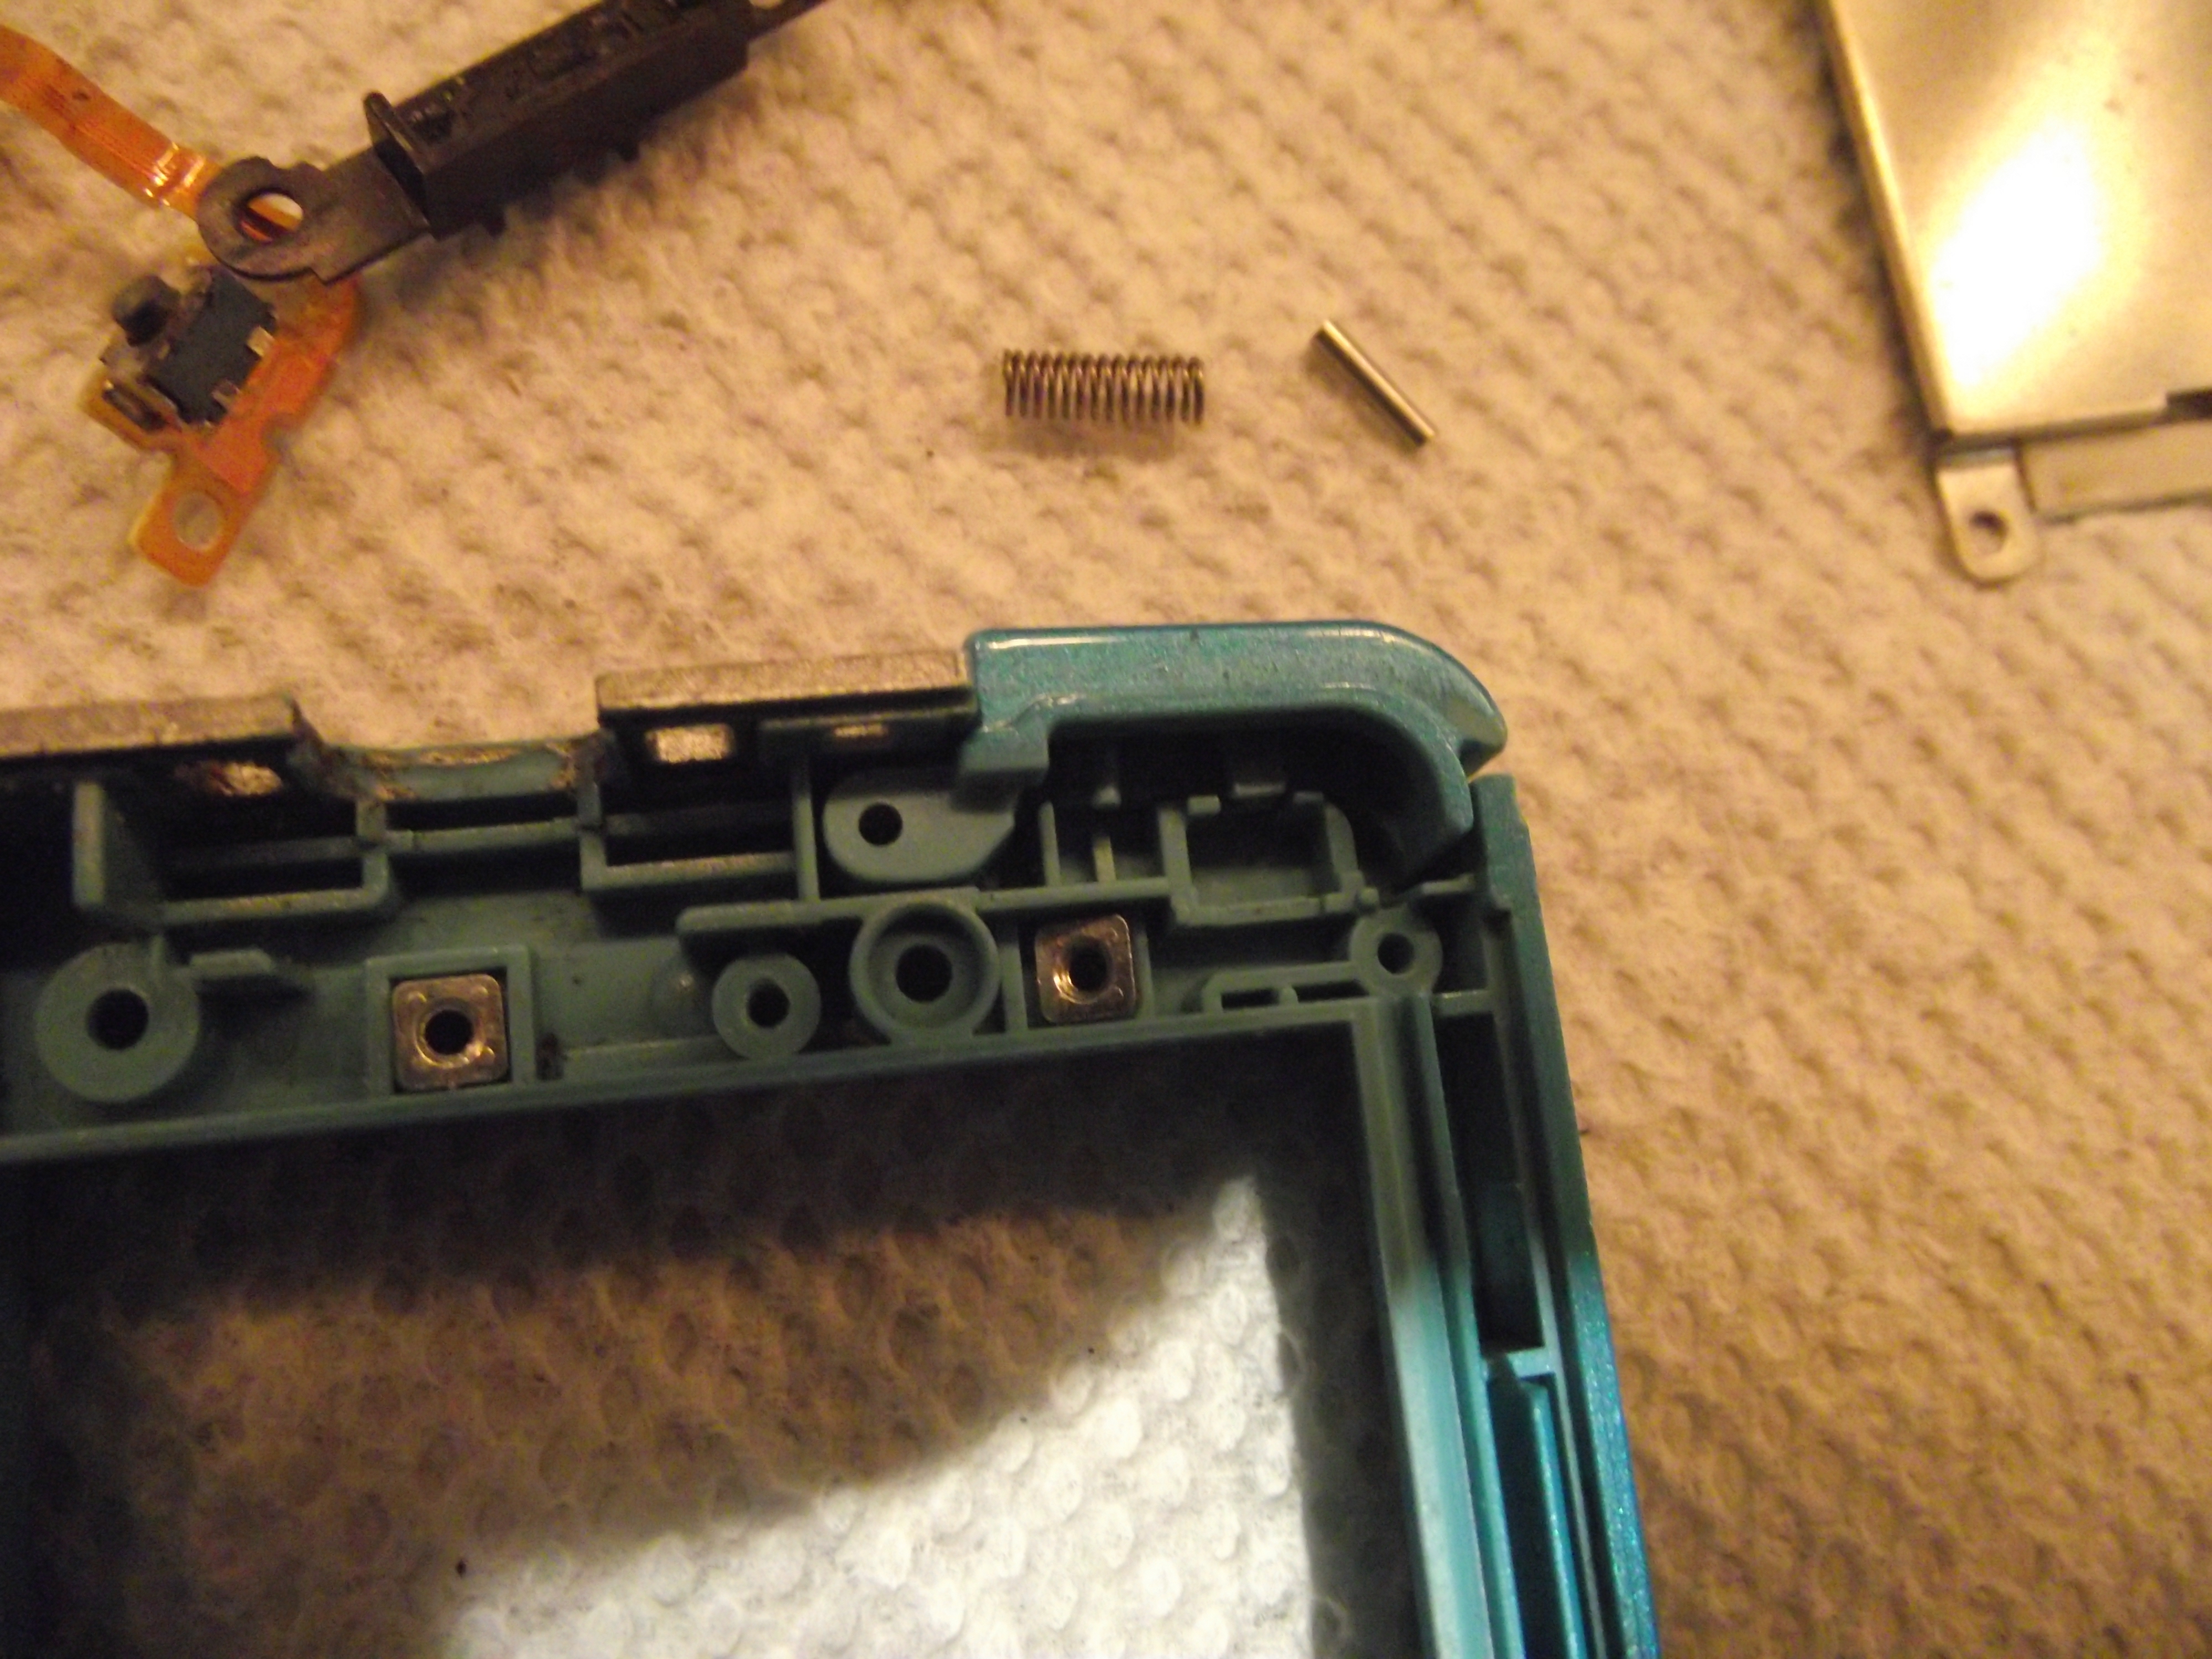
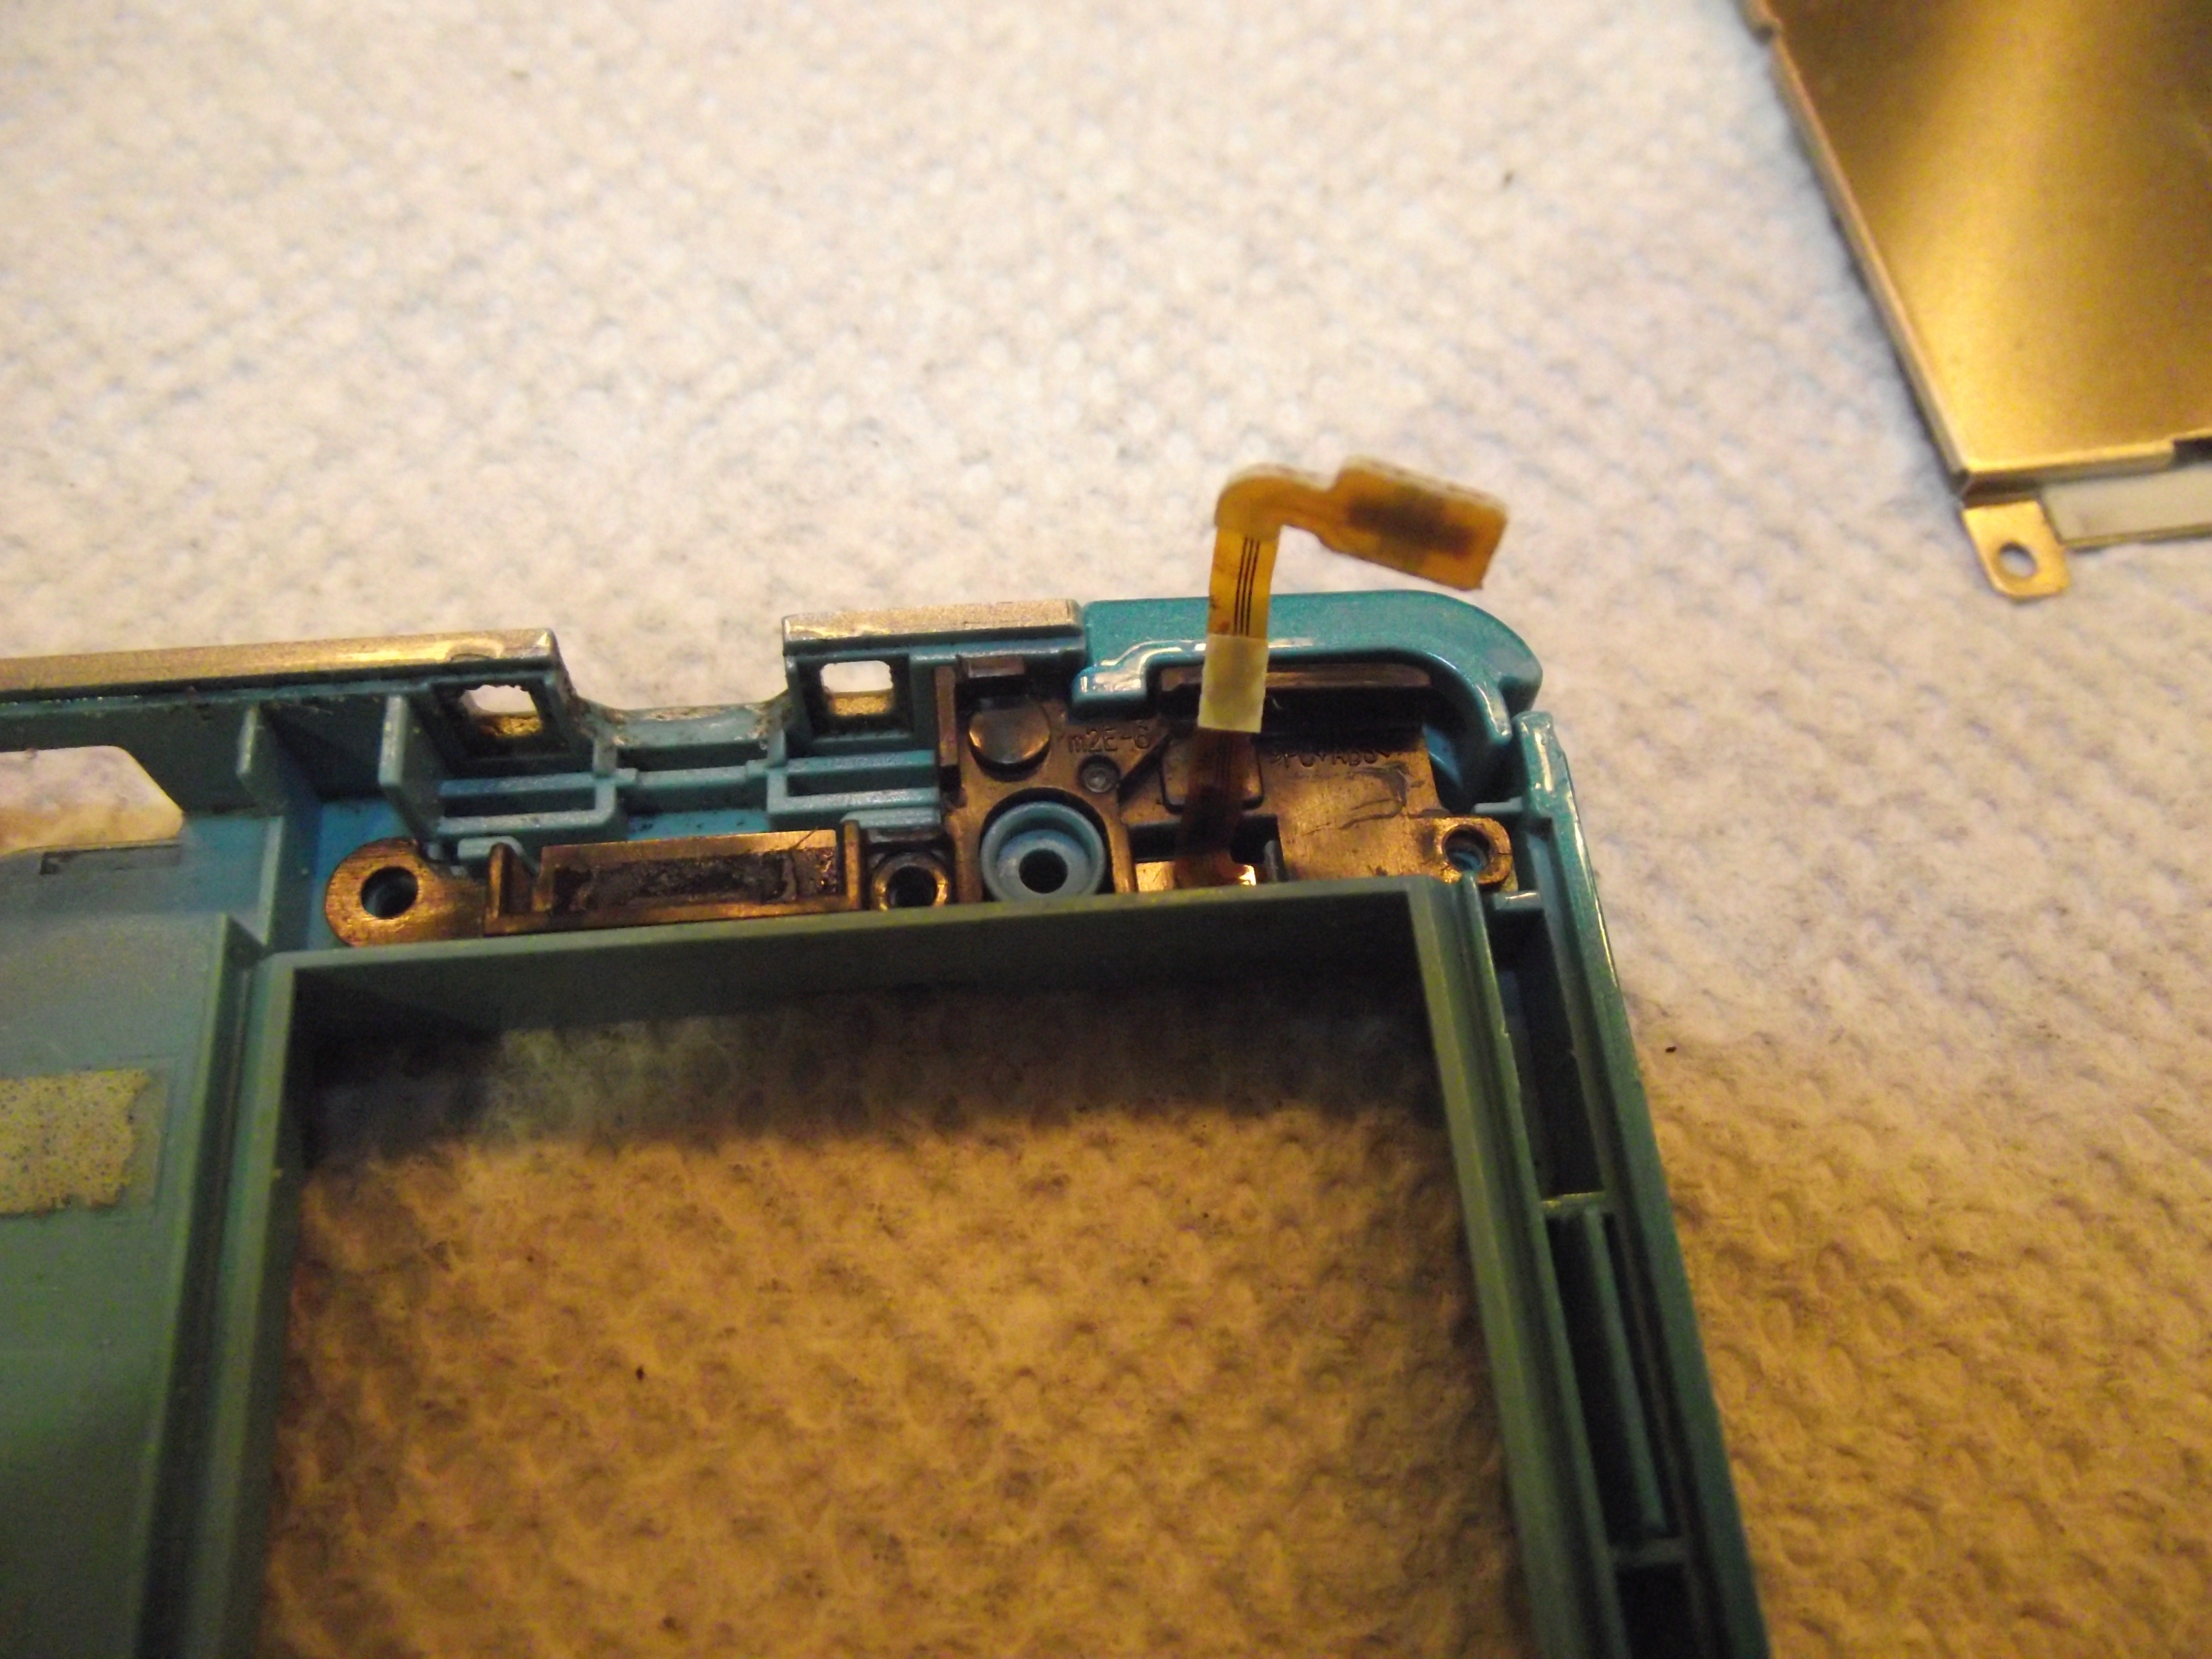
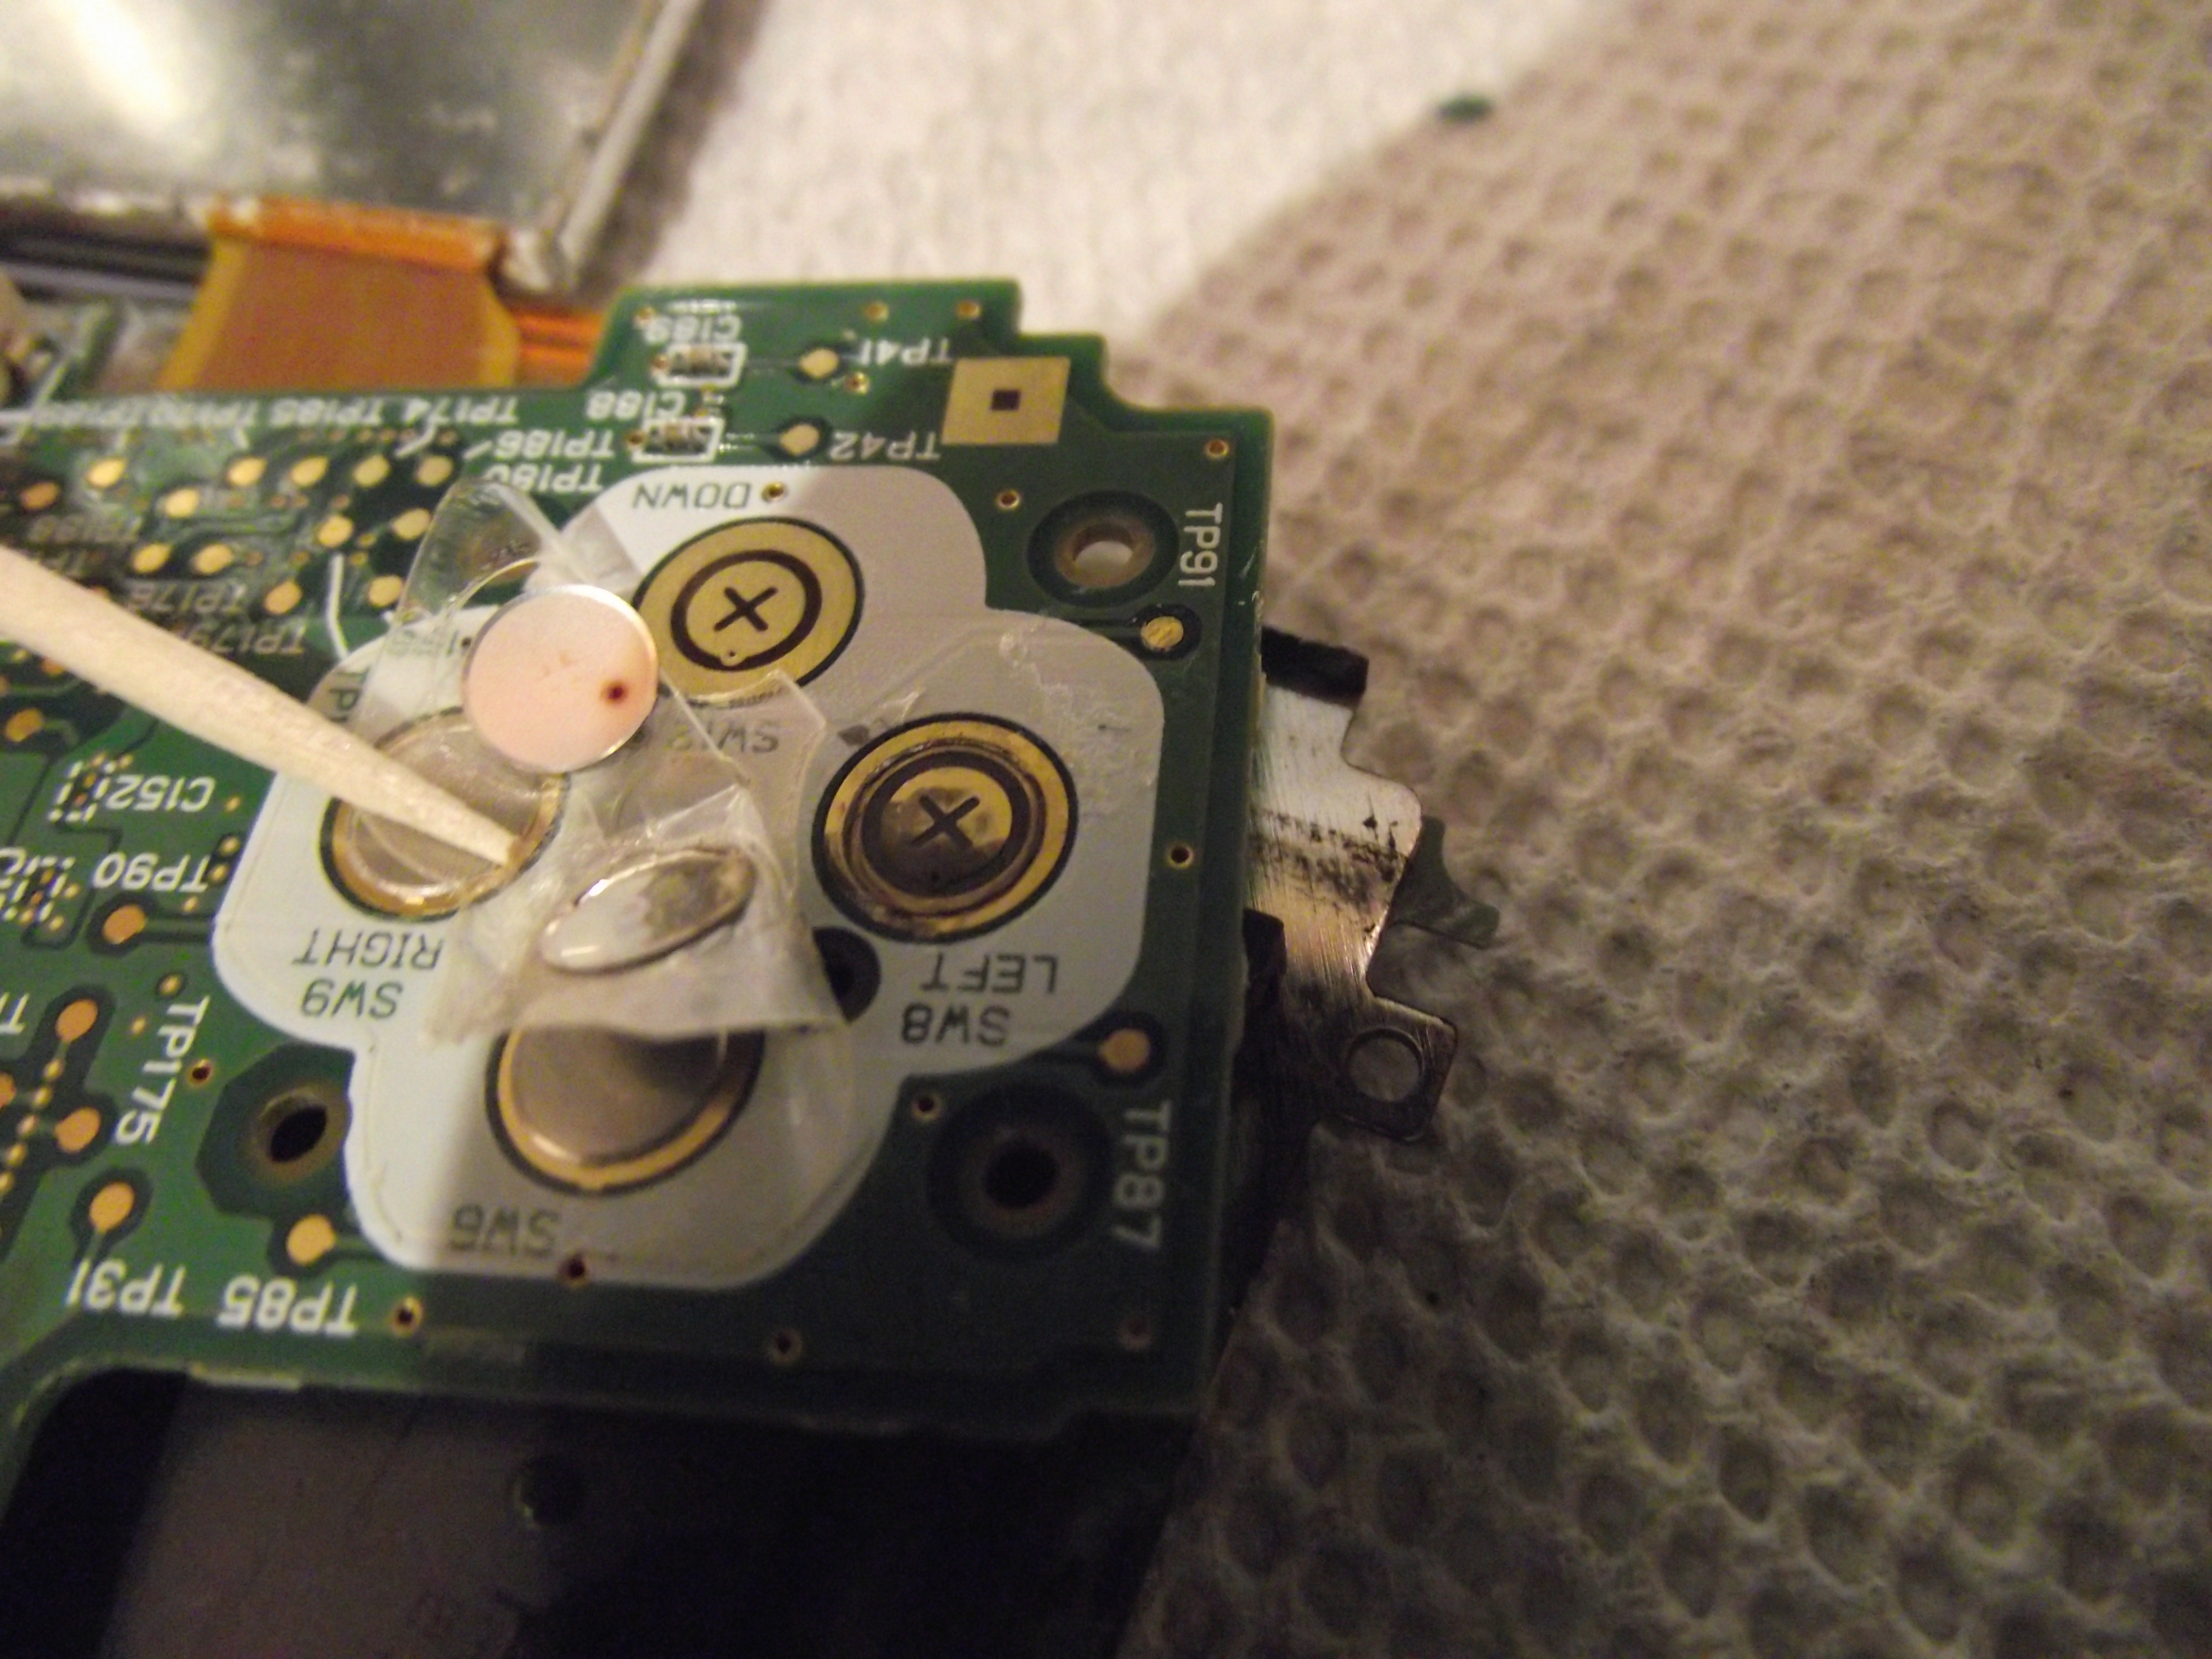
For the worst cases you will need to clean beneath the contacts as well. Mainly this is only necessary when there was liquid damage, but in this particular case the owner was such a slovenly clodhopper that there was a horrifying amount of dirt underneath the contacts even in the absence of anything else that looked like liquid damage.
You can peel the contacts up with a toothpick, but I actually find it easier to use my fingernail. As long as you’re careful, you can just stick them back down on the board when you’re finished cleaning. The adhesive is very strong, so it can be reused. However, if you do accidentally destroy the contacts you can replace them either from another motherboard or by buying replacements on eBay or Aliexpress for about $2, so there’s no great risk involved here. Just don’t scratch the motherboard.
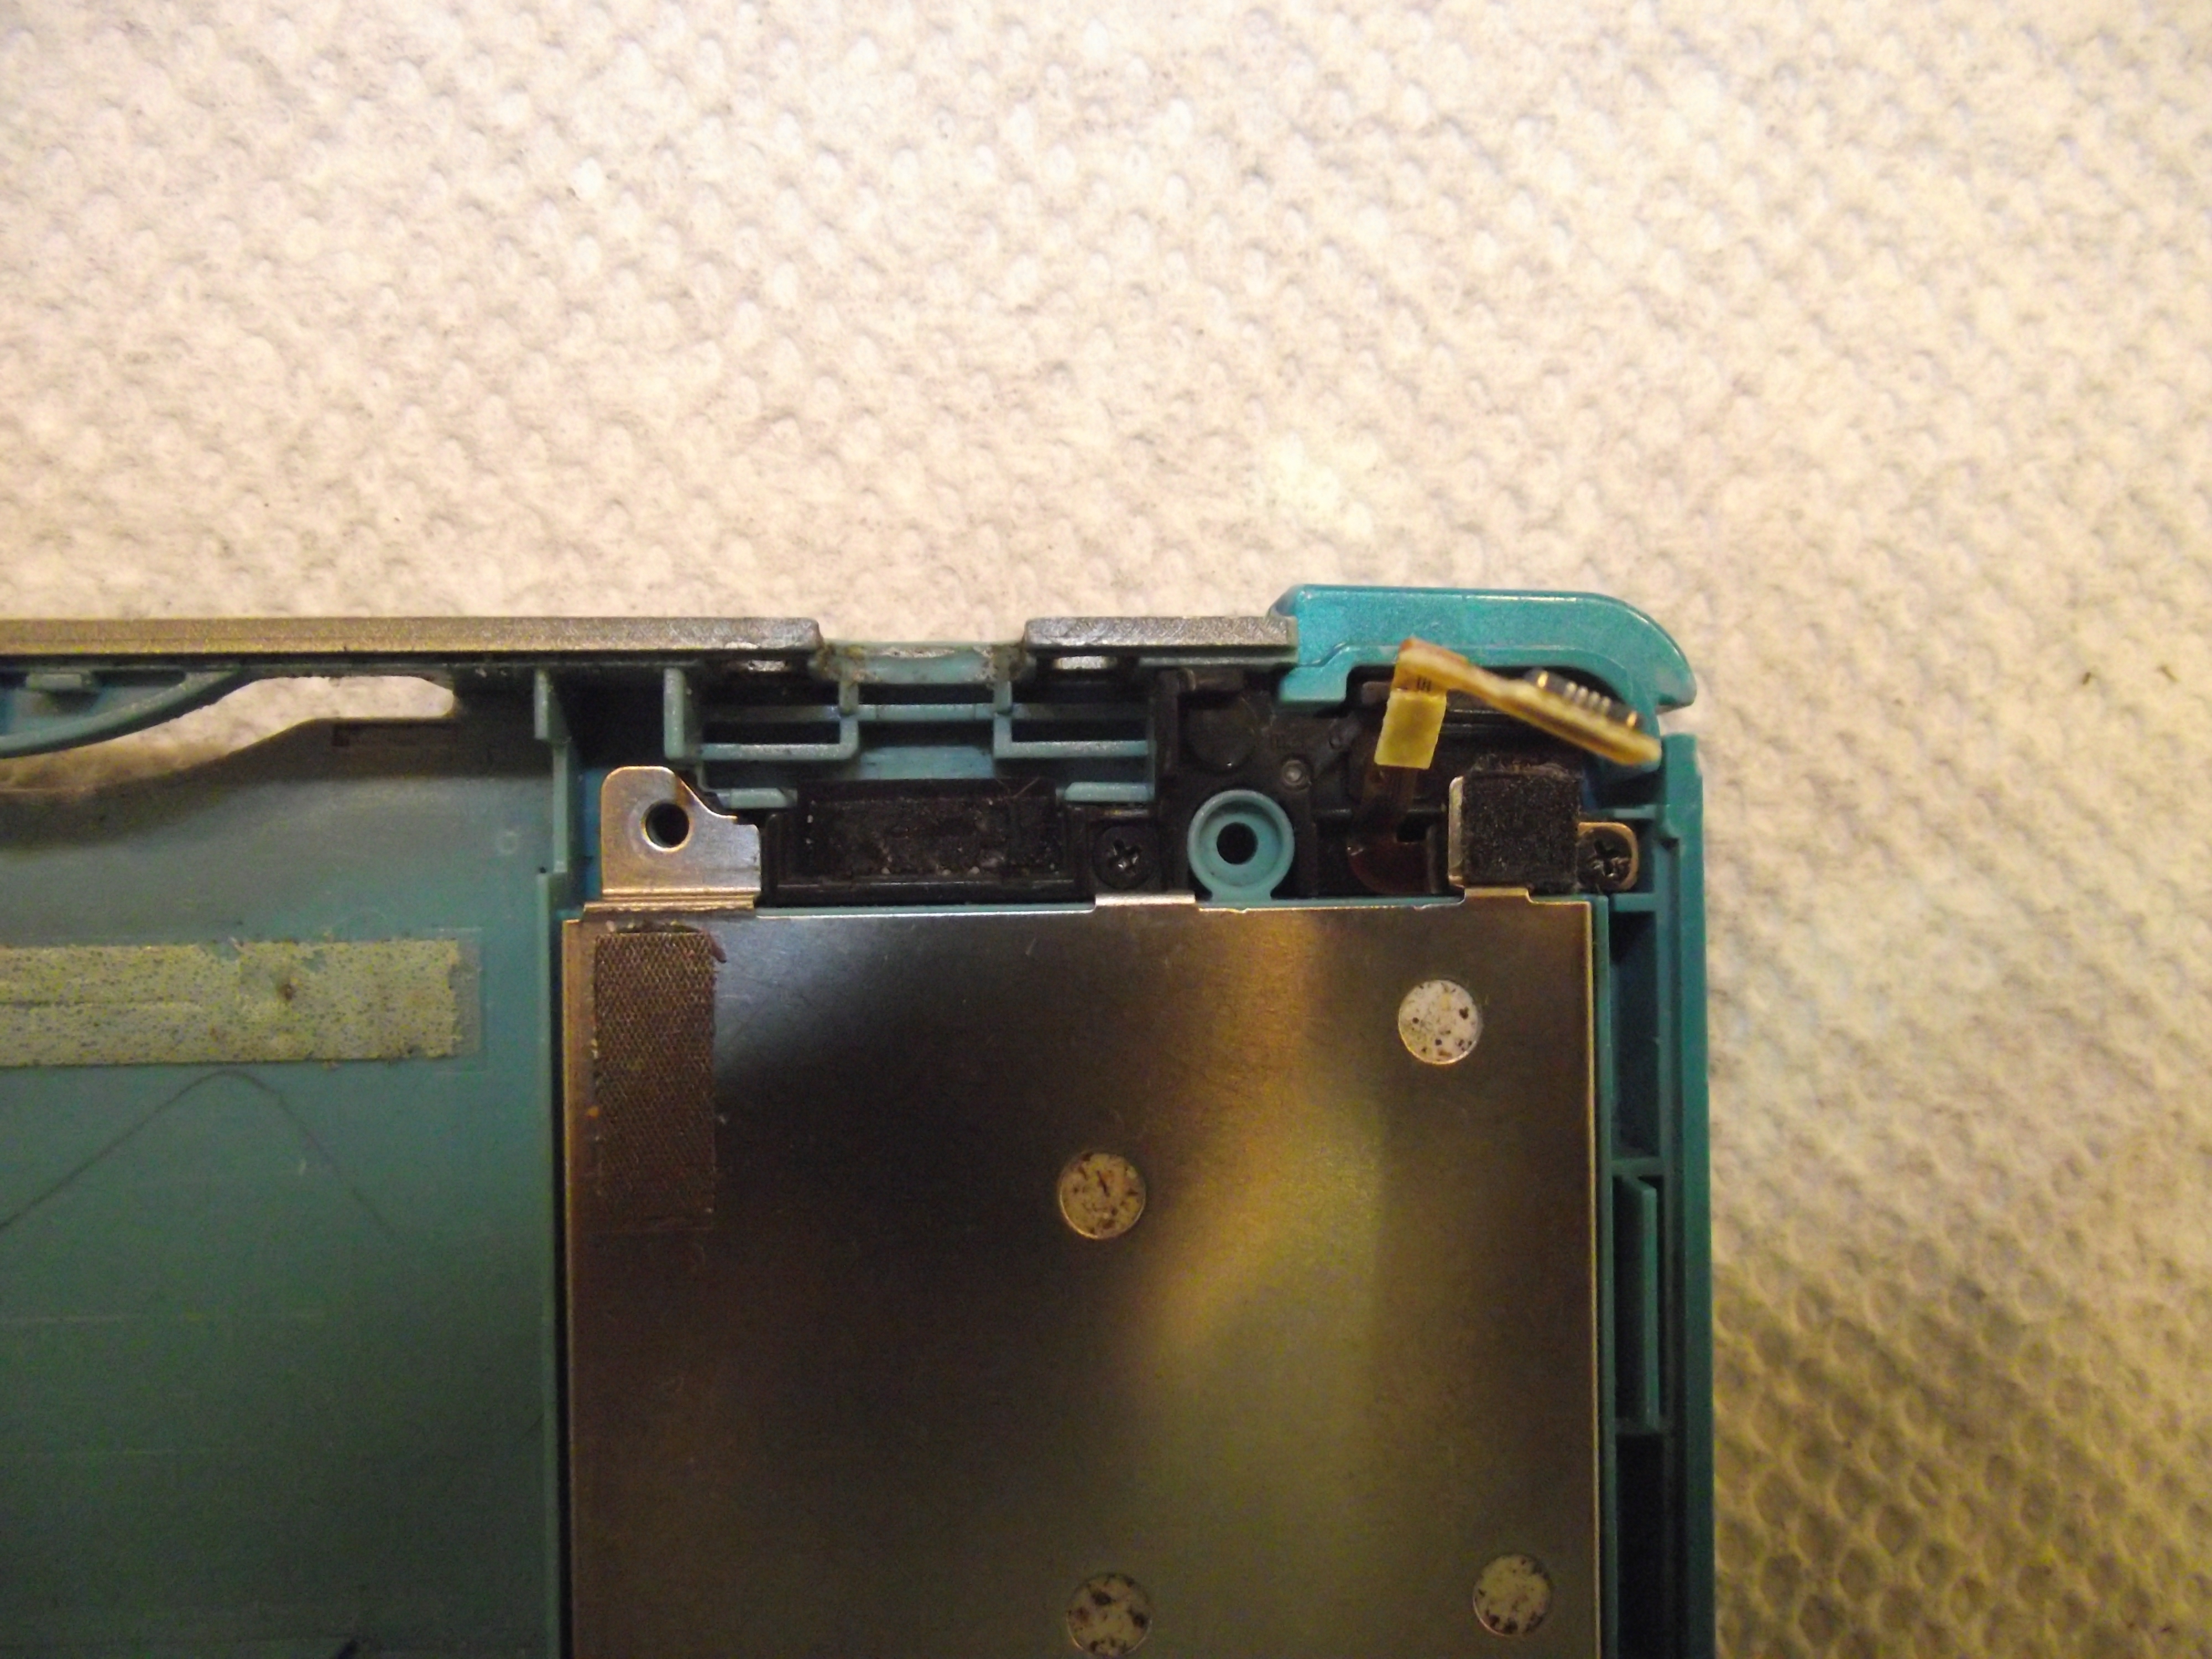
 It’s amazing the D-pad worked at all with this level of accumulation. 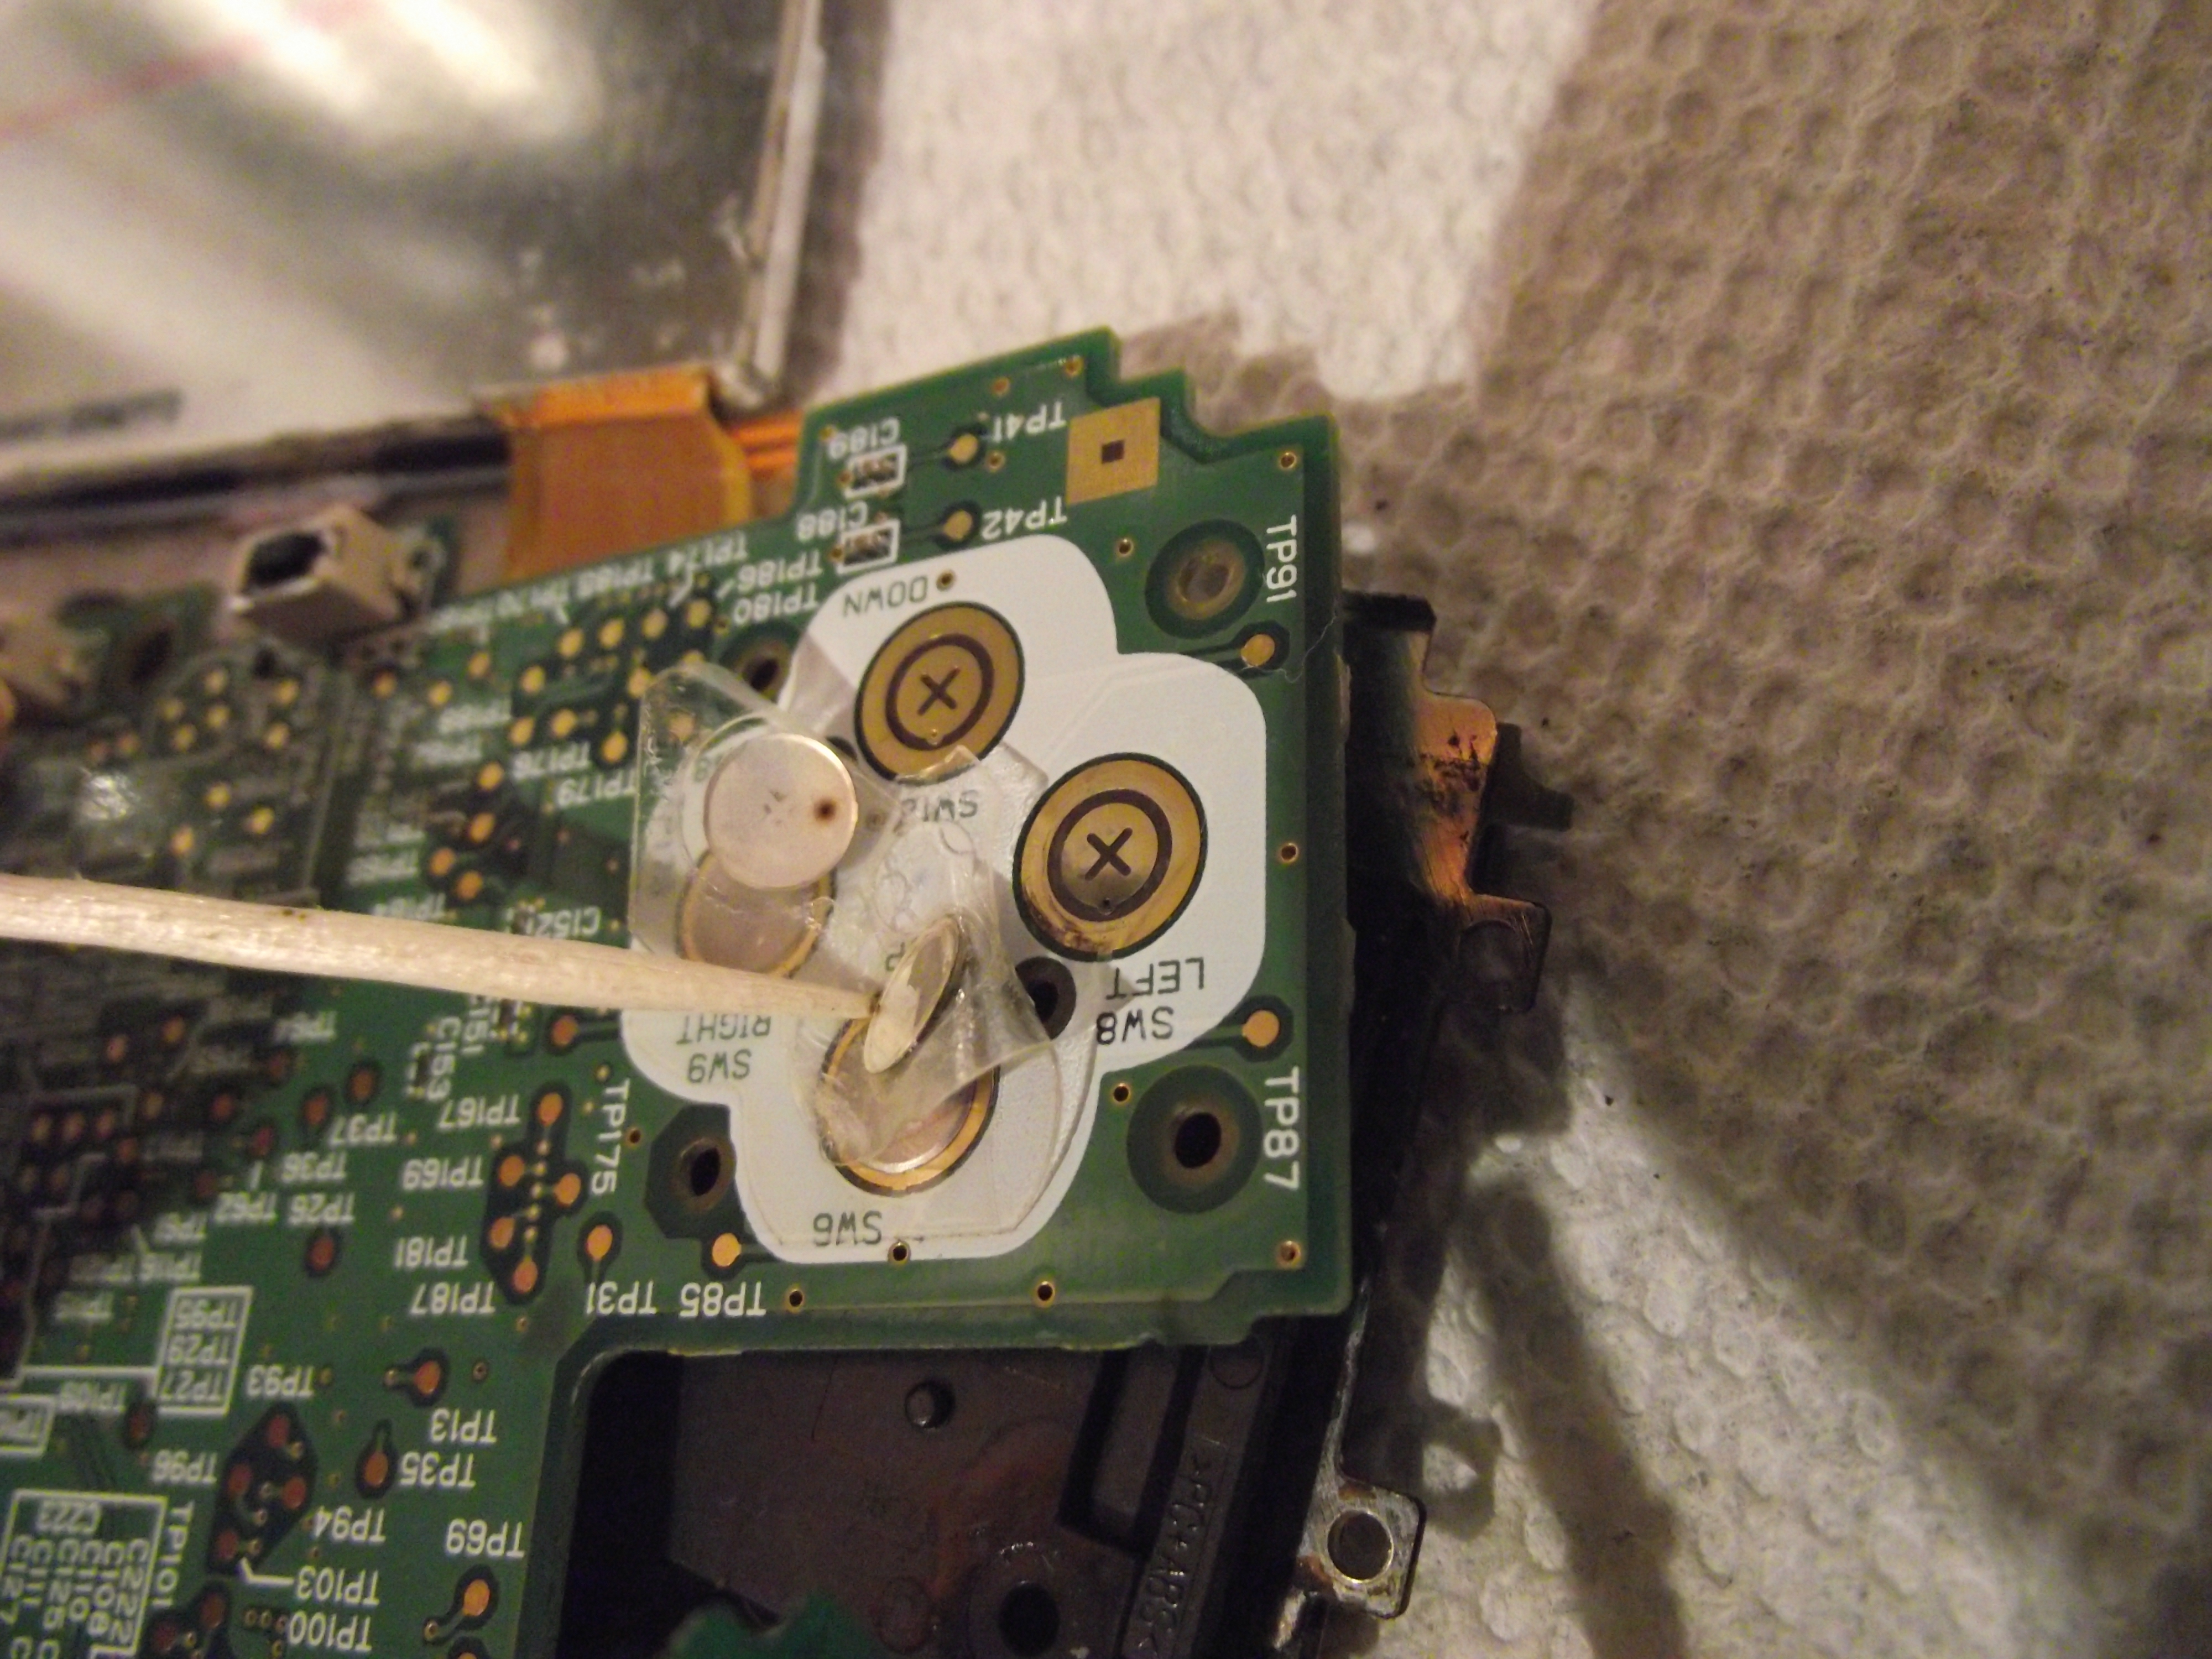 When cleaning it’s fine if you don’t remove 100% of the dirt. It’s not necessary to be perfect. In this case the contacts are clean enough to restore completely normal functionality even though there is still a small amount of stubborn dirt left that I couldn’t remove. |
And that’s it. If people weren’t such swine none of this would be necessary.