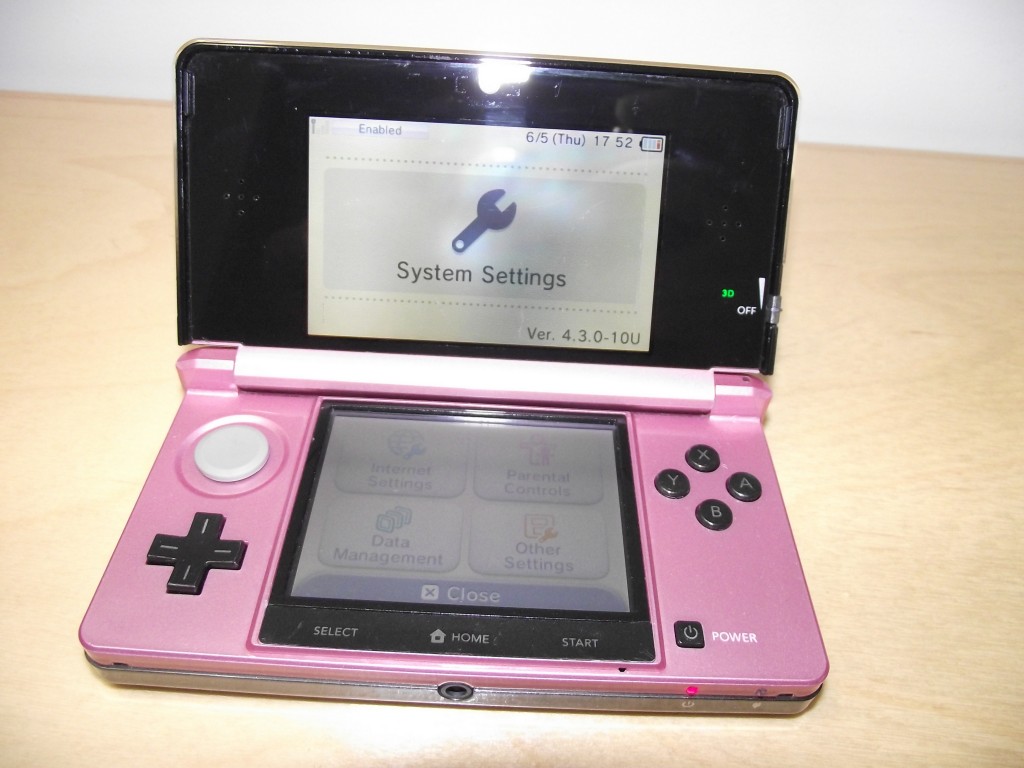
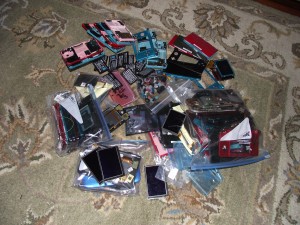
I repair a lot of 3DS consoles, mostly for fun. But unfortunately I also fail to repair a lot of 3DS consoles. For every 10 consoles I repair, there may be two or three that get tossed into the graveyard box. Eventually, I accumulate enough parts in the box to assemble a working console out of them.
Recently I was surprised to find that I had a good upper LCD, speakers with a good ribbon cable, and a few camera modules. I always have a surplus of lower screens and touch screens for some reason, so I had what was more or less a full console in individual parts. I decided that I would try once again to repair a heavily corroded motherboard that I had given up on recently. Fortunately it turned out all it needed was some elbow grease. Nothing was permanently damaged from the liquid it had been exposed to.
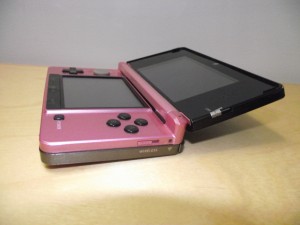
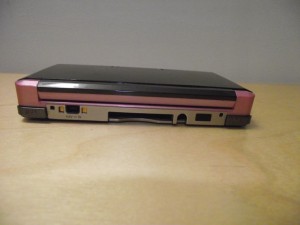
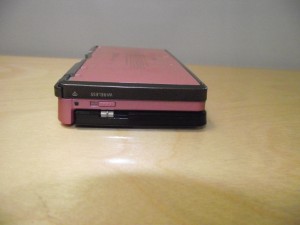
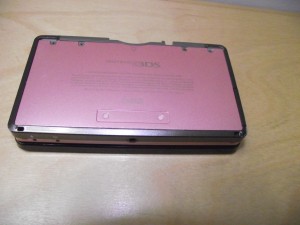
Unfortunately, I didn’t have a full housing set. I didn’t want to wait though until enough housing fragments found their way into my spare parts box, so I combined two different colors into what turned out to be what I think is a very sharp-looking console. Even though there’s only two colors, the parts actually came from at least four or five different consoles with varying degrees of wear and tear. Since it was assembled from parts that I had rejected in the first place as unsuitable for individual resale, I didn’t expect it would turn out quite as nice as it did.

Hi
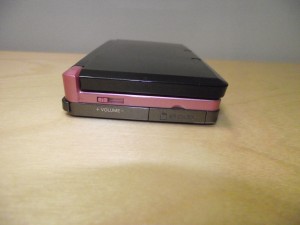
i had trying to find a volume button (external button) for a black 3ds and it has been impossible.
Could you tell me some place where i can find or buy it?or could you sell me this button?
Thanks in advance
Sure, have a look here: http://cgi.ebay.com/ws/eBayISAPI.dll?ViewItem&item=161368682575
Great. i couldn find it and i looked the web for 1 week. unfortunately its 4.99$ and the shipping to spain add 6.55$. I think too much for this piece
thanks anyway, I’ll keep looking
Hi, your liquid damage 3ds post helped me repair my 3ds. Trying to put it back together, but I cant get the screen/speaker/camera ribbon cables through the hinge hole, do you have any advice on how to do this? Thanks!
Yeah, it’s very tricky. I’ve done it dozens of times now and I’m still not sure of the best way to do it.
For what it’s worth though, I usually gently fold the end of the speaker cable just a little bit and try to squeeze it through first, followed by the WiFi antenna cord, and then I roll up the screen and camera cables together and push them through at the same time. I could never do it without tweezers though. Tweezers with rubber-coated tips are best because they won’t damage the cables.
Followed your advice, worked great! Sadly the camera cable snapped but I didn’t use the camera anyways so no lose there. Thanks!
Love this blog of yours!!! I saved that photo of the pile of 3ds guts to have a laugh at later. I still love that you managed to make a console out of the corroded motherboard and parts, though. One less heap for the landfill.