Unresponsive 3DS face buttons?

This is the same console owned by the blighted mudcrab whose shoulder buttons I had the pleasure of cleaning previously.

This is the same console owned by the blighted mudcrab whose shoulder buttons I had the pleasure of cleaning previously.

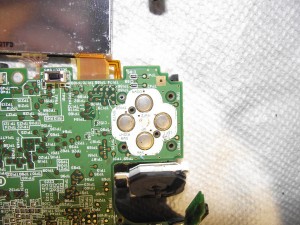
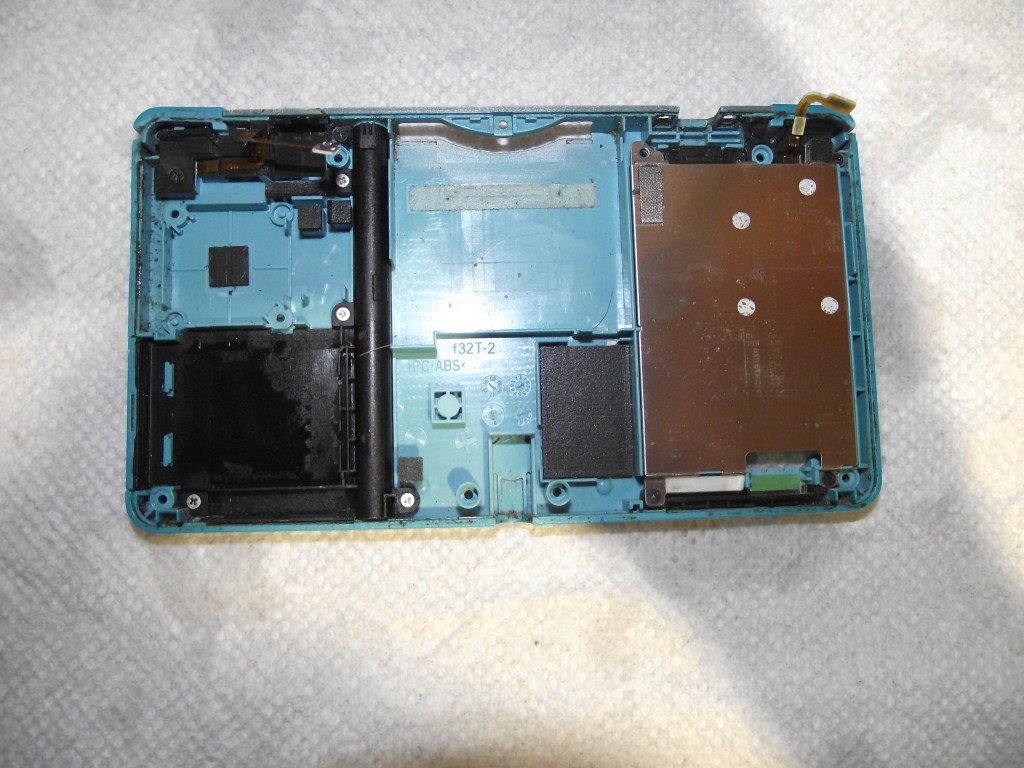
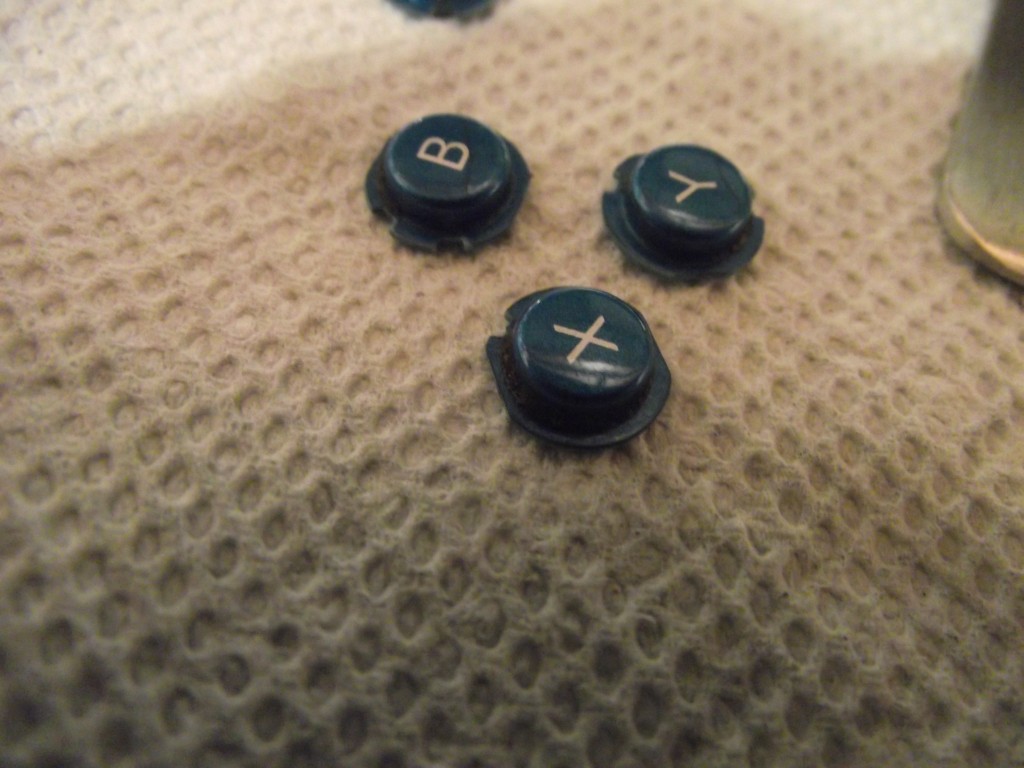
While unresponsive shoulder buttons are far more common, sometimes the face buttons of a 3DS or other console become sticky or unresponsive. If the button works when pressed very hard but not when pressed lightly, it’s almost certainly due to dirt accumulation. If the button feels sticky or jammed, it’s most likely because there’s dirt built up around and beneath the plastic buttons, as in the above photo where thick rings of filth have built up around the circumference of each button. If the button doesn’t feel jammed but it’s not as clicky as it once was, it may be due to dirt under the conductive pads on the motherboard. In either case, it’s necessary to remove the motherboard from the housing (or at least remove the screws securing it in place and flip it over, if you’re in a hurry, like I was).

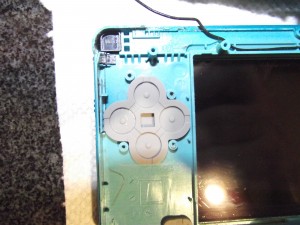
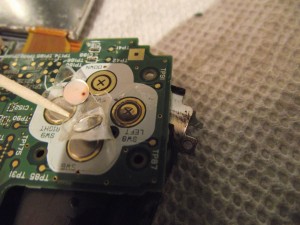
Here's the rubber pad between the plastic buttons and the contacts on the motherboard. Doesn't look too bad, does it?

Here’s the rubber pad between the plastic buttons and the contacts on the motherboard. Doesn’t look too bad, does it?

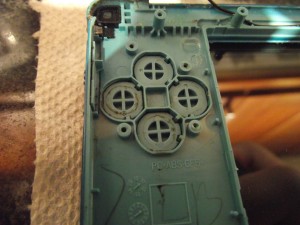
But peel it away to reveal a cache of shit and grease.

But peel it away to reveal a cache of shit and grease.

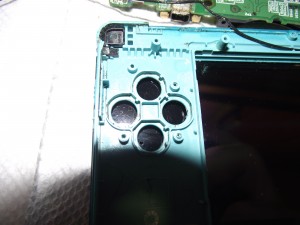
Remove the buttons one by one and clean the slots. Toothpicks help.

Remove the buttons one by one and clean the slots. Toothpicks help.

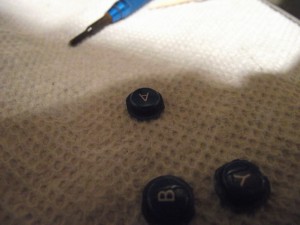
Clean the buttons, too. As you can see, they're usually even dirtier than the slots in which they sit.

Clean the buttons, too. As you can see, they’re usually even dirtier than the slots in which they sit.

Of course, while you’re at it you should also clean the D-pad and power buttons. It’s the same nauseating process as for the ABXY buttons, so I didn’t bother photographing them. When you have to disinfect your camera after each part of the process, you’ve got a strong incentive only to photograph the most essential steps.

Don’t close up your console yet. The most important part is to clean the contacts on the motherboard. If you’re a particularly depraved slimebucket—or if the console has suffered liquid damage—you should clean beneath the contacts as well.

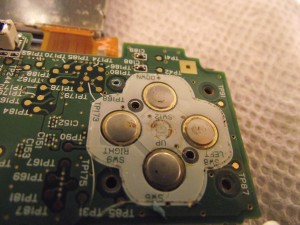
As with most things, these contacts don't look too bad from afar.

As with most things, these contacts don’t look too bad from afar.

But look more closely and you'll be horrified.

But look more closely and you’ll be horrified. We need to clean this sludge off with isopropyl alcohol and a cotton swab.

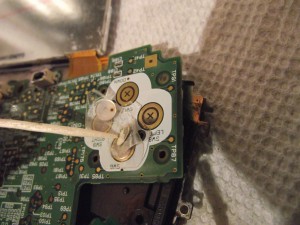
For the worst cases you will need to clean beneath the contacts as well. Mainly this is only necessary when there was liquid damage, but in this particular case the owner was such a slovenly clodhopper that there was a horrifying amount of dirt underneath the contacts even in the absence of anything else that looked like liquid damage.

You can peel the contacts up with a toothpick, but I actually find it easier to use my fingernail. As long as you’re careful, you can just stick them back down on the board when you’re finished cleaning. The adhesive is very strong, so it can be reused. However, if you do accidentally destroy the contacts you can replace them either from another motherboard or by buying replacements on eBay or Aliexpress for about $2, so there’s no great risk involved here. Just don’t scratch the motherboard.

It's amazing the D-pad worked at all with this level of accumulation.

It’s amazing the D-pad worked at all with this level of accumulation.

When cleaning it's fine if you don't remove 100% of the dirt.  It's not necessary to be perfect.  In this case the contacts are clean enough to restore completely normal functionality even though there is still a small amount of stubborn dirt left that I couldn't remove.

When cleaning it’s fine if you don’t remove 100% of the dirt. It’s not necessary to be perfect. In this case the contacts are clean enough to restore completely normal functionality even though there is still a small amount of stubborn dirt left that I couldn’t remove.

And that’s it. If people weren’t such swine none of this would be necessary.

Unresponsive 3DS shoulder buttons?

Well, have maybe you're a swamp dwelling slob, like the previous owner of this console.

Well, have maybe you’re a swamp dwelling slimelord, like the previous owner of this console.

The above is about average for consoles I receive. I’ve seen much worse, but it never ceases to surprise me how much dirt can accumulate inside consoles that look to be in decent cosmetic condition externally. This is the first time I had the idea to actually photograph it though. I doubt most people realize how much material gets transferred from their hands to the console and becomes trapped inside when they fail to wash their hands before playing.

I always clean beneath the shoulder buttons before selling a used console. I used to only do this for liquid-damaged consoles, but I’ve noticed it’s often necessary even on consoles that look like they’ve been taken care of responsibly. So now I don’t even bother testing the shoulder buttons first to see if they need it. I just assume they do and clean them.

Unresponsive shoulder buttons are almost always due to dirt accumulation. It’s really amazing what slobs people are. Fortunately, cleaning the shoulder buttons is very quick and easy, so even destitute mud farmers like the people who let this happen to their consoles can fix it themselves.

The left and right sides are pretty similar, so I only took photographs of the right side to show the process.

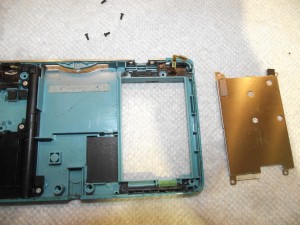
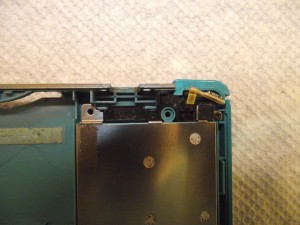
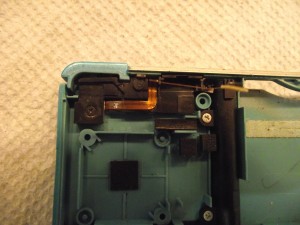
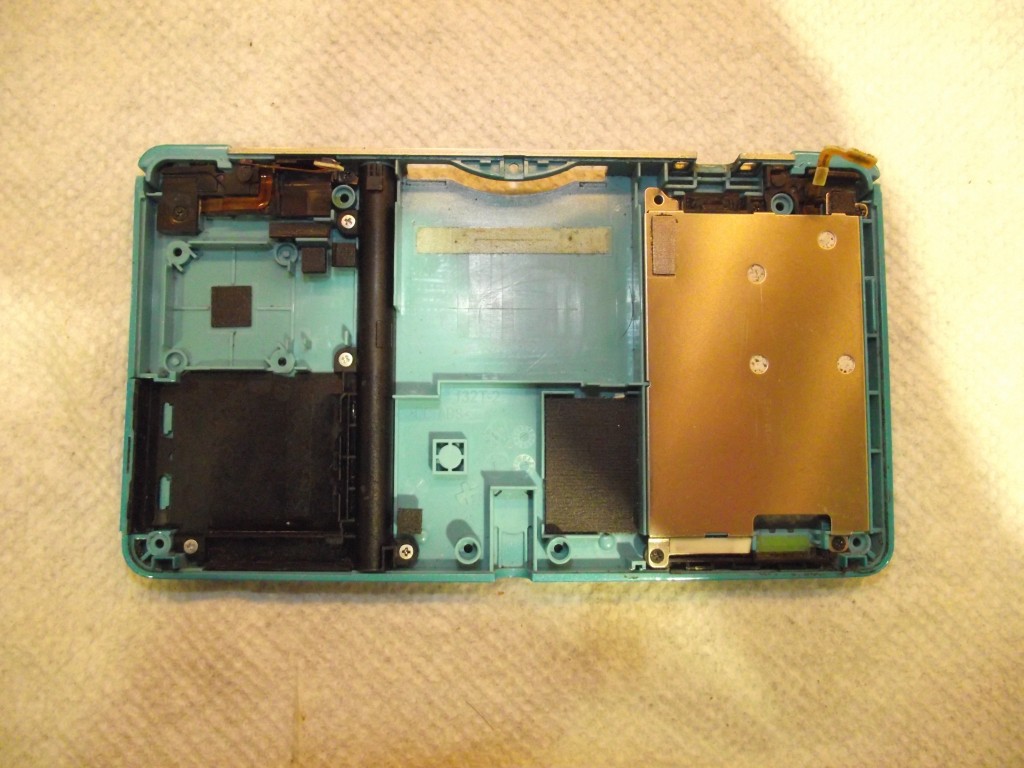
This is what we will be contending with.

This is what we will be contending with on the right side.

The left is not much better.

The left is not much better.  


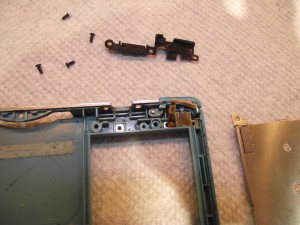
First we remove these four black screws. On some consoles there will be only three.

First we remove these four black screws. On some consoles there will be only three.

Now we life the plate off and set it aside.

Now we life the plate off and set it aside.  

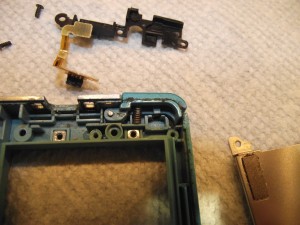
Next we life off this black plastic piece.

Next we life off this black plastic bracket.  

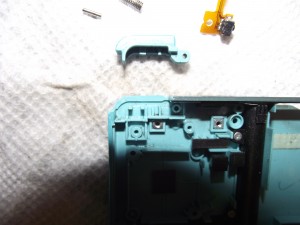
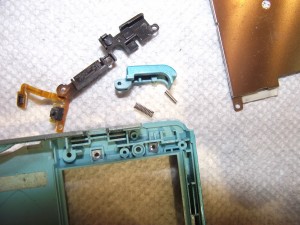
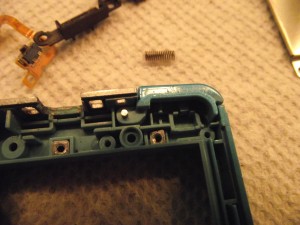
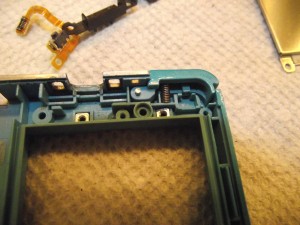
The button is held in place by a peg and a spring. Carefully remove them.

The button is held in place by a peg and a spring. Carefully remove them.

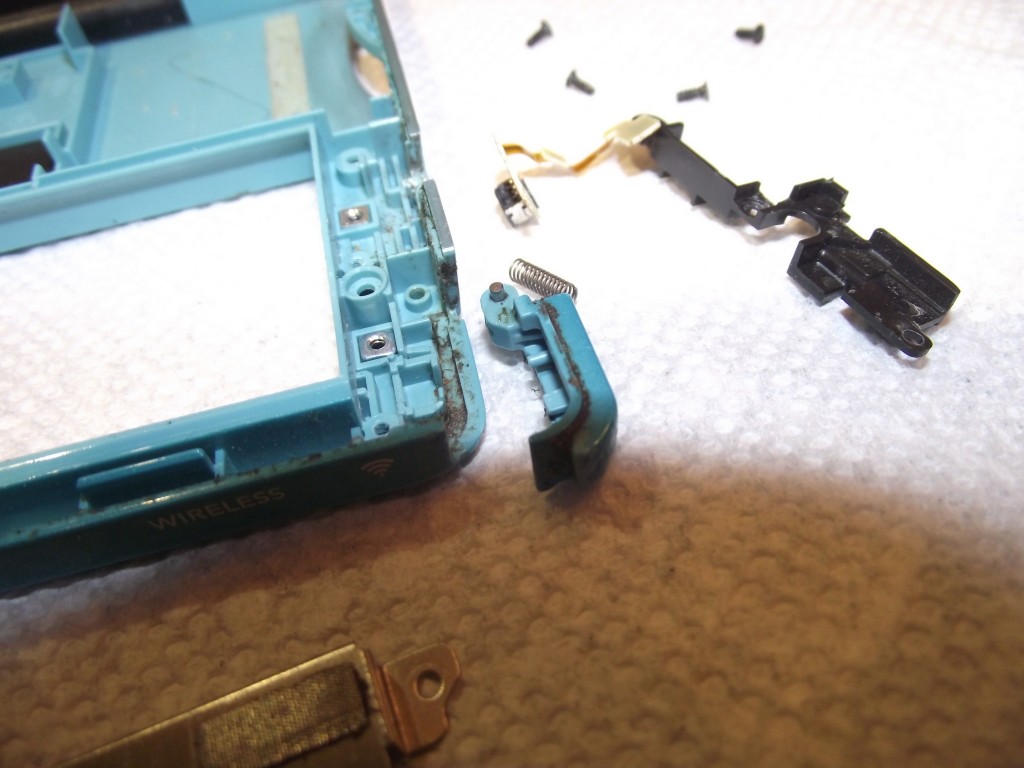
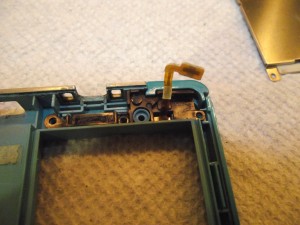
This would be the moneyshot.

This would be the moneyshot.

The best way to clean is with isopropyl alcohol. Not only does it make removing even tough dirt easy, it also eliminates most odors, which may be important if there’s liquid damage. You can do a good job with just a combination of a toothbrush, toothpicks, and some cotton swabs. Obviously you’ll want to focus your cleaning on the recess in which the plastic button sits, but you should also clean the button itself. If you’ve noticed that your shoulder buttons are unresponsive and don’t make as much of an audible “clicking” noise as they once did when you press them, cleaning them can sometimes help with that

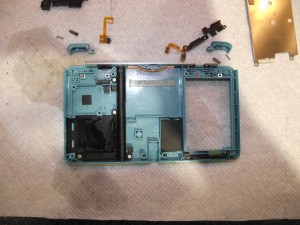
Now we clean and dry the left side...

Now we clean and dry the left side…

and the right side.

and the right side.

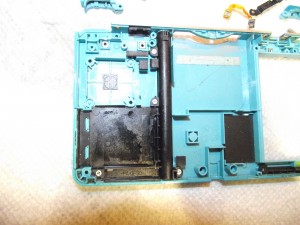
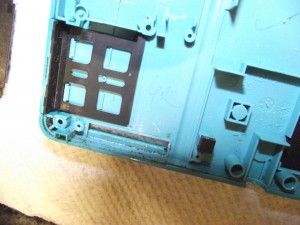
While you have the console open, it’s also a good idea to clean out the area beneath the SD card slot and the slot in which the stylus is stored.

Remove the four silver screws that secure the stylus holder and SD card slot cover in place.

Until you open it up to check, you would never suspect how much dirt can be trapped in these areas.

Remove the four silver screws that secure the stylus holder and SD card slot cover in place.

Remove the four silver screws that secure the stylus holder and SD card slot cover in place.

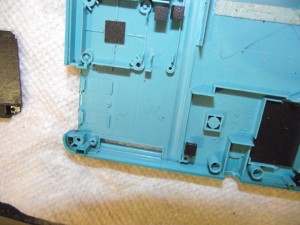
Disgusting.

Disgusting.

Much better.

Much better.

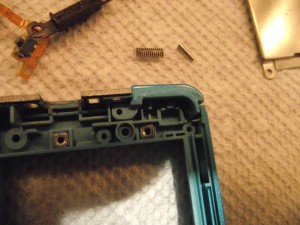
Reassembly is easy as long as you haven’t lost anything along the way.

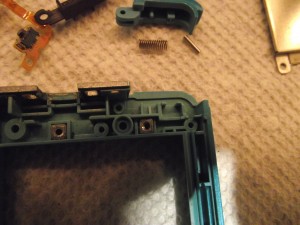
Make sure these two nuts are in there. The four screws on the battery cover screw into these.

Make sure these two nuts are in there. The four screws on the battery cover screw into these.

First, place the button into the recess.

First, place the plastic part of the button into the recess.

Then insert the peg...

Then insert the peg…

...and the spring.

…and the spring.

Now we can insert the button itself.

Now we can insert the button itself.

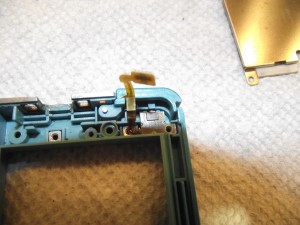
Next we replace the black bracket on top of the button. The ribbon cable for the button goes through a slot in the bracket.

Next we replace the black bracket on top of the button. The ribbon cable for the button goes through a slot in the bracket.

Replace the serial number plate and screw it back in. Take note that no screw goes in the upper left corner.

Replace the serial number plate and screw it back in. Take note that no screw goes in the upper left corner.

Here's what the left side should like like in the end.

Here’s what the left side should like like in the end.

The finished, disinfected product.

The finished, disinfected product.

If I get around to it I might write about how to repair most cases of sticky/unrepsonsive face buttons next. If I get around to it.

Liquid-damaged 3DS consoles

This entire entry is about why I no longer avoid liquid-damage auctions as much as I used to, but even I wouldn't mess with this shit.

This entire blog entry is about why I no longer avoid liquid-damage auctions as much as I used to, but even I wouldn’t mess with this shit.

One of the greatest things I’ve recently discovered about repairing 3DS consoles — and any small electronic gadget in general — is that I really don’t need to be avoiding “liquid damage” items as I once thought. Now, with mobile phones there’s the ick factor involved, since we’ve all seen people who use a mobile phone while in the restroom and, of course, when you see a liquid damaged mobile phone in an auction you can’t help but wonder if it fell in the toilet. That’s something I’m still not sure I would want to mess with. When it comes to 3DS consoles, however, the risk of the item touching shit or piss is far less since I think that the number of people who use a 3DS while on the toilet is far less than the number of people who use mobile phones while on the toilet. In other words, it’s not zero, but it’s a relatively low risk.

With mobile phones you more often have damage caused by the phone becoming completely submerged in a liquid (such as toilet water or a puddle in the street). However, because of the nature of a 3DS it’s more likely that liquid-damaged 3DS consoles experienced spillage, rather than submergence. It’s easy to imagine a clumsy person sitting, let’s say, on the couch with a beverage on the coffee table. Maybe this clumsy person sets the 3DS down next to the beverage and the beverage somehow spills. Spillage means that it’s often the case that the screens are not damaged and that there is less time in contact with the liquid , which means less widespread corrosion.

I have repaired six or seven heavily liquid-damaged 3DS consoles and, contrary to the warnings I see all the time, I haven’t yet seen one with any blown fuses. I’ve read warnings all over the place about liquid damaged consoles where people cry wolf, “It’s a waste of money because they all have blown fuses which are too hard to replace so you end up replacing the whole motherboard instead”. That’s hogwash.

When I get a liquid-damaged console I first take some WD-40 and spray a bit into each external screw hole. I let the console sit for about 45 minutes before attempting to open it. This is because the screws rust easily. I sometimes have to use WD-40 even for non-liquid-damaged consoles, but in the case of liquid-damage it is especially important because if you try to remove those small screws when rusty you can very easily strip them.

99% alcohol and a soft toothbrush are the main tools here. Yes, it’s pretty low-tech, but you often don’t need much of anything else. I take out all the internal screws, remove the WiFi board, SD card slot, analog stick, IR sensor, camera, and speaker ribbon cables. I take the motherboard out and scrub it clean with the alcohol and toothbrush. It’s fine to be rough on the board. Nothing will come off the board. It’s all soldered on there well. The key is to get every nook and cranny. The fuses are most likely fine. Let it dry and hold a battery to the connector. If it works, great. Connect screens and speaker and try to power on. If it works, reassemble. If no power, keep scrubbing. If still no power after cleaning the board very well, then get out a multimeter and do a continuity test on the fuses.

I recently had a console with only slight liquid damage near the battery connector area and it exhibited strange symptoms. I had scrubbed and scrubbed and scrubbed the board front and back to pristine condition, but the trouble persisted. The symptom was that the instant you pressed the battery to the connector the orange charge light would immediately turn on and one to two seconds later it would boot on its own. Once powered on it both charged and functioned totally normally and you could press the power button to turn it off. However, once you turned it off, the only way to power it back on was to remove the battery and then re-connect it, at which point the orange light would turn on again and it would power on one to two seconds later. I had no idea what was wrong, so I set it aside for a while and worked on some other consoles. A few days later I decided to turn it on to check all the other functions to make sure they still worked. When I tested WiFi I got the “An error has occurred. Press and hold the POWER Button to turn the system off. Please refer to the Operations Manual for details” message. This was strange, since WiFi had worked when I first tested it after cleaning the board. Nevertheless, I took a Post-it note, wrote “check wifi board” on it, and stuck it to the console and set it down for a few more days. Eventually I had some spare time one day and decided to open the console back up and check to see if the WiFi board was loose. I popped it off and just as I did so, I noticed the tiniest bit of corrosion just peeking out from beneath the metal frame on which the WiFi board rests. I took a spudger and lifted up the metal frame and, sure enough, there was some sludge under there.
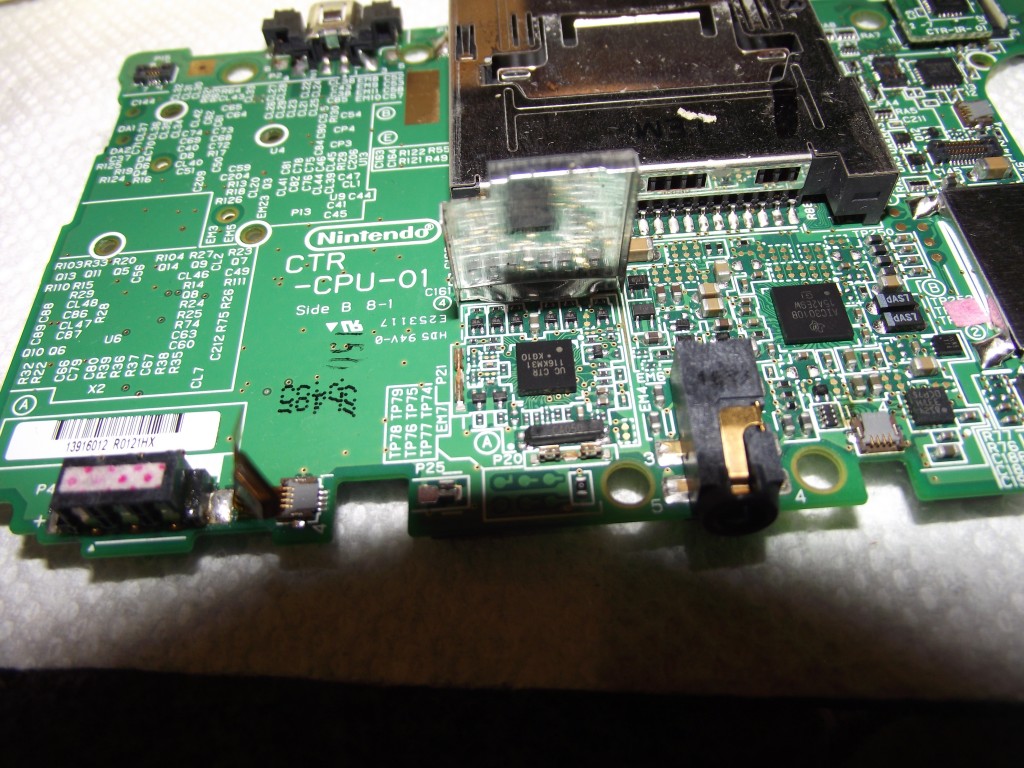
Just this tiny amount of corrosion was enough to break WiFi and cause weird power and battery problems.

Just this tiny amount of corrosion was enough to break WiFi and cause weird power and battery problems.

Thirty seconds of scrubbing cleaned the area up. I bent the metal frame back into place, popped the WiFi board back on and, sure enough, this fixed all the problems with the 3DS. Yes, it fixed the battery and power issues, too. The charge light no longer turned on when I connected a battery. It no longer booted automatically as soon as the battery was connected. WiFi worked. I could turn it on and off reliably using the power button. Just this small amount of contamination can mess your system up. The good news though is that, once you find it, it’s generally very easy to clean and fix the problem.

Changing gears here, another reason that people avoid liquid-damaged consoles is because, there’s a widespread belief that a liquid-damaged LCD must be replaced. It’s common to see mobile phones that the owner put in rice or something after getting them wet to save the motherboard. And sure, those phones work, but if you look at the LCD you see those drying marks that get left behind. Even quickly putting a device in a bag of rice doesn’t necessarily save it from those drying marks, often described by unscrupulous eBay sellers as “cloudiness” of the LCD. “Cloudy LCD” means “device dropped in the toilet” in eBay doubletalk. It’s like how “genuine” means “it is tangible” and not “it is made under license from the IP owner”. Anyway, those LCDs don’t necessarily need to be replaced. You can remove those drying marks. While you can’t restore the LCD to like-new condition, you can make it good enough for resale in many cases.

Now, I don’t know the proper terminology or even how exactly an LCD works, but it doesn’t really matter for my purposes. The LCD has several “papery” layers behind it. There is a reflective layer, then a backlight, then a slightly transparent white layer, and then some others that I forget the order of. We need to wipe all of those papery layers clean, since that’s where the drying marks are. When the backlight shines, those drying marks are made visible on the screen. In other words, it’s like taking the greasy wrapper that a burrito came in and holding a flashlight in front of it. If you do so, all the grease marks become more prominent on the semi-transparent burrito wrapper. But unlike a burrito wrapper, the papery layers behind the LCD can be cleaned with tap water. I use about 50% alcohol and 50% tap water. I originally used 99% alcohol but I found that it was too strong and left streaks. Tap water on its own will work fine though. I just use the 50% alcohol to help it dry faster.
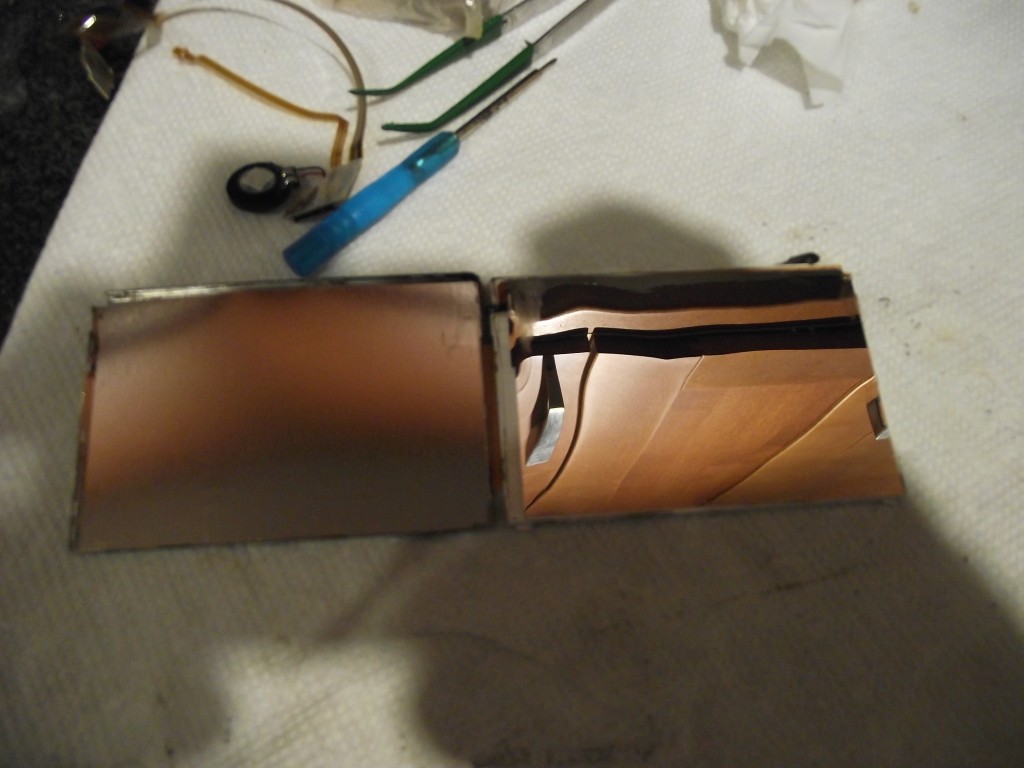
Open the metal frame of the LCD and the backmost layer is this shiny one. On the left is the the metal frame.

Open the metal frame of the LCD and the backmost layer is this shiny one. On the left is the metal frame.
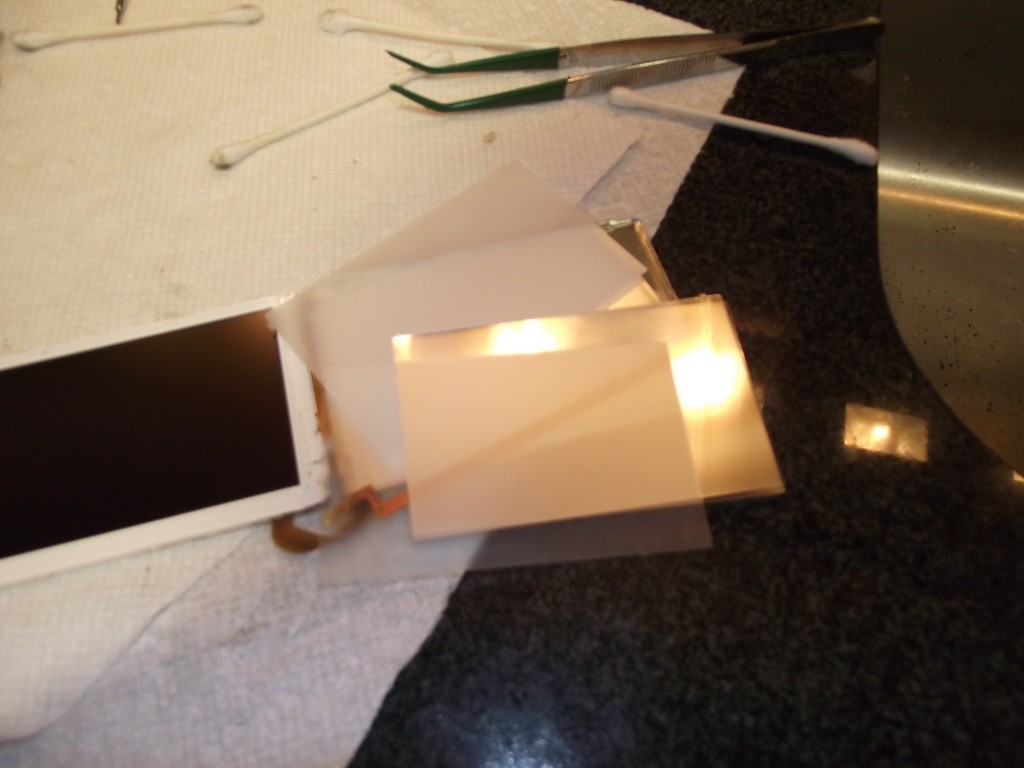
In this picture the LCD is on the left. On the right are the various layers and backlight that must be cleaned.

In this picture the LCD is on the left. On the right are the various layers and backlight that must be cleaned.

Anyway, just remove the metal frame in which the LCD is held. On the 3DS there are some clips that you can open using your fingernails. Above is what it looks like when you open up the top LCD of the 3DS. The first (backmost) layer is the shiny one. The easiest way I’ve found, so far, to clean these things without getting any marks or fingerprints on them is using a combination of one pair of microfiber eyeglass cleaning cloths and a pair of rubber-tipped tweezers. We must clean both sides of each layer, so it’s important to make a plan of action before we start. I put the microfiber cloth over my fingertip and hold the layer down as I clean it using a cotton swab and a half tap water half alcohol solution. I then dry it using a second microfiber cloth (while holding it down using my fingertip covered by the first microfiber cloth). I flip the layer over using the rubber-tipped tweezers and repeat on the back. After doing this for each layer I close the screen up and test.
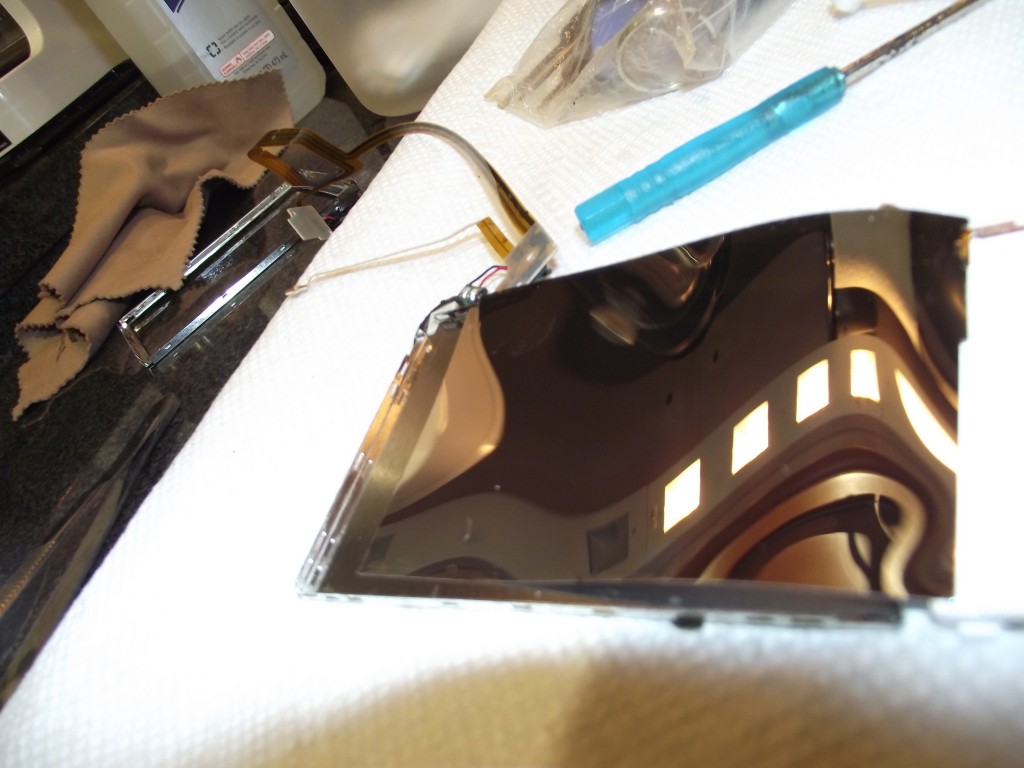
Yes, that's a coffee maker in the upper left. The kitchen is the only place with the right lighting for this type of cleaning. Checking for smudges or specks of dust is important and good lighting is indispensable.

Yes, that’s a coffee maker in the upper left. The kitchen is the only place with the right lighting for this type of cleaning. Checking for smudges or specks of dust is important and good lighting is indispensable. There’s nothing worse than screwing a console back together only to find that you have overlooked a speck of dust remaining under the LCD.
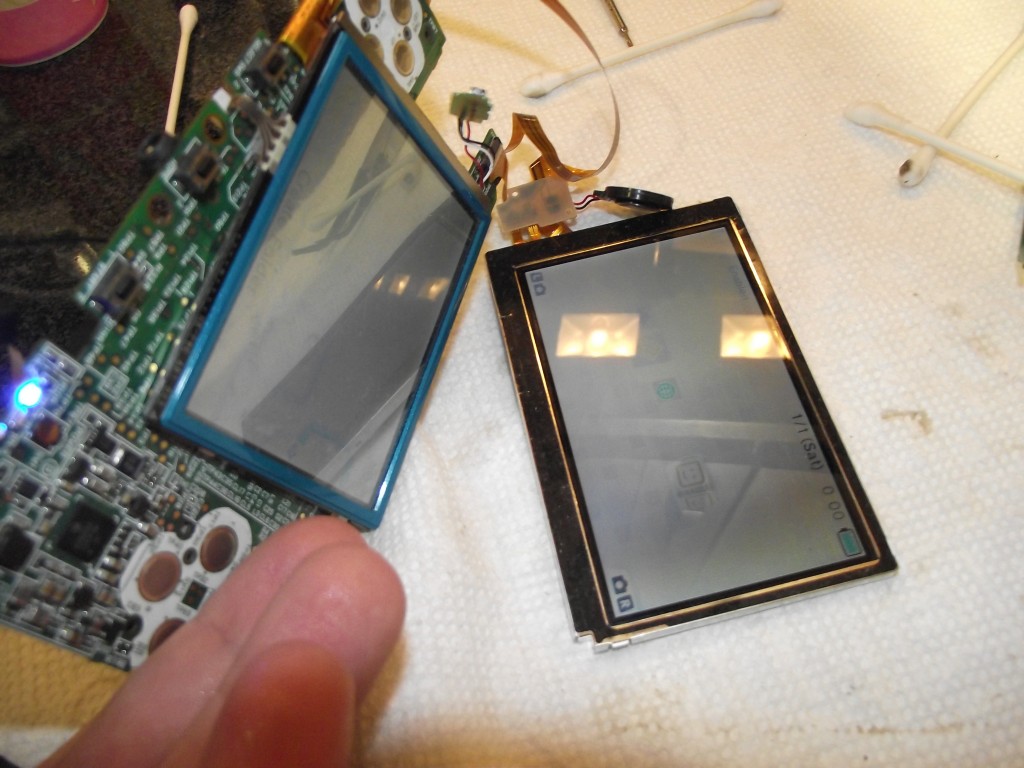
To test we need to connect the lower LCD, speakers, and upper LCD to the motherboard. The two little ribbons cables from the upper LCD must be connected to the appropriate connectors on the speaker/3D/brightness ribbon cable.

To test we need to connect the lower LCD, speakers, and upper LCD to the motherboard. The two little ribbons cables from the upper LCD must be connected to the appropriate connectors on the speaker/3D/brightness ribbon cable. It’s a tough balancing act connecting all those things, holding the battery in place, and taking a photograph all at the same time!

We check for streaks, dust, or any other blemishes at this point, since it would be a colossal pain in the ass to install the upper LCD, camera, speakers, WiFi antenna, and reassemble the housing only to find afterwards that there was some schmutz left under the LCD. Yes, this has happened to me before and no, you would not have wanted to be in the room at the time.
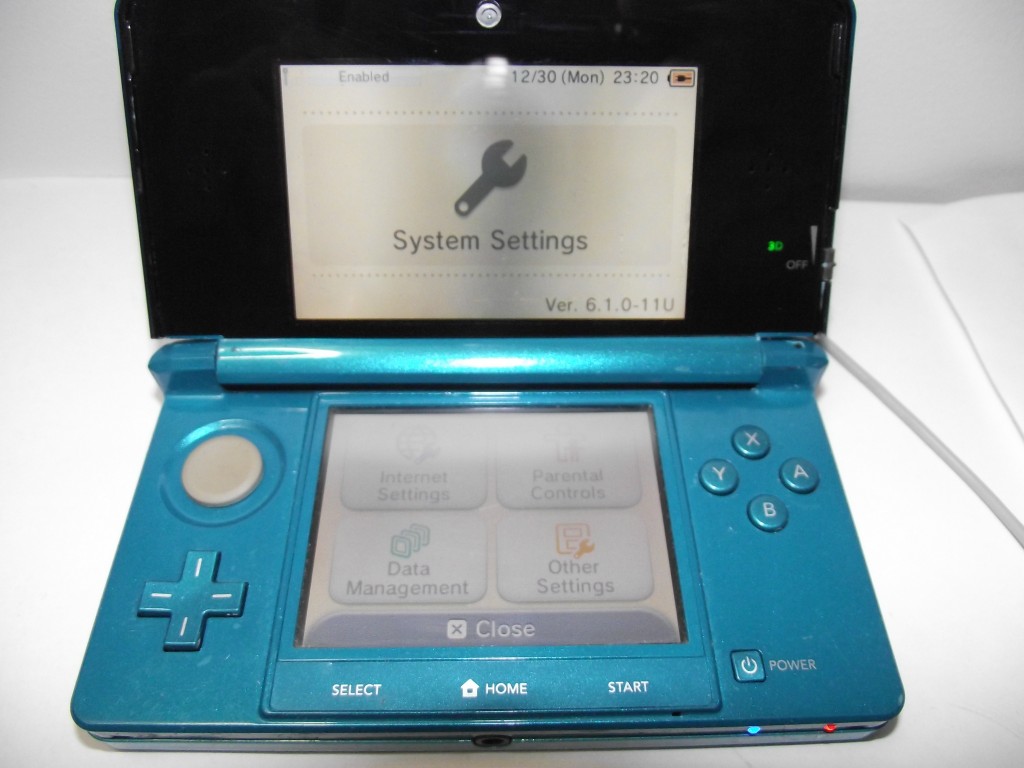
In the end this screen was 100% fixable. Sure, replacing it would be less work, but you can save money by cleaning it instead.

In the end this screen was 100% fixable. Sure, replacing it would be less work, but you can save money by cleaning it instead.

To connect this to my earlier point, it is far easier to clean these LCDs and get them in excellent condition suitable for resale when the liquid damage was of the spillage variety, rather than submergence. I’ve had some LCDs that I tried this process on that were just not salvageable because there was so much dirt in there that I couldn’t clean it all off without leaving streak marks. But if there are just some drying marks here and there on the LCD there is a good chance that you can clean them off well enough that you would never be able to tell there was liquid damage afterwards. Although 3DS screens are rather inexpensive, this can save you some money on parts, especially if both screens are liquid-damaged.
Summer 2011: Still enjoying Usagi Drop

No, this isn't Rou Kyu Bu!

Now that the question of which shows are being simulcasted, which are unlicensed in U.S., and which are being oversubbed is more or less answered, I can enjoy these shows without worry because I now know that even the shows that are being simulcasted have groups working on them other than HorribleSubs. It does make me feel slightly guilty about downloading licensed shows, but meh, I’d even prefer to watch raws, pausing every few sentences to look words up in the dictionary rather than pay for legal anime that’s been professionally translated…if it comes down to that. In the meantime, I’ll enjoy this peculiar situation that’s been going on for the last year or more where few people seem to care if shows are licensed in R1, since it sure seems unlikely to last more than two to three years before some Kazaa-esque debacle goes down and some 12 years old boy gets sued for downloading Densetsu no Yuusha no Densetsu (I wonder if this sounds as stupid in Japanese as it does in English…).

番組自体と同じく、ふわふわで心地がいい

But Usagi Drop is still great. It doesn’t make me less of a man that the shows I enjoy most are primarily mushy, touchy feely shows where characters grow, learn, and forge strong bonds with friends or family and learn the value of the intangibles in life. Indeed, I’d go so far as to say that the fact that I watch shows targeted at little girls and women just shows how unshakably confident I am in my manliness, that it is not reduced an iota by biting at all the old tricks used to garner emotional investment from viewers is a testament to its might. It would be more correct to say that it’s actually increased by such willingness to easily succumb to more or less entirely visceral appeals for my sympathy.

I love how the viewer gets the feeling that Rin is the one acting as the parent, at times leading Daikichi both literally and figuratively, rather than the other way around. Simultaneously, we're shown just how much of a kid she really is, despite her hardiness and maturity for her age, when she becomes too embarrassed to be seen being carried on his shoulders in front of other children.

That’s not to say that there’s not good reason for the viewer to feel sympathy for Rin. Putting aside for a moment the fact that she’s completely adorable, the figure who has acted as her parent for most of her life is gone, she’s thrust into an unfamiliar environment in which it’s made quite obvious to her that she’s an undesired intruder, and, to top it off, Daikichi is not the most traditional of parental figures one can imagine. Lots of terrible, tragic things have happened to her so my urge to kidnap her and keep her here in my home so that I can hug her any time I want to is not entirely unreasonable, even without the cuteness.

Widdle win is sweepy...


Too cute...no comment necessary.


But all thought of the plot aside, she’s very cute. This is good. I like it. It could have been annoying, but the repetition of Rin waking Daikichi up, instead of the other way around, as we would expect to be the case with a responsible parent, was effective. When Daikichi reverses that pattern by waking her up at the end of this episode, the viewer is supposed to get this rising feeling in his or her chest, like “Awwww…ickle Daikichi’s growing up. Maybe things will be okay now”. That didn’t quite happen to me, but it worked well enough. It’s a gutsy move doing repeated scenes like that, since it could fail horribly and simply prove irritating and heavy-handed. This did feel a bit immoderate, but not so much that it felt unwatchably clichéd.

Awww; the phone is as big as her face!

The best part of the episode was while Daikichi was at work and Rin was at school and the scene kept switching between the two. The sense of sameness between Daikichi, working hard at his job, and Rin, working hard at nursery school and just being a kid in the face of all the horribleness that follows her about, is expressed without words, a good example of not laying it on too thick, as it were. At least I didn’t think it was too sickeningly blunt. It’s not too subtle though and you can’t really miss the big blinking sign that goes off and reads “Hey viewer! Look! They’re both growing!” but it’s still a reasonably reserved episode, maintaining the mellow pace that I found so attractive in the first one. It’s good to see Rin making friends, but then sad as their parents pick them up, one by one, leaving Rin alone eventually as she waits for her workaholic guardian.

I was often in Rin's situation in preschool, stuck spending time alone with teacher, waiting for someone to pick me up. Having a nice teacher helps.

Finally, I like the nocturnal enuresis thing. It’s not often that the topic is broached on TV. During the first episode I thought of the sleeping arrangements and said to myself, “Oh boy! There’s bound to be some urine jokes in this show”. Well not only was I right, but I didn’t even have to wait very long! A urine scene in the second episode! For Kiss x Sis we had to wait five whole episodes for this.

I'm OK with this.

This ranks up there with Mitsudomoe and Fight Ippatsu! Juuden-chan!! in terms of how prompt the onset of pee jokes is (episode 2 for all three shows).

Ah yes, no matter how old I get, pee never stops being funny.