eBay facilitating and protecting sellers who list counterfeits through the “eBay Refurbished” program

Here’s a counterfeit Playstation 4 controller being sold through the so-called “eBay Refurbished” program.

Counterfeits have always been a problem on eBay. But recently eBay launched a new program called “eBay Refurbished” through which select sellers can list “refurbished” items and get benefits like promoted listings and a shiny new badge that shows up in their listings. Here’s what eBay has to say about the program:

“Quality-vetted sellers”? “Refurbished by experts”? “Reconditioned to 100% functionality by vetted sellers or the manufacturer”? “Multi-point inspections”? Wow, this sure sounds like eBay have some stringent standards for the program. Surely, they’ll only grant the prestigious “eBay Refurbished” badge to the cream of the crop. They’d never use all that flowery language and then grant the badge to any ol’ Tom, Dick, or Harry who just wants to sell crap he ordered on Alibaba, would they?

Ah, well that explains it. This guy’s a top-rated seller without so much as a single negative feedback. That’s what they must mean by “vetted sellers”.

Let’s place an order. I wonder what we should buy

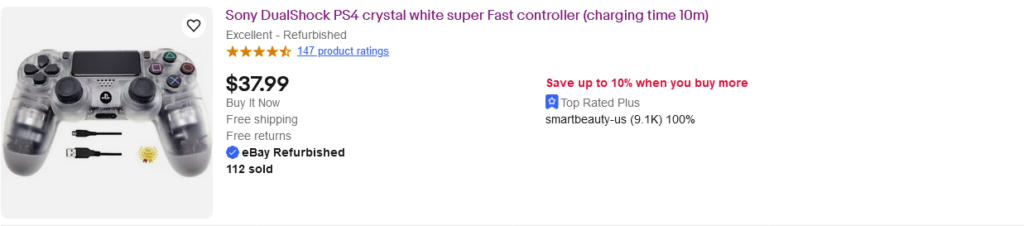
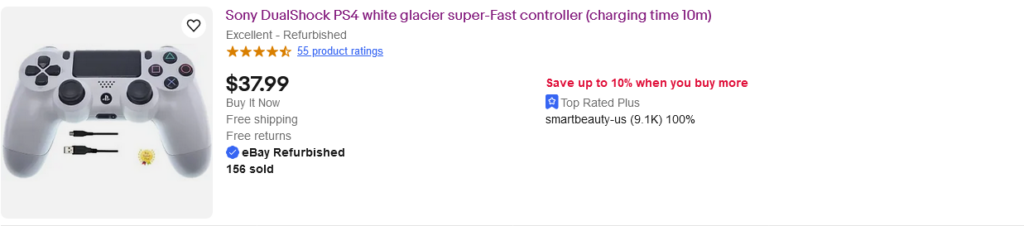
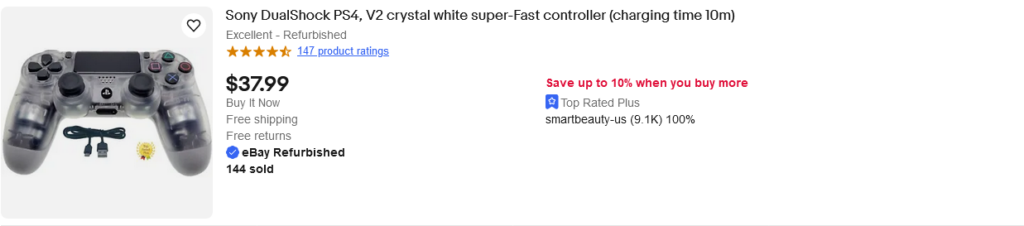
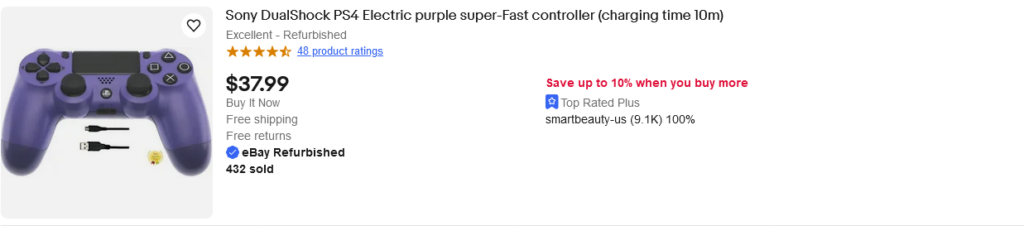
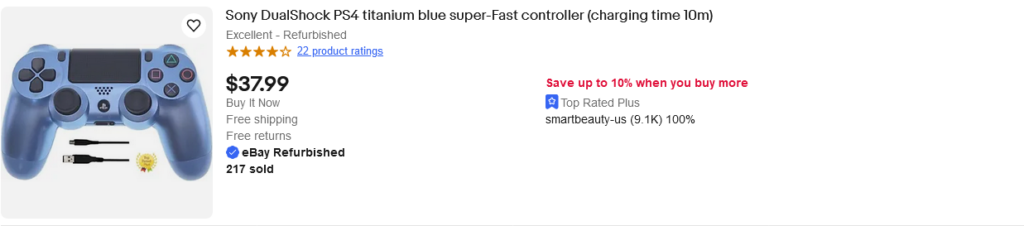
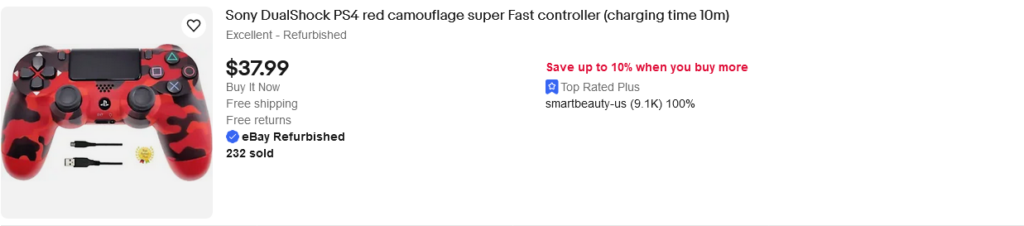
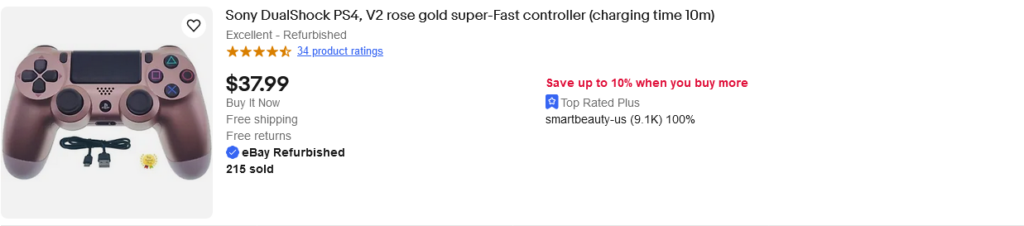
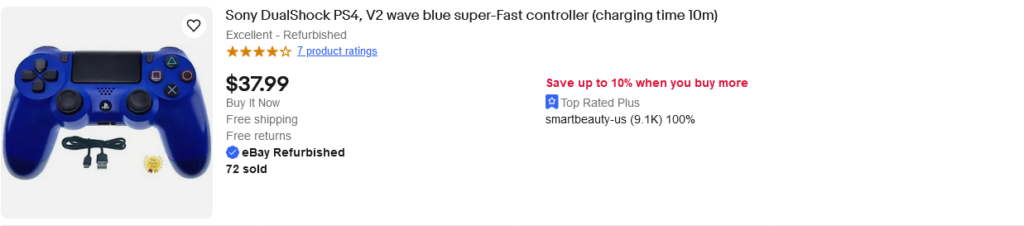
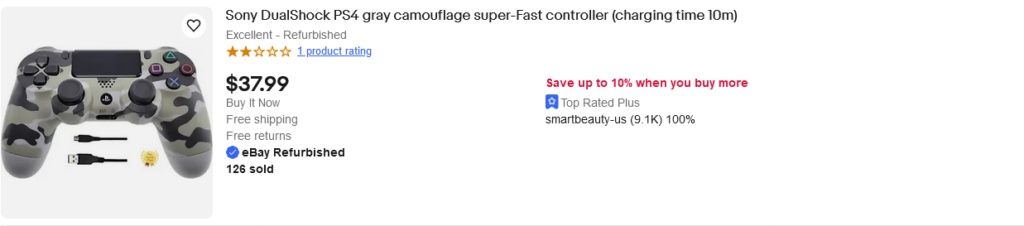
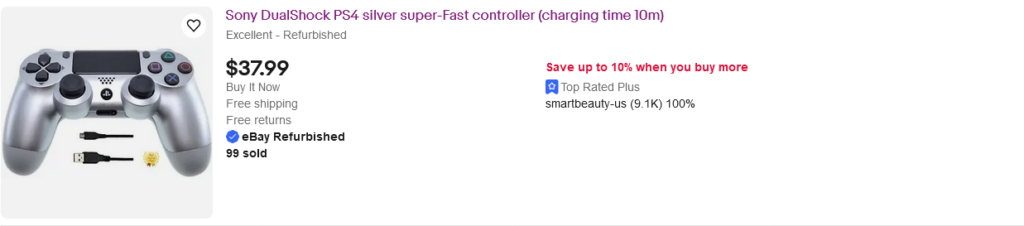
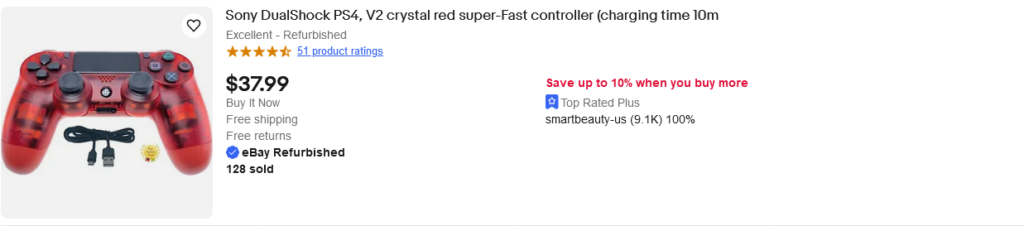
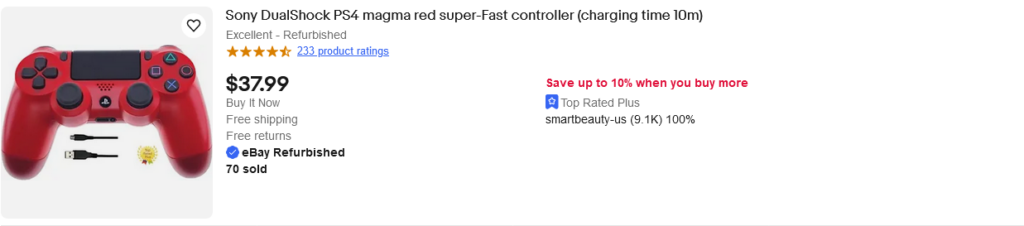
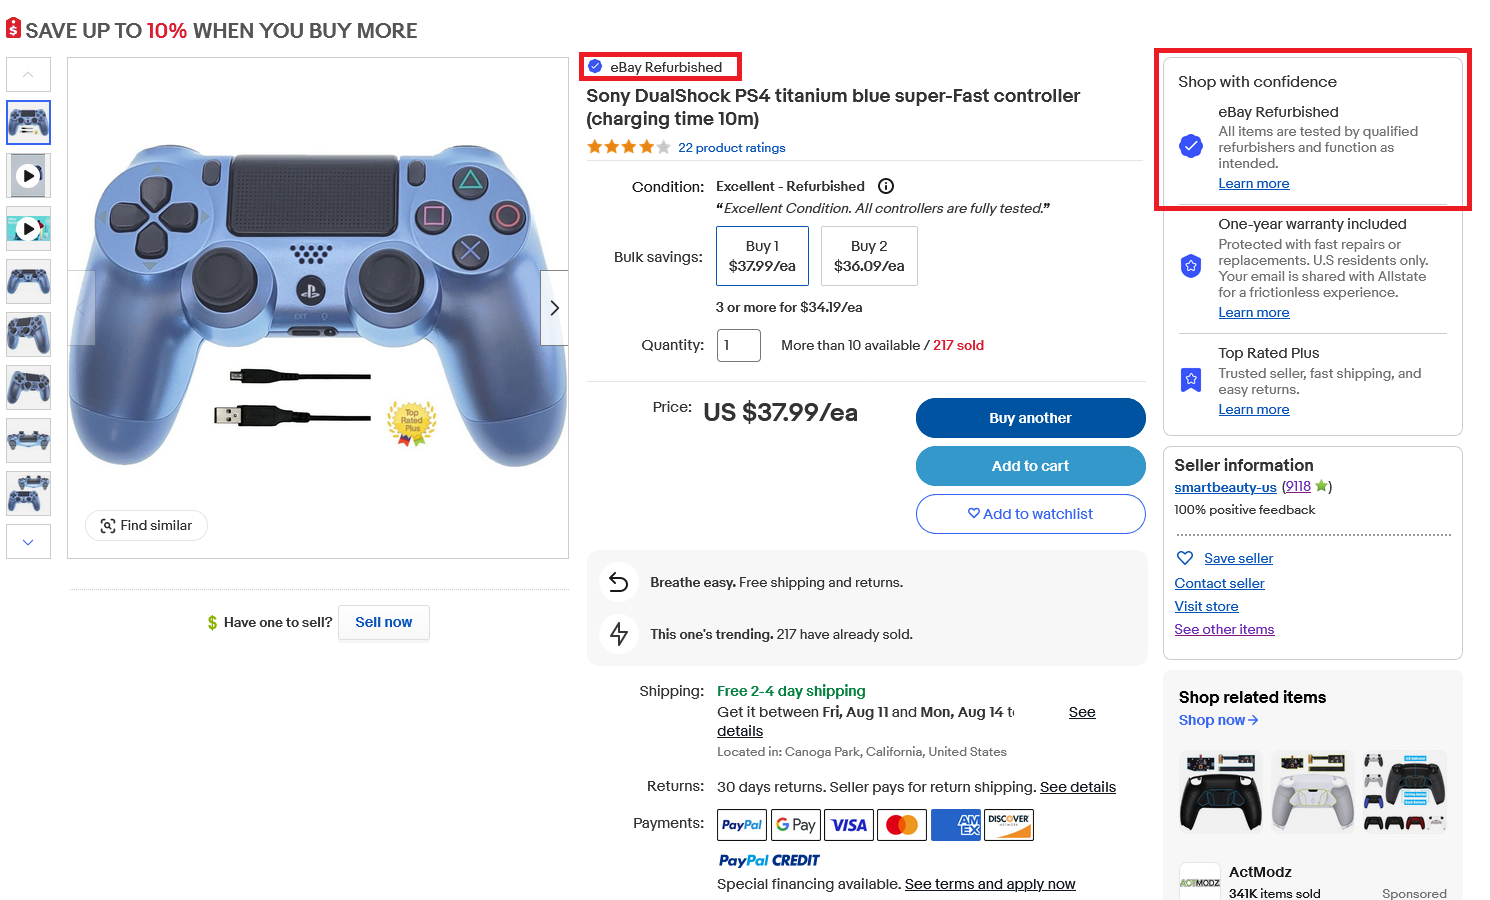
Wow, 112 crystal clear controllers sold? 232 red camo controllers sold? 432 purple controllers sold? This seller obviously has a ton of experience refurbishing Playstation 4 controllers. I have no qualms now that I see he’s sold thousands of them. Let’s buy a titanium blue one.

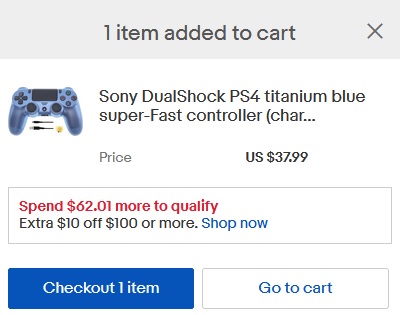
Now we just have to wait for it to arrive.

Okay it’s here.

At least they didn’t send it Media Mail.

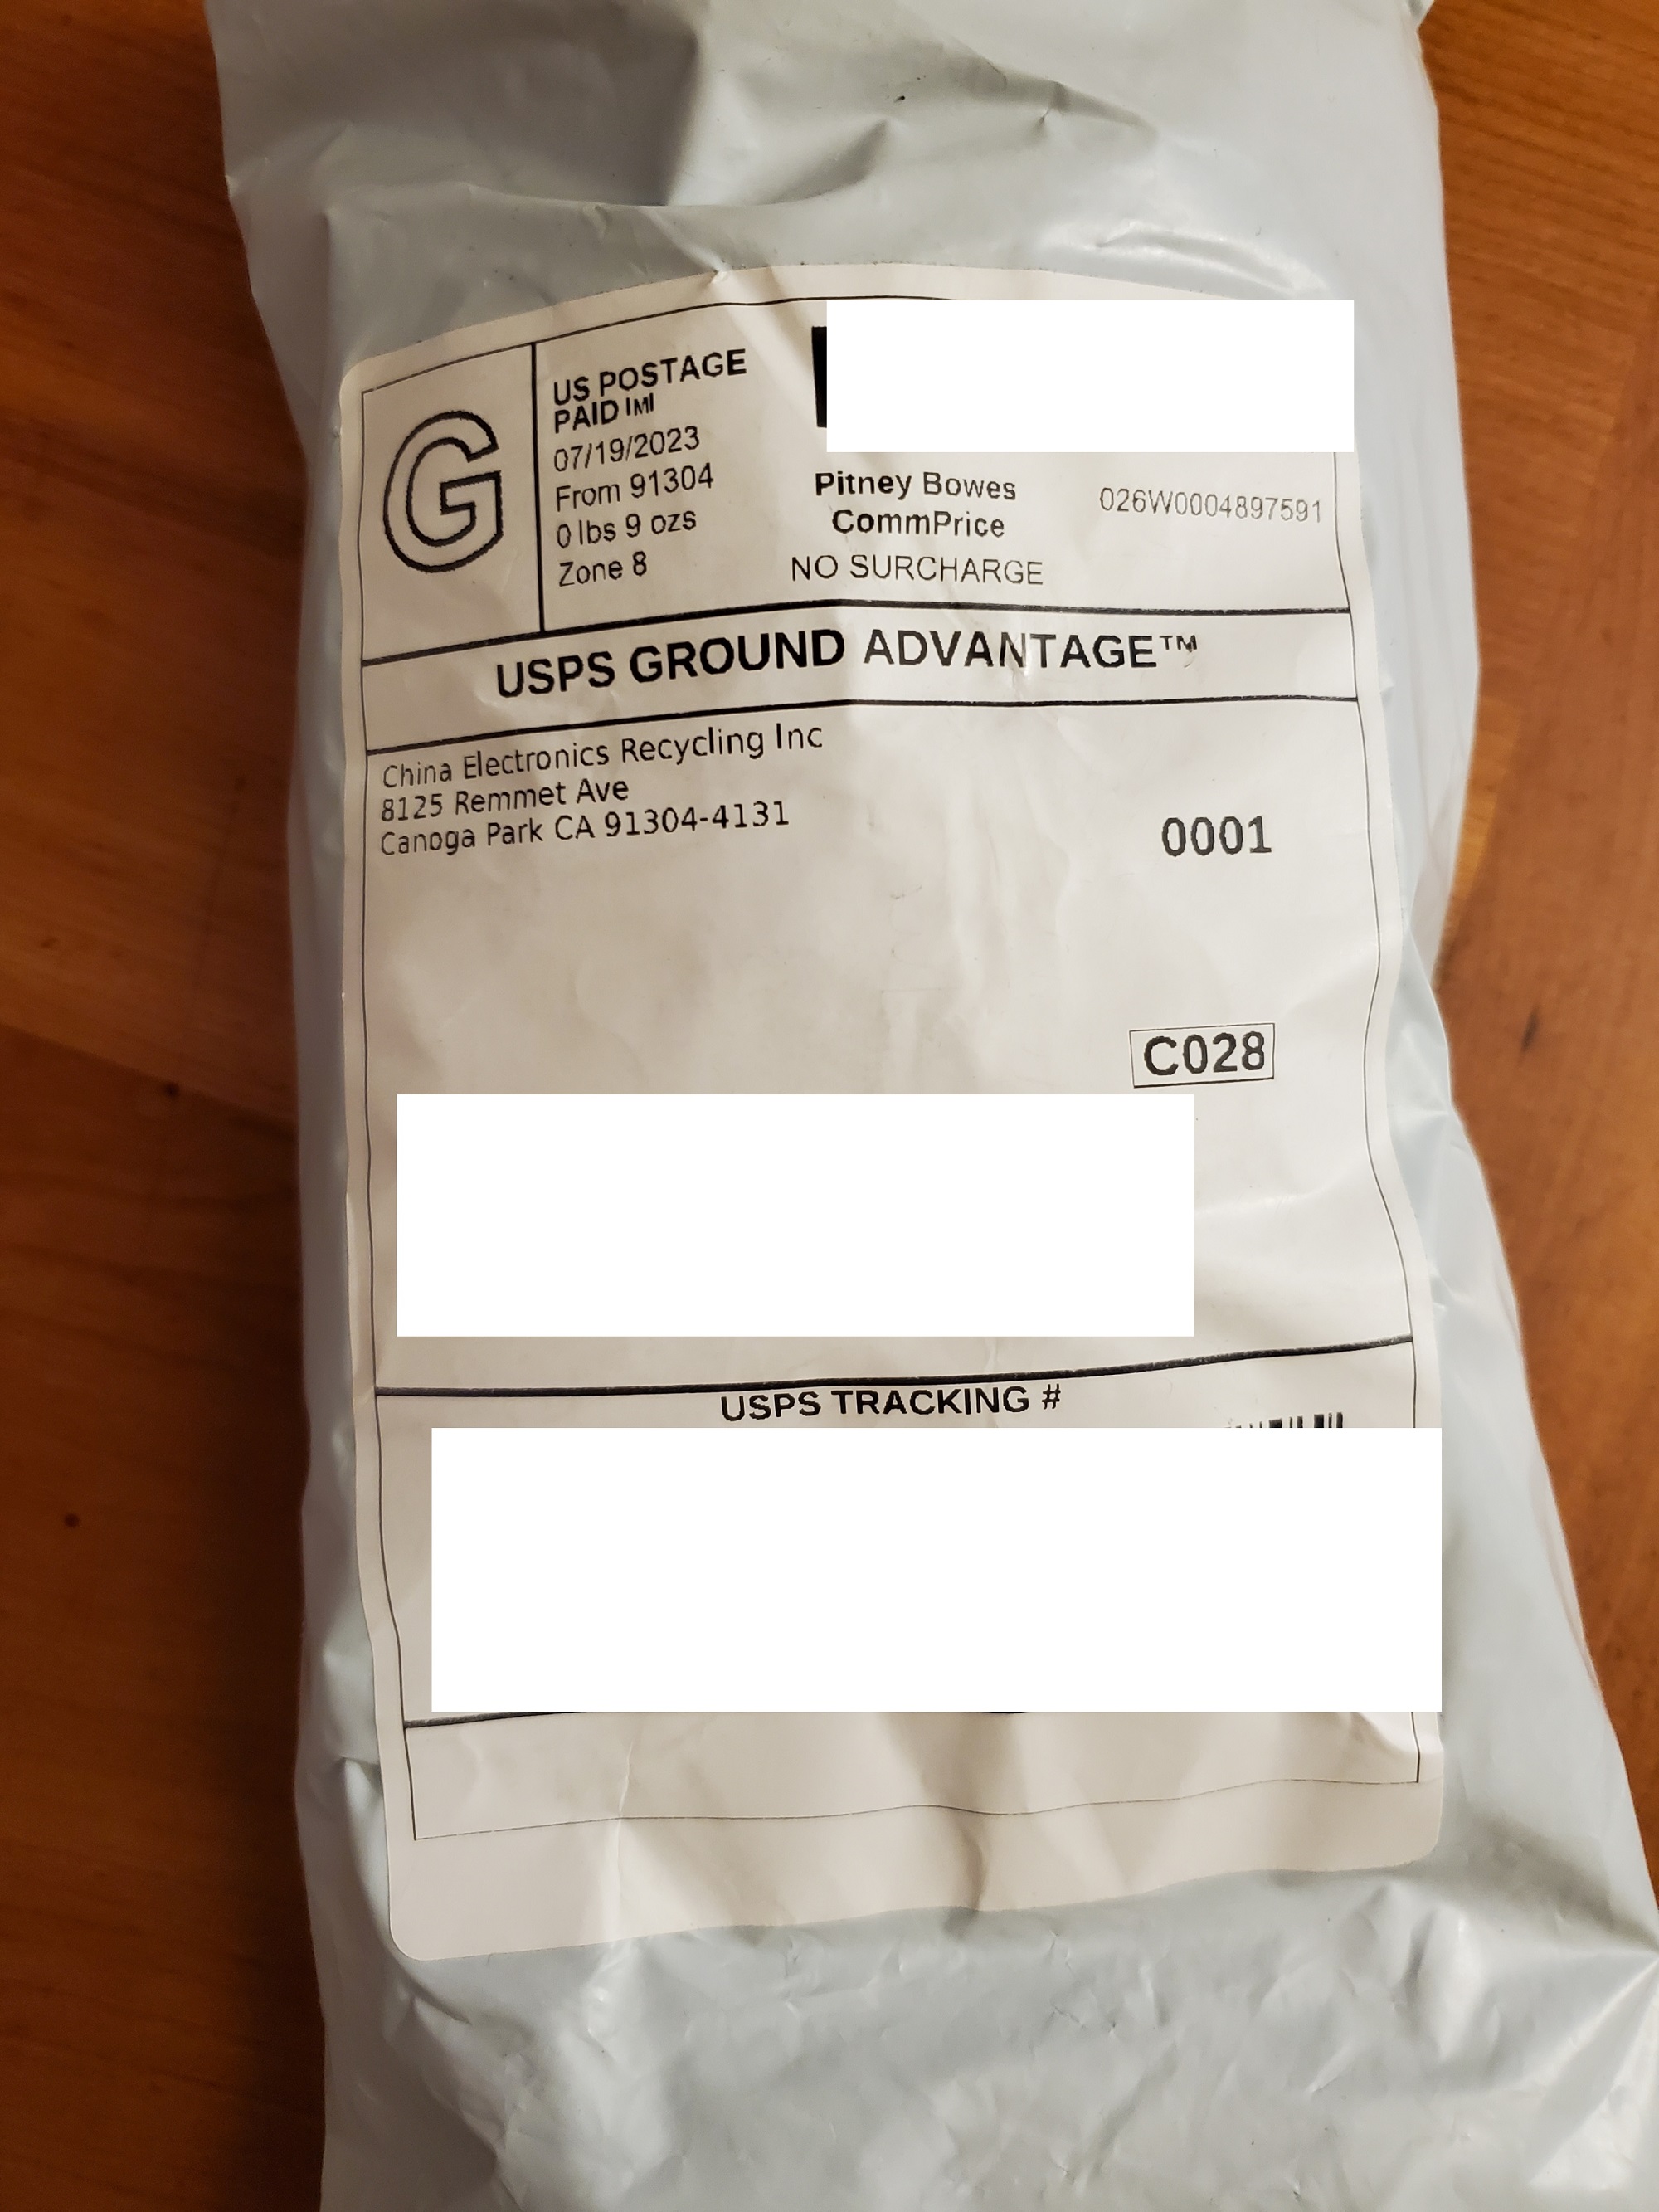
Hmm…. “China Electronics Recycling Inc”? Canoga Park, CA? Where have I seen this before?

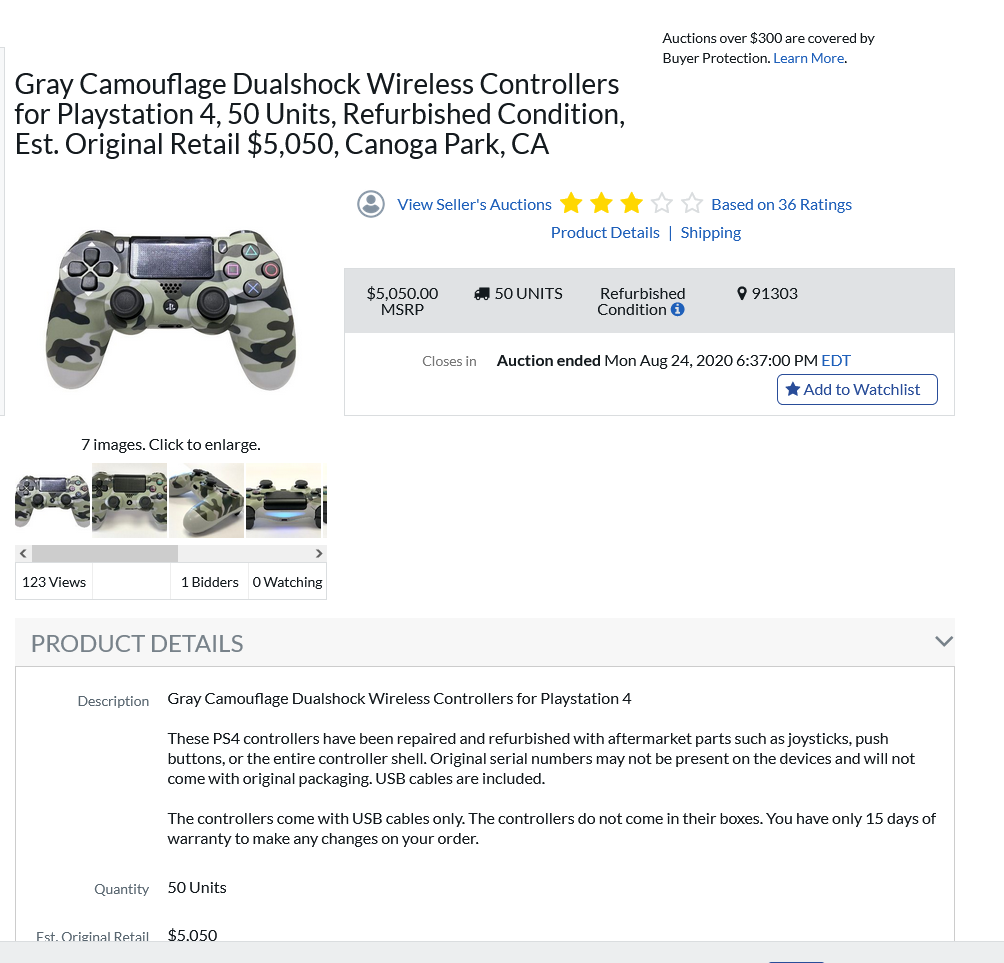
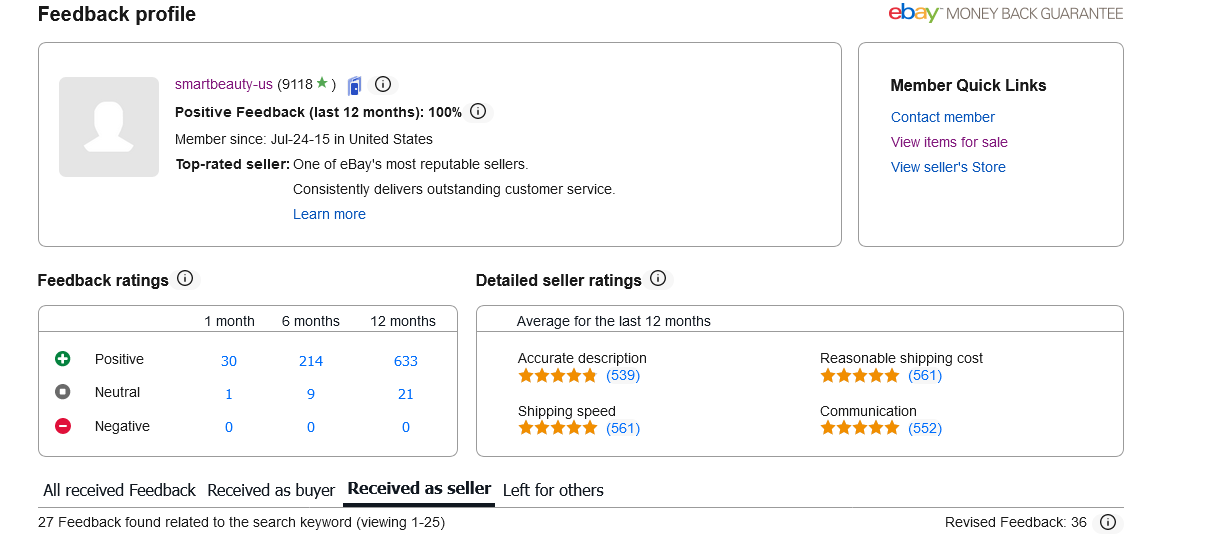
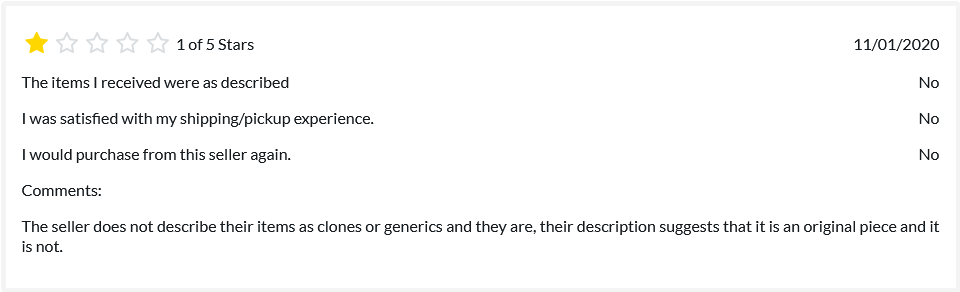
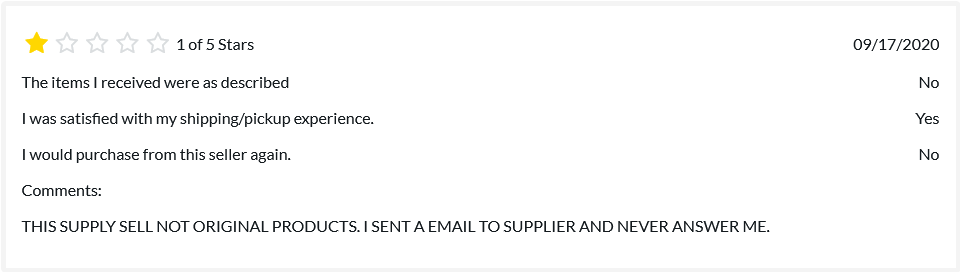
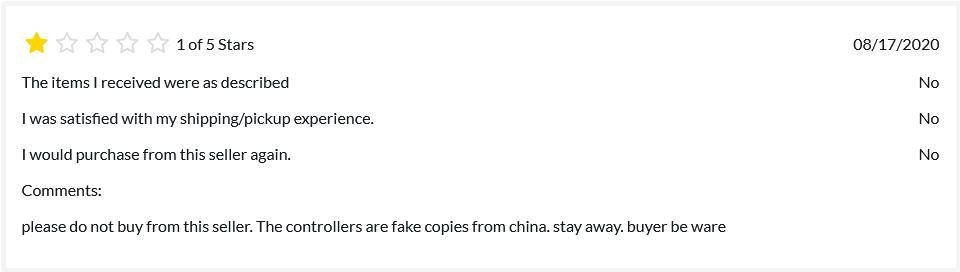
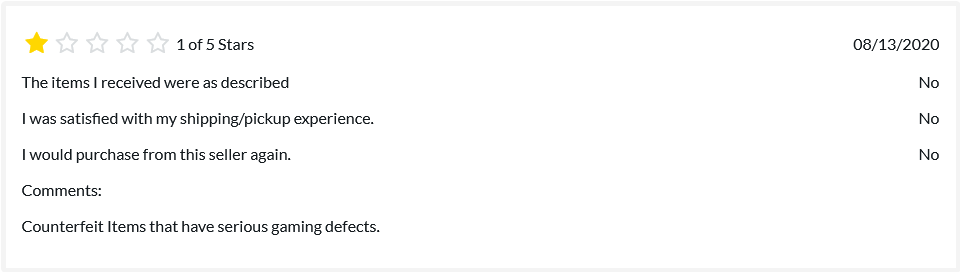
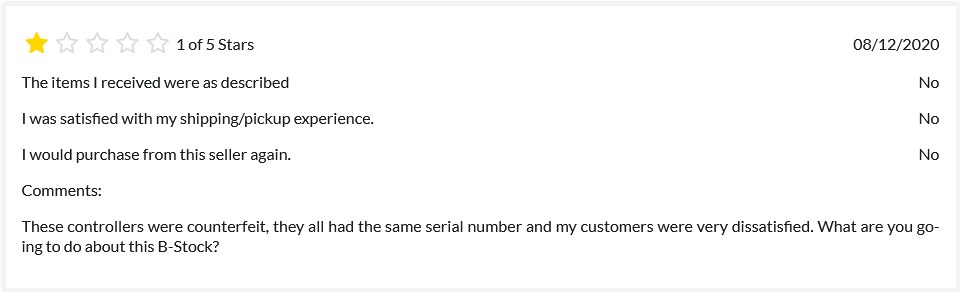
Oh, now I remember. It’s that seller who repeatedly listed lots of counterfeit PS4 controllers on B-stock supply, calling them “refurbished” instead. Don’t believe me that they were counterfeit? Here’s what just a few of that seller’s customers had to say:

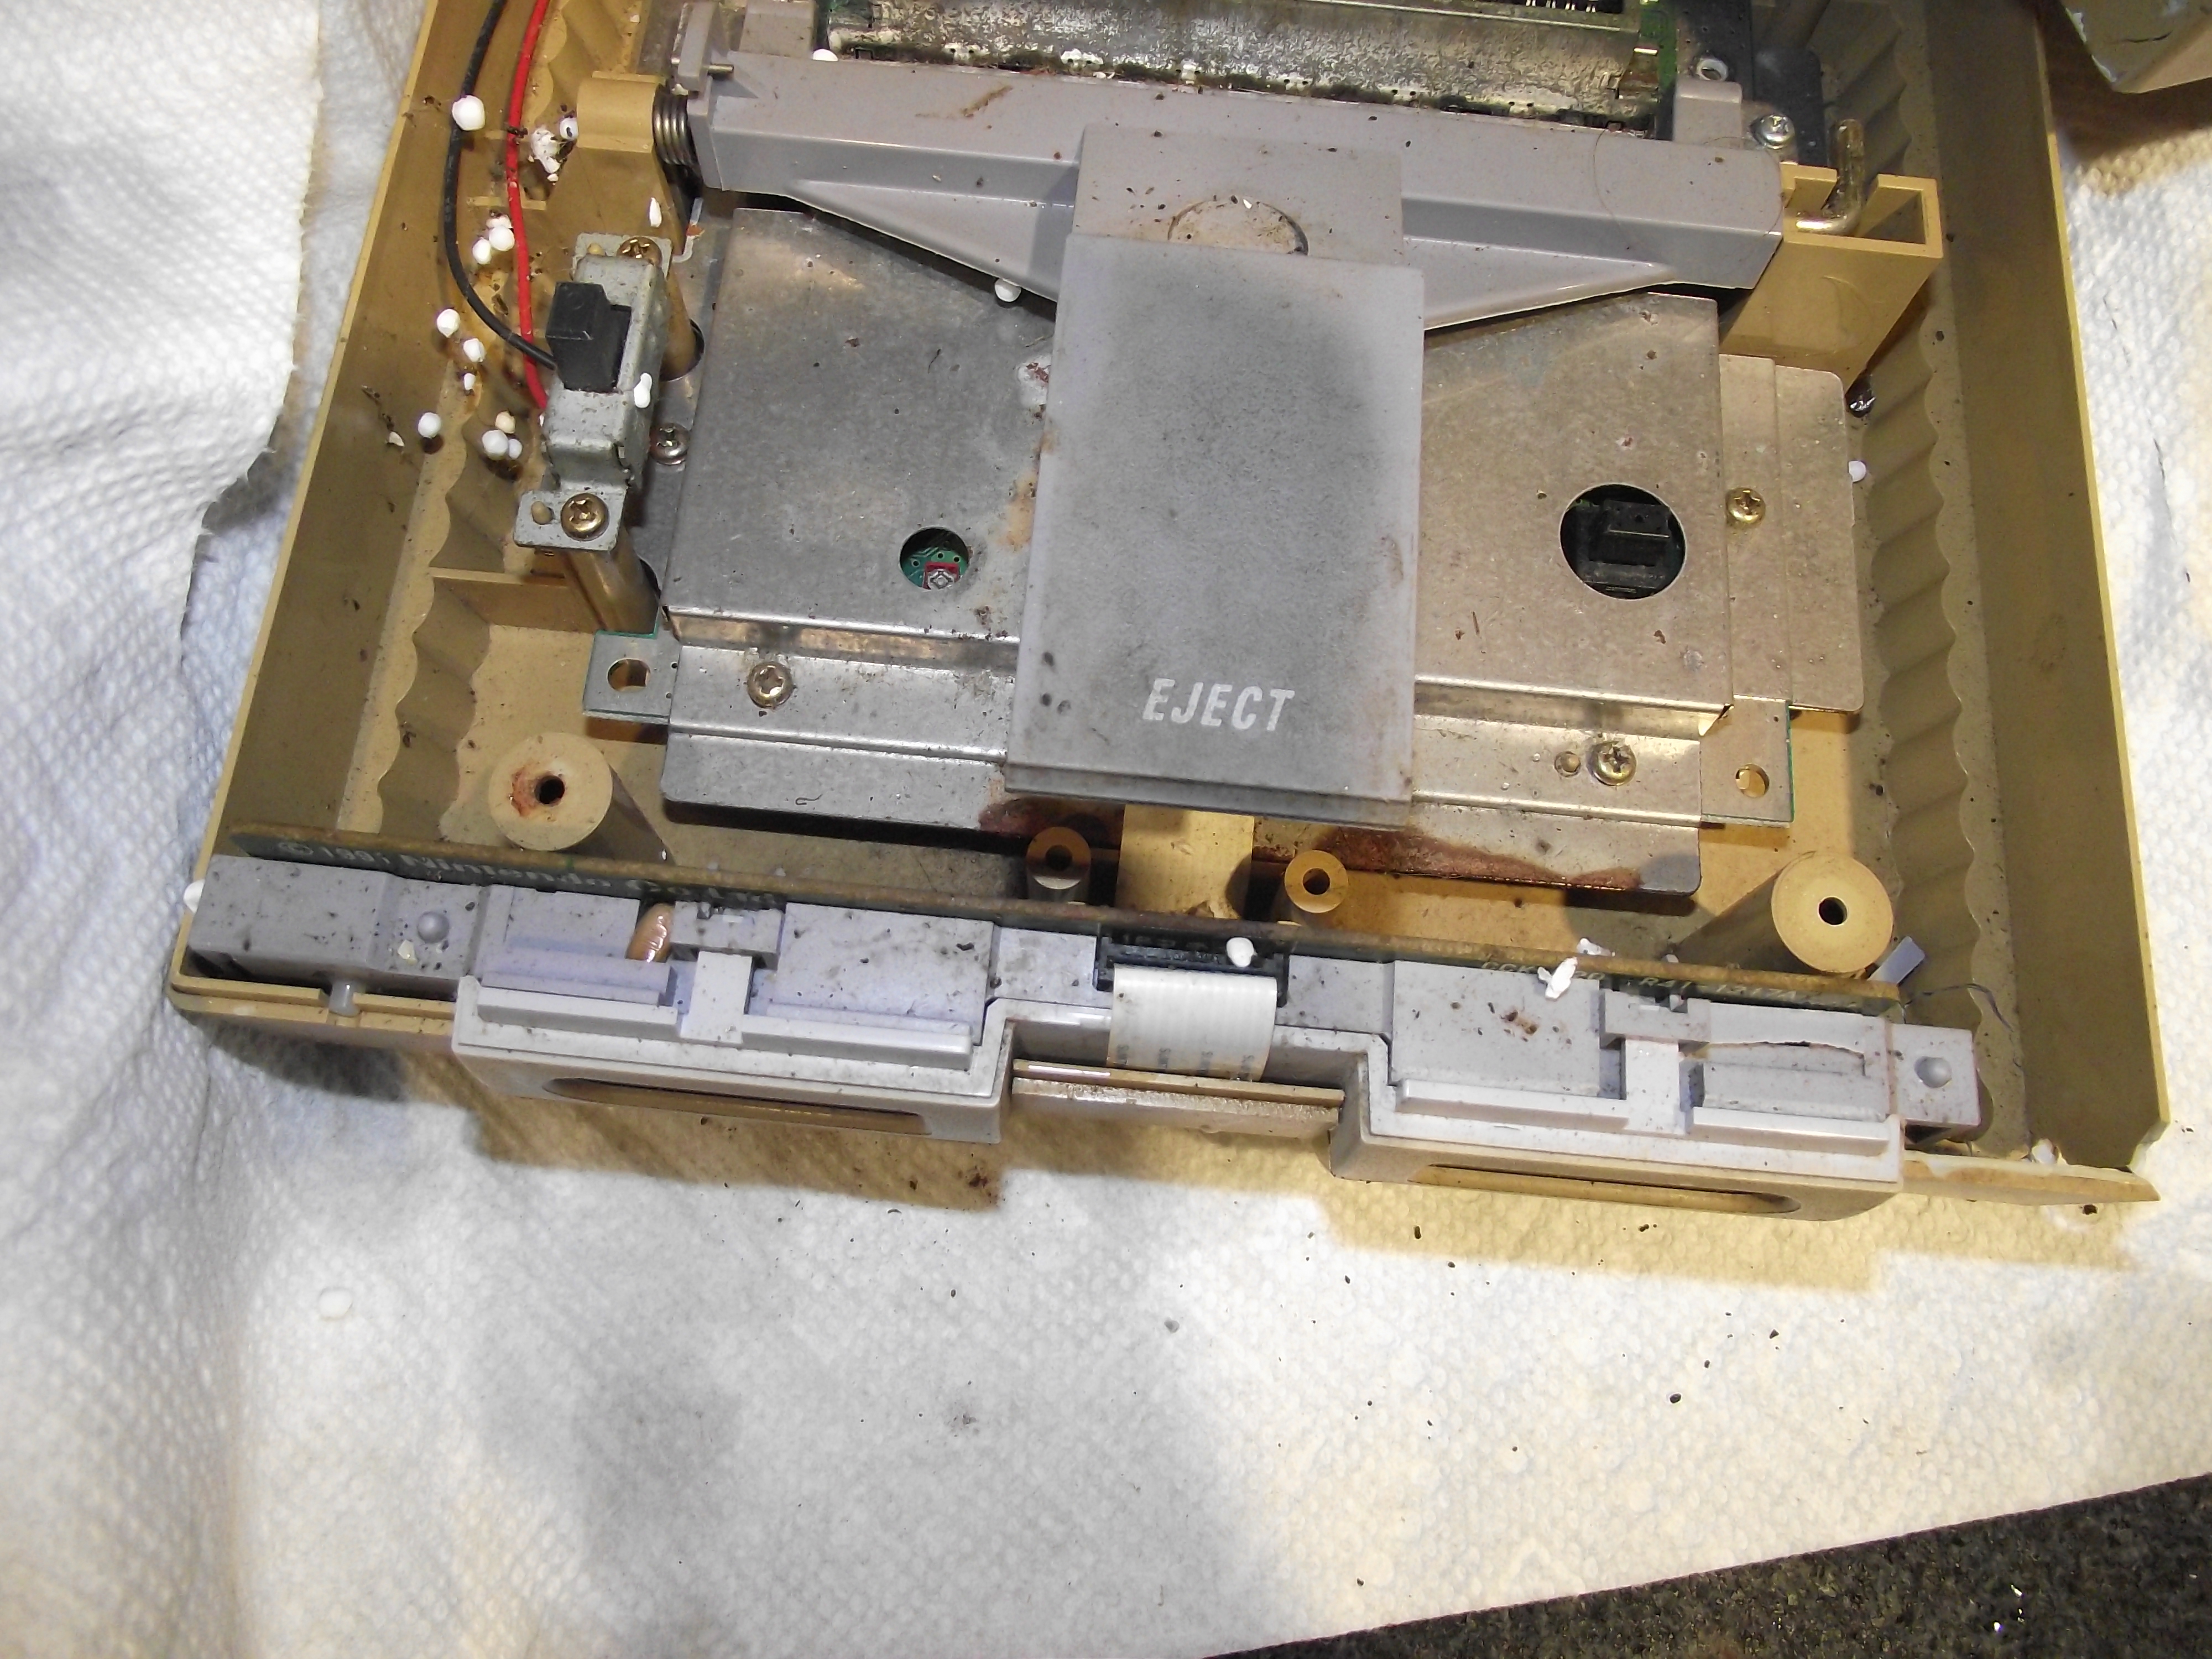
In any case, let’s open the package.

CUH-ZCT2E? Why a European model? It seems odd that a U.S. seller would have hundreds of European model PS4 controllers.

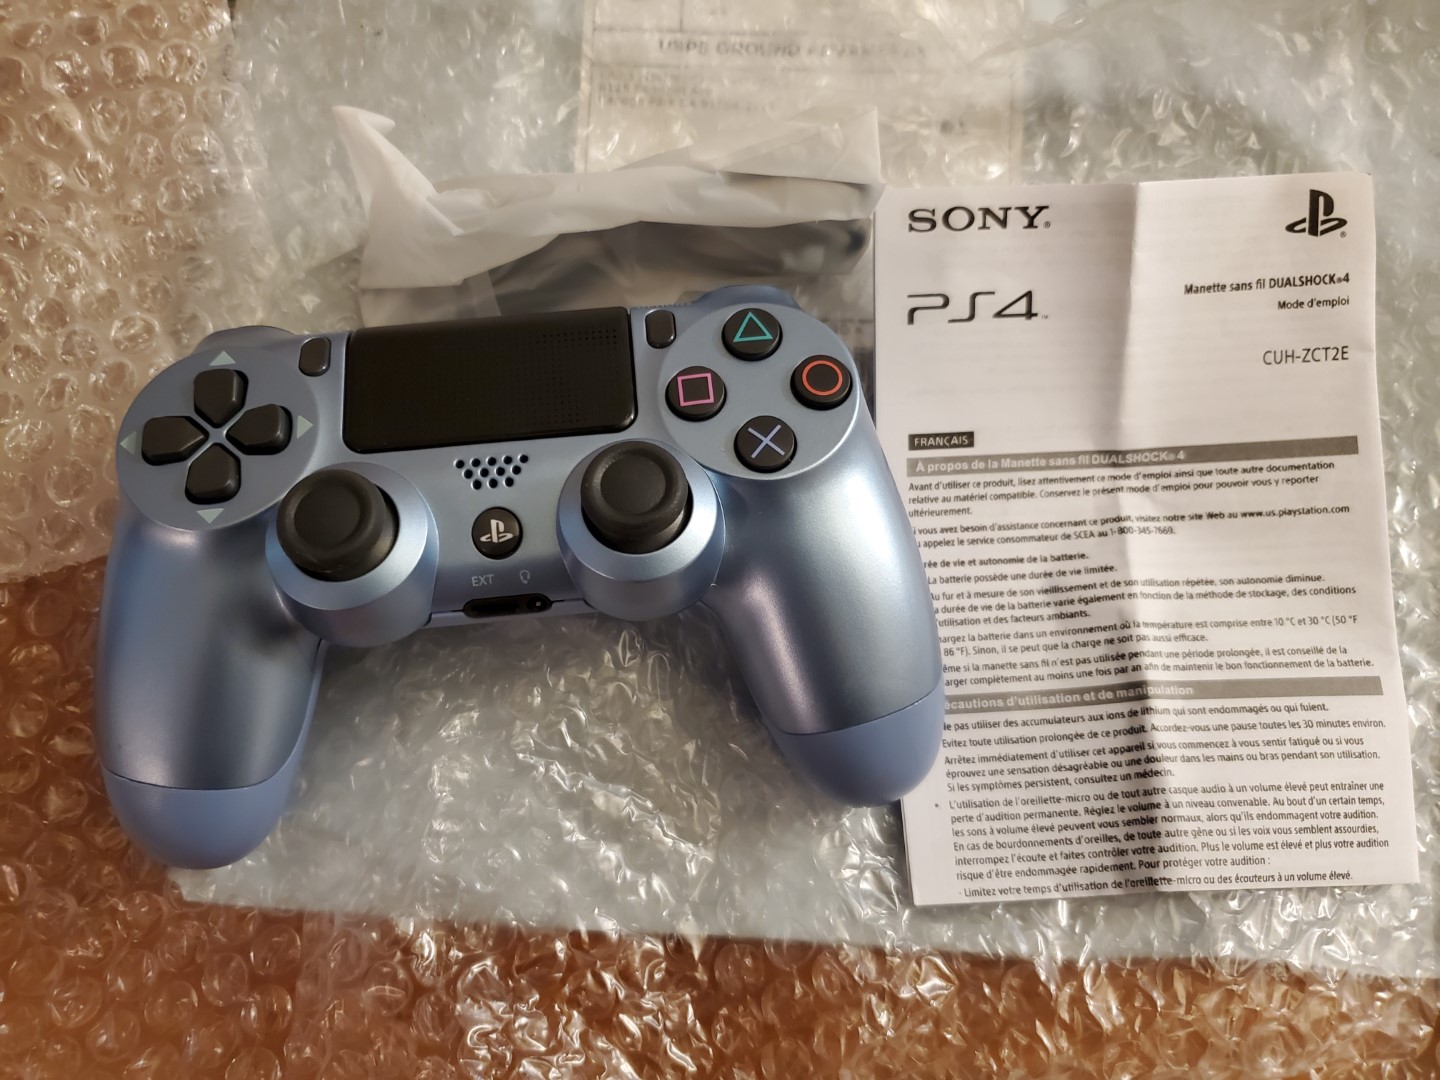
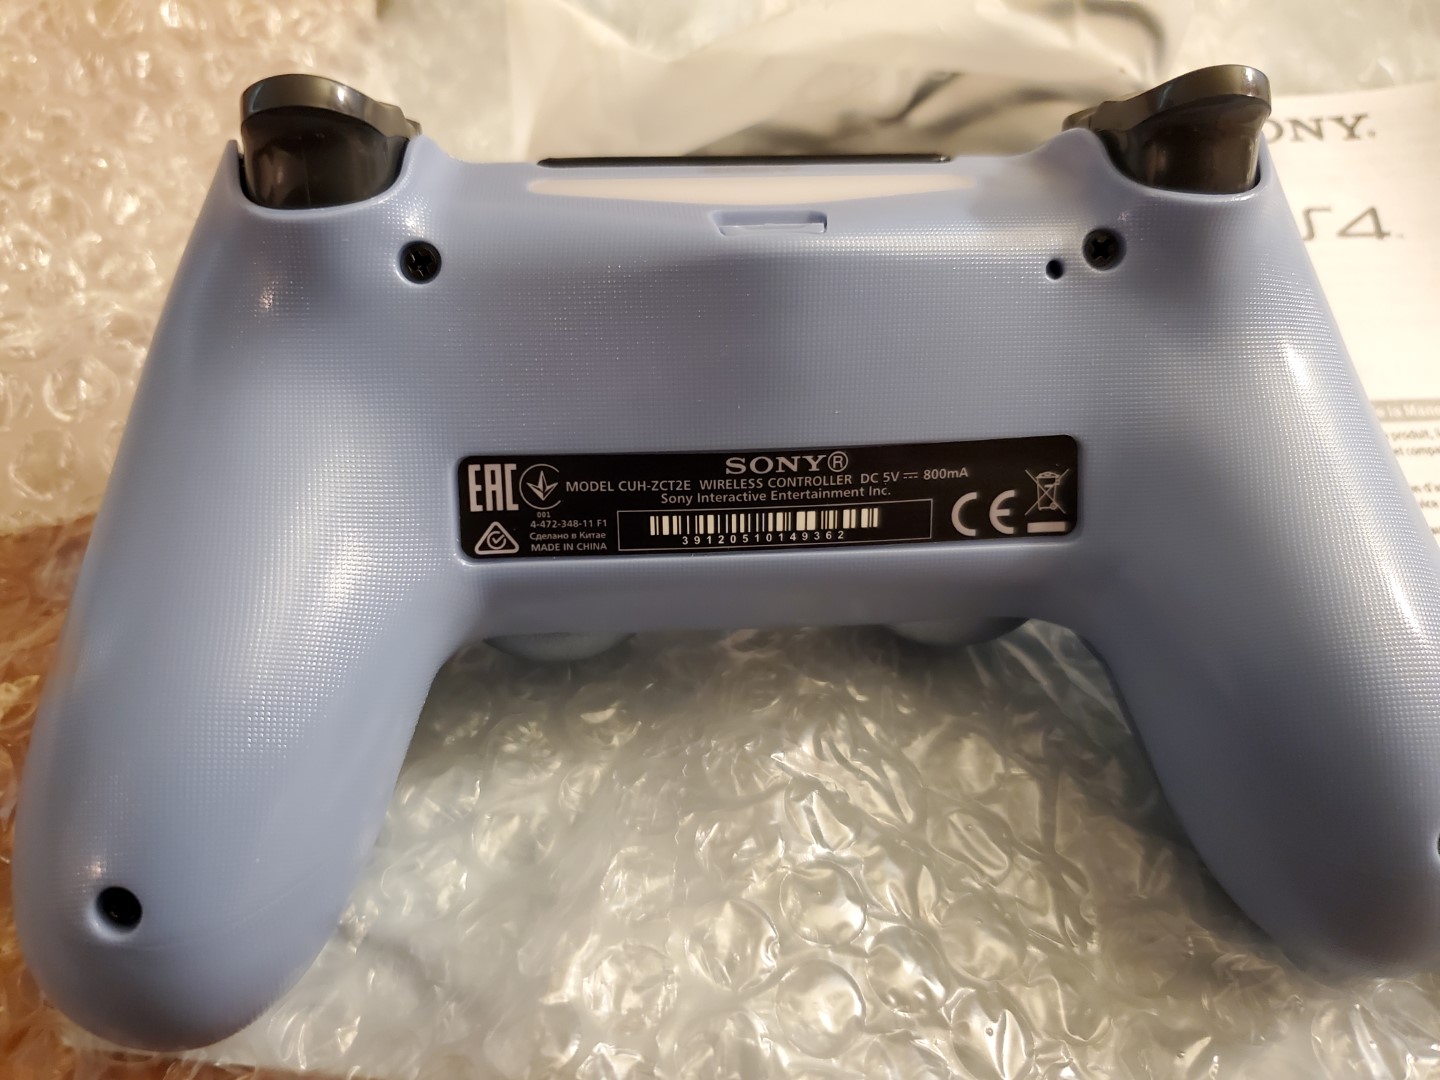
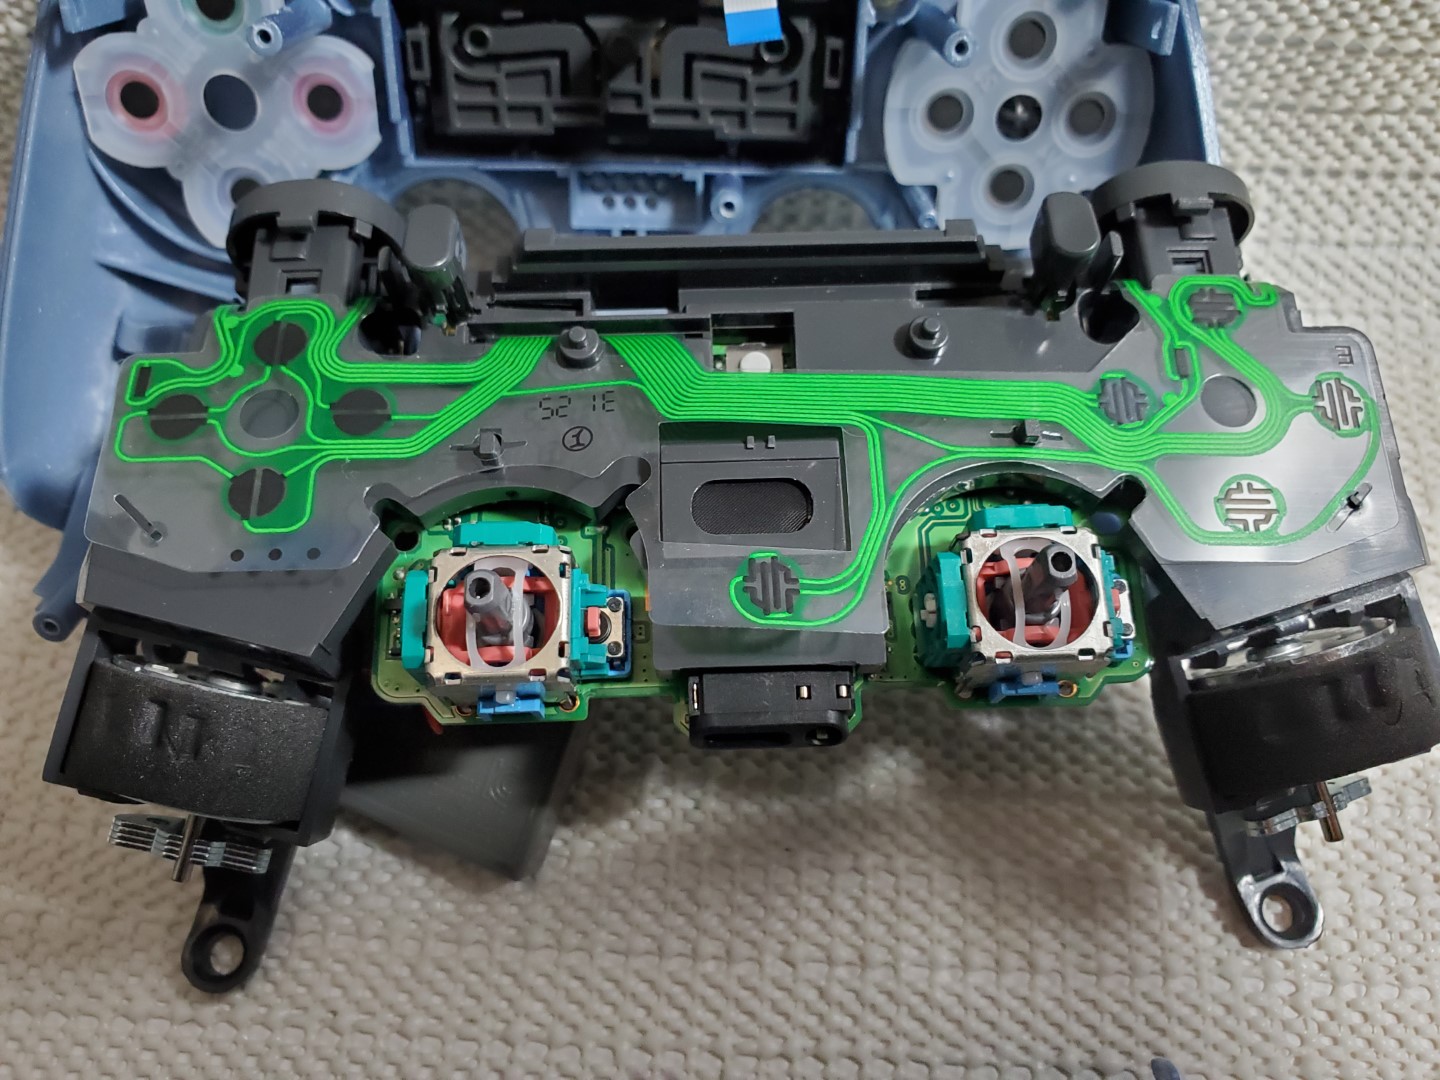
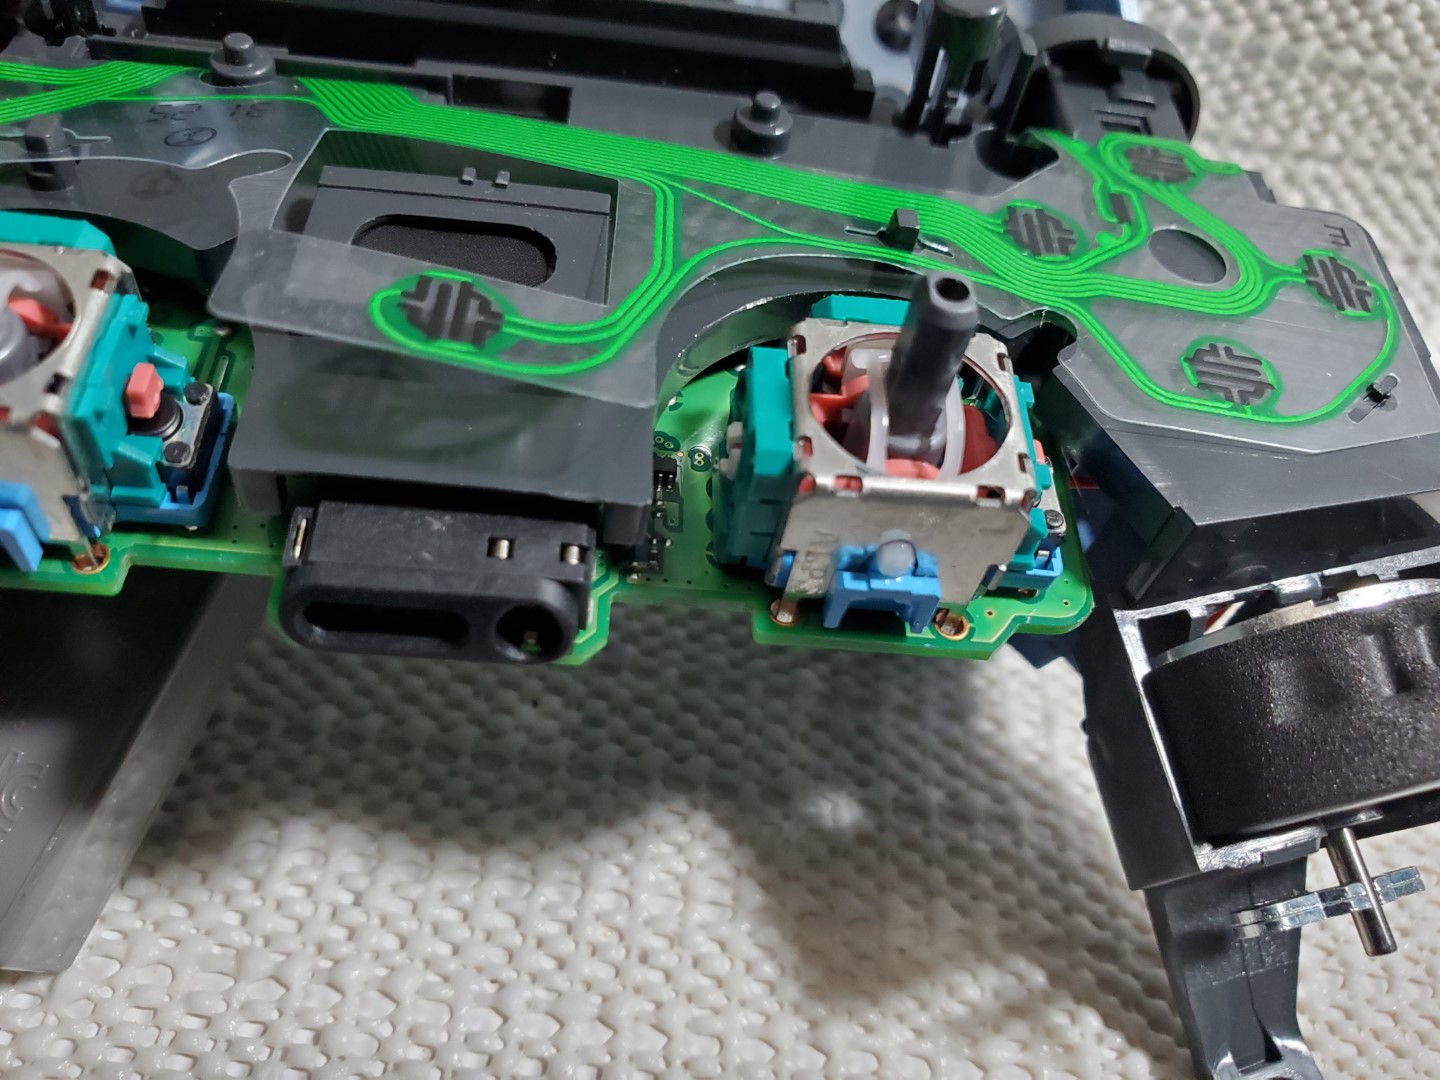
This serial number sticker is clearly a reproduction. So is the housing. But let’s not be hasty. We can’t conclude the whole thing is counterfeit. The seller did state, after all, that the entire housing may have been replaced as part of the refurbishment process. As long as the motherboard inside is genuine, we can’t say it’s a total scam. But first, there’s an important thing we mustn’t forget.

Never forget to RTFM.

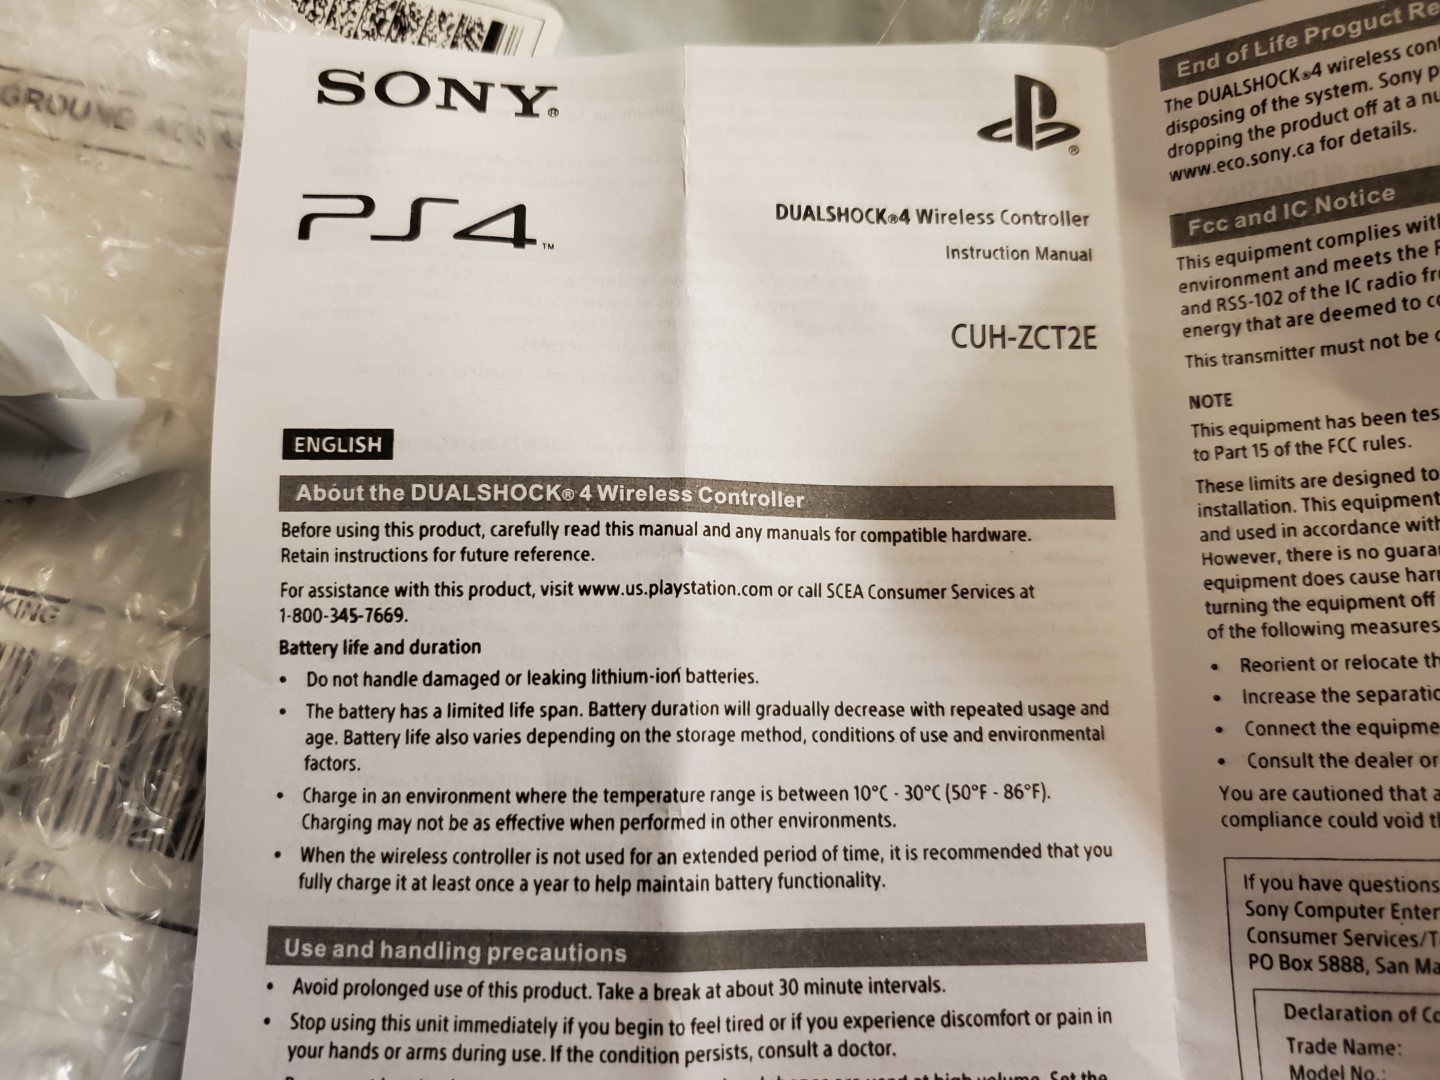
That’s odd. Why would the manual for a European model controller refer to “SCEA” (Sony Computer Entertainment America)? You’d think it would instead refer to SIEE (Sony Interactive Entertainment Europe) or just “SIE”, wouldn’t you? Additionally, it seems strange that a North American 1-800 phone number is listed as the support number for what’s ostensibly a product intended for the European market. I think at this point we have no choice but to open it and look inside.

The battery being installed upside down is the least of our problems.

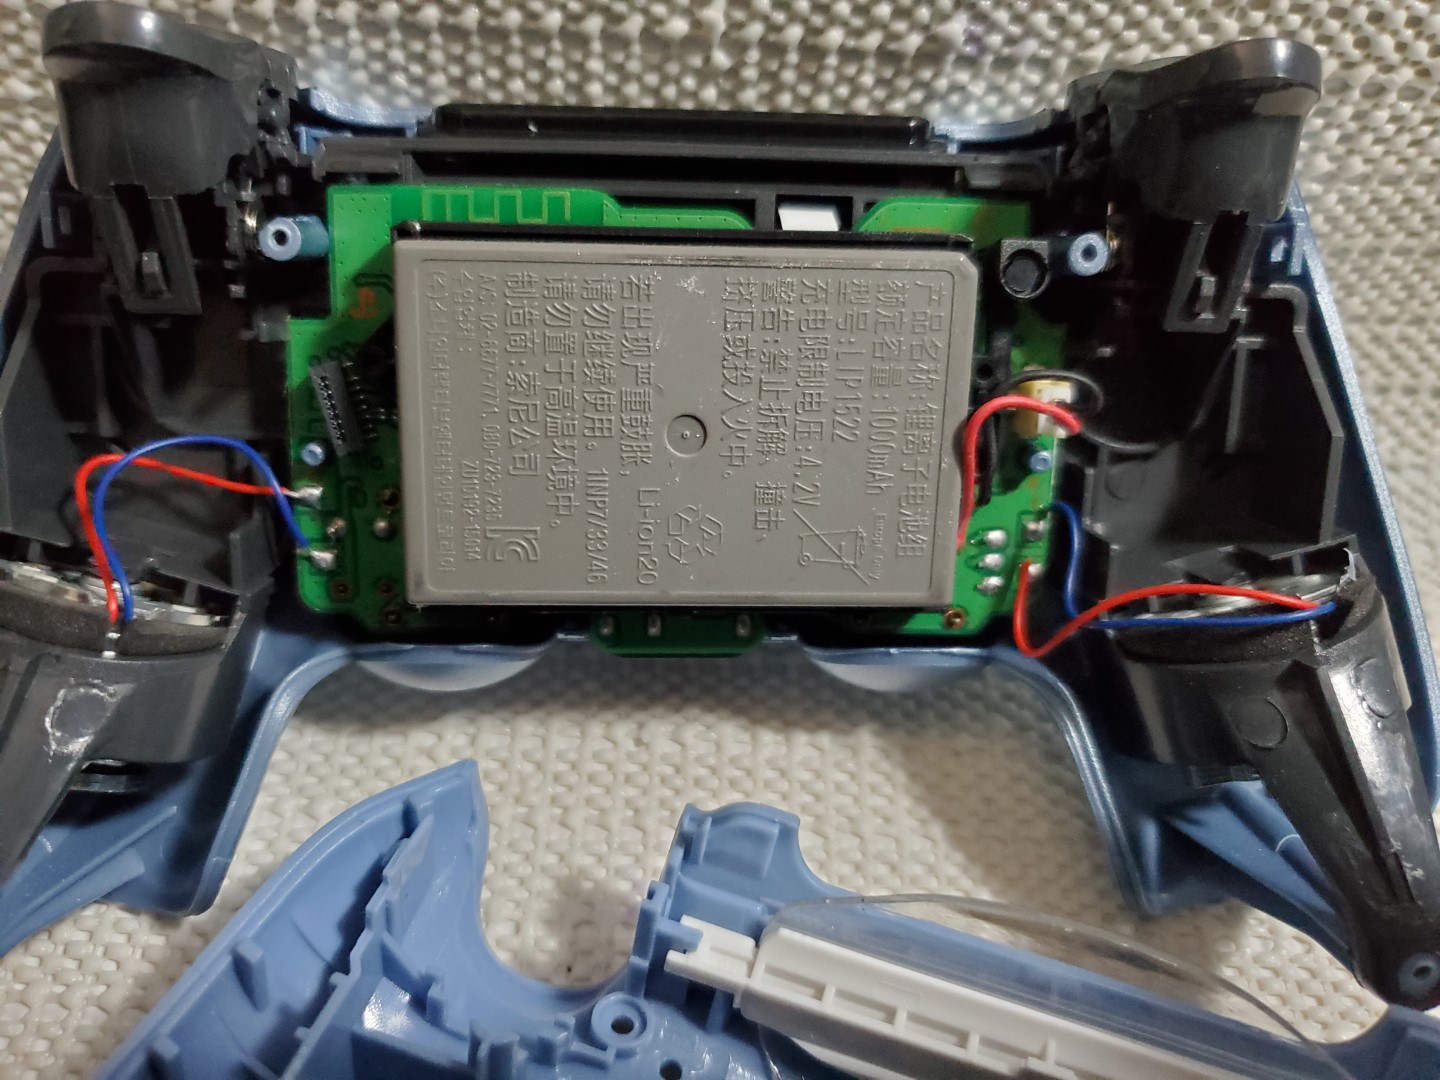
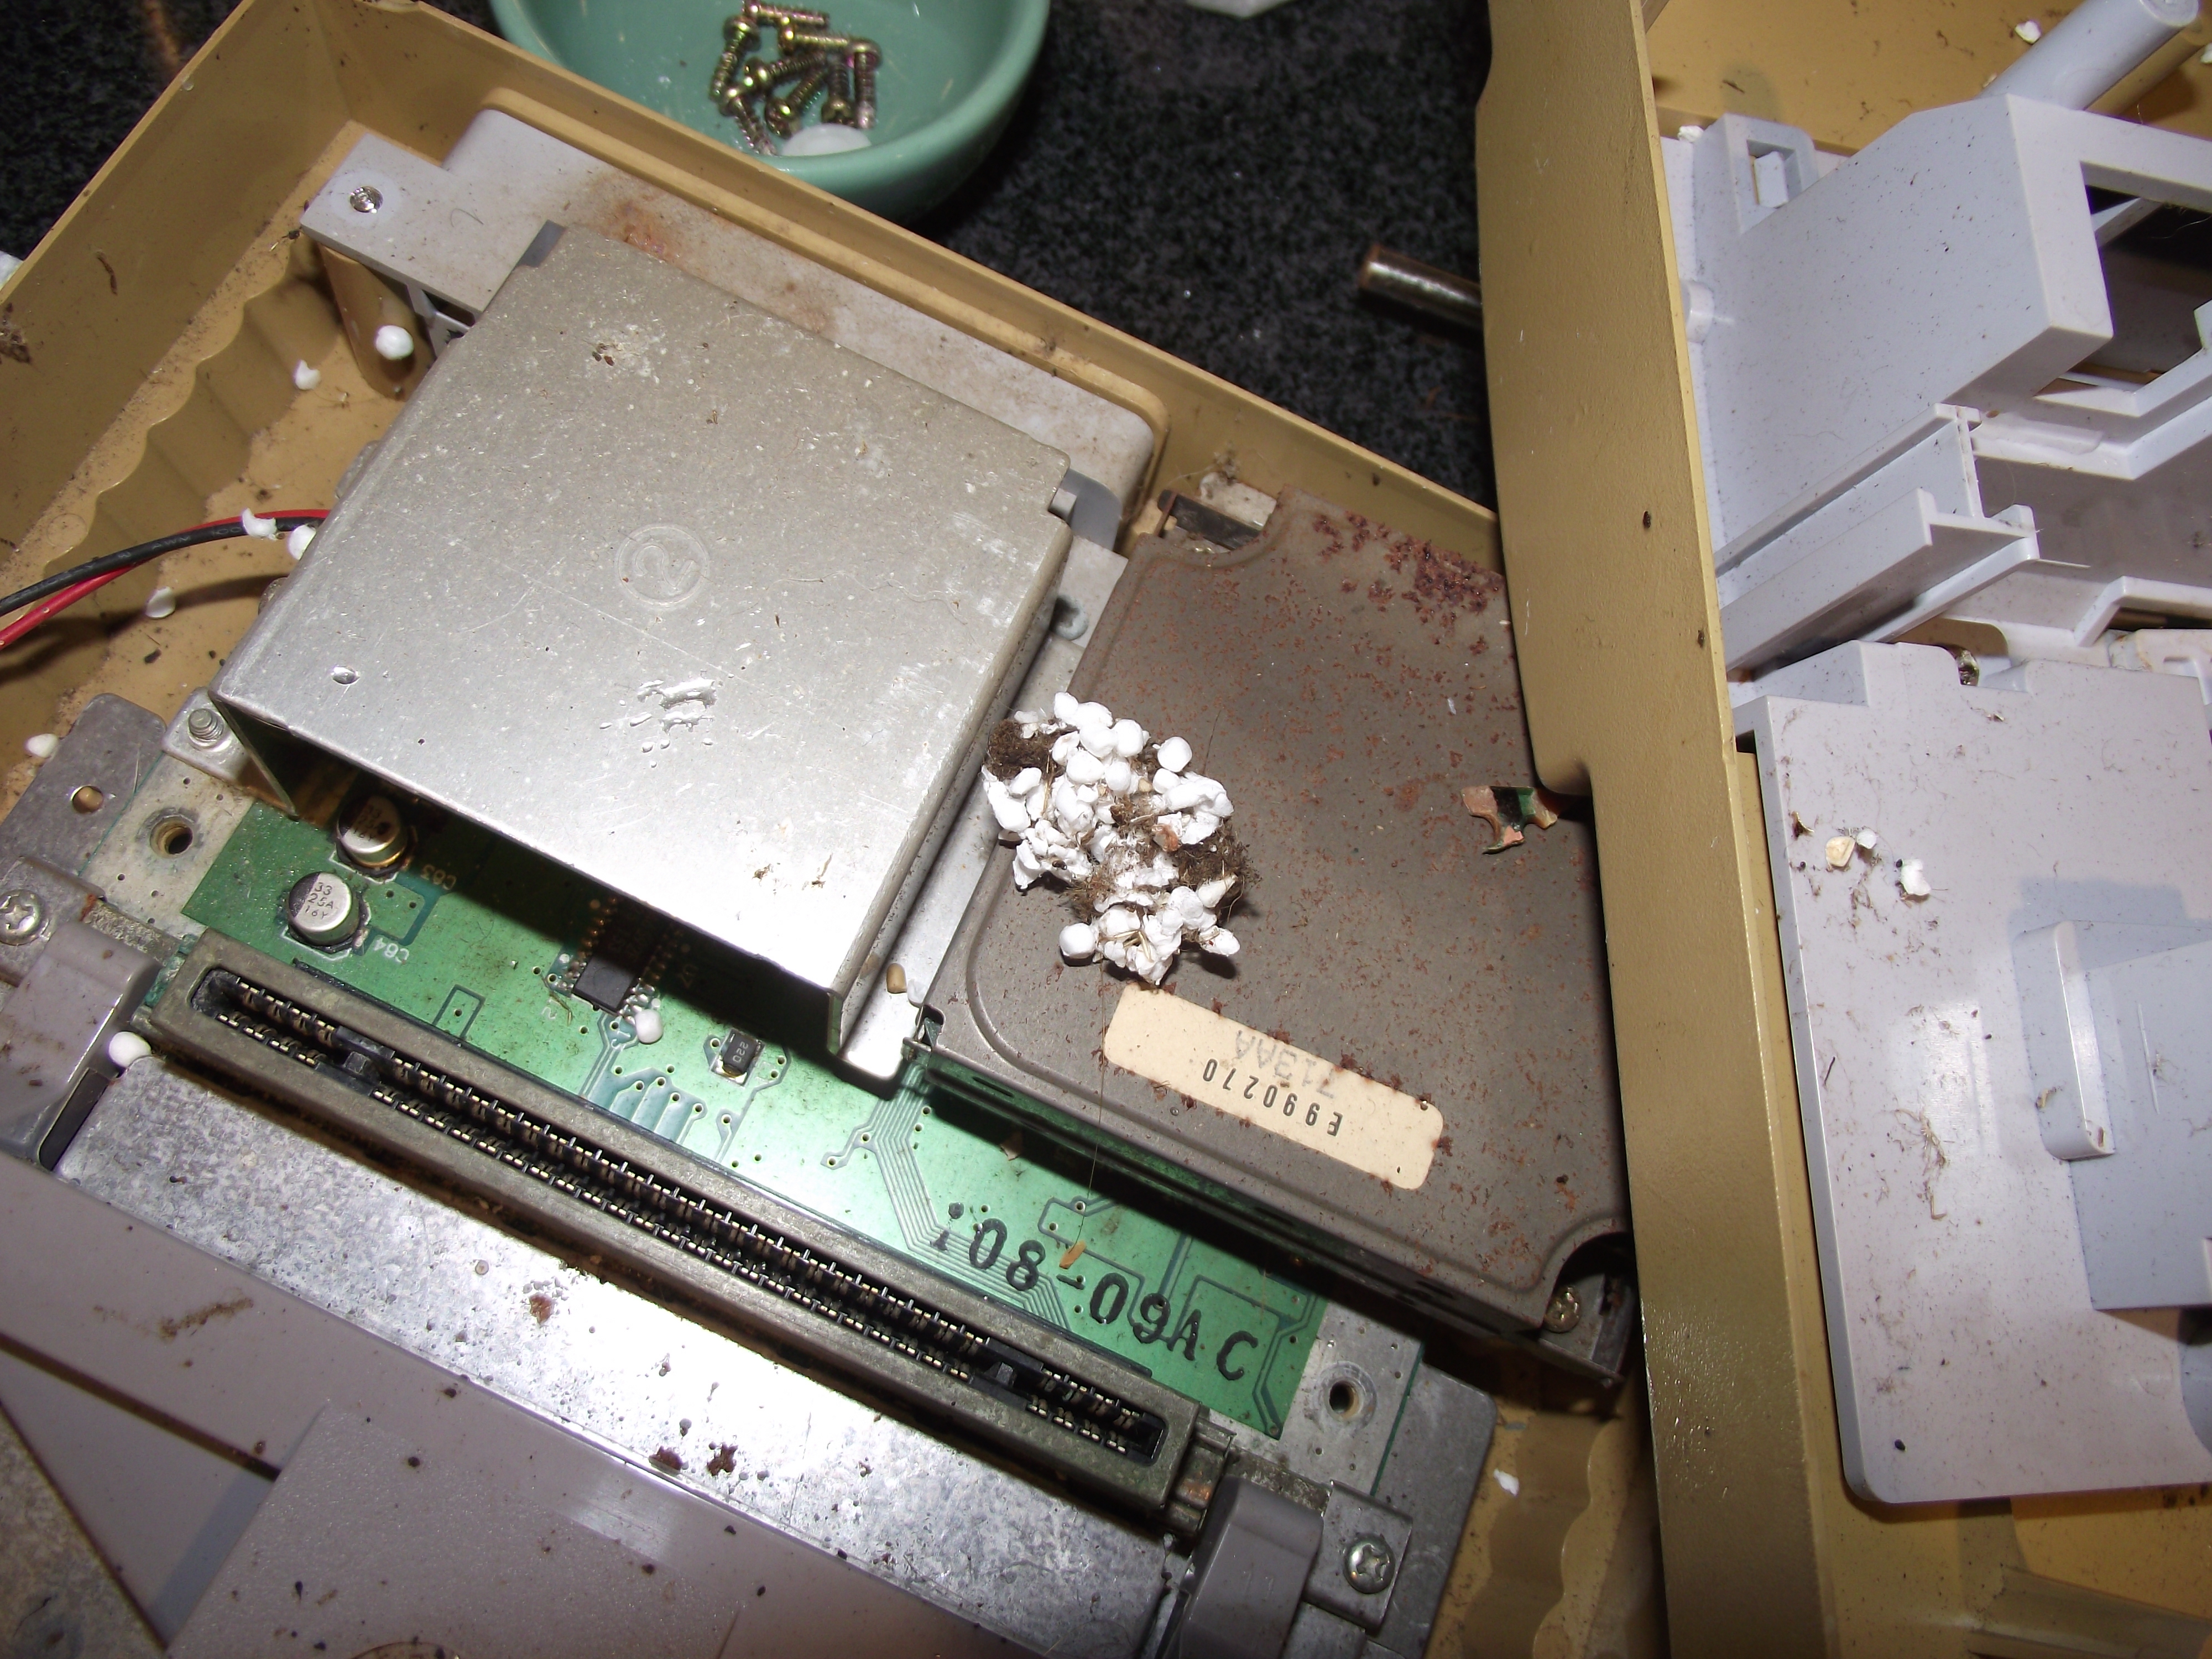
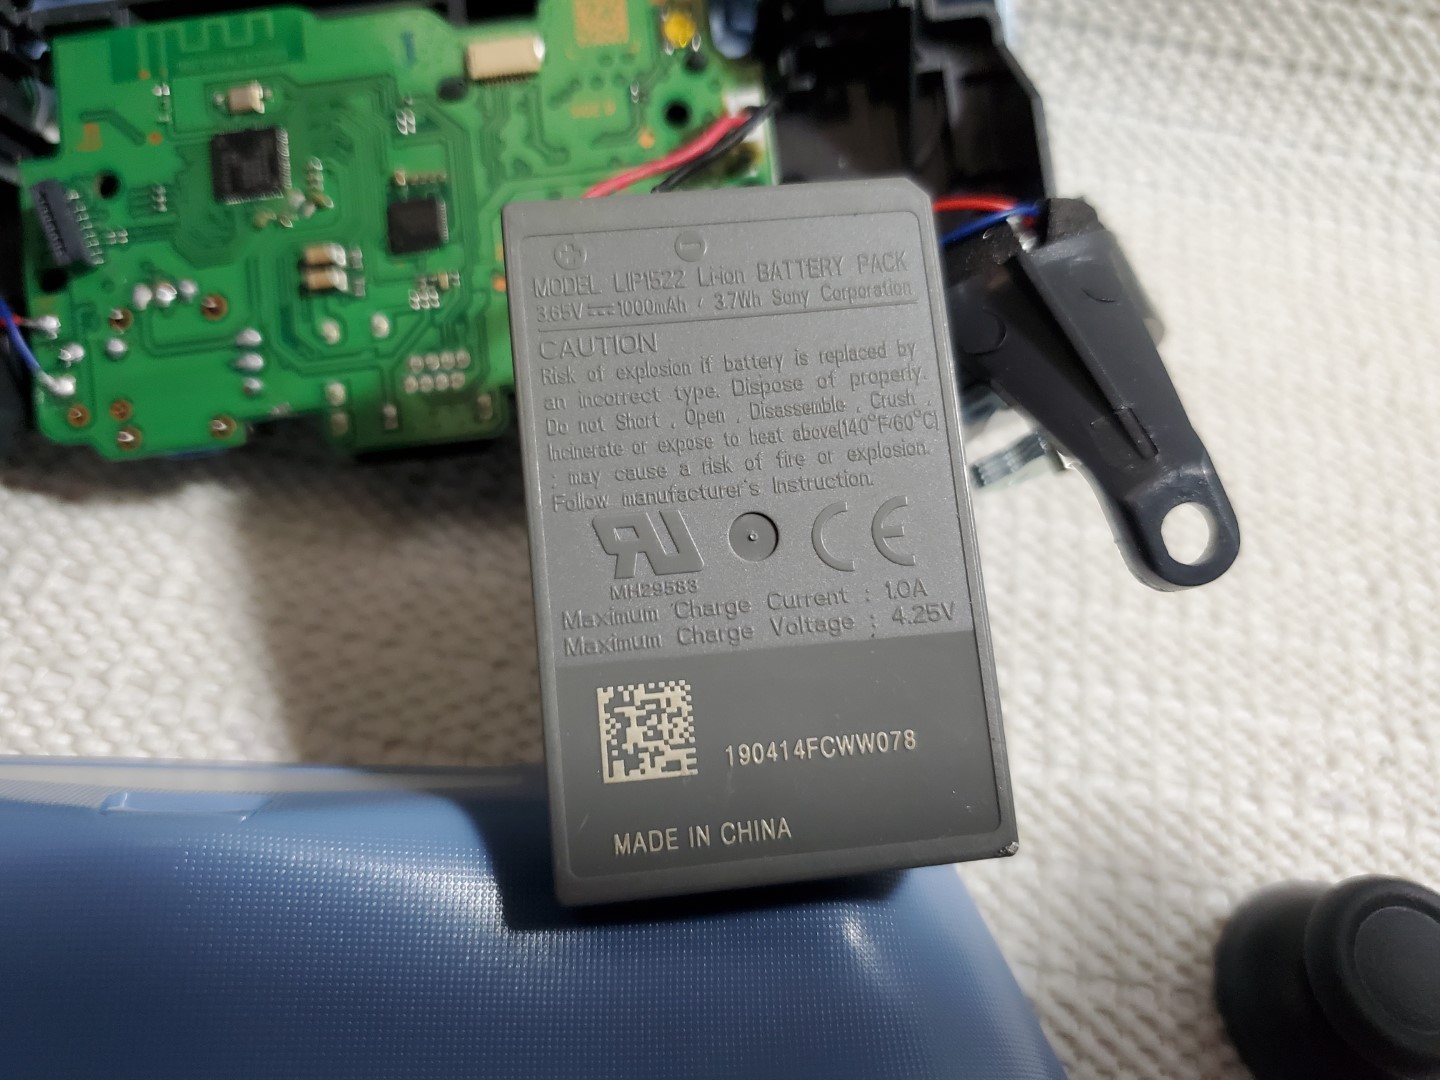
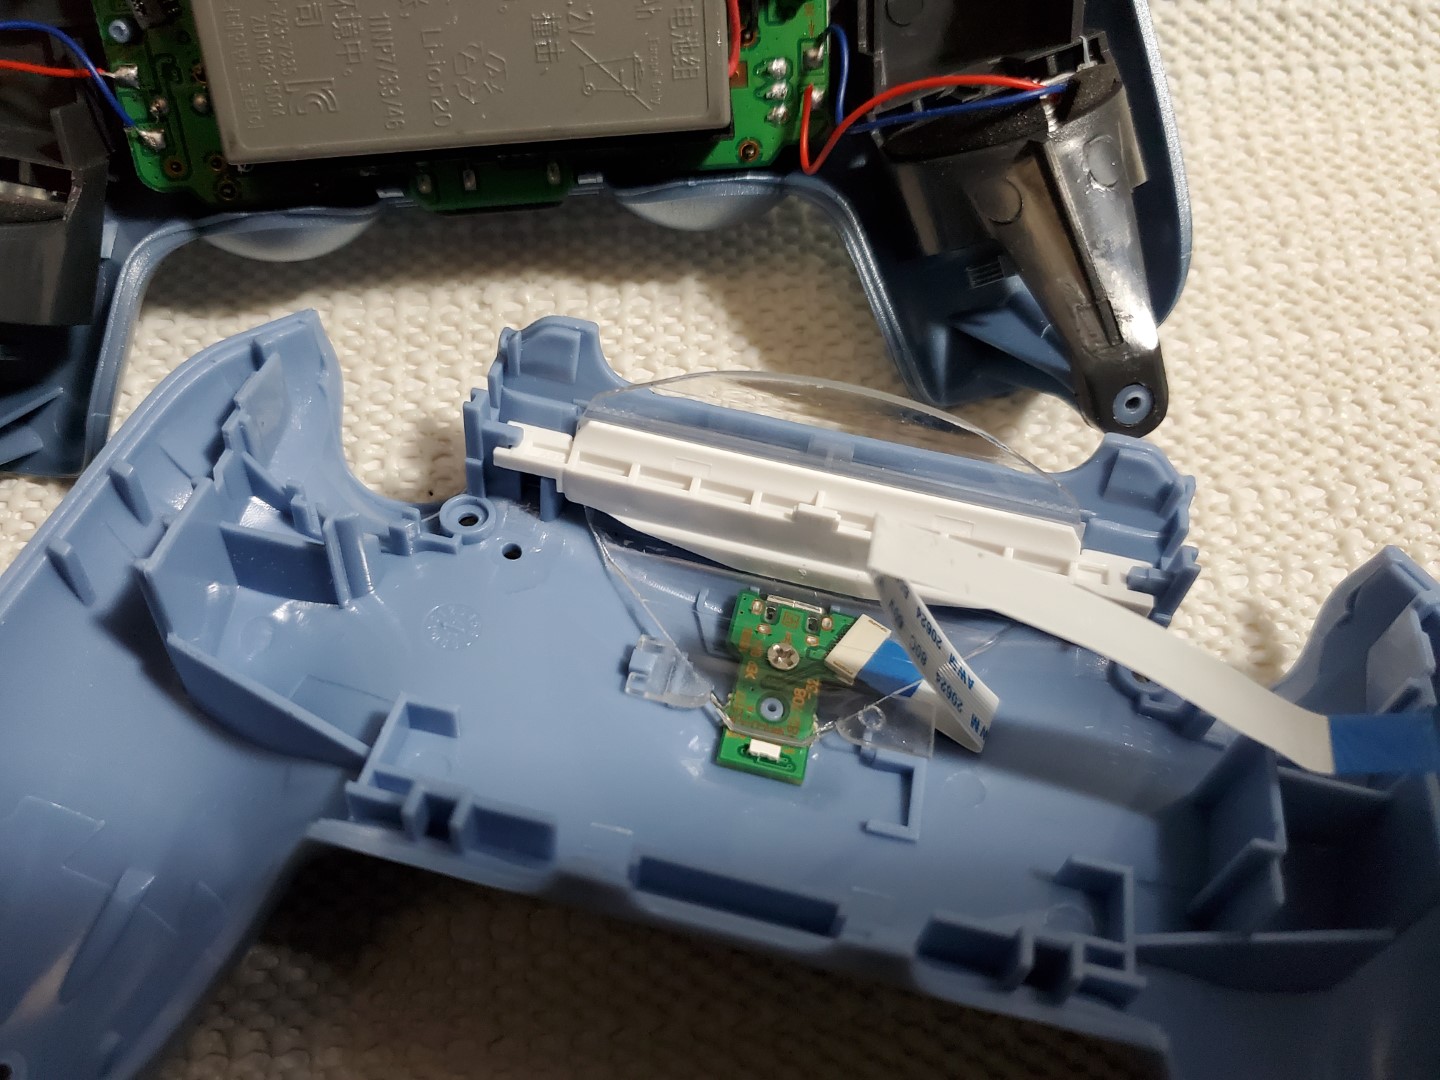
Oh dear. This is a puzzlement. It looks like a genuine battery, but the rest is fake.

As usual with fake controllers, there’s not even any solder on the anchor pads for the joysticks.

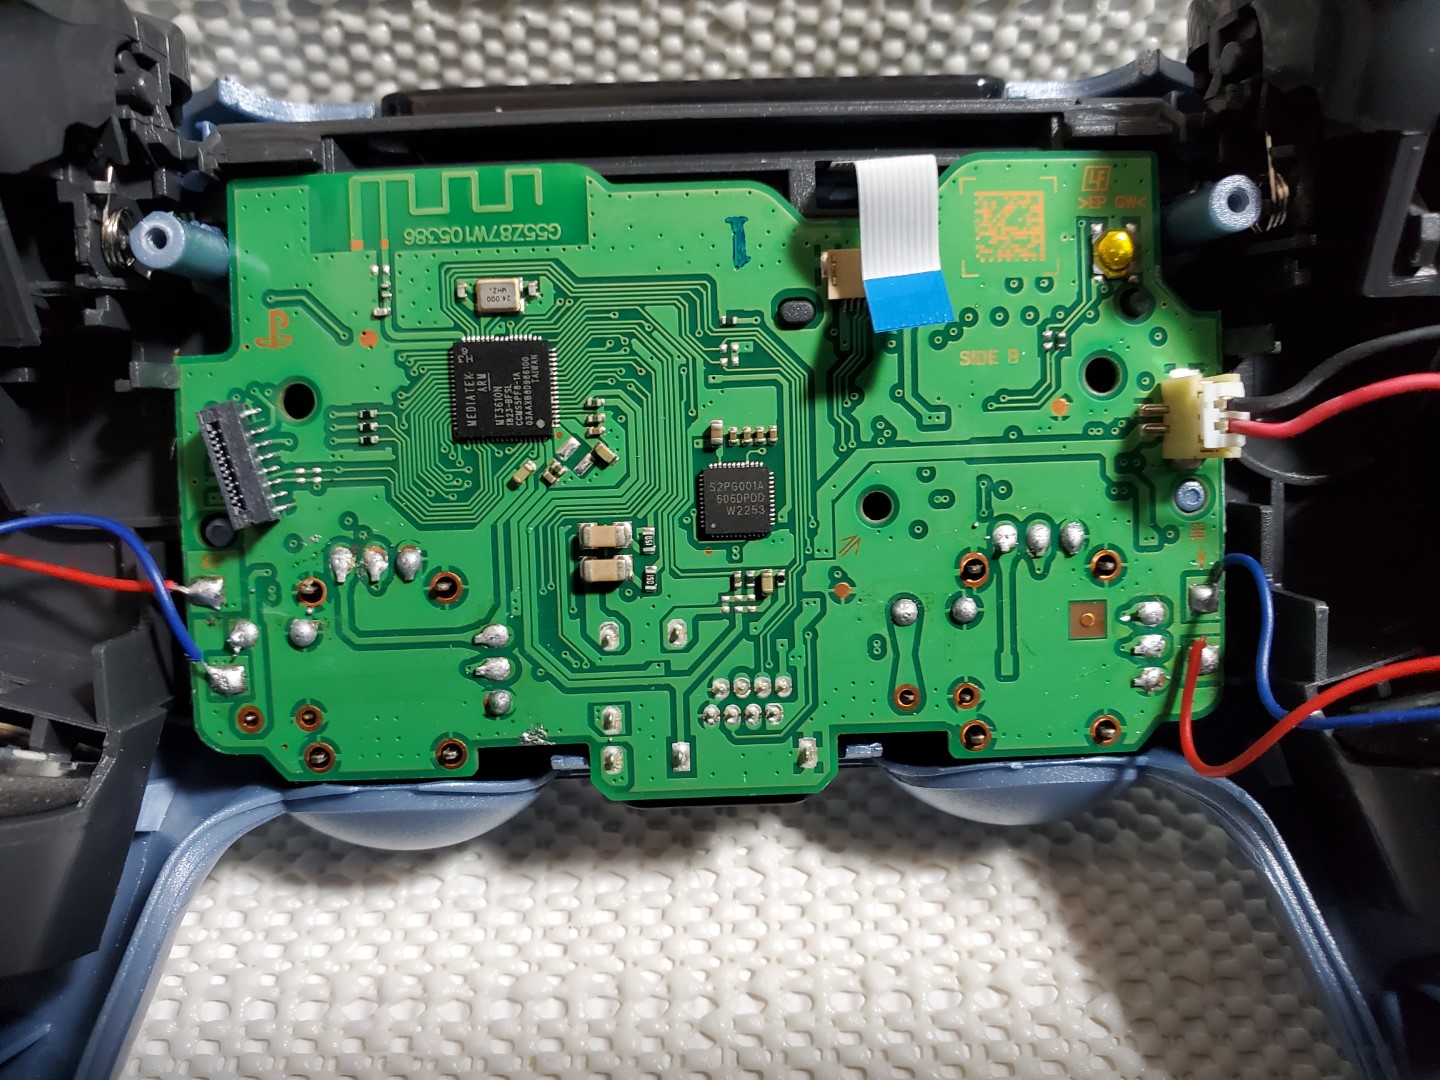
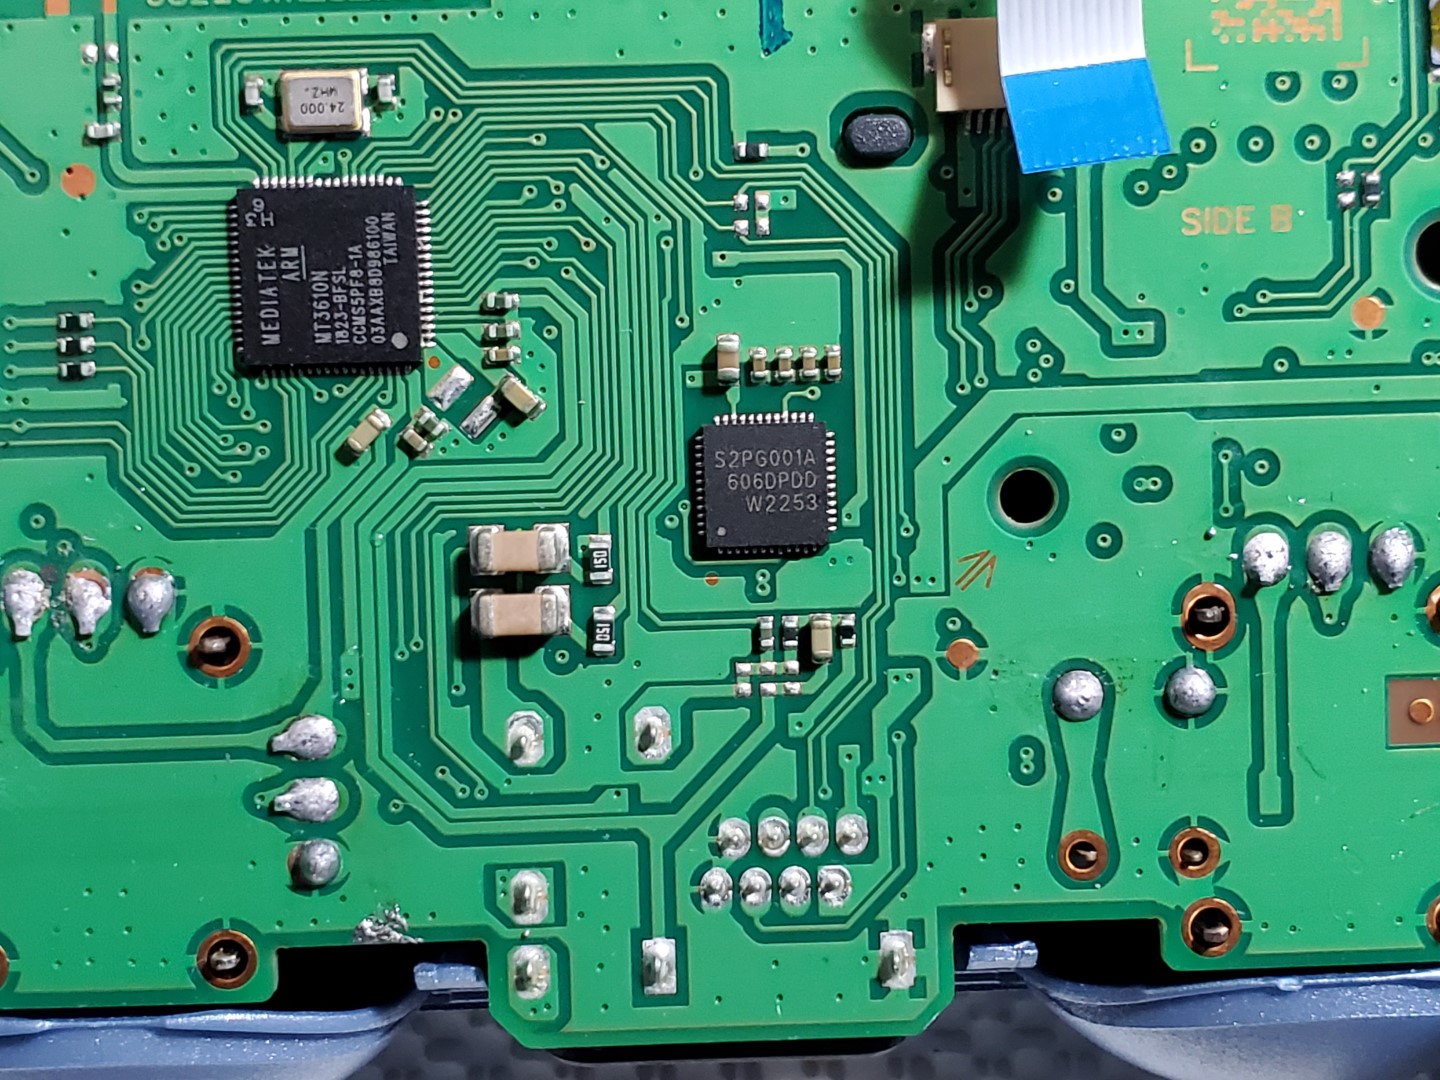
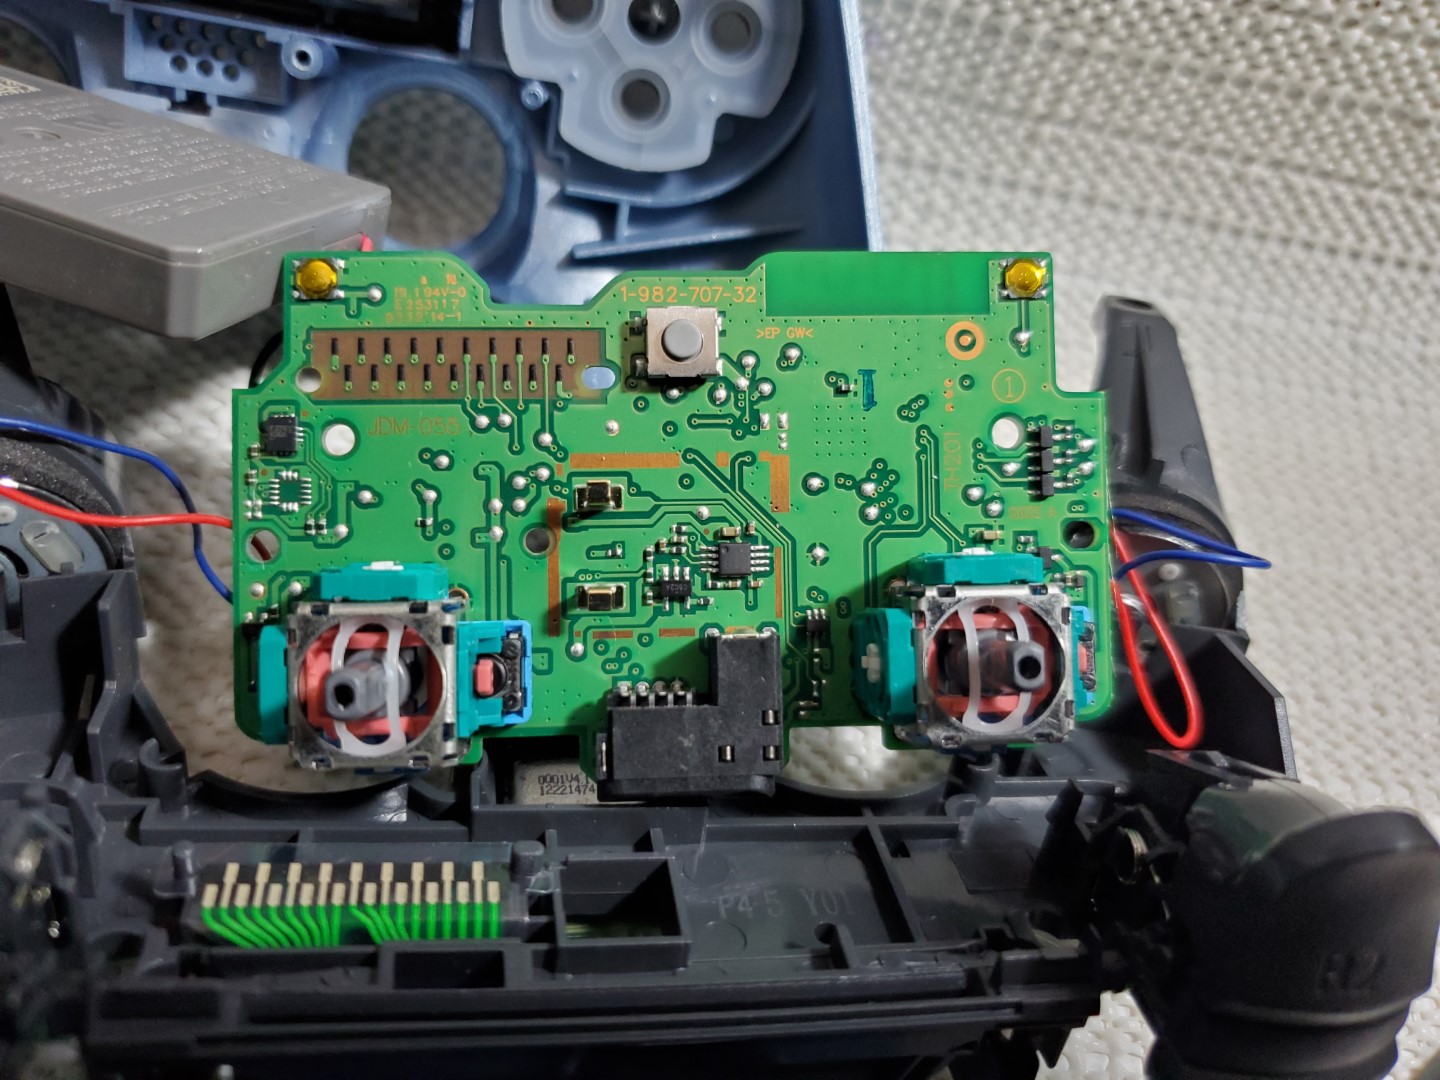
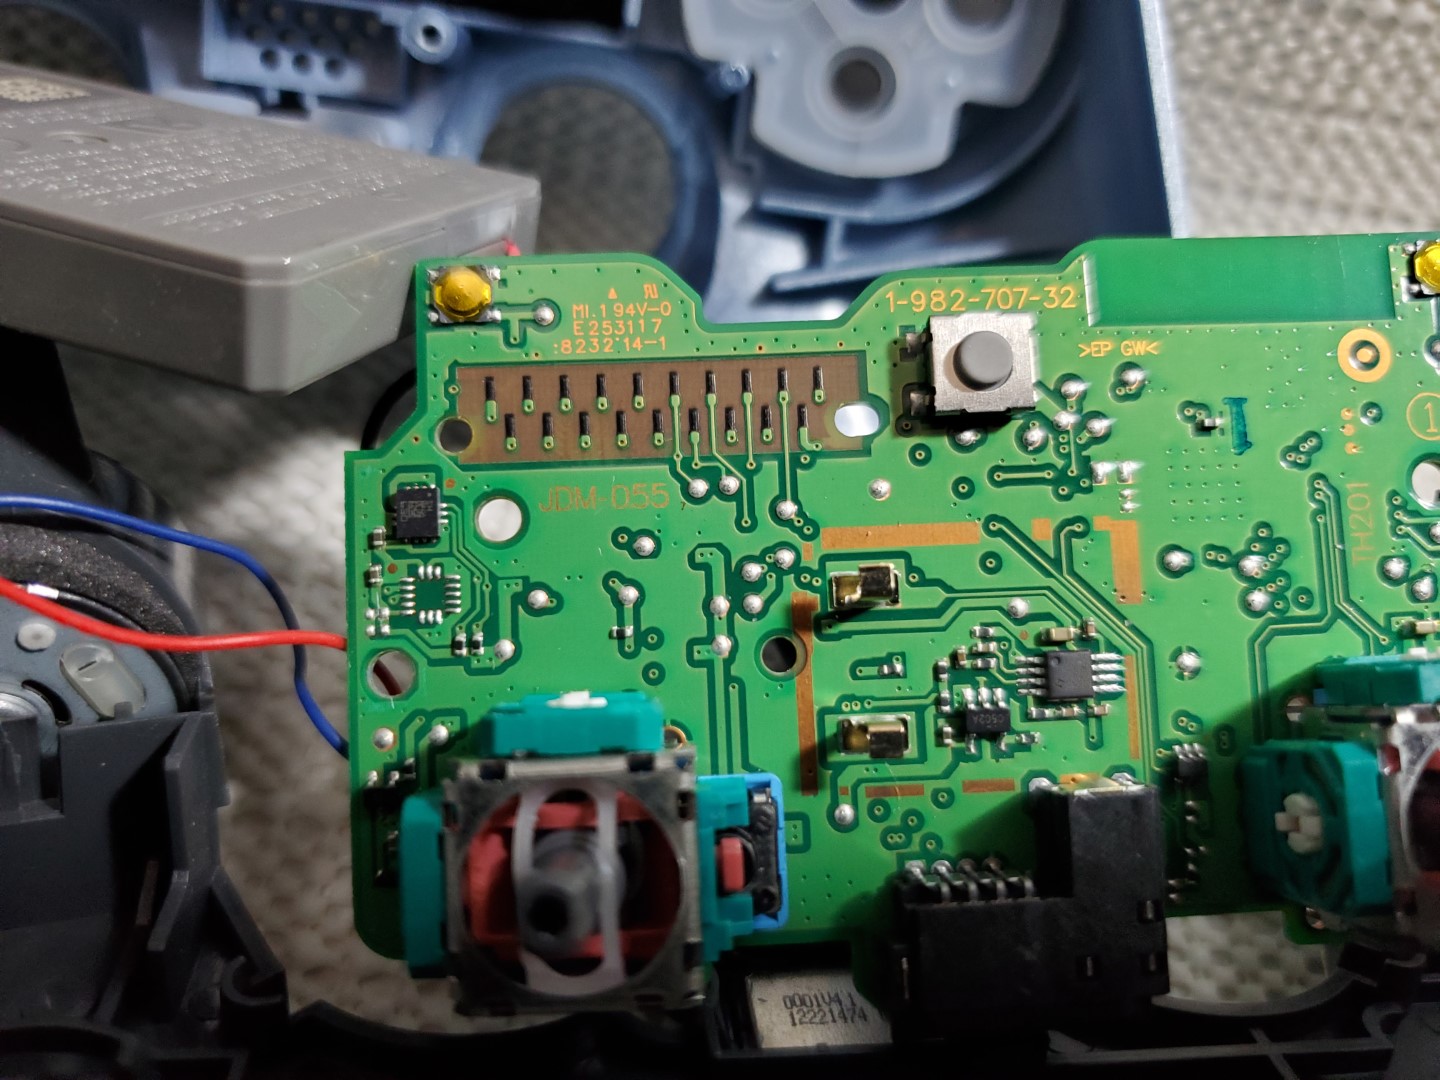
S2PG001A is actually the correct part number for the PMIC on JDM-055 controllers. But this doesn’t appear to be a genuine one. Neither does the MediaTek MT3610N. They both have the wrong numbers of pins. But on this topic I’m no expert. So I could be wrong about that. I suppose it may be possible the MT3610N could come in more than one package size. All I can say for sure is that genuine PS4 controllers don’t use chips that look like these. Also, unrelated to the questionable chips, get a load of the stray bits of solder smeared on the board near the lower left of the photo. That’s sloppy work.

These appear to be genuine Alps joysticks. When tested using DS4Windows they worked just as well as the ones installed inside genuine controllers.
Although I didn’t measure them to check, these appear to be the newer 2.3k ohm variety of joystick potentiometers used in the last JDM-055 PS4 controllers as well as PS5 controllers.
The battery looks genuine. Visually, at least. I didn’t test it though.
The board layout and markings are all very similar to a genuine JDM-055 motherboard.
Even the part number “1-982-707-32” is copied from a genuine board.
The charge port lacks the usual piece of black tape you find on genuine controllers as well as many counterfeits.

Well that was interesting. Now that we’ve had our fun, let’s return the controller for a refund. The listing stated all returns are accepted for 30 days, even remorse returns. So we’ve got no reason to feel bad about returning it. I’ll just open that return, print a shipping label, and drop it in the mail.

Just gotta wait for it to arrive to receive our refund.

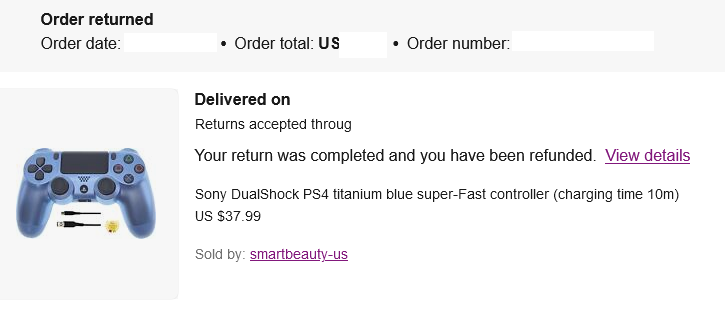
Great it was delivered. Now let’s check for that refund.

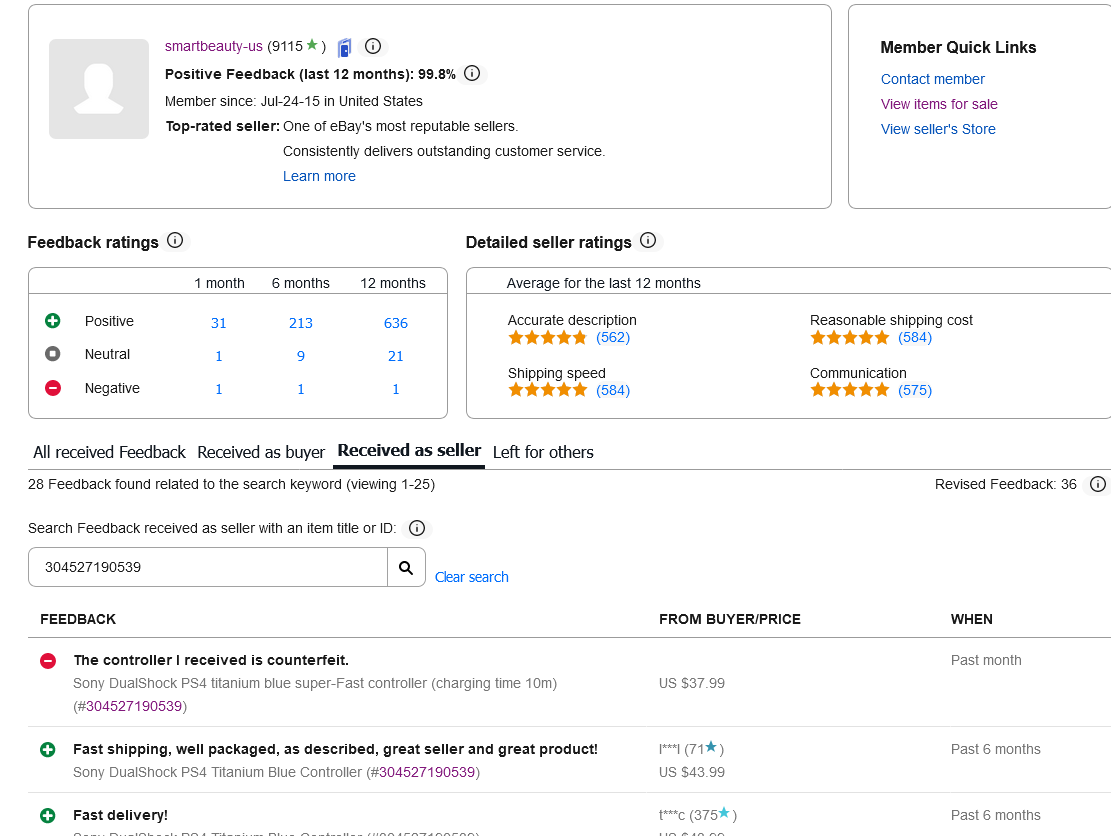
The only remaining task is to warn others about this scam through appropriate feedback. Let’s be sure not to mention the return request or anything else in our feedback comment that violates eBay feedback policies and could cause our comment to be deleted.

There. That’s straight to the point. There’s no way this comment could violate any of eBay’s feedback policies.
Wow. This guy’s a top-rated seller without so much as a single negative feedback. That’s what they must mean by “vetted sellers”

I don’t think you need a tinfoil hat to see that eBay simply doesn’t care that their so-called “experts” are just hawking fakes. The stock images this particular seller uses are nice and clean. They claim the items are “refurbished” and the fact they’ve been graced with the “eBay Refurbished” badge with its “One- or two-year warranty” and all its BS wankery about “vetted sellers” and “Multi-point inspections” means buyers have little reason to be suspicious. Plus the account is registered in the U.S. Buyers may be skeptical of similar listings that ship from China, but both the ship-from location and the seller’s account are U.S.-based. So there are few red flags for buyers to be wary of, other than the stilted English used in the listing text.

For the record, I have no problems whatsoever with generic controllers or other products made by third-parties. 8BitDo, for example, make some great controllers and sell and market them both legally and ethically. Companies like them are to be commended. What I have a problem with are scumbag sellers who deliberately scam consumers by intentionally describing a product as genuine and then sending a counterfeit instead. Of course, that’s been going on forever. But the twist here is that now eBay are actually assisting these people more blatantly than ever before.

I didn’t think to get screenshots before they were removed, but as I was waiting for the controller to arrive I witnessed several more buyers leave negative feedback for the seller, saying they received fake controllers. By the time I received my order though those negative comments had all been removed by eBay. So there’s no doubt eBay is complicit in this and are doing everything they can to protect their anointed sellers in the “eBay Refurbished” program, international intellectual property laws be damned.

SNES chip failures


It’s all so tiresome.

I do truly enjoy repairing game consoles. The SNES was the first console I owned myself so it has a special place in my heart. I love repairing them, cleaning them, and getting them ready to be used again. Sometimes I think there’s nothing more rewarding than that. But other than the common broken power jack issue, chip failures are the main problems with Super Nintendos. Every so often I’ll get one that needs a recap, but chip failures are by far the most common problem besides broken power jacks. But no matter how rewarding it may to fix these things, it eventually becomes depressing endlessly removing one dead chip after another.

Failed SNES CPUs.

Bad PPUs aren’t as common as bad CPUs, but they’re by no means rare, either.

There are 4 revisions of PPU2. S-PPU2, S-PPU2 A, and S-PPU2 B are the three most likely to fail, at least from my small sample size. S-PPU2 C and CPU-B seem to be hardier than the earlier revisions.

The main chip failure on 1-CHIP and SNES Mini consoles is the S-APU.

I often hear people say bad CPUs on Super Nintendos are a rare issue. But it sure doesn’t seem that way to me. Maybe a quarter of SHVC consoles I get have a bad PPU or CPU. Of course, I’m getting consoles that have already been identified as broken, but still. People say it’s not an epidemic on the same level as, say, bad capacitors on PC Engine Duos or Game Gears, but I don’t think it’s unreasonable to assume that all the old revision PPUs and CPUs in these Super Nintendos will go bad in the not-too-distant future.

My SNES troubleshooting workflow for “black screen of death” systems

SPOILER ALERT: They ALL have dead CPUs.

SPOILER ALERT: They ALL have dead CPUs.

I have dozens of these black screen systems. I have a basic flowchart for troubleshooting all SNESes in my head. It’s simple and progresses from the easiest fixes to the most difficult. But I’ll spoil it and reveal ahead of time that they almost all have dead CPUs that need to be replaced. It’s never the easy stuff.

The first steps are disassembly and cleaning the housing. Of course, the latter doesn’t fix anything, but time is money, and by cleaning the housing first I can leave it to dry while I work on the motherboard itself.

Step one is to clean the cartridge slot with a toothbrush and 91% alcohol. 99% is better but it’s more expensive and harder to find. 91% is good enough. Most folks recommend wrapping a credit card in a cloth, dipping it in alcohol, and then inserting and removing it repeatedly to clean the cartridge slot, but I’ve never understood this method at all. I don’t understand how that could possibly be very effective. A toothbrush seems like the obvious answer to me. For one thing, with the credit card and cloth method you’re only cleaning the removable top part of the connector, which is completely pointless if you don’t also clean the pins beneath it that are soldered directly to the board. For RGB, APU, and 1CHIP models I suppose the credit card method may be all right, since you can’t just lift the connector off on those. But a toothbrush just seems like a far better method to me. You need to use serious elbow grease when cleaning these things, and there’s no way to put the kind of force necessary behind your scrubbing if you’re just using a credit card wrapped in cloth.

Of course, rather than clean it, it’s faster to just grab a known working cartridge slot connector to test the system quickly. Keeping one handy saves time.

It's pointless only cleaning the removable top part of the cartridge connector if you don't also clean beneath. How would you possibly clean a system like this with the credit card method?

It’s pointless only cleaning the removable top part of the cartridge connector if you don’t also clean beneath. How on earth could you possibly clean a system like this with just the credit card method?

Cleaning beneath the connector is very important. If someone spilled something on the console long ago, you have to consider where gravity would have taken it. Soda spilled on top of the console wouldn’t have just sat on the top removable piece of the connector for all those years, so it’s rare to find much corrosion on the removable part. Any liquid spilled on top of the system would have run down through the connector and settled on the pins beneath. That’s why you tend to find rust and corrosion on these pins. Sometimes they look all green, like the Statue of Liberty. I scrub these with a brass brush to remove any corrosion, then clean them off with a different toothbrush and some cotton swabs. Deoxit is also good to use here.

Knowing how gravity works allows you to predict this before you even fully disassemble the console.

Knowing how gravity works means this kind of result is predictable.

At this point you can test the system. If it works, great. You’re done. But the premise here is that these simple things usually don’t work. Most consoles don’t have so much corrosion, so, while cleaning is always a good idea for sanitary reasons, it rarely actually fixes anything. Ordinary dust and dirt won’t stop the console from reading games. So let’s move on to the next step in my flowchart.

If you hold the reset button on a working console while powering it on with a game inserted, you get a black screen until you release the button. The idea here is that if the reset button is very dirty (again, think spilled soda) then it can be stuck in the activated position, causing the same symptoms as if it were actually being held down. I’ve never actually seen this personally, but it’s an explanation that makes a lot of sense to me, so it has a place in my flowchart and I always first try cleaning the reset button with a toothbrush and a bit of alcohol. If it seems sticky I temporarily desolder and remove it just for testing. It never turns out to be the culprit, but it’s pretty quick to remove so it’s not much of a waste of time.

C62 and the reset button.

C62 and the reset button.

C62 is a small 2.2µF capacitor right above the CIC chip, near the reset button. I’m told that if this is bad it has basically the same effect as holding the reset button down, resulting in a black screen on all games. Again, I’ve never actually come across a system where this had happened, but it’s an easy thing to replace, so I sometimes try replacing it if it looks funny. It has never fixed anything for me though.

I’ve seen this next thing once and only once. Since it happened once though, it does have a place in my flowchart, since I suppose I could come across it again.

I flip the board upside down and do a visual and tactile check of the solder joints on the bottom of the cartridge slot. When I say “tactile” what I really mean is that I press on them one at a time with my fingers to see if they’re cracked. It doesn’t hurt to quickly reflow them all. It almost never fixes anything, but it can help you eliminate the cartridge slot completely as a possibility. If you are an insane person you can get a multimeter, connect the top removable connector, and then check each pin on the bottom of the board for continuity with the corresponding pin inside the removable connector. This is a colossal waste of time though and you should only do this if you are a masochist. Even with a third hand tool, you’ll nudge the board constantly, your hand will slip, you’ll drop one of the probes, you’ll lose count of which pin you were at and have to start over and you will want to off yourself in no time. Besides, you really don’t need to test. It’s never the cartridge slot that causes these issues. When it comes to the cartridge slot, if everything looks good, it is good. The one time I had a system where this sort of thing was an issue, the solder joint was so badly cracked on the underside of the board I could wiggle it with my finger. If something is wrong it will be obvious.

Next is to check for broken traces. There are no shortcuts here. You just need a jeweler’s loupe and a lot of time on your hands. What I’ve learned from experience though is that you shouldn’t waste your time on this step unless you have good reason to suspect there will, in fact, be some broken traces. Basically that means if you have a system that had liquid damage or was in a very damp, wet, humid, or dirty environment you may want to spend some time looking at it carefully under magnification. So if you open it up and find lots of rust or dead bugs, it may actually have some broken traces. But if you open it and it’s nice and clean, don’t waste your time. Unless, of course, someone else worked on it prior to you. If that’s the case, you should absolutely check for broken traces, scratches, lifted solder pads, and that sort of thing, since you never know what the last guy may have done to it.

If the system is an SHVC model, yes, you can try swapping out the sound module. Some games will give a black screen if the sound module is disconnected or bad. But many games actually load to the first screen and freeze when the sound module is bad or disconnected, so if you’re using a game like that and you get a black screen, don’t waste your time, since it’s not the sound module. An Everdrive will load and display the contents of your SD card even with a bad/disconnected sound module. If you try to run a ROM, it’ll freeze.

An Everdrive, by the way, is something that can be very helpful when you’re not quite sure of the extent of the problem. Some systems may give a black screen on most games, but display garbled graphics on another. Still others give a black screen on 9 out of 10 games but might play one specific game just fine. Those consoles may have hope. To help understand the extent of the problem a bit better I see if it’ll read an Everdrive. If it reads the Everdrive and loads the burn-in test rom, I run it and see what it says. These black screen systems may not read any retail games, but sometimes they do read the Everdrive, though it doesn’t always actually load up fully. It often crashes when trying to display the contents of the SD card. But if it does load and I can get the burn-in test rom to run, it usually is very straightforward and simply says, “CPU —— FAIL”. That’s about as clear-cut an answer as it gets. Almost all the failures are CPU-related, but occasionally you do see some VRAM problems. Those are nice since you can easily grab the VRAM from another console. There’s also plenty of space between the pins so soldering them in is easy. But I’ve only seen bad VRAM two or three times and those had all been worked on previously. I don’t think the VRAM is typically prone to failure. Normally it’s a CPU problem.

At this point the only thing left is to replace the CPU. That’s not as hard as it sounds if you have hot air rework equipment. It’s very easy to remove the old CPU, but you do need to be moderately good at soldering to put in the new one. I usually end up with a few solder bridges at the end that need to be fixed. The hardest part though is locating a good CPU. The reason I have dozens of dead black screen SNES boards is because I have no good CPUs to put in them. Most, I’m sure, would work fine with a new CPU, but the trouble is that there’s nowhere to get them. I found a few IC dealers online that claim to have a small quantity in stock, but they are asking such high prices it would actually be cheaper to buy working SNES consoles for the CPUs than to buy from those bloodsuckers. When I get really badly water-damaged or otherwise screwed-up boards I take the CPUs. Sometimes they’re bad, too. But occasionally they’re good and I can revive one dead system from my stack. It always feels good. Plus I end up producing some unique SNES consoles like 1990 SHVC boards equipped with the later (and much more resilient) “S-CPU B”, which was normally only found in the GPM-02, RGB, and APU motherboard revisions.

Don't worry. I didn't cannibalize a working RGB board. It had been eaten up by roaches and was totally beyond repair with broken traces all over and the solder mask peeling up on the back.

Don’t worry. I didn’t cannibalize a working RGB board. It had been eaten up by roaches and was totally beyond repair with lots of broken traces and the solder mask peeling up all over the place.

Maggots? In my SNES?

It's more likely than you think.

It’s more likely than you think.

No, don’t worry, this isn’t my personal console. I got this one on eBay. Mine, of course, is immaculate, as you would expect. Incidentally, buy only from me or else this is the kind of thing that’ll show up at your doorstep after shopping online.

But wouldn’t you know it? This disgusting pile of filth and disease worked fine after I spent several hours washing it. I had to replace the capacitors, but otherwise it was fine. It’s aggravating that horrific-looking systems like this survive despite such neglect and abuse and yet so many well-cared for pristine-looking systems stored in safe and clean conditions by responsible, civilized people just die for no good reason.

DSCF2842

DSCF2843

DSCF2851

DSCF2848

DSCF2847

DSCF2846

DSCF2845

I really do wonder if I’m blacklisted by the USPS

Today I had the 5th consecutive parcel I’ve attempted to have delivered go straight to the post office instead of to my home address. None of them have had signature confirmation. They’ve all been either priority mail or parcel post. Most had DC. There was one that didn’t. Either the USPS has blacklisted my address or they’ve put a new carrier on my route who is consistently doing his job terribly wrong.

It really adds insult to injury when, in addition to having to travel every single day to pick up junk mail and letters, you also have to travel to the post office to pick up parcels. There’s no reason to pay extra for signature confirmation if the recipient has to travel to the post office in person and show I.D. in order to get a parcel that doesn’t even have DC on it.

Maybe I’ll stop defending the USPS now. In the past 2 months they’ve destroyed one parcel, sent 3 to the wrong city, and decided to send these 5 parcels to the post office for pickup when they should have been delivered by a carrier.

Stupid USPS keeps wasting my time

Normally I’m the first person to defend the USPS. I’ve generally had good experiences with them. I’ve only had a few packages permanently lost in my entire life. This time, however, I must complain.

When I send and receive parcels I nearly always use delivery confirmation. The way this works is that the carrier scans the package using a handheld scanner when it’s delivered. This way the seller can confirm that the item arrived at the destination. This is useful in situations where the buyer claims the item was never received and asks for a refund or a re-shipment. With DC you can just point to the confirmation of delivery on the USPS website and the would-be scam artist gets shut up.

Signature confirmation is like a much more extreme version of delivery confirmation for more paranoid sellers. It’s more or less the same as what happens with any UPS delivery. The carrier must give the parcel to a human being at the address and get the signature of the human being. If there’s no human being to accept and sign for the package, it doesn’t get delivered. With DC it’s possible that someone other than the intended recipient will steal the package (eg. it’s left by the mailbox and the neighbor steals it before the addressee arrives home). Signature confirmation is a pain in the neck if you’re the recipient for obvious reasons: you must physically be at the address and answer the doorbell when the mail carrier arrives. When you’re like me and your mail carrier arrives anywhere between 1:30 pm and 5:30 pm depending on the day of the week, it’s a terrible inconvenience to wait around all day.

Registered mail is about equally inconvenient as non-registered signature confirmation parcels if you’re the recipient. It’s better for the seller though because supposedly registered mail is handled in a more secure manner than non-registered mail while in transit. I don’t know the details, but registered mail automatically requires a signature so for the recipient it’s more or less the same hassle as non-registered mail with signature confirmation, regardless of class.

Anyway, I always try to use only ordinary delivery confirmation. Regardless of whether we’re talking about media mail, parcel post, first-class mail or priority mail, I always try for just delivery confirmation when ordering packages. Ordinarily my mail carrier just leaves the DC parcels outside the mail box and I pick them up when I get home. The last three parcels I’ve ordered with DC, however, have all gone straight to the post office and I’ve had to go pick them up. I find that very annoying. DC is DC. There’s no requirement, as far as I know, for a human being to physically accept the parcel if it’s just got DC. That’s the point of the handheld scanner, if I’m not mistaken. That’s also why signature confirmation (which ensures a human being accepts the parcel) is more expensive. If DC required a human being to accept the package, there wouldn’t be much use for signature confirmation since it wouldn’t add any protection that DC didn’t already provide other than the name of the specific human being who accepted the package.

Anyway, it’s just annoying that the USPS would suddenly start requiring a human to accept parcels at the exact time that my apartment was destroyed. It’s enough of a pain in the neck having to travel to the remnants of what was once your home to pick up the mail without also having to travel to the post office, wait in line, and show an I.D. every time a piece of mail with delivery confirmation is sent to you. I’m starting to wonder if maybe the USPS started blacklisting addresses of destroyed homes.

In defense of USPS, I do understand how some people might see this as a an upgrade to the DC service, since requiring the addressee to travel to the post office and show identification makes it much more likely that the intended recipient gets the package, rather than some neighbor or even somebody else (such as a family member) who lives at the same address. Of course, it doesn’t stop an impostor from picking the package up using a fake or stolen I.D. card, but it’s still much more secure than leaving the package at the mailbox.

I don’t see it as an upgrade though. That’s because I’m not ordering any sensitive materials. If I were, I’d use registered mail with signature confirmation or maybe FedEx.

Anyway, hopefully this is just bad luck I’ve had on my last three parcels and not an indication of an actual change to the way delivery confirmation works.

I wasted my entire stupid day troubleshooting this stupid Arris modem

So I’m living elsewhere temporarily while my apartment is being demolished. I’ll be here until it’s rebuilt. Who knows when that’ll be. But that’s not the point. The point is that I have Time Warner Cable here and I’ve had the chance to use Road Runner for an extended period of time now. I’ve used Road Runner at friends’ homes several times in the past and had opportunities to do speed tests and the like, but I’ve never had the chance to use it on my own terms, with my own computers and home network equipment. I’m very upset at somebody — I know not whom — about a grievous oversight in the instruction manual for the DOCSIS 3.0 modem/router TWC gave me. The trouble is that I don’t know who to blame. It’s an Arris TG862G. Frankly, I had never even heard of Arris before they gave me this thing. The installer, who mentioned, by the way, that he has FiOS at home, said that the device is both a modem and a router, but that TWC doesn’t let customers change the SSID or the passphrase on the network, so if a customer wants to change that information, he or she must use his or her own router. I didn’t really care, since I do have my own router and I figured I’d just have to live with a suboptimal home network split on two different subnets (192.168.0.xxx on the Arris router and 192.168.1.xxx on my router). I didn’t think I was able to have TWC put the Arris in bridge mode since the TWC connection is on the account of the owner of the place in which I’m living (though nobody else will be using the connection). I figured I’d either do the 2 subnet thing or I’d simply use my own router as a switch and actually use the Arris router as a router. I figured I’d decide once I logged into the web configuration pages on the Arris and saw what features it had. If they compared favorably with my own router I’d just go ahead and use the Arris and use my own router as a switch (I have a real 24-port switch, but it, along with most of my stuff, is in storage until the apartment is fixed)

Anyway, the reason I’m angry is because either Arris wrote bad instructions or TWC made a slightly modified firmware for the Arris modem with an annoying feature. The manual says you can access the web GUI at 192.168.0.1, which of course is similar to most routers. I connected my computer directly to the Arris via Ethernet cable with nothing else connected to the modem but the coax cable and the AC adapter. I set my computer to get an IP address automatically to rule out the possibility that some pre-existing configuration on my computer was causing problems. I typed in the address, waited… and it timed out. After trying all sorts of other combinations (10.0.0.1, 192.168.1.1, 192.168.1.100, 192.168.0.100, etc…) I finally figured out today (2 days of web searching later) that you can only access the web configuration GUI if you unplug the coaxial cable from the Arris modem first. If you have the coaxial cable plugged in and you try to access 192.168.0.1, it’ll just time out. The fact that this isn’t mentioned in the manual is a major oversight which caused me a huge pain in the neck. All I wanted to do was access the port forwarding settings page, which should be the simplest thing in the world but because I lacked this simple bit of information I had to go on a wild goose chase of searching through forums and support pages, none of which actually mentioned this. Hopefully posting this information will save somebody a bit of time configuring his or her Arris cable modem/router in the future. I just wish I knew whether it’s Arris that made this feature or if it was an adjustment that TWC does to the units they send to customers. I know that Comcast uses this same modem for some of their customers, so I’d be interested in learning if they also suffer from this “feature”.

P.S. The connection tests about 35Mbps/5Mbps to test sites in the NY/NJ area.

I’ll be offline for some weeks

This is the only water-related picture I have handy at the moment.

my apartment is flooded by Hurricane Sandy. Most of my hard drives are undamaged because I managed to move them to high shelves, but a few were submerged. Anyway, the damage means the place is not presently safe to live in, though it’s just as well since all the furniture was ruined. Once the place is fixed and I get some furniture I’ll be back online.