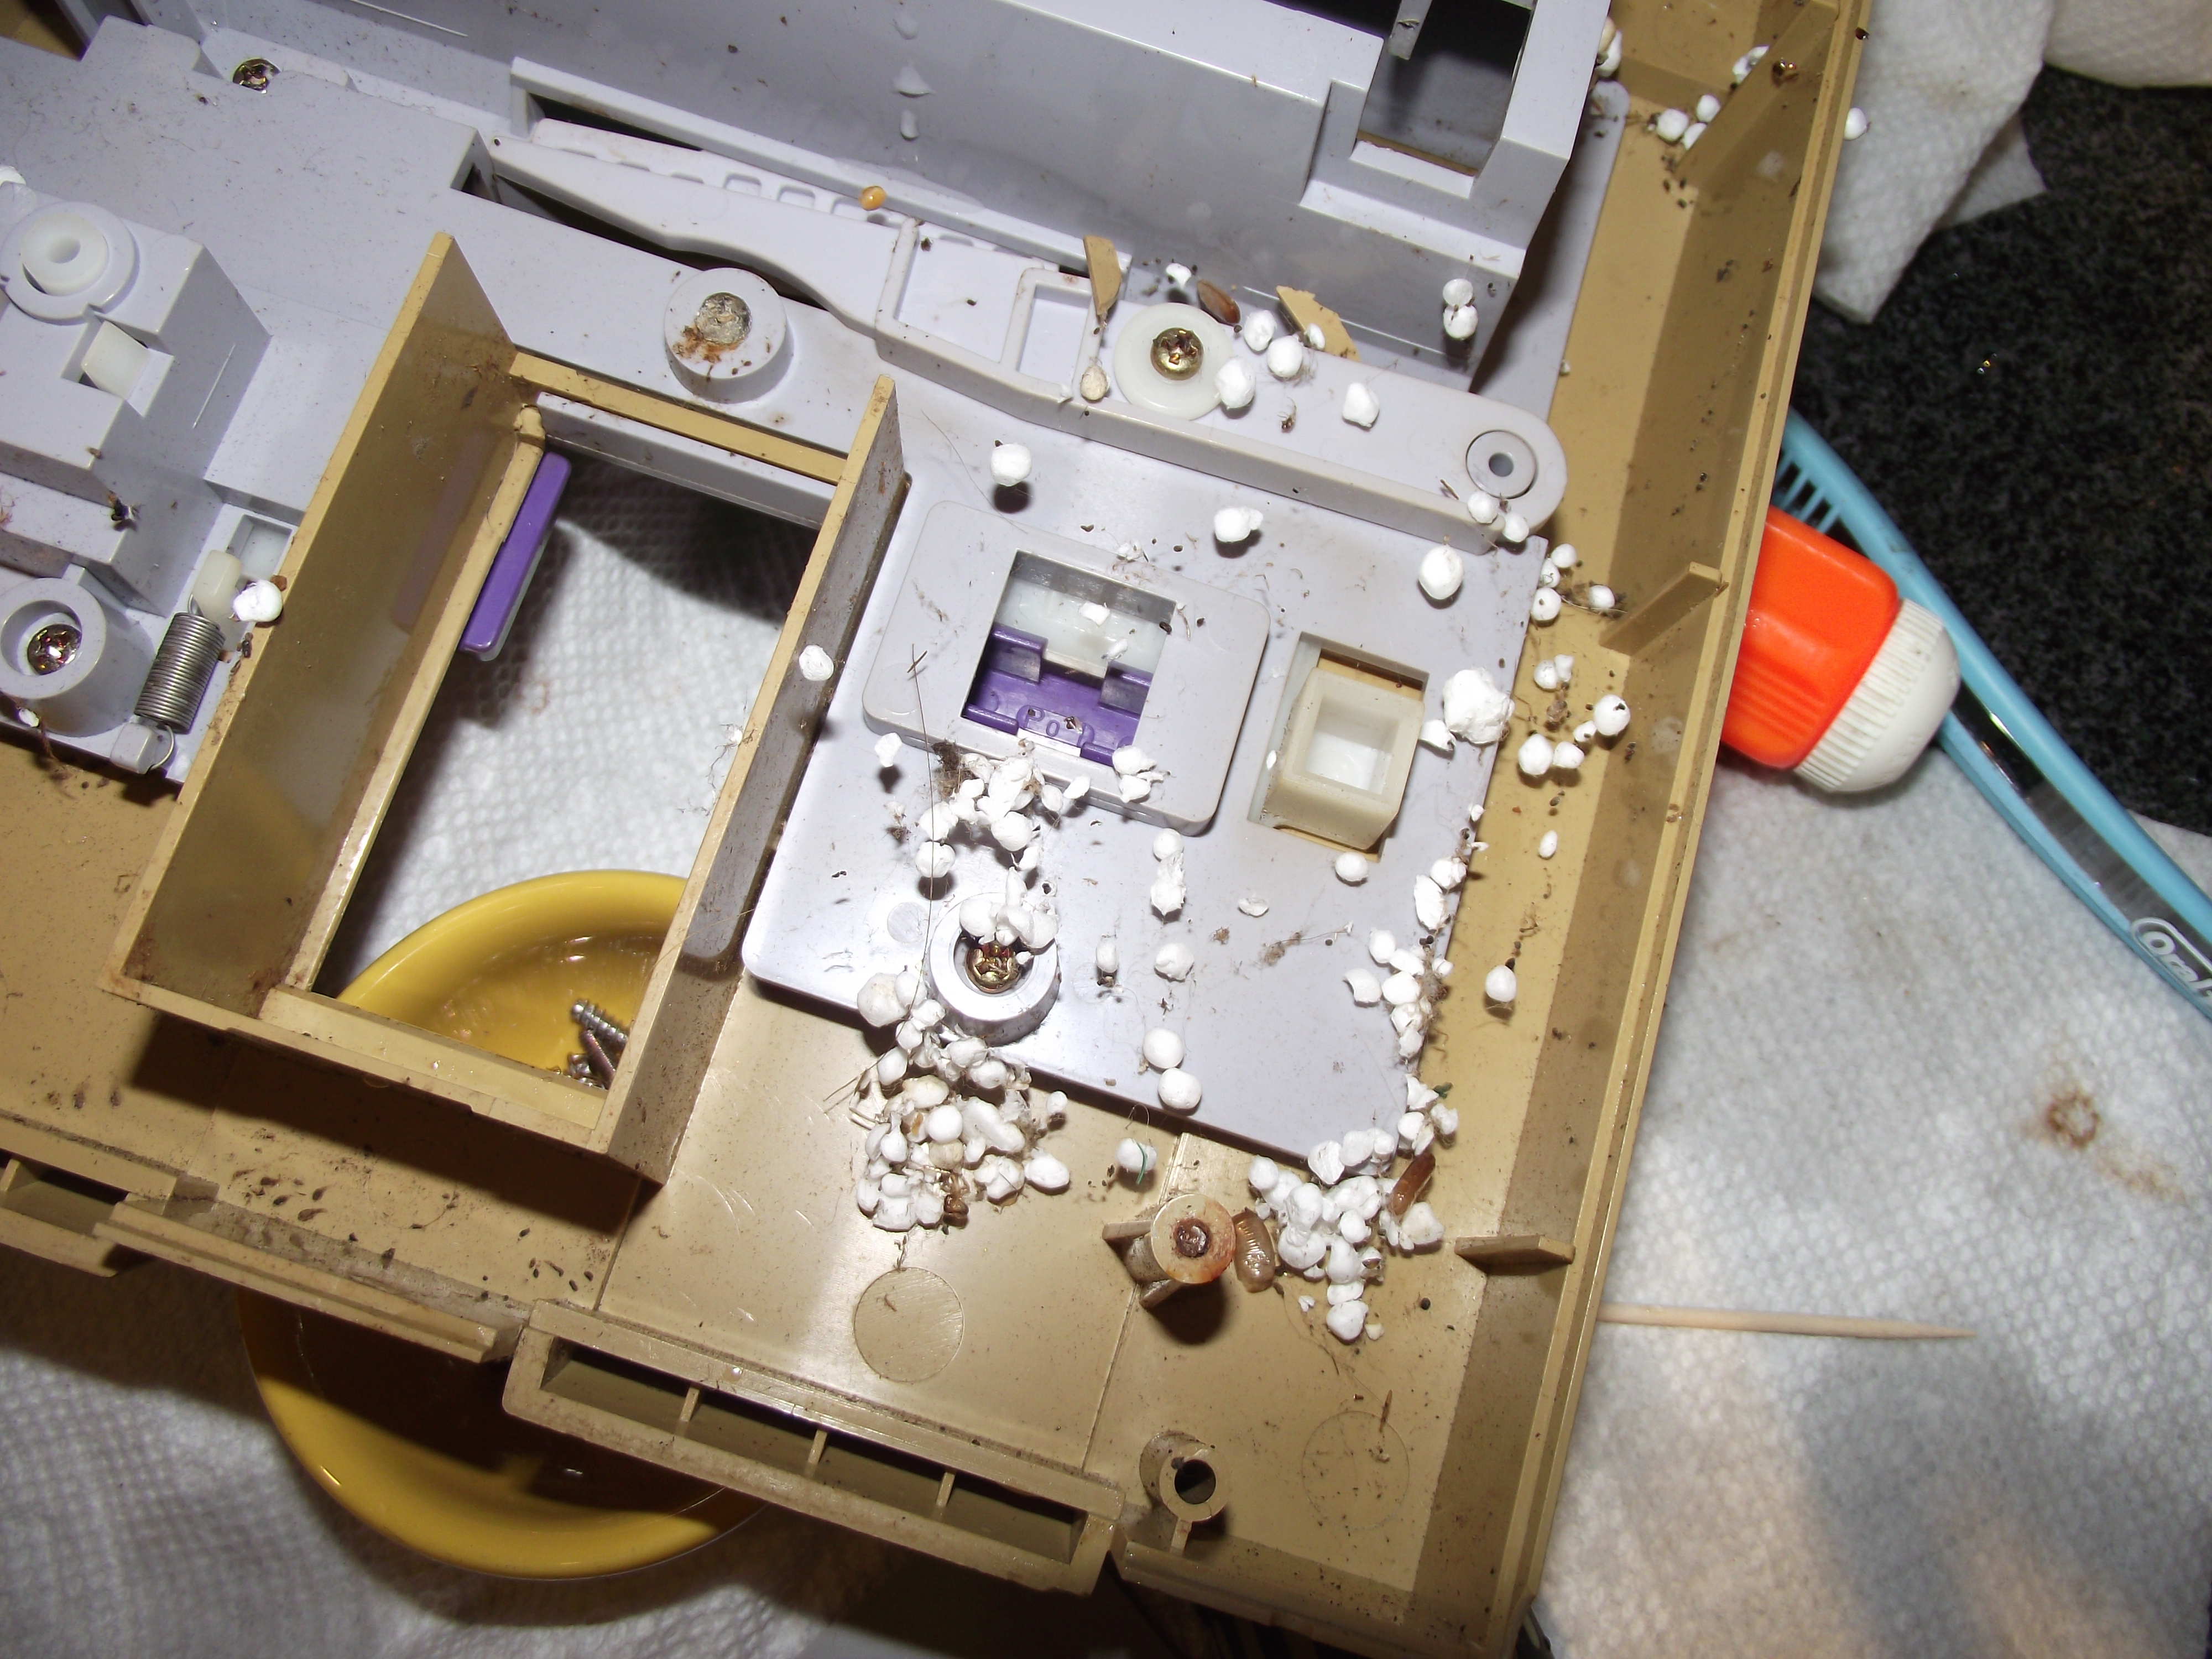
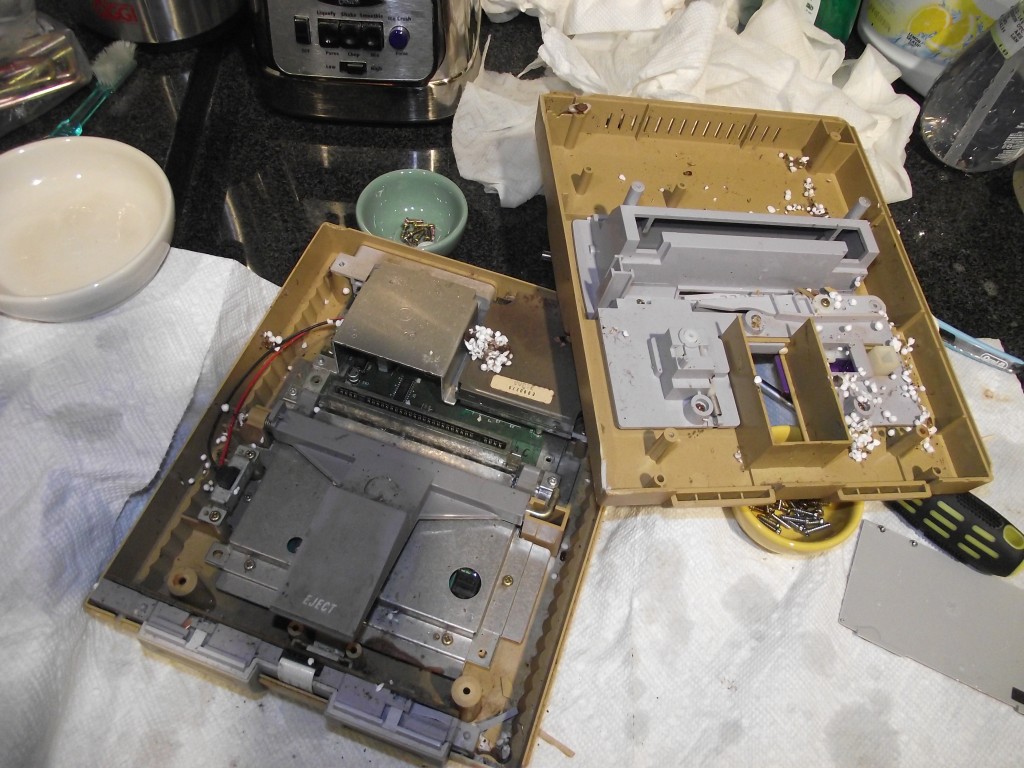
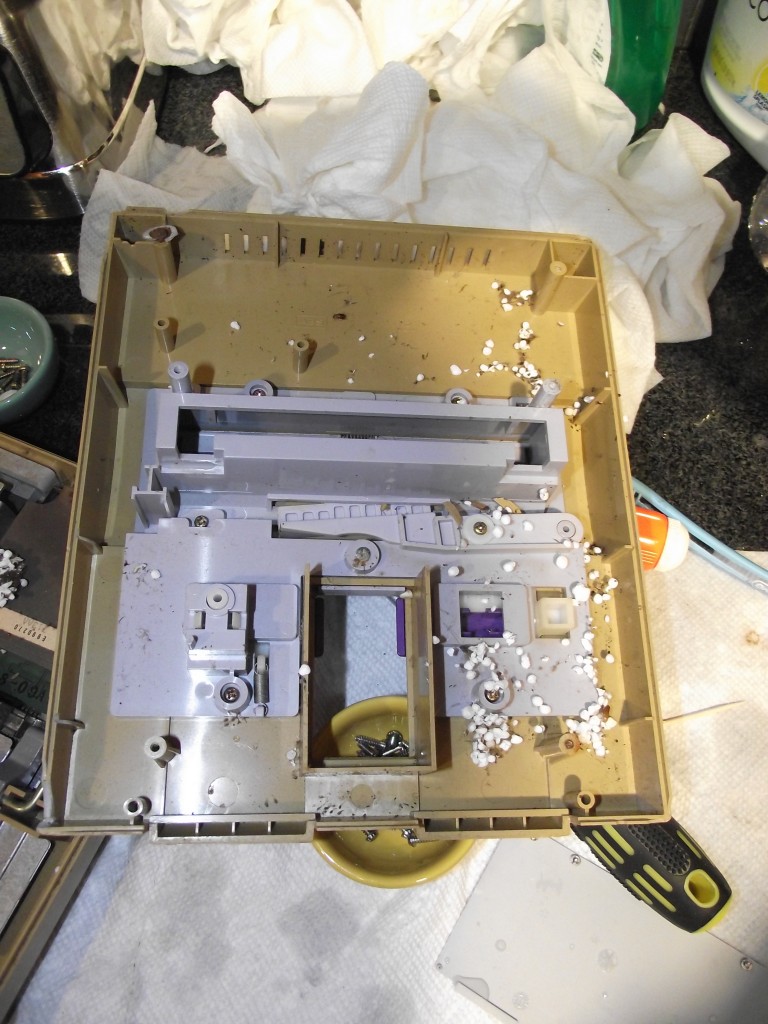
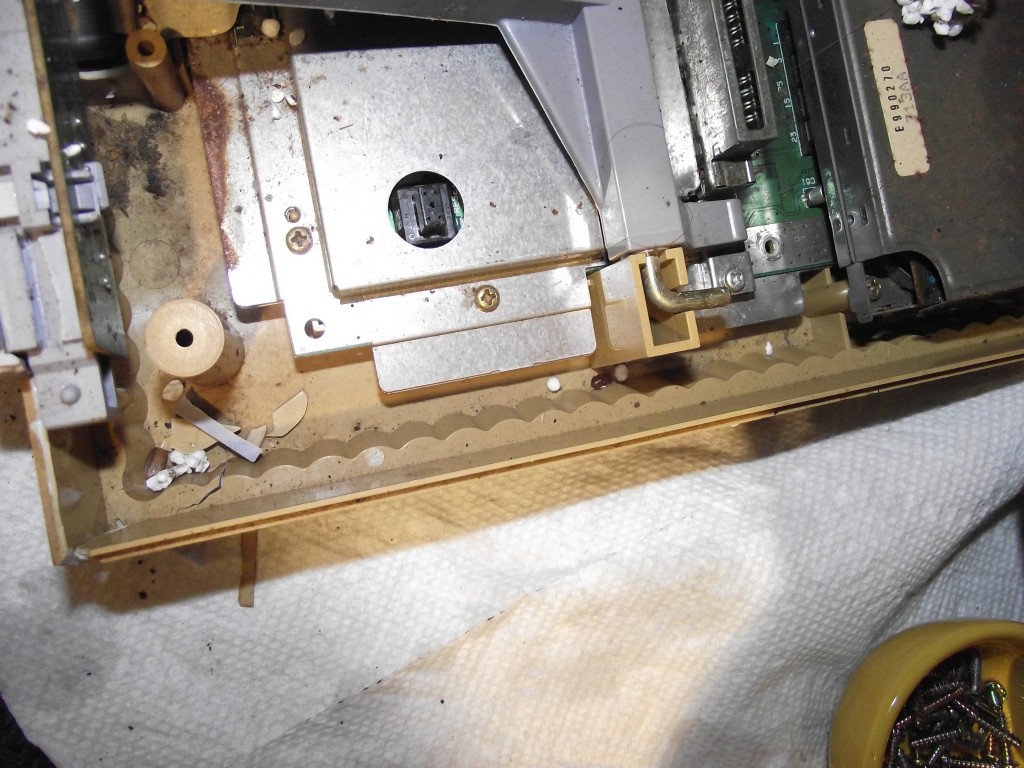
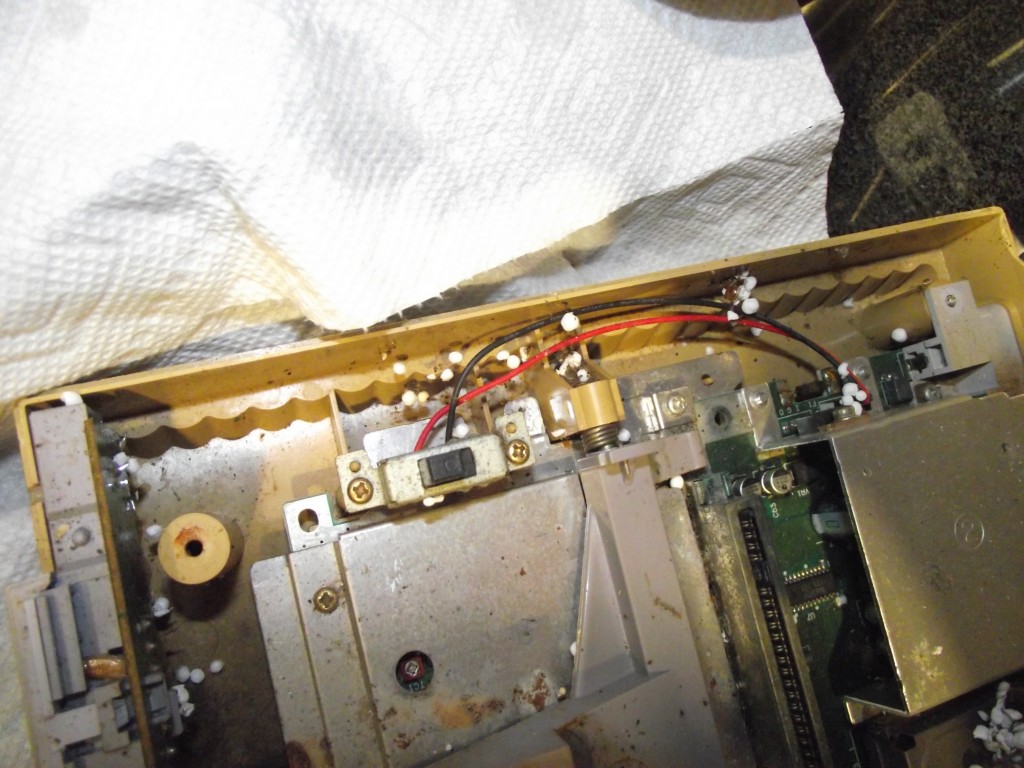
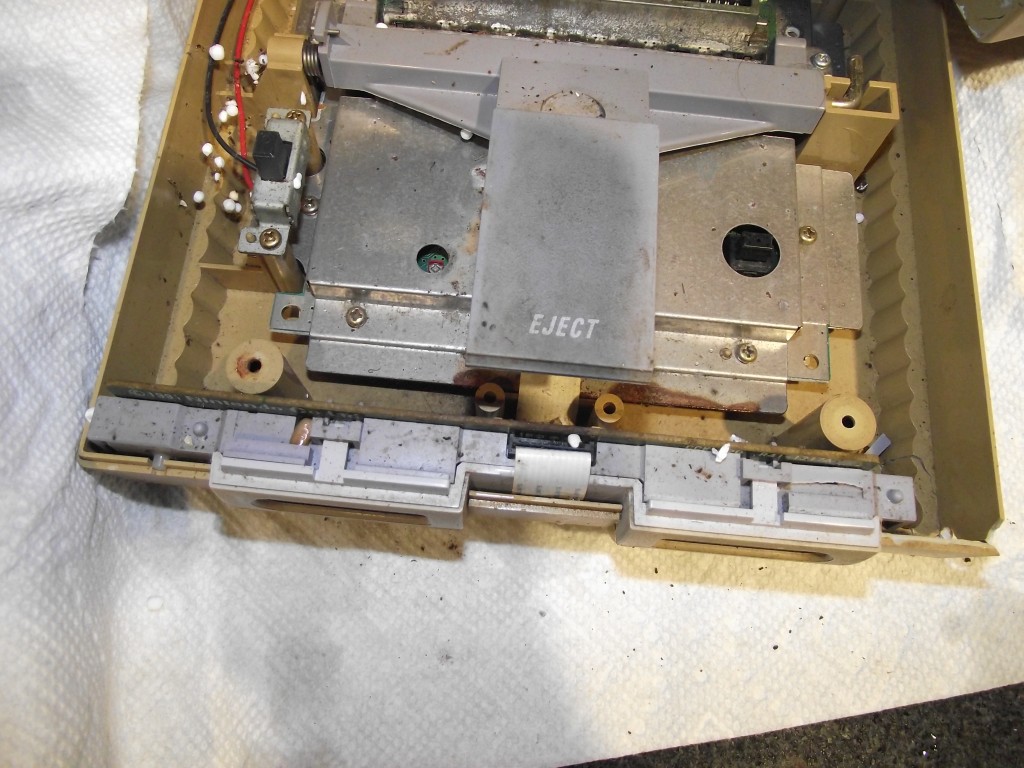
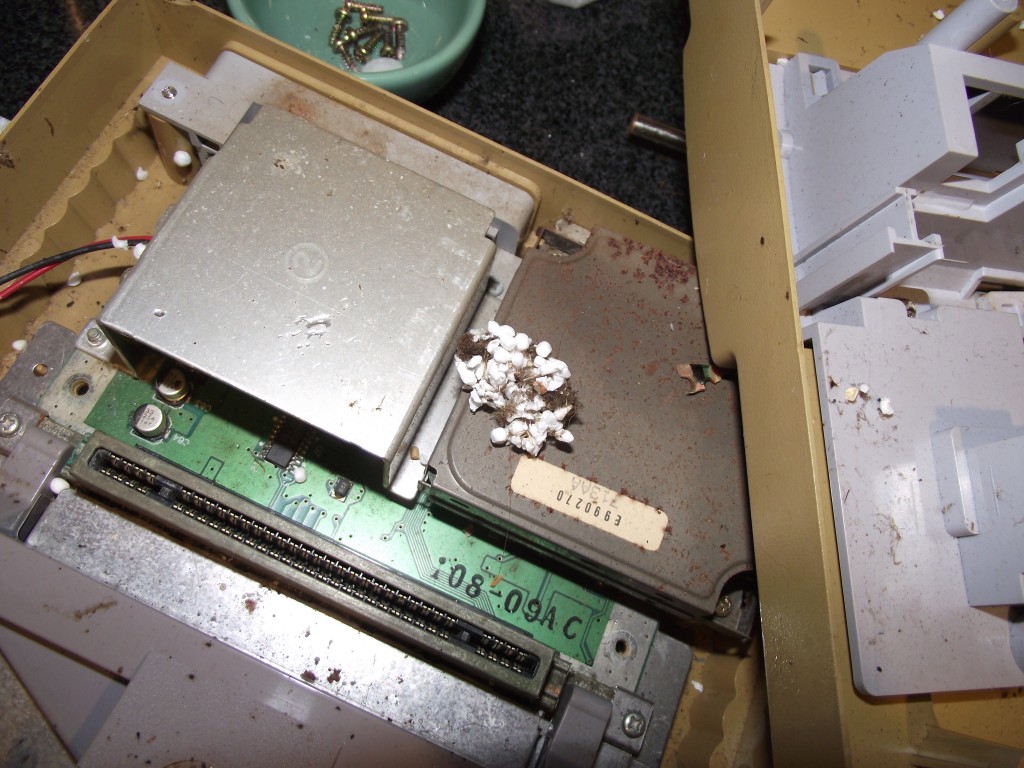
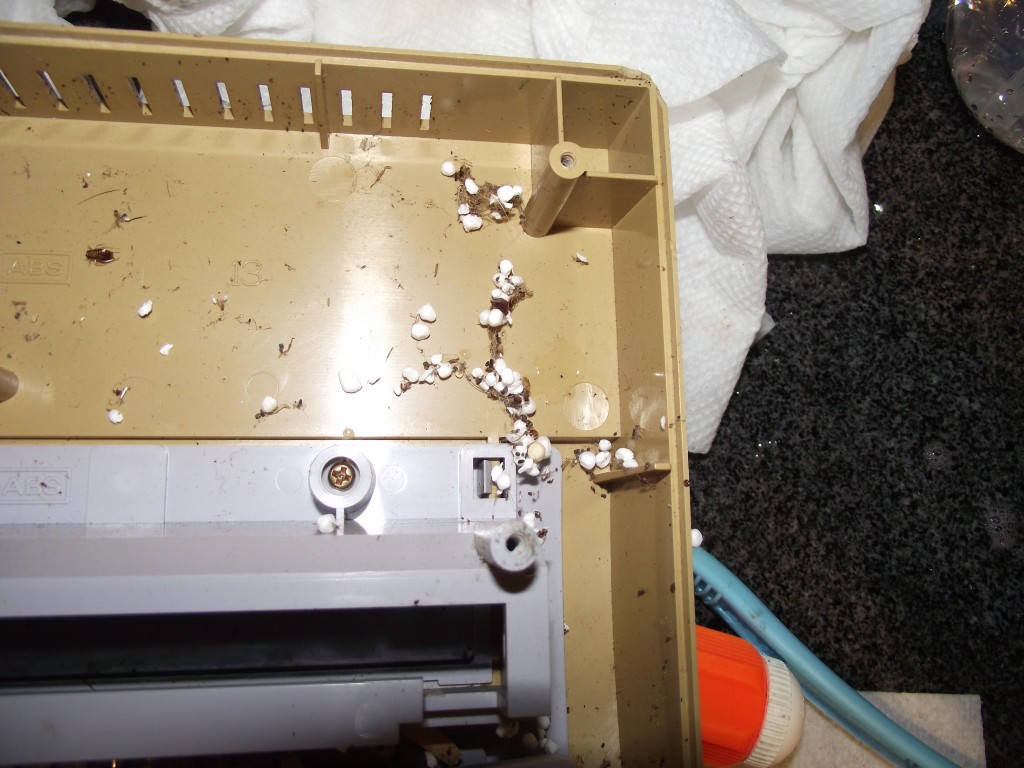
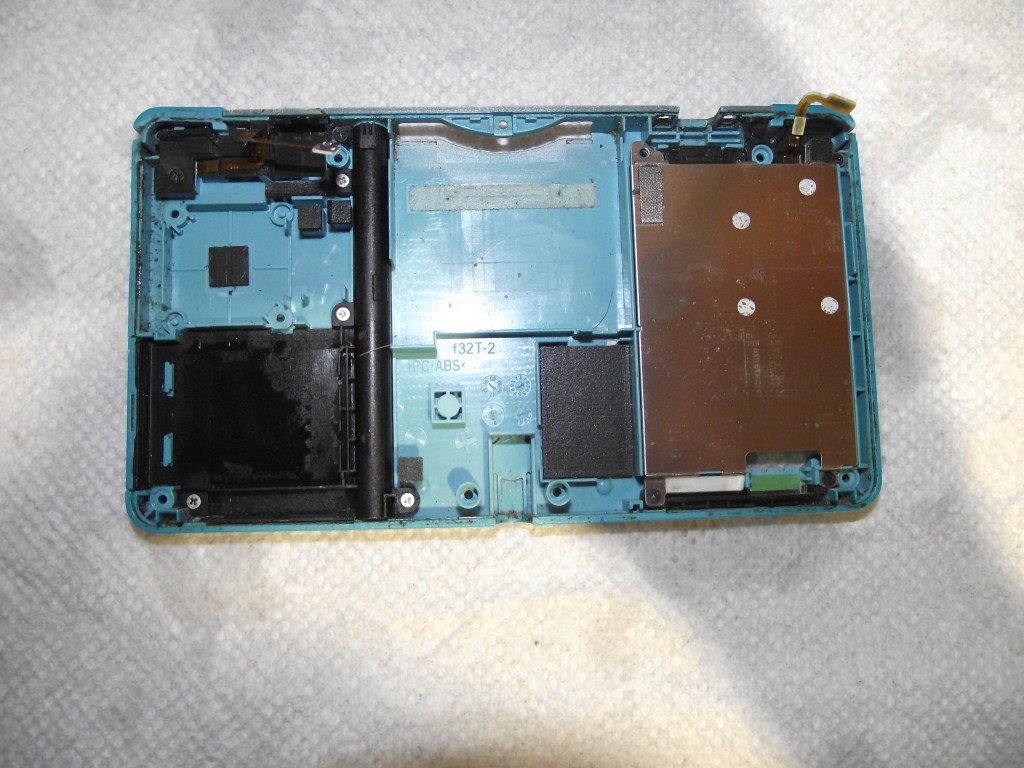
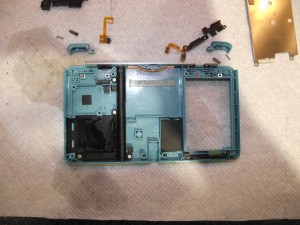
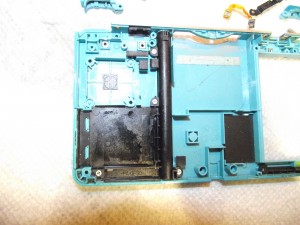
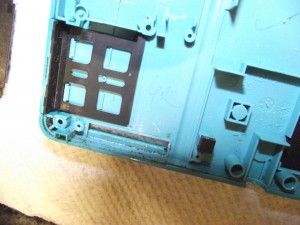
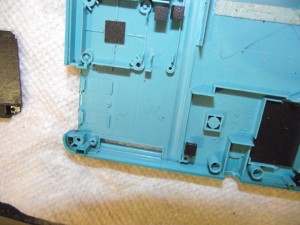
But wouldn’t you know it? This disgusting pile of filth and disease worked fine after I spent several hours washing it. I had to replace the capacitors, but otherwise it was fine. It’s aggravating that horrific-looking systems like this survive despite such neglect and abuse and yet so many well-cared for pristine-looking systems stored in safe and clean conditions by responsible, civilized people just die for no good reason.
Tag Archives: frugality
Quick and easy fix for a Super Nintendo suffering from “black screen of death”
One of the most common problems people seem to have with Super Nintendo consoles is they find that the console powers on but only displays a black screen with no audio, even with known good games. I don’t have a tremendous amount of experience repairing Super Nintendos, but it is something I do occasionally for fun and because I find that I usually learn something in the process. I generally stay clear of consoles with this type of problem though, since it could be caused by just about anything. Determining the exact cause can be next to impossible. Normally these boards look perfectly fine visually, so figuring out where there’s a broken trace can take forever. They’re usually not worth repairing. Sometimes, however, you get lucky and there’s something very obviously wrong that you can see visually. It still may take some careful inspection with a magnifying glass, but if there are any signs of corrosion or other damage, it’s always worth trying to fix it, even if it doesn’t look that bad visually or strike you as something that’s likely to be the cause of your problem.
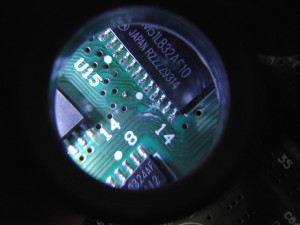
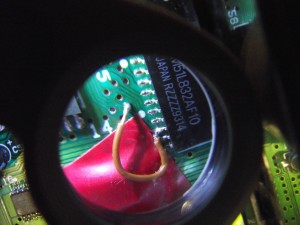
You can see here I’ve put down a bit of solder along a trace running near U15. This trace had been broken due to corrosion, but it was so tiny that, rather than fix it with a wire, I just lay down a bit of solder along the broken length of it to repair the problem.
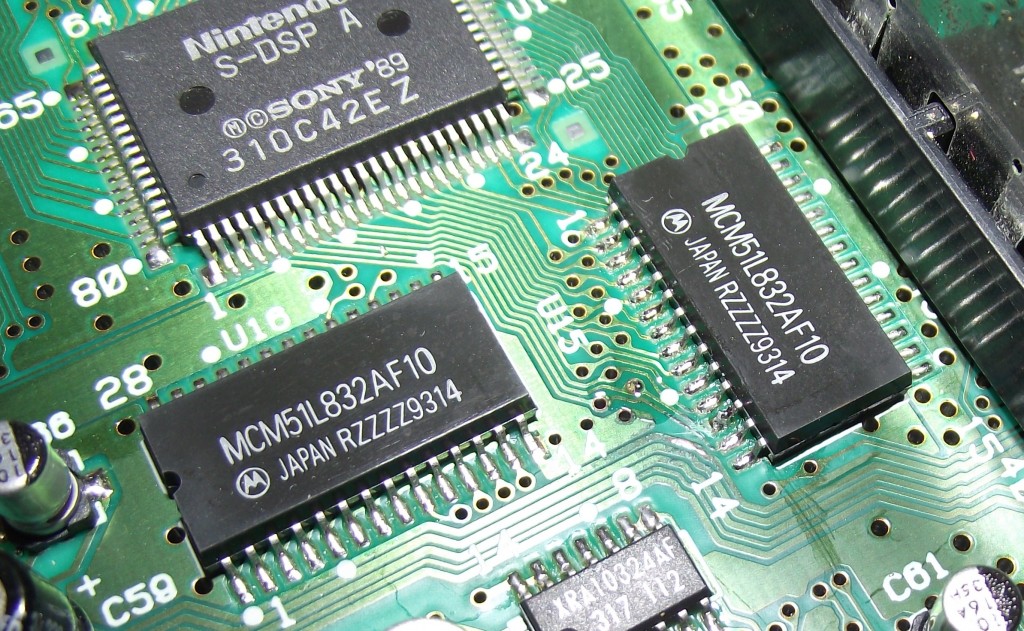
I wish I had taken a photo prior to the repair, but the opening photo up above shows the area where I found damage on this GPM-02 board. There are two audio RAM chips in the opening photo. U15, shown here to the left, is the one where there was a problem. Pin 12 of U15 had a bit of corrosion on it. I checked for continuity between it and the via it was going to and the connection was not totally broken, but it wasn’t exactly sound, either. If I fiddled with the multimeter probes I would get continuity, but it wasn’t consistent. Something told me to try using a wire to connect pin 12 directly to that via, just to see if it would help things. I put a bit of flux in the via, insert the tinned end of a small wire into it, crossed my fingers, and hoped that the solder would flow into the via and secure the tip of the wire in place. Fortunately it worked out as I had hoped and I was able to solder the other end of the wire to pin 12.
Without really thinking there would be any improvement, I went ahead and tested the console. To my surprise my test game worked fine. I then tested with about a dozen other games and they all worked. I was very surprised that this broken trace would cause a black screen for all games. Since mostly audio-related stuff goes on in this area of the board, I would have expected that symptoms of this type of damage might have been games playing but without any audio.
In the end, I’m not sure if the damaged trace running near U15 actually had anything to do with the black screen problem. It was the first thing I noticed though when I opened the console, so I thought scraping away the corrosion and patching it was worth a shot. Fixing it alone didn’t solve the black screen problem though. Before reassembling I tested the console without the wire from pin 12 to the corresponding via and was able to reproduce the black screen problem, so a bad connection to/from pin 12 was clearly responsible for the issue. The other damaged trace may not have even been bad enough in the first place to cause a problem.
Though it looks pretty sloppy, when reassembling the console I simply placed a bit of electrical tape over the blobby length of solder on the patched trace. The console has been working fine for some weeks now, so it seems nothing is shorting.
Unresponsive 3DS face buttons?
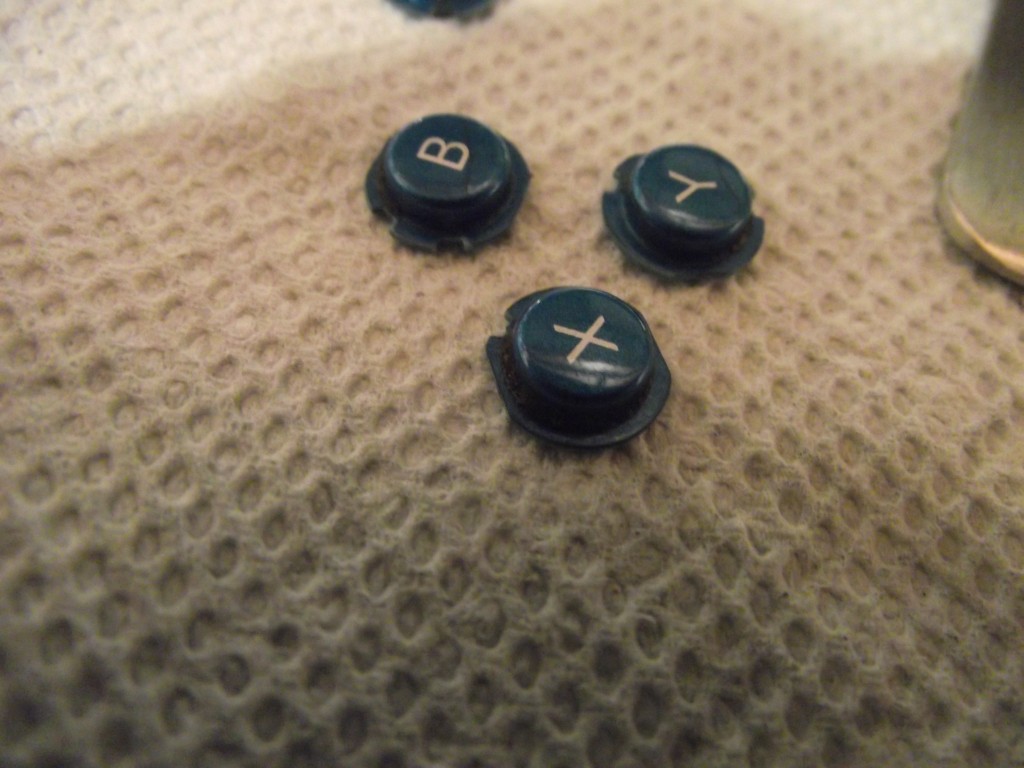
This is the same console owned by the blighted mudcrab whose shoulder buttons I had the pleasure of cleaning previously.
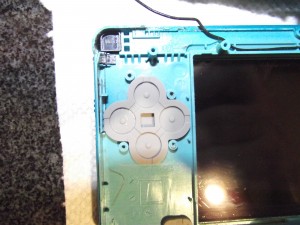
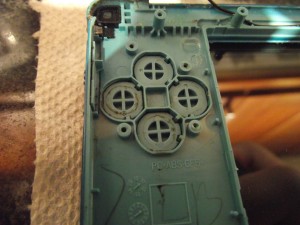
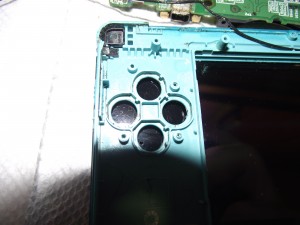
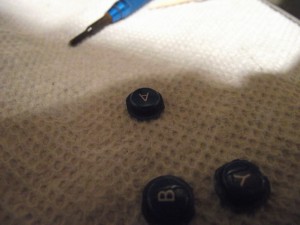
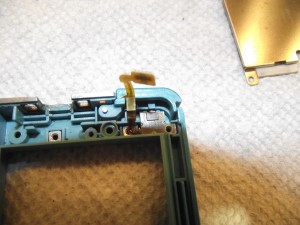
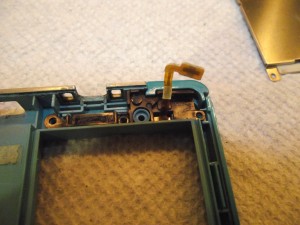
While unresponsive shoulder buttons are far more common, sometimes the face buttons of a 3DS or other console become sticky or unresponsive. If the button works when pressed very hard but not when pressed lightly, it’s almost certainly due to dirt accumulation. If the button feels sticky or jammed, it’s most likely because there’s dirt built up around and beneath the plastic buttons, as in the above photo where thick rings of filth have built up around the circumference of each button. If the button doesn’t feel jammed but it’s not as clicky as it once was, it may be due to dirt under the conductive pads on the motherboard. In either case, it’s necessary to remove the motherboard from the housing (or at least remove the screws securing it in place and flip it over, if you’re in a hurry, like I was).
Of course, while you’re at it you should also clean the D-pad and power buttons. It’s the same nauseating process as for the ABXY buttons, so I didn’t bother photographing them. When you have to disinfect your camera after each part of the process, you’ve got a strong incentive only to photograph the most essential steps.
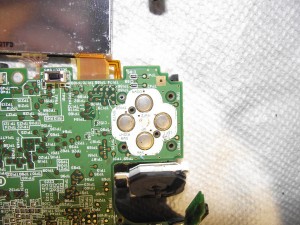
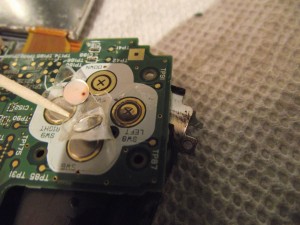
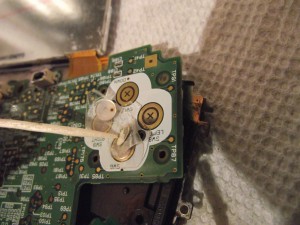
Don’t close up your console yet. The most important part is to clean the contacts on the motherboard. If you’re a particularly depraved slimebucket—or if the console has suffered liquid damage—you should clean beneath the contacts as well.
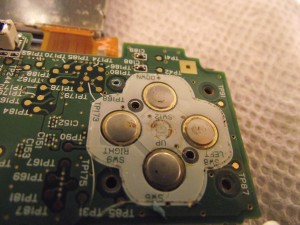
For the worst cases you will need to clean beneath the contacts as well. Mainly this is only necessary when there was liquid damage, but in this particular case the owner was such a slovenly clodhopper that there was a horrifying amount of dirt underneath the contacts even in the absence of anything else that looked like liquid damage.
You can peel the contacts up with a toothpick, but I actually find it easier to use my fingernail. As long as you’re careful, you can just stick them back down on the board when you’re finished cleaning. The adhesive is very strong, so it can be reused. However, if you do accidentally destroy the contacts you can replace them either from another motherboard or by buying replacements on eBay or Aliexpress for about $2, so there’s no great risk involved here. Just don’t scratch the motherboard.
And that’s it. If people weren’t such swine none of this would be necessary.
Unresponsive 3DS shoulder buttons?
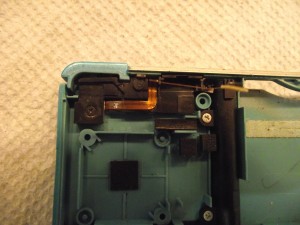
The above is about average for consoles I receive. I’ve seen much worse, but it never ceases to surprise me how much dirt can accumulate inside consoles that look to be in decent cosmetic condition externally. This is the first time I had the idea to actually photograph it though. I doubt most people realize how much material gets transferred from their hands to the console and becomes trapped inside when they fail to wash their hands before playing.
I always clean beneath the shoulder buttons before selling a used console. I used to only do this for liquid-damaged consoles, but I’ve noticed it’s often necessary even on consoles that look like they’ve been taken care of responsibly. So now I don’t even bother testing the shoulder buttons first to see if they need it. I just assume they do and clean them.
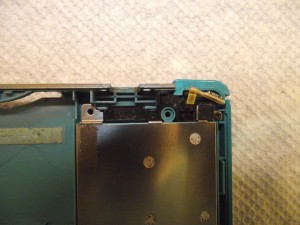
Unresponsive shoulder buttons are almost always due to dirt accumulation. It’s really amazing what slobs people are. Fortunately, cleaning the shoulder buttons is very quick and easy, so even destitute mud farmers like the people who let this happen to their consoles can fix it themselves.
The left and right sides are pretty similar, so I only took photographs of the right side to show the process.
The best way to clean is with isopropyl alcohol. Not only does it make removing even tough dirt easy, it also eliminates most odors, which may be important if there’s liquid damage. You can do a good job with just a combination of a toothbrush, toothpicks, and some cotton swabs. Obviously you’ll want to focus your cleaning on the recess in which the plastic button sits, but you should also clean the button itself. If you’ve noticed that your shoulder buttons are unresponsive and don’t make as much of an audible “clicking” noise as they once did when you press them, cleaning them can sometimes help with that
While you have the console open, it’s also a good idea to clean out the area beneath the SD card slot and the slot in which the stylus is stored.
Reassembly is easy as long as you haven’t lost anything along the way.
If I get around to it I might write about how to repair most cases of sticky/unrepsonsive face buttons next. If I get around to it.
Liquid-damaged 3DS consoles
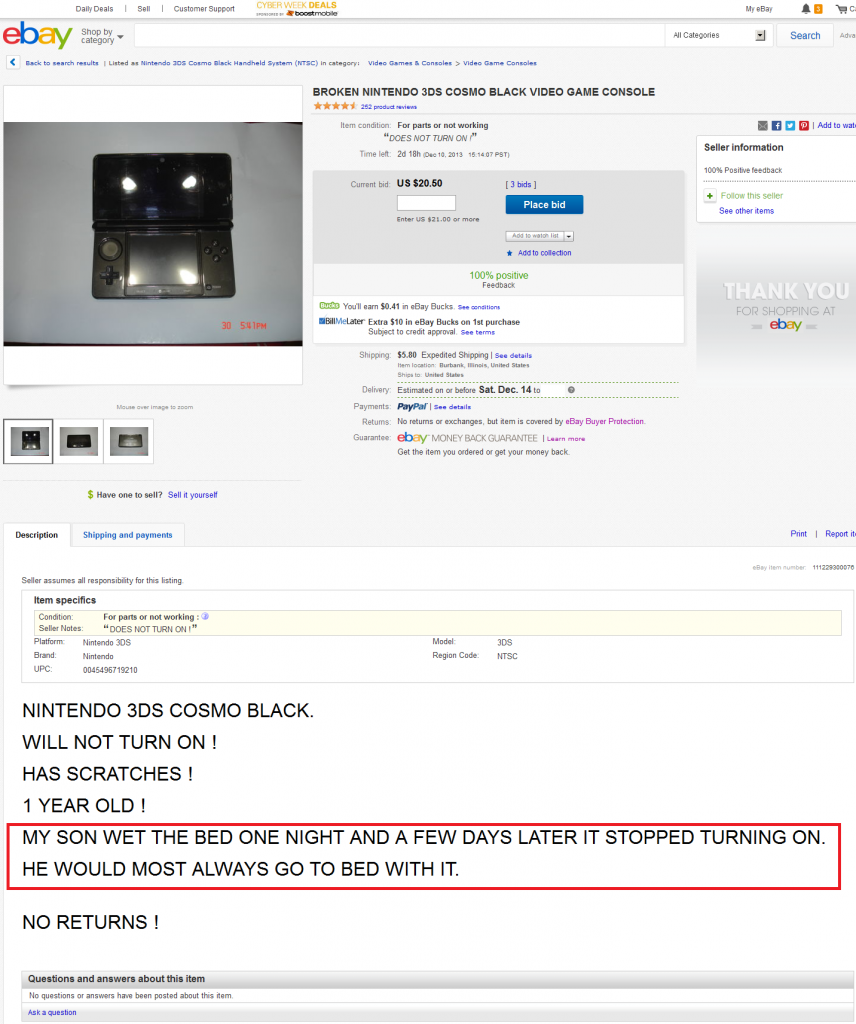
This entire blog entry is about why I no longer avoid liquid-damage auctions as much as I used to, but even I wouldn’t mess with this shit.
One of the greatest things I’ve recently discovered about repairing 3DS consoles — and any small electronic gadget in general — is that I really don’t need to be avoiding “liquid damage” items as I once thought. Now, with mobile phones there’s the ick factor involved, since we’ve all seen people who use a mobile phone while in the restroom and, of course, when you see a liquid damaged mobile phone in an auction you can’t help but wonder if it fell in the toilet. That’s something I’m still not sure I would want to mess with. When it comes to 3DS consoles, however, the risk of the item touching shit or piss is far less since I think that the number of people who use a 3DS while on the toilet is far less than the number of people who use mobile phones while on the toilet. In other words, it’s not zero, but it’s a relatively low risk.
With mobile phones you more often have damage caused by the phone becoming completely submerged in a liquid (such as toilet water or a puddle in the street). However, because of the nature of a 3DS it’s more likely that liquid-damaged 3DS consoles experienced spillage, rather than submergence. It’s easy to imagine a clumsy person sitting, let’s say, on the couch with a beverage on the coffee table. Maybe this clumsy person sets the 3DS down next to the beverage and the beverage somehow spills. Spillage means that it’s often the case that the screens are not damaged and that there is less time in contact with the liquid , which means less widespread corrosion.
I have repaired six or seven heavily liquid-damaged 3DS consoles and, contrary to the warnings I see all the time, I haven’t yet seen one with any blown fuses. I’ve read warnings all over the place about liquid damaged consoles where people cry wolf, “It’s a waste of money because they all have blown fuses which are too hard to replace so you end up replacing the whole motherboard instead”. That’s hogwash.
When I get a liquid-damaged console I first take some WD-40 and spray a bit into each external screw hole. I let the console sit for about 45 minutes before attempting to open it. This is because the screws rust easily. I sometimes have to use WD-40 even for non-liquid-damaged consoles, but in the case of liquid-damage it is especially important because if you try to remove those small screws when rusty you can very easily strip them.
99% alcohol and a soft toothbrush are the main tools here. Yes, it’s pretty low-tech, but you often don’t need much of anything else. I take out all the internal screws, remove the WiFi board, SD card slot, analog stick, IR sensor, camera, and speaker ribbon cables. I take the motherboard out and scrub it clean with the alcohol and toothbrush. It’s fine to be rough on the board. Nothing will come off the board. It’s all soldered on there well. The key is to get every nook and cranny. The fuses are most likely fine. Let it dry and hold a battery to the connector. If it works, great. Connect screens and speaker and try to power on. If it works, reassemble. If no power, keep scrubbing. If still no power after cleaning the board very well, then get out a multimeter and do a continuity test on the fuses.
I recently had a console with only slight liquid damage near the battery connector area and it exhibited strange symptoms. I had scrubbed and scrubbed and scrubbed the board front and back to pristine condition, but the trouble persisted. The symptom was that the instant you pressed the battery to the connector the orange charge light would immediately turn on and one to two seconds later it would boot on its own. Once powered on it both charged and functioned totally normally and you could press the power button to turn it off. However, once you turned it off, the only way to power it back on was to remove the battery and then re-connect it, at which point the orange light would turn on again and it would power on one to two seconds later. I had no idea what was wrong, so I set it aside for a while and worked on some other consoles. A few days later I decided to turn it on to check all the other functions to make sure they still worked. When I tested WiFi I got the “An error has occurred. Press and hold the POWER Button to turn the system off. Please refer to the Operations Manual for details” message. This was strange, since WiFi had worked when I first tested it after cleaning the board. Nevertheless, I took a Post-it note, wrote “check wifi board” on it, and stuck it to the console and set it down for a few more days. Eventually I had some spare time one day and decided to open the console back up and check to see if the WiFi board was loose. I popped it off and just as I did so, I noticed the tiniest bit of corrosion just peeking out from beneath the metal frame on which the WiFi board rests. I took a spudger and lifted up the metal frame and, sure enough, there was some sludge under there.
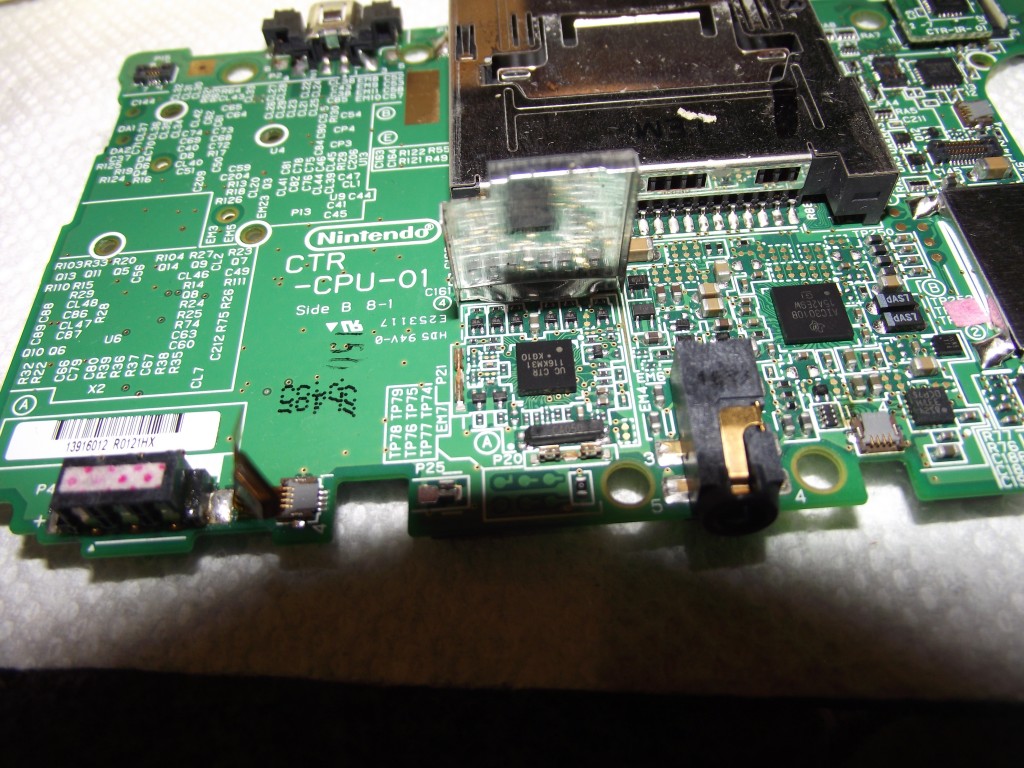
Just this tiny amount of corrosion was enough to break WiFi and cause weird power and battery problems.
Thirty seconds of scrubbing cleaned the area up. I bent the metal frame back into place, popped the WiFi board back on and, sure enough, this fixed all the problems with the 3DS. Yes, it fixed the battery and power issues, too. The charge light no longer turned on when I connected a battery. It no longer booted automatically as soon as the battery was connected. WiFi worked. I could turn it on and off reliably using the power button. Just this small amount of contamination can mess your system up. The good news though is that, once you find it, it’s generally very easy to clean and fix the problem.
Changing gears here, another reason that people avoid liquid-damaged consoles is because, there’s a widespread belief that a liquid-damaged LCD must be replaced. It’s common to see mobile phones that the owner put in rice or something after getting them wet to save the motherboard. And sure, those phones work, but if you look at the LCD you see those drying marks that get left behind. Even quickly putting a device in a bag of rice doesn’t necessarily save it from those drying marks, often described by unscrupulous eBay sellers as “cloudiness” of the LCD. “Cloudy LCD” means “device dropped in the toilet” in eBay doubletalk. It’s like how “genuine” means “it is tangible” and not “it is made under license from the IP owner”. Anyway, those LCDs don’t necessarily need to be replaced. You can remove those drying marks. While you can’t restore the LCD to like-new condition, you can make it good enough for resale in many cases.
Now, I don’t know the proper terminology or even how exactly an LCD works, but it doesn’t really matter for my purposes. The LCD has several “papery” layers behind it. There is a reflective layer, then a backlight, then a slightly transparent white layer, and then some others that I forget the order of. We need to wipe all of those papery layers clean, since that’s where the drying marks are. When the backlight shines, those drying marks are made visible on the screen. In other words, it’s like taking the greasy wrapper that a burrito came in and holding a flashlight in front of it. If you do so, all the grease marks become more prominent on the semi-transparent burrito wrapper. But unlike a burrito wrapper, the papery layers behind the LCD can be cleaned with tap water. I use about 50% alcohol and 50% tap water. I originally used 99% alcohol but I found that it was too strong and left streaks. Tap water on its own will work fine though. I just use the 50% alcohol to help it dry faster.
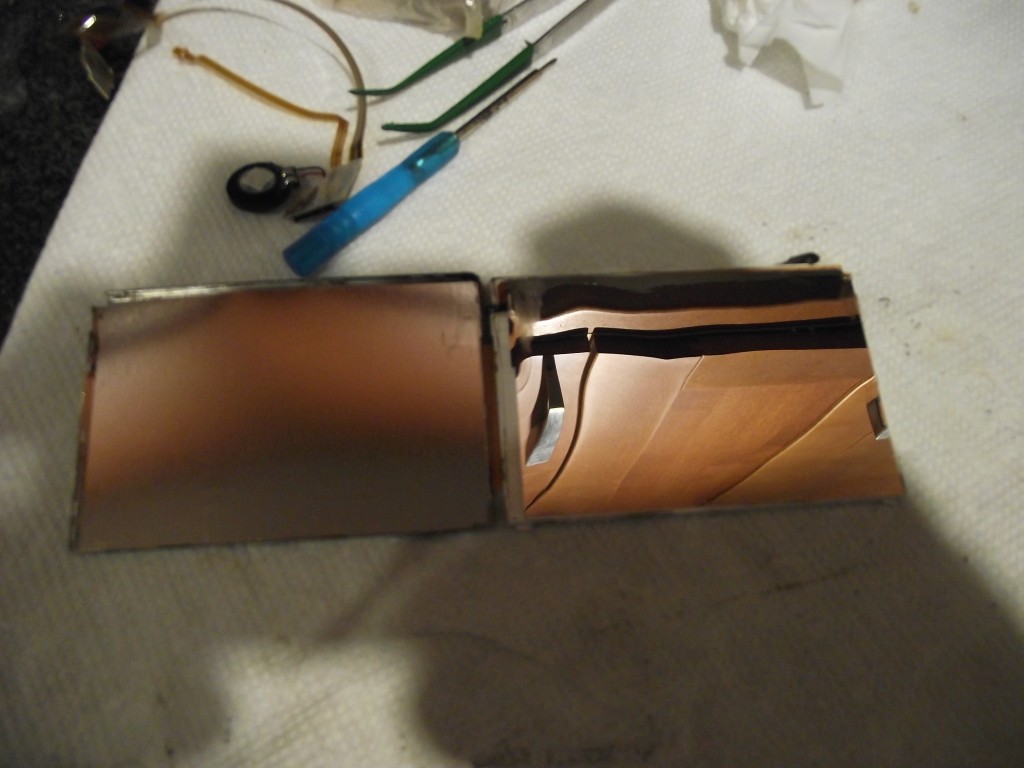
Open the metal frame of the LCD and the backmost layer is this shiny one. On the left is the metal frame.
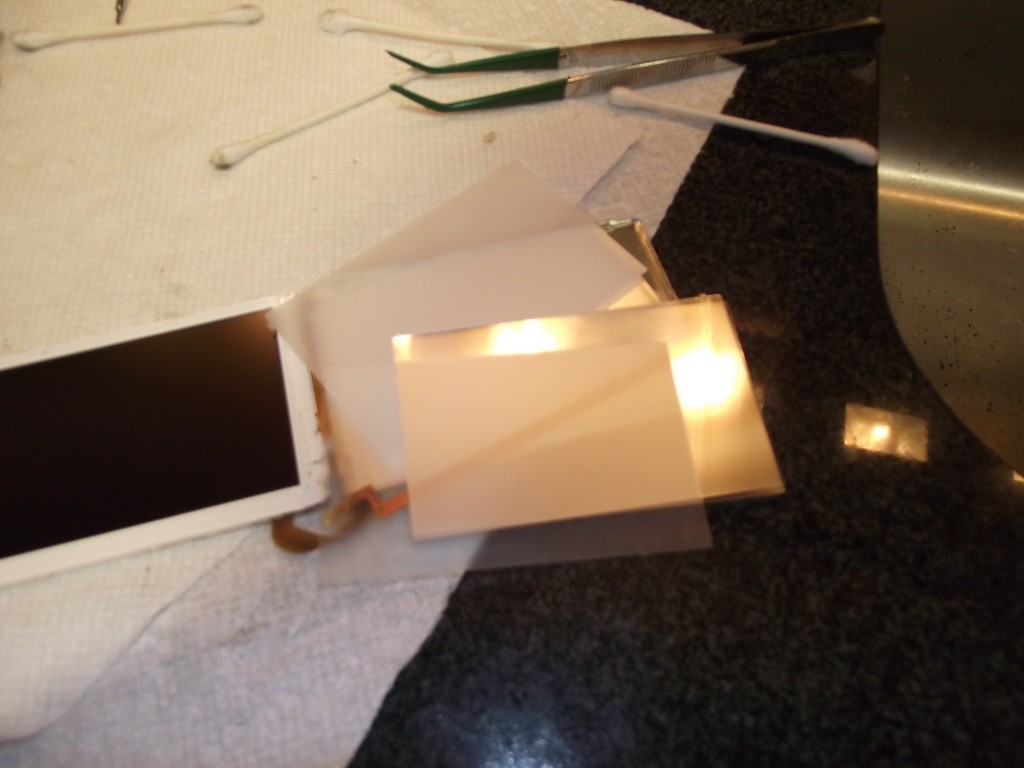
In this picture the LCD is on the left. On the right are the various layers and backlight that must be cleaned.
Anyway, just remove the metal frame in which the LCD is held. On the 3DS there are some clips that you can open using your fingernails. Above is what it looks like when you open up the top LCD of the 3DS. The first (backmost) layer is the shiny one. The easiest way I’ve found, so far, to clean these things without getting any marks or fingerprints on them is using a combination of one pair of microfiber eyeglass cleaning cloths and a pair of rubber-tipped tweezers. We must clean both sides of each layer, so it’s important to make a plan of action before we start. I put the microfiber cloth over my fingertip and hold the layer down as I clean it using a cotton swab and a half tap water half alcohol solution. I then dry it using a second microfiber cloth (while holding it down using my fingertip covered by the first microfiber cloth). I flip the layer over using the rubber-tipped tweezers and repeat on the back. After doing this for each layer I close the screen up and test.
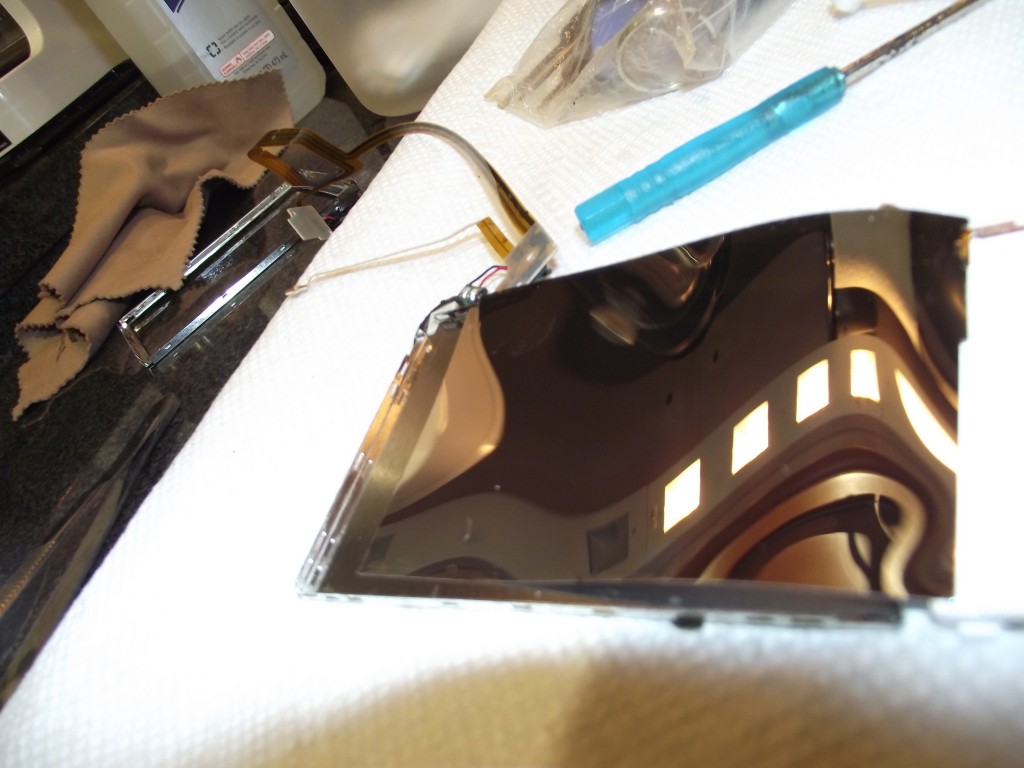
Yes, that’s a coffee maker in the upper left. The kitchen is the only place with the right lighting for this type of cleaning. Checking for smudges or specks of dust is important and good lighting is indispensable. There’s nothing worse than screwing a console back together only to find that you have overlooked a speck of dust remaining under the LCD.
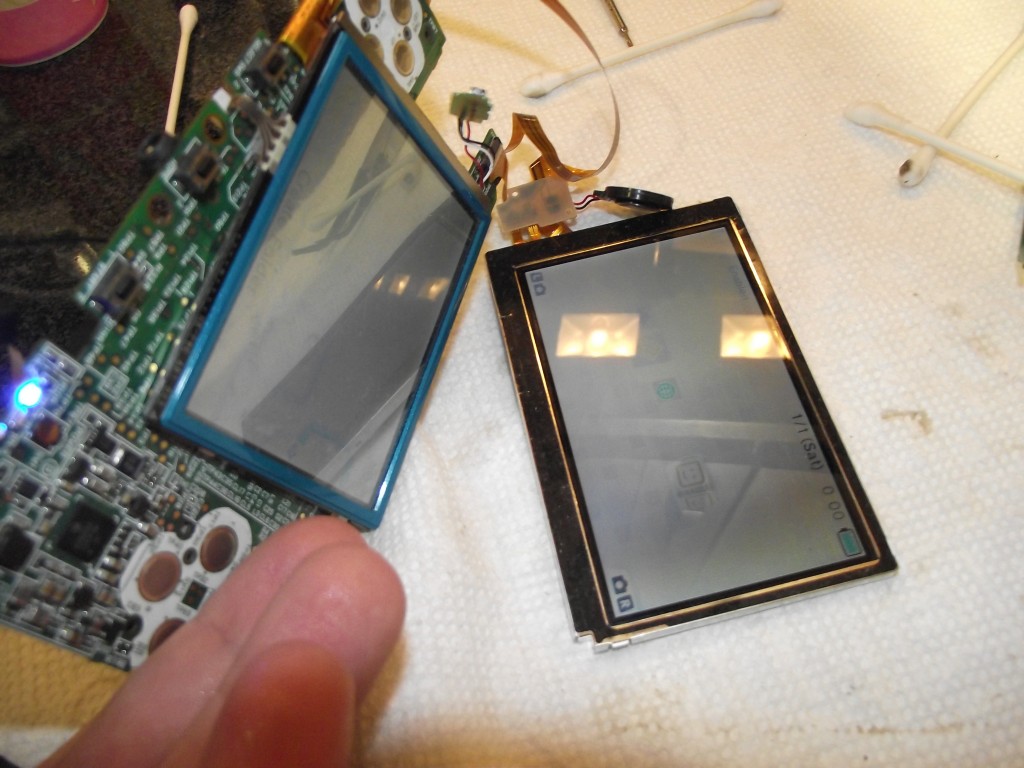
To test we need to connect the lower LCD, speakers, and upper LCD to the motherboard. The two little ribbons cables from the upper LCD must be connected to the appropriate connectors on the speaker/3D/brightness ribbon cable. It’s a tough balancing act connecting all those things, holding the battery in place, and taking a photograph all at the same time!
We check for streaks, dust, or any other blemishes at this point, since it would be a colossal pain in the ass to install the upper LCD, camera, speakers, WiFi antenna, and reassemble the housing only to find afterwards that there was some schmutz left under the LCD. Yes, this has happened to me before and no, you would not have wanted to be in the room at the time.
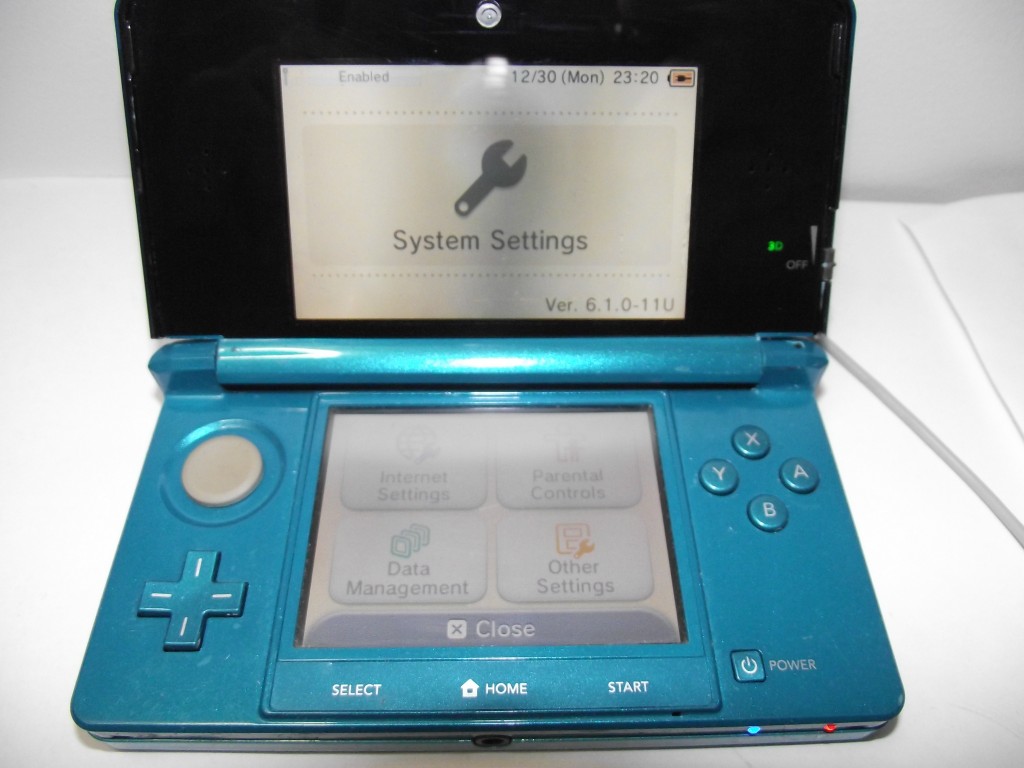
In the end this screen was 100% fixable. Sure, replacing it would be less work, but you can save money by cleaning it instead.
To connect this to my earlier point, it is far easier to clean these LCDs and get them in excellent condition suitable for resale when the liquid damage was of the spillage variety, rather than submergence. I’ve had some LCDs that I tried this process on that were just not salvageable because there was so much dirt in there that I couldn’t clean it all off without leaving streak marks. But if there are just some drying marks here and there on the LCD there is a good chance that you can clean them off well enough that you would never be able to tell there was liquid damage afterwards. Although 3DS screens are rather inexpensive, this can save you some money on parts, especially if both screens are liquid-damaged.
I bought this (almost) brand new 40 inch LCD TV for $78
Sometimes gambling on those “parts or not working” eBay auctions pays off. The damnedest thing is that, from what I gather, this was a store return. It’s still under warranty though, which means that even if it were broken, the original owner should have been able to get it repaired or replaced for free. He or she would have had no reason to sell it.
There’s not a single scratch on the screen at all. The only cosmetic imperfection is a scuff on the lower left corner of the bezel.
The TV does have an iffy power supply. It sometimes won’t come out of standby mode. If I take the back off the TV, unplug the motherboard from the power supply for a few seconds, and then plug it back in it usually starts working again and will last for weeks or longer as long as I leave the TV plugged in and don’t have any electrical outages. If it loses electricity for even a second, it’s likely to get stuck in standby mode again and I either have to leave it unplugged from the wall for anywhere from several hours to several days or unplug the motherboard from the power supply again to get it work. It’s not much of a problem though since I don’t plan on moving/unplugging it any time soon.
I have a lovely new desk and I am way more proud of it than I ought to be
This is a story of a teensy-weensy victory that has really put me in a good mood. I am way more proud of this than I ought to be because it’s really a very minor accomplishment that anybody with a small drill and the ability to read instructions can do, but these days even tiny little moments like these in which things all come together in a fulfilling way are very rare for me.
I always thought I had rather modest requirements for a computer desk, but it looks as though I was wrong. Ordinarily I’ve got the left side of my computer desk up against a wall with one computer partially underneath the left side of the desk, more or less up against the wall. Because of this setup, I always sit at the right side of the desk. That’s why I like to have the keyboard tray on the right side of my desk. Either that, or a keyboard tray that extends from one side of the desk all the way to the other side.
I had to replace my desk since it was ruined during Sandy. I thought it would be easy to find a desk with a keyboard tray on the right but it was surprisingly difficult. I found a few but none of them had any shelves or drawers or any other sort of storage space. I prefer a desk with either a couple of shelves or drawers to store cables and adapters and miscellaneous things like that.
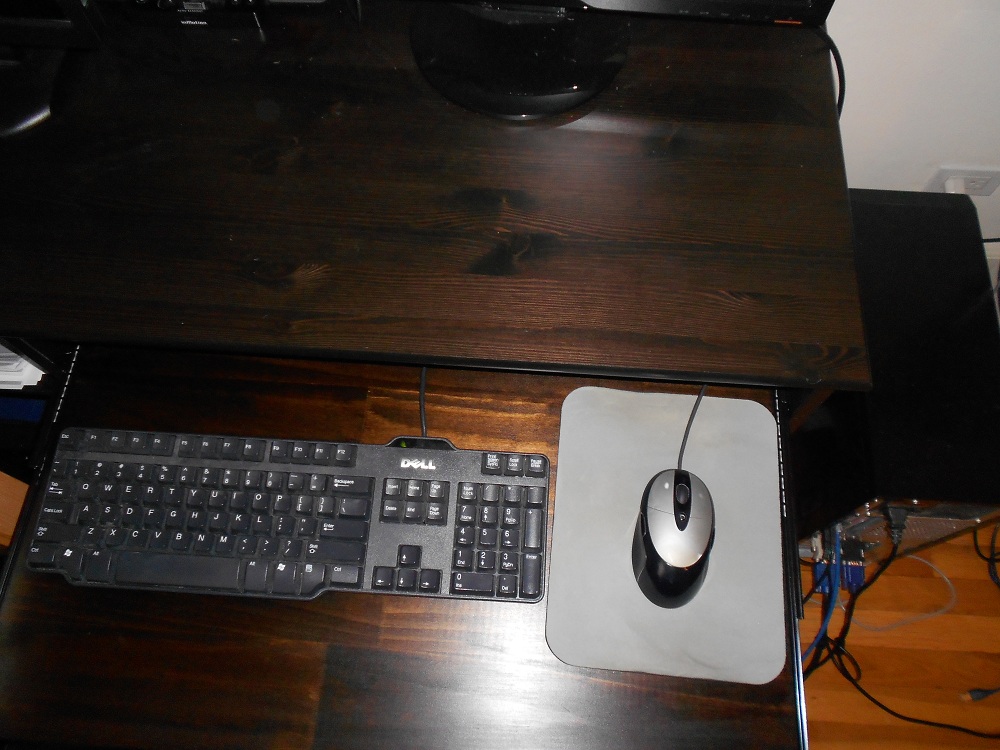
I finally had the bright idea of buying a desk with storage features that I liked and then adding a keyboard tray myself. This was bold on my part, because I’m not someone you could ever call “handy”. I decided on the $99 IKEA Vallvik. It has shelves that you can choose to put either on the left or the right. It’s also just about the perfect width for a keyboard tray and it’s made of solid pine instead of that honeycomb stuff some IKEA products are made of, so I was pretty certain that the screws would hold in place well enough. Here’s the desk before I began my little project:
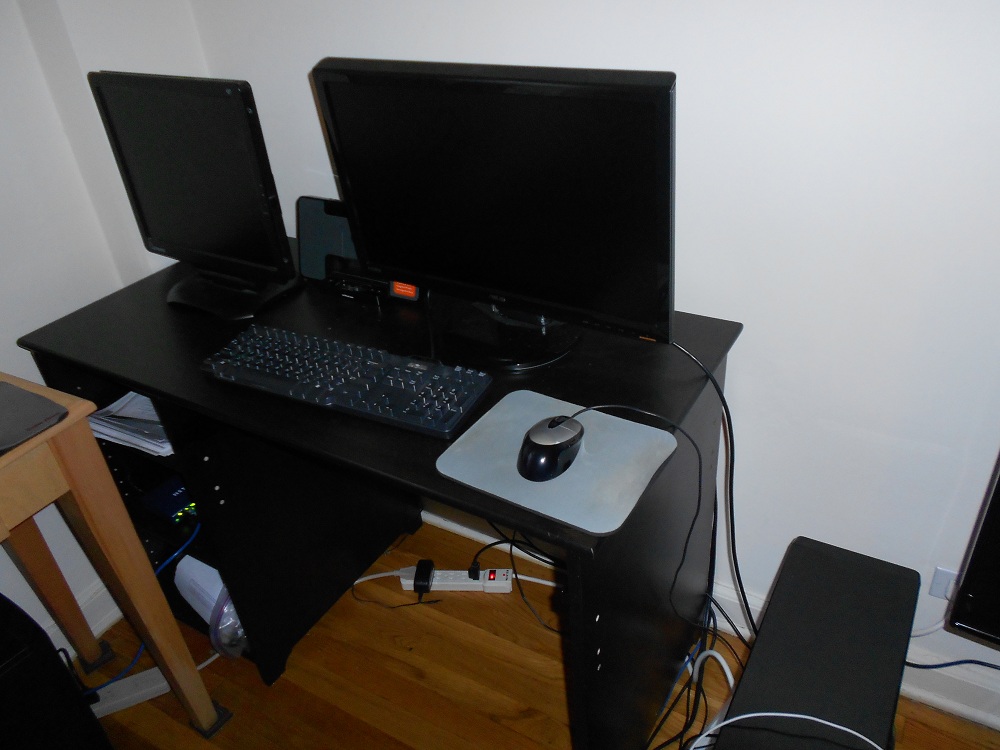
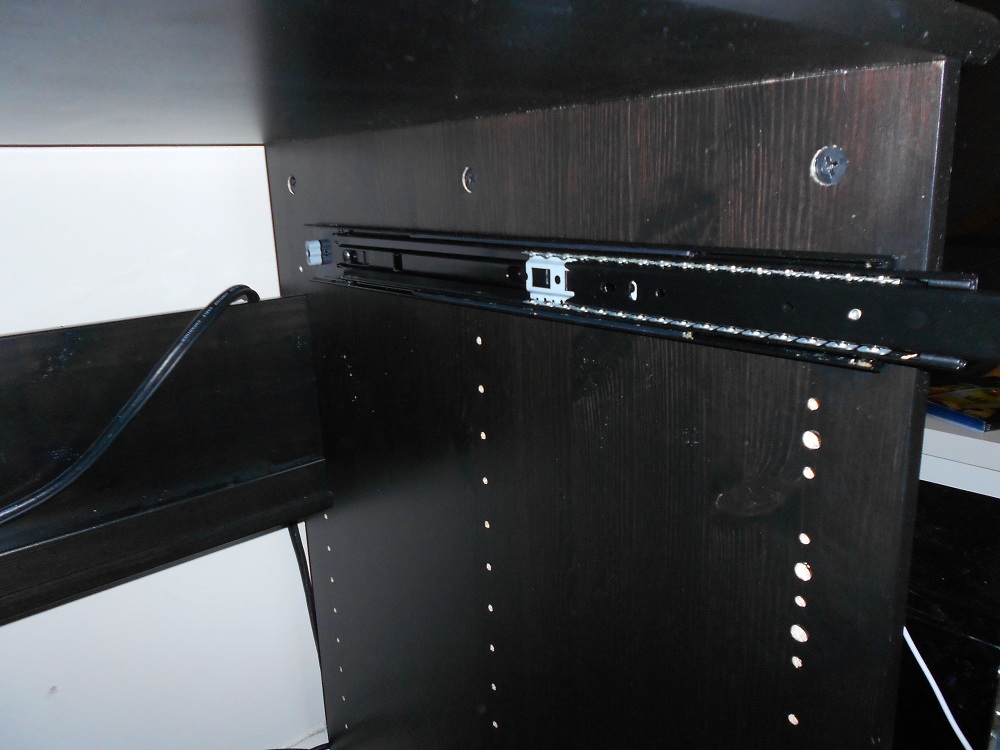
I had a look online at some ready-made keyboard trays but I didn’t like the idea that they wouldn’t run the full length between the shelves at the left and the right side of the desk. I wanted my keyboard tray to span that entire space. So I bought a set of 18-inch side-mount drawer slides (Fulterer 5000) and mounted them under the desk. I thought it was neat that these drawer slides come in different colors. I bought the black ones to match the desk.
I was super lazy and didn’t even remove the stuff from my desk while installing these. That didn’t turn out to be a problem, though it sure was difficult installing them alone. I ended up stacking a bunch of books on the floor to hold the slides up while I drilled some holes to screw the slides in. If I had somebody to hold the slides for me I would have finished in much less time and I wouldn’t have bumped my head on the underside of the desk nearly as many times as I did. The best way to do this would have actually been to disassemble the desk and lay the two side pieces in which the drawer slides get installed flat on a table.
The next step was to measure the distance my keyboard tray would need to be. According to the instructions for the drawer slides:
Check that the side clearance between drawer and cabinet side
is at least 12.7mm (1/2in.) on each side. Maximum allowable
clearance is 13.5mm (17/32 in.)
The distance from one side of the desk to the opposite was 28 inches. 28 inches minus two halves of an inch is 27 inches. So I got a board 27 inches long. The other two dimensions don’t matter too much as long as the board is not so wide that it doesn’t fit under the desk and not so thick that it looks silly.
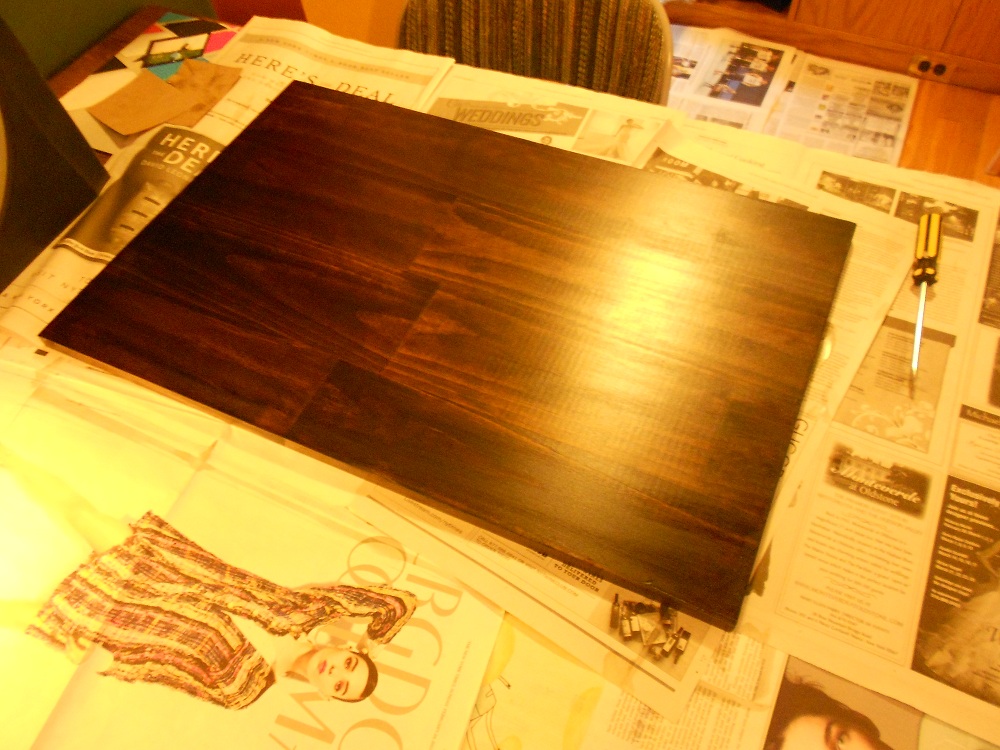
So I got a board 27x18x1 inches. It was unfinished pine so it was a very light color, similar to the color of the table in the far left side of the first picture on this page. It would have looked lousy if I installed it as-is. So I got “Minwax Dark Walnut 2716” wood stain and a polyurethane finish. I followed the directions on the can and did 2 coats of the stain, allowing 4 hours drying time between each, followed by 2 coats of the finish, letting it dry 24 hours between each coat of finish. Now my board is a work of art.
All in all, it took 4 days of on-and-off staining, finishing, and drying before the board was ready for installation. I probably would have been just fine without waiting the full 24 hours for each coat of finish, but I wasn’t in any hurry so I was happy to wait.
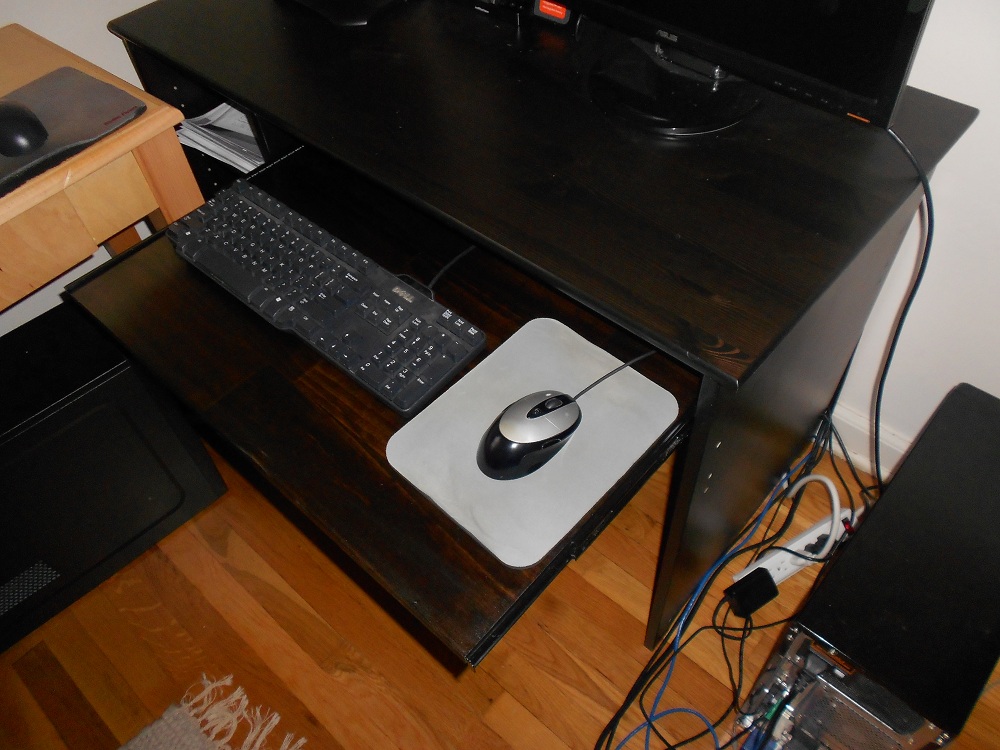
Again, it would have been much easier to have somebody hold either the board or the slide while attaching the “drawer profile” pieces, but I managed to get it done myself with only a few minor splinters. Thank goodness I sanded that thing so well beforehand or else I might have bled to death.
I rooted my Velocity Micro Cruz PS47 tablet
I bought this tablet on a whim in “as-is” condition from the store of my all-time favourite ebay seller in the world since I’d had good experiences fixing broken items I’ve bought from the company in the past. I bought my laptop “as-is” from this particular company for some astonishingly low price when all that was needed was to replace the cable connecting the LCD to the motherboard. The screen itself was fine. I’ve got e-readers, game consoles, and other items from the two ebay shops this company runs that sell only “as-is” and broken items. All of them have ultimately turned out to be fixable for significantly less than the price of equivalent merchandise that’s not sold “as-is”. It’s a great little secret that I’m hesitant to even mention because now the two people who read this blog will become new competition in the auctions.
In any case, I’ve never owned an Android device before so I thought a $10 tablet was a good place to start. I thought a cheap tablet would be good for a noob like me. Boy howdy, was I sure wrong about that. The tablet was fine when I got it. It was missing the volume keys but that’s not really a problem because you can adjust the volume via the menus using the touch screen. It has a reset hole like old Macintosh computers for when it crashes. You can use a straightened paperclip to press it.
The documentation/support for the tablet is actually decent. The ADB drivers on the Velocity Cruz website actually work. The instructions, however, are incomplete. Although the correct hardware ID is listed in the driver inf file, nowhere does it mention that you must create the file C:\Users\yourname\.android\adb_usb.ini. Note that there’s a period before the name of the directory.
The correct vendor ID for the PS47 is 0x2396. You can verify this by going to Device Manager and clicking on Details and then choosing “Hardware Ids” from the drop-down menu:
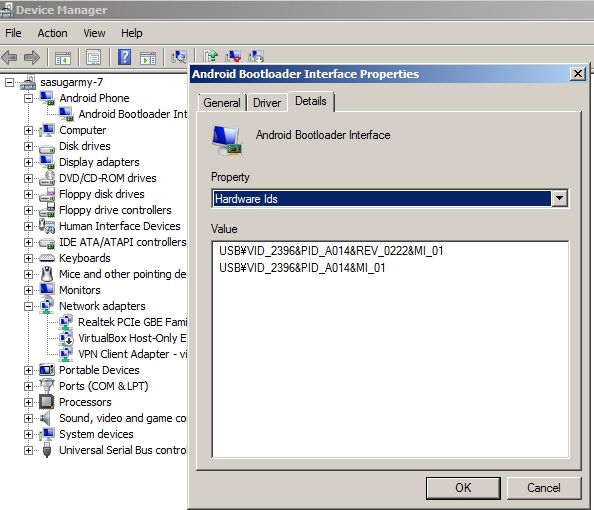
If you haven’t yet installed the drivers, look for a device called rk2918sdk, right-click it and choose “update drivers”. Choose “Browse my computer for driver software”-> “Let me pick from a list of device drivers on my computer” -> remove the checkmark from “Show compatible hardware” -> click “Have disk” -> “Browse” and choose the “android_winusb.inf” downloaded from the Velocity Cruz website. Install it anyway if Windows warns you it’s not signed.
Anyway, once I figured out how to get ADB working I saw by running cat /proc/mounts that the /system partition is cramfs, which is not writable. That was why SuperOneClick and all those other “one-click” solutions failed. “Great”, thought I, “I’ve got a useless tablet now. It’s no use at all if you cannot write to /system”. But that’s not true, I’ve since realised. That was why even though I could get an ADB shell as root (as I’ve read is the case with most rk2918 tablets) the command “mount -o remount,rw -t cramfs /dev/block/mtdblock4 /system” still kept giving the error “read-only filesystem”.
I was on the verge of despair until I found this excellent website which explains how to dump your stock ROM, convert it to ext3, and then reflash it to your rk2918 device.
I wanted very much to try the guide but I couldn’t figure out how to get the PS47 into flash mode. The website is correct that you must hold the volume – (minus) button while plugging in the USB cable with the device powered off. I was just not persistent enough at first. Perhaps it’s because the only way I could hold the volume minus button was by using a paperclip, since the buttons themselves are missing on this unit. It ended up taking me about 20 attempts but eventually I got it into flash mode. The thing about flash mode though that’s confusing to a noob like me is that the screen doesn’t turn on on the PS47 when it’s in flash mode. It looks like it’s still turned off. So the only way to know if you’ve succeeded in getting into flash mode or not is to do what the website says and check the results of lsusb (or if you’re using Windows, something like USBDeview). I succeeded eventually though at getting into flash mode and went ahead and flashed the new ext3 image but I couldn’t get the tablet to boot afterwards. The tablet would just hang at the boot logo where it displays “Cruz”. I tried the whole guide again from the beginning but still no luck getting it to boot. I must have missed some additional file that needs to be edited, maybe in the boot.img. Luckily I was able to simply reflash my backup boot.img and system.img to get back to where I started.
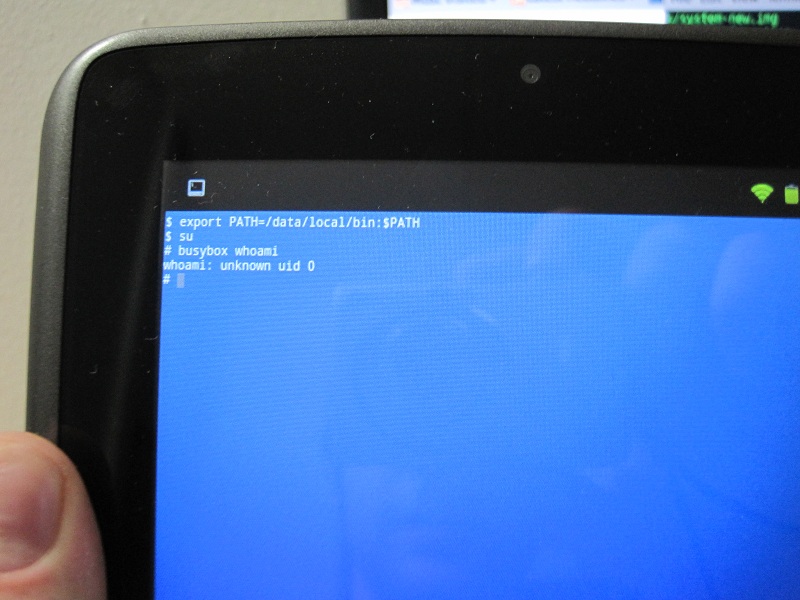
Then I had the bright idea of doing everything the guide says except, instead of trying to make an ext3 system.img I would unpack the stock cramfs system.img, chmod 6755 on /system/bin/su, repack it as cramfs, and flash it to my device. This basically worked. I rebooted after flashing the new image, opened the terminal emulator app that I had installed earlier to confirm I wasn’t able to su, tried “su”ing and sure enough, it worked. I then ran “busybox whoami” and it told me what I wanted to hear: I was rooted. Superuser.apk works, too. So does ROM manager. Unfortunately, this hasn’t allowed me to use Google Play, as I had hoped. But that doesn’t really matter, I suppose.
So here’s the basic process I followed. Most of it is exactly the same as the guide posted on the rk2918 tools website minus the ext3 bit. There’s no need to modify the boot.img at all for what I did. I don’t know if it was actually necessary or not, but I did the whole thing as root on a computer running Ubuntu.
cd ~/rk2918tools

./dump_imgs.py stock_imgs

cp -a stock_imgs new_imgs

cd new_imgs

sudo cramfsck -x system system.img

#Add the su binary from http://androidsu.com/superuser/

wget http://downloads.androidsu.com/superuser/su-bin-3.0.3.2-efghi-signed.zip

sudo unzip su-bin-3.0.3.2-efghi-signed.zip system/bin/su

sudo chmod 6755 system/bin/su

sudo chmod 777 system

sudo chown root:root system

mkcramfs system system_new.img

cd ../

./img-manager.py write system system_new.img

#wait to see the message "Image written successfully"

./rkflashtool b
Update: I discovered that Google Market works if you put vending.apk in /system/app before building the system.img and follow this guide. However, even after doing so I still couldn’t install Chaos Rings. It tells me my device isn’t compatible, though it does occur to me that it might actually not be related to hardware but instead simply because Square Enix can see I’m trying to install it from the United States, not Japan.

