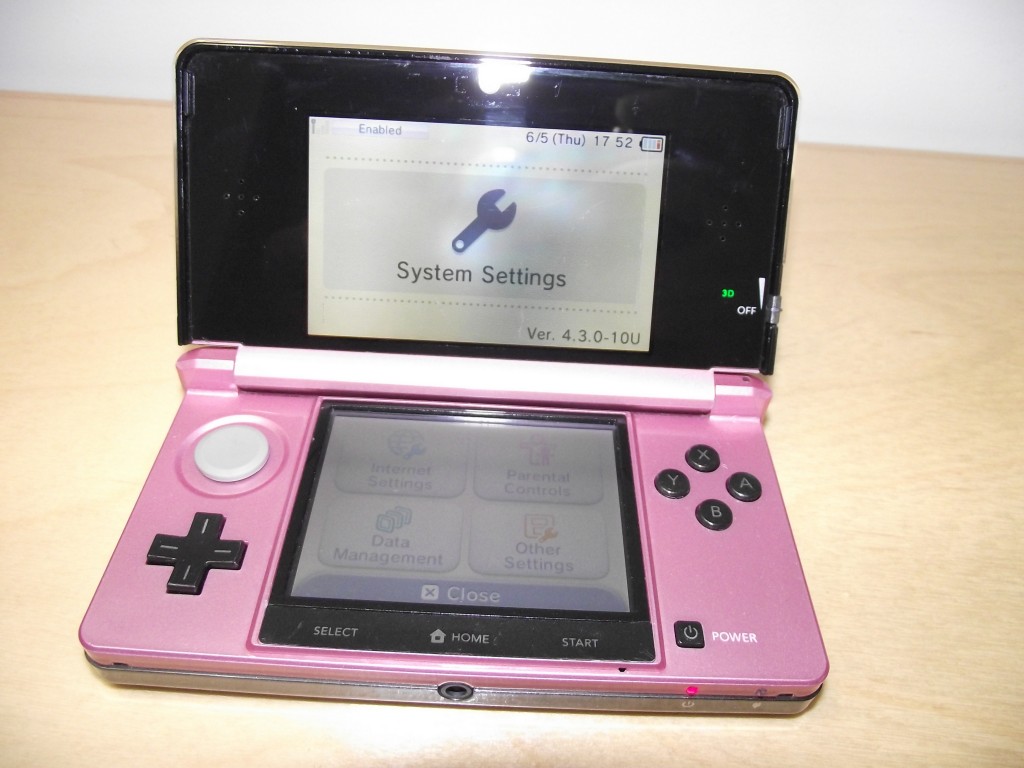
Unresponsive 3DS face buttons?

This is the same console owned by the blighted mudcrab whose shoulder buttons I had the pleasure of cleaning previously.

This is the same console owned by the blighted mudcrab whose shoulder buttons I had the pleasure of cleaning previously.

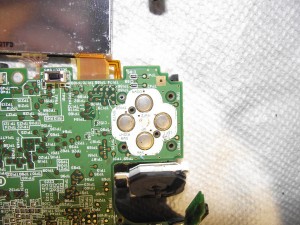
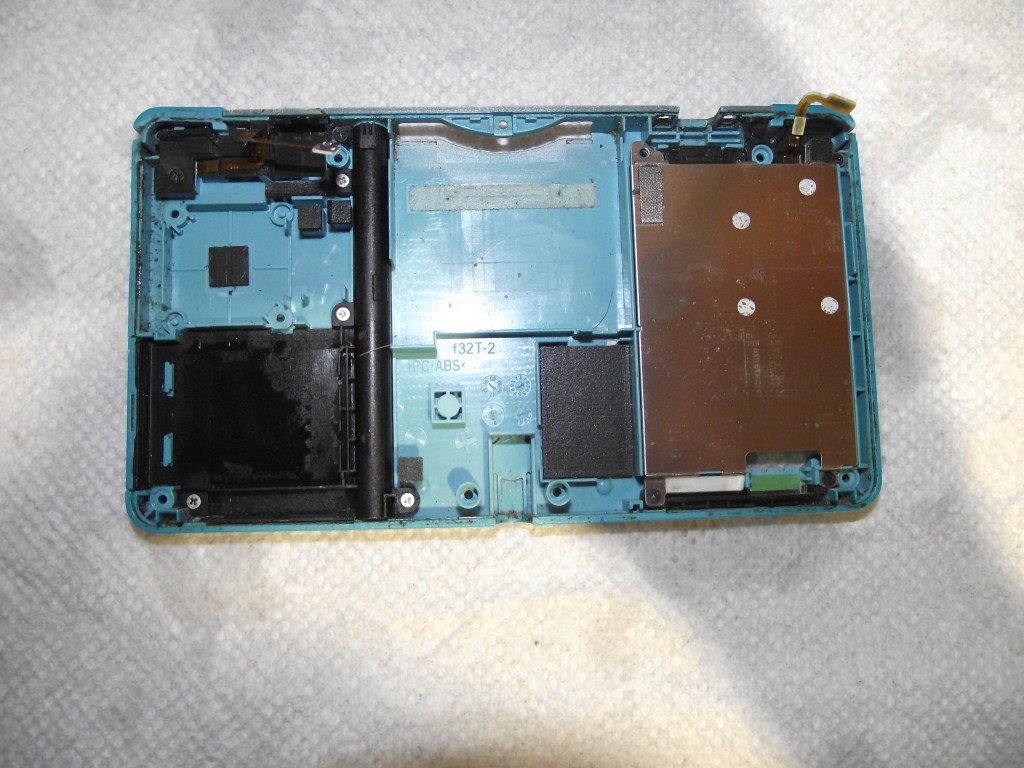
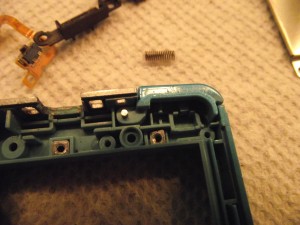
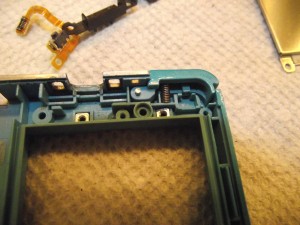
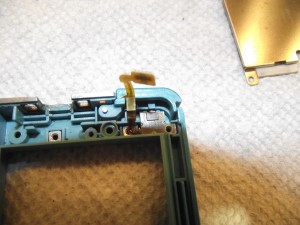
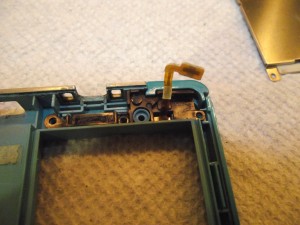
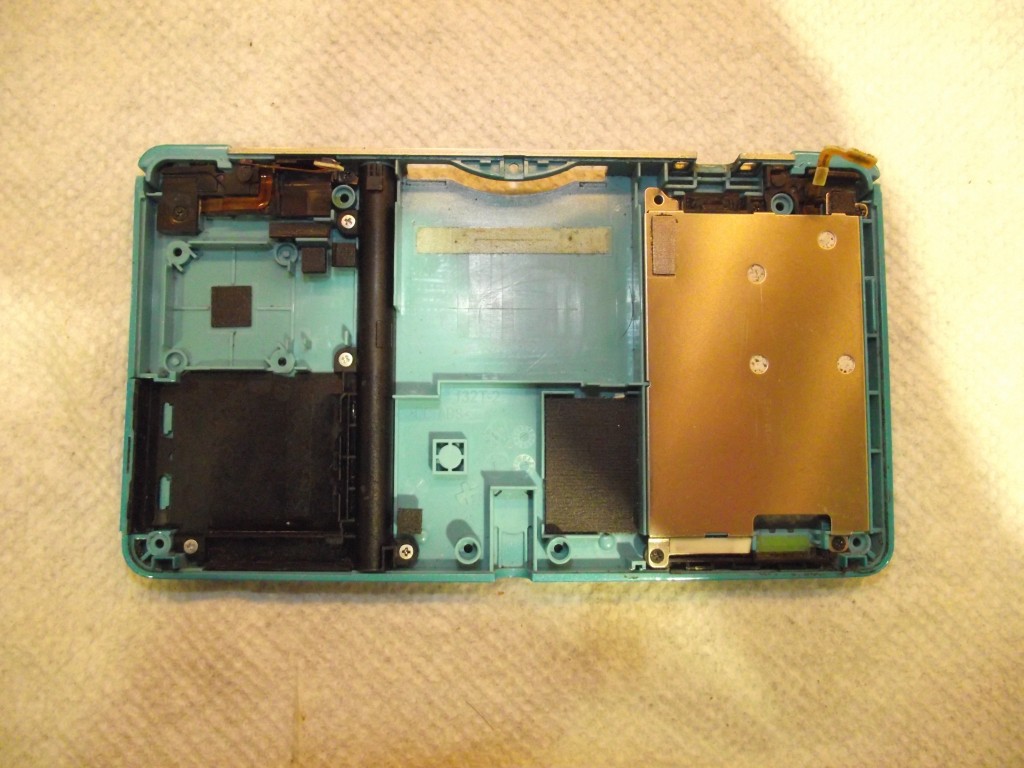
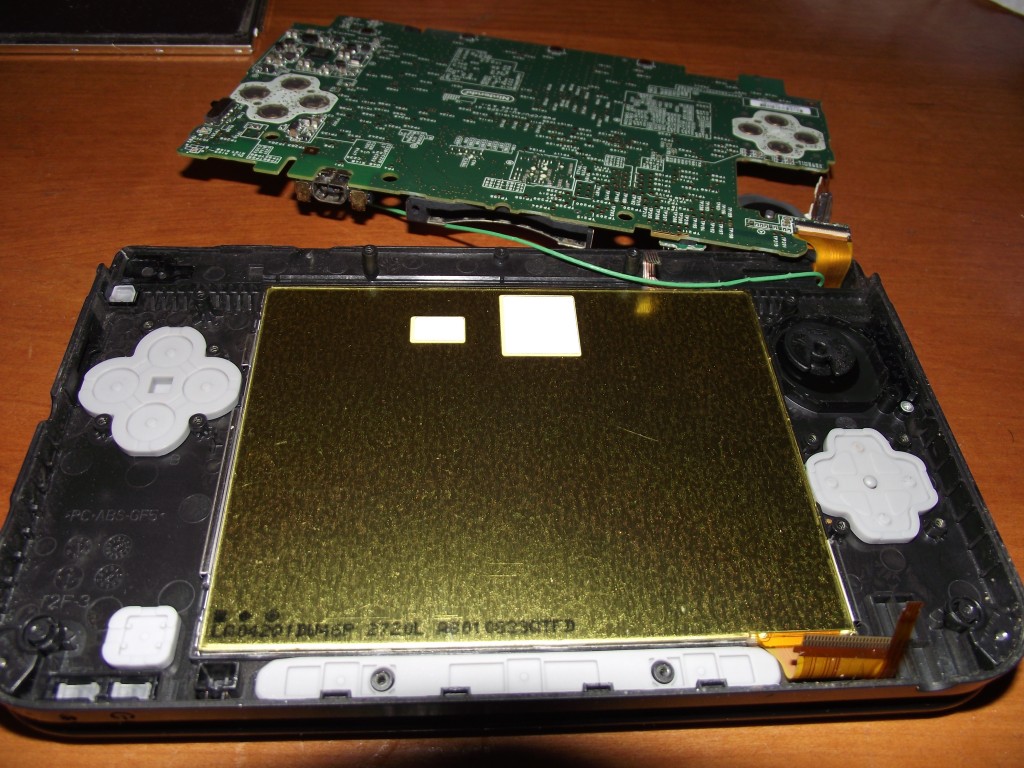
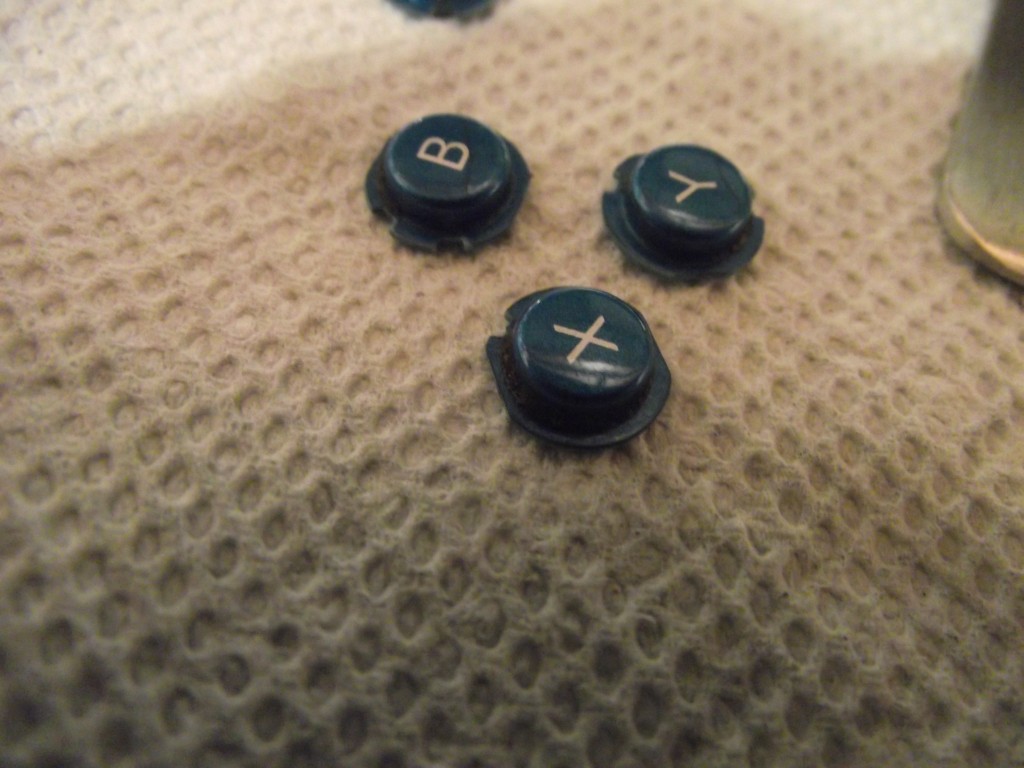
While unresponsive shoulder buttons are far more common, sometimes the face buttons of a 3DS or other console become sticky or unresponsive. If the button works when pressed very hard but not when pressed lightly, it’s almost certainly due to dirt accumulation. If the button feels sticky or jammed, it’s most likely because there’s dirt built up around and beneath the plastic buttons, as in the above photo where thick rings of filth have built up around the circumference of each button. If the button doesn’t feel jammed but it’s not as clicky as it once was, it may be due to dirt under the conductive pads on the motherboard. In either case, it’s necessary to remove the motherboard from the housing (or at least remove the screws securing it in place and flip it over, if you’re in a hurry, like I was).

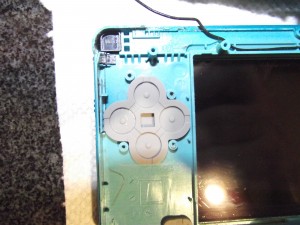
Here's the rubber pad between the plastic buttons and the contacts on the motherboard. Doesn't look too bad, does it?

Here’s the rubber pad between the plastic buttons and the contacts on the motherboard. Doesn’t look too bad, does it?

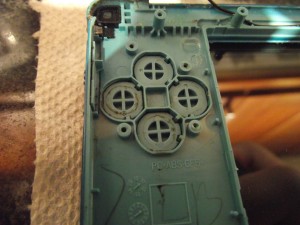
But peel it away to reveal a cache of shit and grease.

But peel it away to reveal a cache of shit and grease.

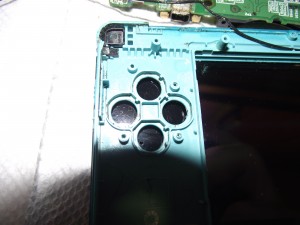
Remove the buttons one by one and clean the slots. Toothpicks help.

Remove the buttons one by one and clean the slots. Toothpicks help.

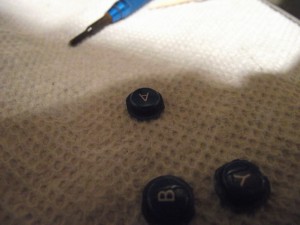
Clean the buttons, too. As you can see, they're usually even dirtier than the slots in which they sit.

Clean the buttons, too. As you can see, they’re usually even dirtier than the slots in which they sit.

Of course, while you’re at it you should also clean the D-pad and power buttons. It’s the same nauseating process as for the ABXY buttons, so I didn’t bother photographing them. When you have to disinfect your camera after each part of the process, you’ve got a strong incentive only to photograph the most essential steps.

Don’t close up your console yet. The most important part is to clean the contacts on the motherboard. If you’re a particularly depraved slimebucket—or if the console has suffered liquid damage—you should clean beneath the contacts as well.

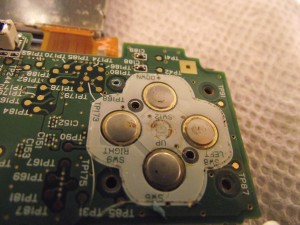
As with most things, these contacts don't look too bad from afar.

As with most things, these contacts don’t look too bad from afar.

But look more closely and you'll be horrified.

But look more closely and you’ll be horrified. We need to clean this sludge off with isopropyl alcohol and a cotton swab.

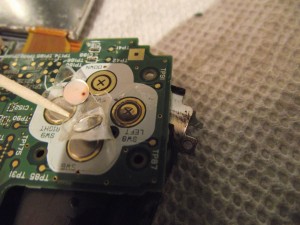
For the worst cases you will need to clean beneath the contacts as well. Mainly this is only necessary when there was liquid damage, but in this particular case the owner was such a slovenly clodhopper that there was a horrifying amount of dirt underneath the contacts even in the absence of anything else that looked like liquid damage.

You can peel the contacts up with a toothpick, but I actually find it easier to use my fingernail. As long as you’re careful, you can just stick them back down on the board when you’re finished cleaning. The adhesive is very strong, so it can be reused. However, if you do accidentally destroy the contacts you can replace them either from another motherboard or by buying replacements on eBay or Aliexpress for about $2, so there’s no great risk involved here. Just don’t scratch the motherboard.

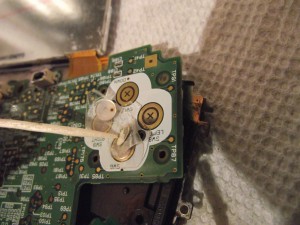
It's amazing the D-pad worked at all with this level of accumulation.

It’s amazing the D-pad worked at all with this level of accumulation.

When cleaning it's fine if you don't remove 100% of the dirt.  It's not necessary to be perfect.  In this case the contacts are clean enough to restore completely normal functionality even though there is still a small amount of stubborn dirt left that I couldn't remove.

When cleaning it’s fine if you don’t remove 100% of the dirt. It’s not necessary to be perfect. In this case the contacts are clean enough to restore completely normal functionality even though there is still a small amount of stubborn dirt left that I couldn’t remove.

And that’s it. If people weren’t such swine none of this would be necessary.

Unresponsive 3DS shoulder buttons?

Well, have maybe you're a swamp dwelling slob, like the previous owner of this console.

Well, have maybe you’re a swamp dwelling slimelord, like the previous owner of this console.

The above is about average for consoles I receive. I’ve seen much worse, but it never ceases to surprise me how much dirt can accumulate inside consoles that look to be in decent cosmetic condition externally. This is the first time I had the idea to actually photograph it though. I doubt most people realize how much material gets transferred from their hands to the console and becomes trapped inside when they fail to wash their hands before playing.

I always clean beneath the shoulder buttons before selling a used console. I used to only do this for liquid-damaged consoles, but I’ve noticed it’s often necessary even on consoles that look like they’ve been taken care of responsibly. So now I don’t even bother testing the shoulder buttons first to see if they need it. I just assume they do and clean them.

Unresponsive shoulder buttons are almost always due to dirt accumulation. It’s really amazing what slobs people are. Fortunately, cleaning the shoulder buttons is very quick and easy, so even destitute mud farmers like the people who let this happen to their consoles can fix it themselves.

The left and right sides are pretty similar, so I only took photographs of the right side to show the process.

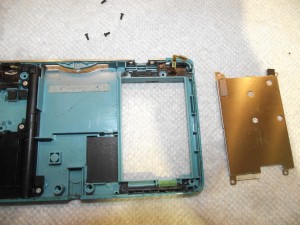
This is what we will be contending with.

This is what we will be contending with on the right side.

The left is not much better.

The left is not much better.  


First we remove these four black screws. On some consoles there will be only three.

First we remove these four black screws. On some consoles there will be only three.

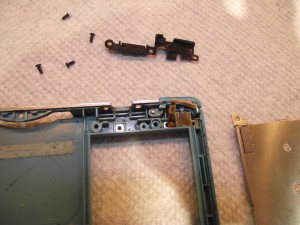
Now we life the plate off and set it aside.

Now we life the plate off and set it aside.  

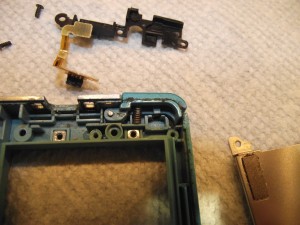
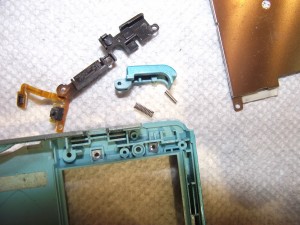
Next we life off this black plastic piece.

Next we life off this black plastic bracket.  

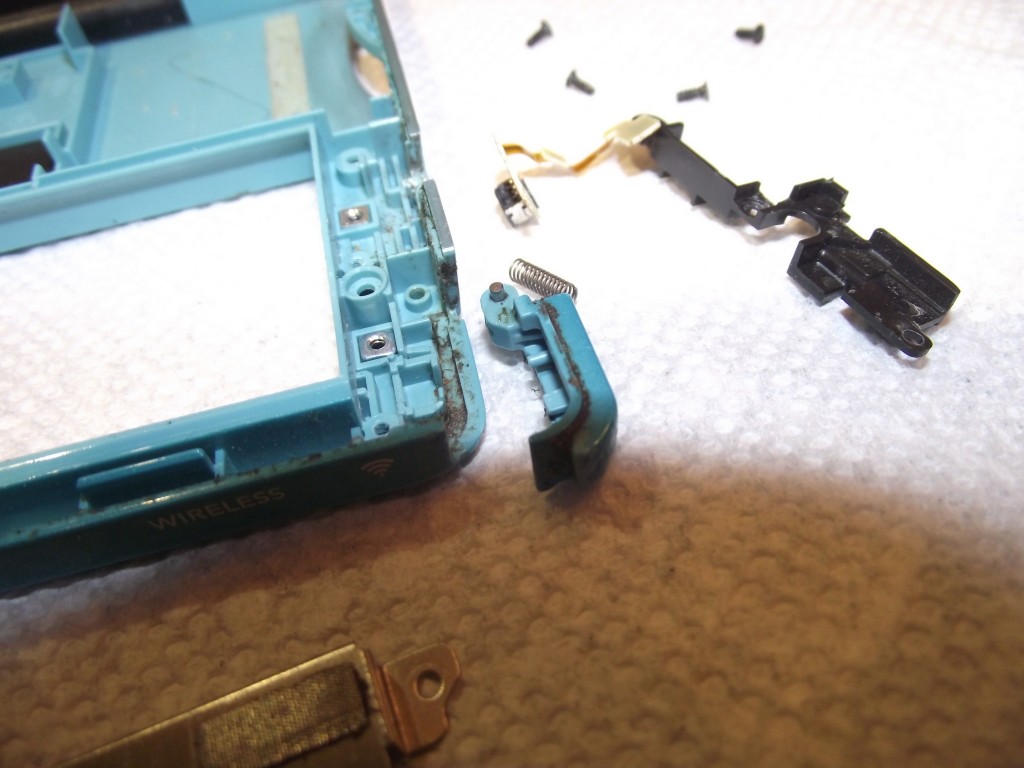
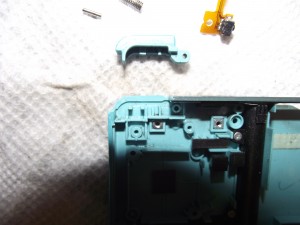
The button is held in place by a peg and a spring. Carefully remove them.

The button is held in place by a peg and a spring. Carefully remove them.

This would be the moneyshot.

This would be the moneyshot.

The best way to clean is with isopropyl alcohol. Not only does it make removing even tough dirt easy, it also eliminates most odors, which may be important if there’s liquid damage. You can do a good job with just a combination of a toothbrush, toothpicks, and some cotton swabs. Obviously you’ll want to focus your cleaning on the recess in which the plastic button sits, but you should also clean the button itself. If you’ve noticed that your shoulder buttons are unresponsive and don’t make as much of an audible “clicking” noise as they once did when you press them, cleaning them can sometimes help with that

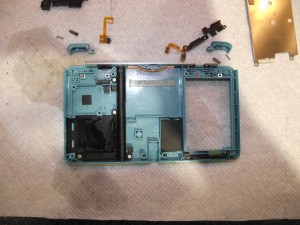
Now we clean and dry the left side...

Now we clean and dry the left side…

and the right side.

and the right side.

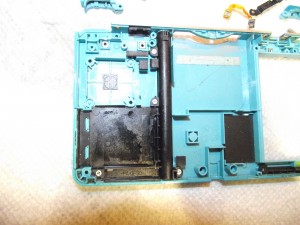
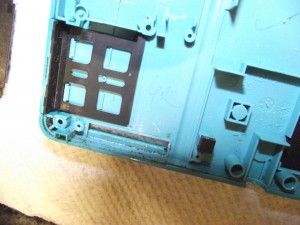
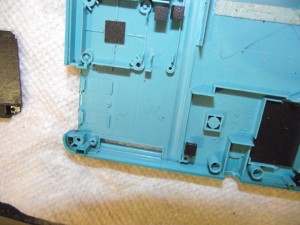
While you have the console open, it’s also a good idea to clean out the area beneath the SD card slot and the slot in which the stylus is stored.

Remove the four silver screws that secure the stylus holder and SD card slot cover in place.

Until you open it up to check, you would never suspect how much dirt can be trapped in these areas.

Remove the four silver screws that secure the stylus holder and SD card slot cover in place.

Remove the four silver screws that secure the stylus holder and SD card slot cover in place.

Disgusting.

Disgusting.

Much better.

Much better.

Reassembly is easy as long as you haven’t lost anything along the way.

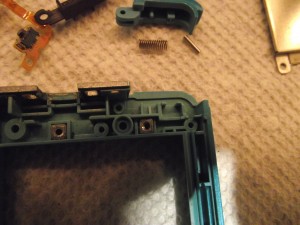
Make sure these two nuts are in there. The four screws on the battery cover screw into these.

Make sure these two nuts are in there. The four screws on the battery cover screw into these.

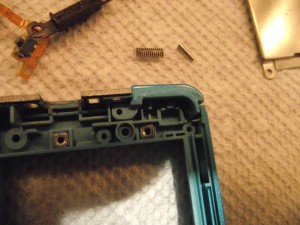
First, place the button into the recess.

First, place the plastic part of the button into the recess.

Then insert the peg...

Then insert the peg…

...and the spring.

…and the spring.

Now we can insert the button itself.

Now we can insert the button itself.

Next we replace the black bracket on top of the button. The ribbon cable for the button goes through a slot in the bracket.

Next we replace the black bracket on top of the button. The ribbon cable for the button goes through a slot in the bracket.

Replace the serial number plate and screw it back in. Take note that no screw goes in the upper left corner.

Replace the serial number plate and screw it back in. Take note that no screw goes in the upper left corner.

Here's what the left side should like like in the end.

Here’s what the left side should like like in the end.

The finished, disinfected product.

The finished, disinfected product.

If I get around to it I might write about how to repair most cases of sticky/unrepsonsive face buttons next. If I get around to it.

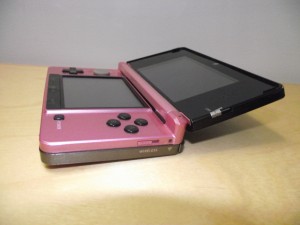
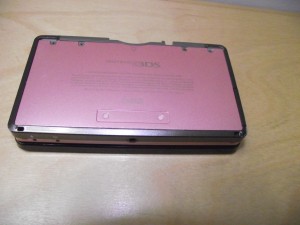
Black and pink Nintendo 3DS made of spare parts

black and pink 3ds 02
I repair a lot of 3DS consoles, mostly for fun. But unfortunately I also fail to repair a lot of 3DS consoles. For every 10 consoles I repair, there may be two or three that get tossed into the graveyard box. Eventually, I accumulate enough parts in the box to assemble a working console out of them.

Recently I was surprised to find that I had a good upper LCD, speakers with a good ribbon cable, and a few camera modules. I always have a surplus of lower screens and touch screens for some reason, so I had what was more or less a full console in individual parts. I decided that I would try once again to repair a heavily corroded motherboard that I had given up on recently. Fortunately it turned out all it needed was some elbow grease. Nothing was permanently damaged from the liquid it had been exposed to.

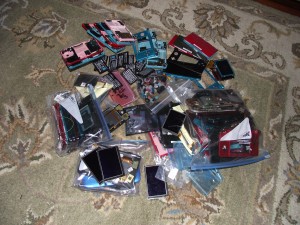
Unfortunately, I didn’t have a full housing set. I didn’t want to wait though until enough housing fragments found their way into my spare parts box, so I combined two different colors into what turned out to be what I think is a very sharp-looking console. Even though there’s only two colors, the parts actually came from at least four or five different consoles with varying degrees of wear and tear. Since it was assembled from parts that I had rejected in the first place as unsuitable for individual resale, I didn’t expect it would turn out quite as nice as it did.

3ds parts graveyard boxblack and pink 3ds 01black and pink 3ds 03black and pink 3ds 04black and pink 3ds 05black and pink 3ds 06

Liquid-damaged 3DS consoles

This entire entry is about why I no longer avoid liquid-damage auctions as much as I used to, but even I wouldn't mess with this shit.

This entire blog entry is about why I no longer avoid liquid-damage auctions as much as I used to, but even I wouldn’t mess with this shit.

One of the greatest things I’ve recently discovered about repairing 3DS consoles — and any small electronic gadget in general — is that I really don’t need to be avoiding “liquid damage” items as I once thought. Now, with mobile phones there’s the ick factor involved, since we’ve all seen people who use a mobile phone while in the restroom and, of course, when you see a liquid damaged mobile phone in an auction you can’t help but wonder if it fell in the toilet. That’s something I’m still not sure I would want to mess with. When it comes to 3DS consoles, however, the risk of the item touching shit or piss is far less since I think that the number of people who use a 3DS while on the toilet is far less than the number of people who use mobile phones while on the toilet. In other words, it’s not zero, but it’s a relatively low risk.

With mobile phones you more often have damage caused by the phone becoming completely submerged in a liquid (such as toilet water or a puddle in the street). However, because of the nature of a 3DS it’s more likely that liquid-damaged 3DS consoles experienced spillage, rather than submergence. It’s easy to imagine a clumsy person sitting, let’s say, on the couch with a beverage on the coffee table. Maybe this clumsy person sets the 3DS down next to the beverage and the beverage somehow spills. Spillage means that it’s often the case that the screens are not damaged and that there is less time in contact with the liquid , which means less widespread corrosion.

I have repaired six or seven heavily liquid-damaged 3DS consoles and, contrary to the warnings I see all the time, I haven’t yet seen one with any blown fuses. I’ve read warnings all over the place about liquid damaged consoles where people cry wolf, “It’s a waste of money because they all have blown fuses which are too hard to replace so you end up replacing the whole motherboard instead”. That’s hogwash.

When I get a liquid-damaged console I first take some WD-40 and spray a bit into each external screw hole. I let the console sit for about 45 minutes before attempting to open it. This is because the screws rust easily. I sometimes have to use WD-40 even for non-liquid-damaged consoles, but in the case of liquid-damage it is especially important because if you try to remove those small screws when rusty you can very easily strip them.

99% alcohol and a soft toothbrush are the main tools here. Yes, it’s pretty low-tech, but you often don’t need much of anything else. I take out all the internal screws, remove the WiFi board, SD card slot, analog stick, IR sensor, camera, and speaker ribbon cables. I take the motherboard out and scrub it clean with the alcohol and toothbrush. It’s fine to be rough on the board. Nothing will come off the board. It’s all soldered on there well. The key is to get every nook and cranny. The fuses are most likely fine. Let it dry and hold a battery to the connector. If it works, great. Connect screens and speaker and try to power on. If it works, reassemble. If no power, keep scrubbing. If still no power after cleaning the board very well, then get out a multimeter and do a continuity test on the fuses.

I recently had a console with only slight liquid damage near the battery connector area and it exhibited strange symptoms. I had scrubbed and scrubbed and scrubbed the board front and back to pristine condition, but the trouble persisted. The symptom was that the instant you pressed the battery to the connector the orange charge light would immediately turn on and one to two seconds later it would boot on its own. Once powered on it both charged and functioned totally normally and you could press the power button to turn it off. However, once you turned it off, the only way to power it back on was to remove the battery and then re-connect it, at which point the orange light would turn on again and it would power on one to two seconds later. I had no idea what was wrong, so I set it aside for a while and worked on some other consoles. A few days later I decided to turn it on to check all the other functions to make sure they still worked. When I tested WiFi I got the “An error has occurred. Press and hold the POWER Button to turn the system off. Please refer to the Operations Manual for details” message. This was strange, since WiFi had worked when I first tested it after cleaning the board. Nevertheless, I took a Post-it note, wrote “check wifi board” on it, and stuck it to the console and set it down for a few more days. Eventually I had some spare time one day and decided to open the console back up and check to see if the WiFi board was loose. I popped it off and just as I did so, I noticed the tiniest bit of corrosion just peeking out from beneath the metal frame on which the WiFi board rests. I took a spudger and lifted up the metal frame and, sure enough, there was some sludge under there.
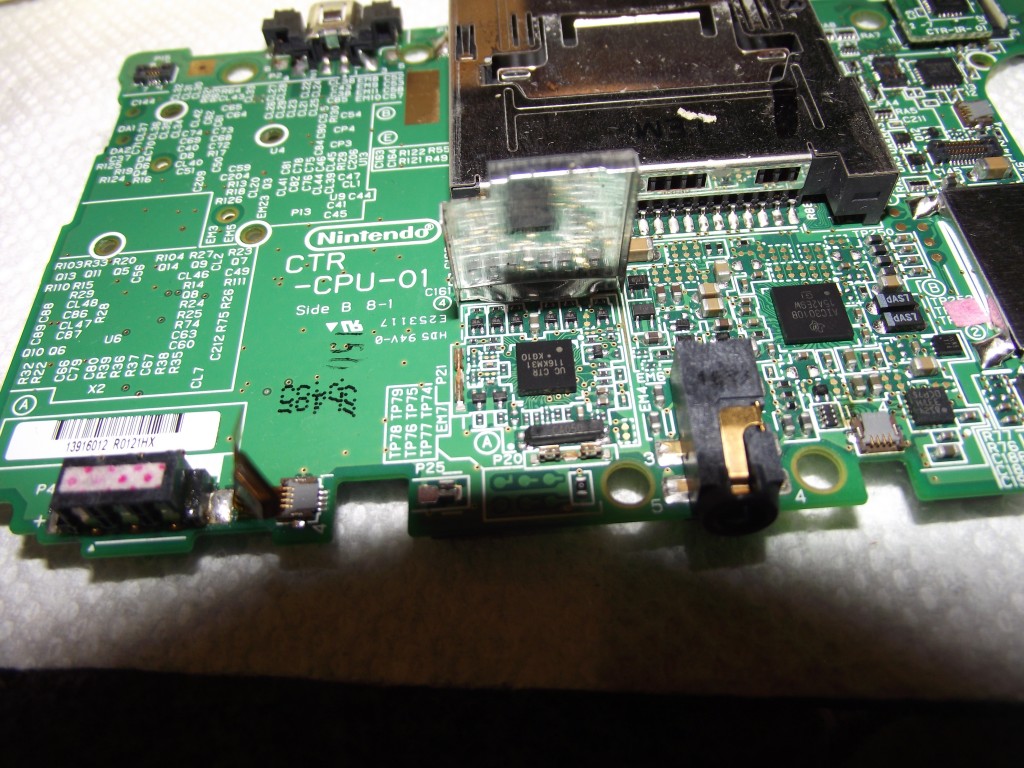
Just this tiny amount of corrosion was enough to break WiFi and cause weird power and battery problems.

Just this tiny amount of corrosion was enough to break WiFi and cause weird power and battery problems.

Thirty seconds of scrubbing cleaned the area up. I bent the metal frame back into place, popped the WiFi board back on and, sure enough, this fixed all the problems with the 3DS. Yes, it fixed the battery and power issues, too. The charge light no longer turned on when I connected a battery. It no longer booted automatically as soon as the battery was connected. WiFi worked. I could turn it on and off reliably using the power button. Just this small amount of contamination can mess your system up. The good news though is that, once you find it, it’s generally very easy to clean and fix the problem.

Changing gears here, another reason that people avoid liquid-damaged consoles is because, there’s a widespread belief that a liquid-damaged LCD must be replaced. It’s common to see mobile phones that the owner put in rice or something after getting them wet to save the motherboard. And sure, those phones work, but if you look at the LCD you see those drying marks that get left behind. Even quickly putting a device in a bag of rice doesn’t necessarily save it from those drying marks, often described by unscrupulous eBay sellers as “cloudiness” of the LCD. “Cloudy LCD” means “device dropped in the toilet” in eBay doubletalk. It’s like how “genuine” means “it is tangible” and not “it is made under license from the IP owner”. Anyway, those LCDs don’t necessarily need to be replaced. You can remove those drying marks. While you can’t restore the LCD to like-new condition, you can make it good enough for resale in many cases.

Now, I don’t know the proper terminology or even how exactly an LCD works, but it doesn’t really matter for my purposes. The LCD has several “papery” layers behind it. There is a reflective layer, then a backlight, then a slightly transparent white layer, and then some others that I forget the order of. We need to wipe all of those papery layers clean, since that’s where the drying marks are. When the backlight shines, those drying marks are made visible on the screen. In other words, it’s like taking the greasy wrapper that a burrito came in and holding a flashlight in front of it. If you do so, all the grease marks become more prominent on the semi-transparent burrito wrapper. But unlike a burrito wrapper, the papery layers behind the LCD can be cleaned with tap water. I use about 50% alcohol and 50% tap water. I originally used 99% alcohol but I found that it was too strong and left streaks. Tap water on its own will work fine though. I just use the 50% alcohol to help it dry faster.
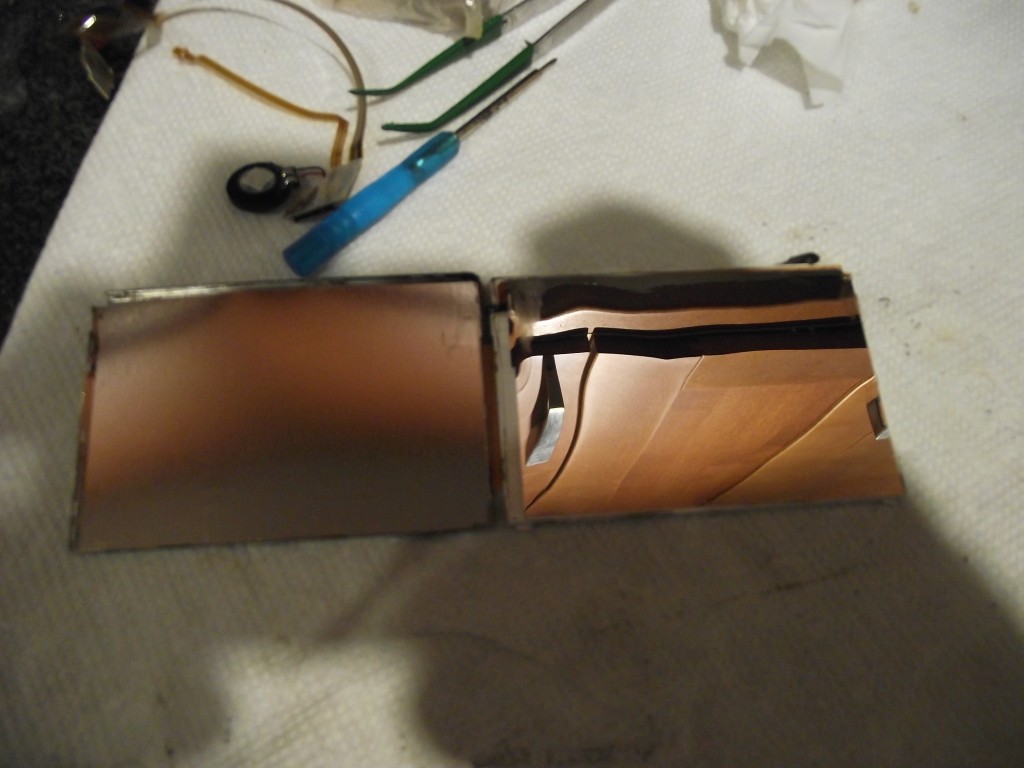
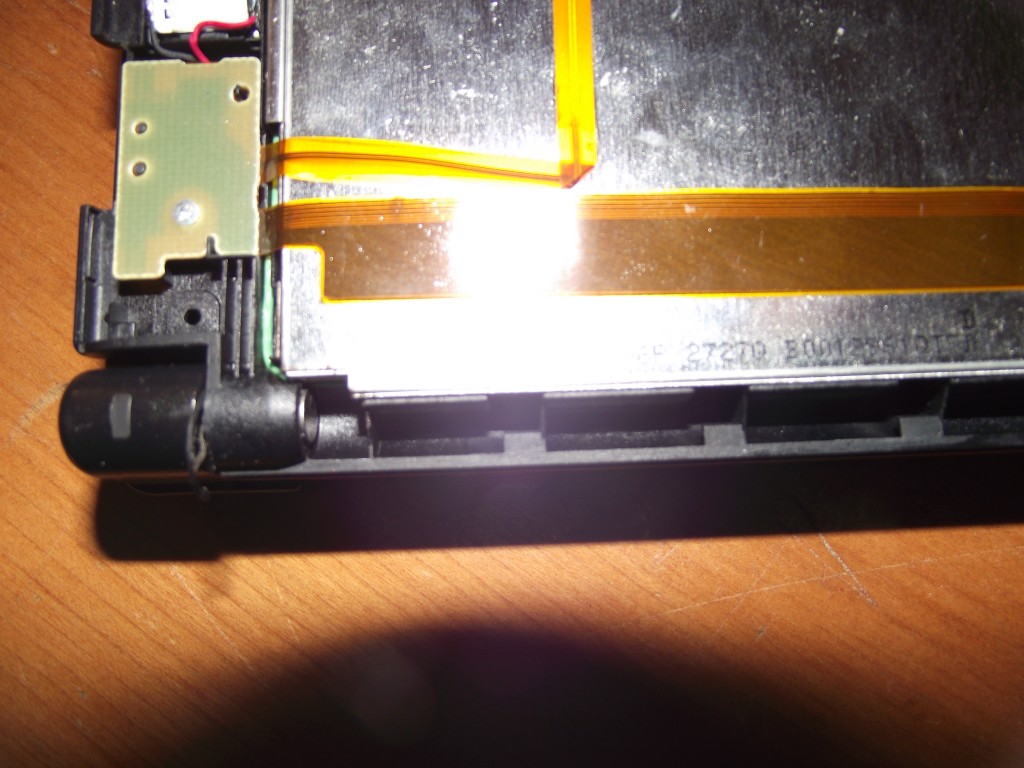
Open the metal frame of the LCD and the backmost layer is this shiny one. On the left is the the metal frame.

Open the metal frame of the LCD and the backmost layer is this shiny one. On the left is the metal frame.
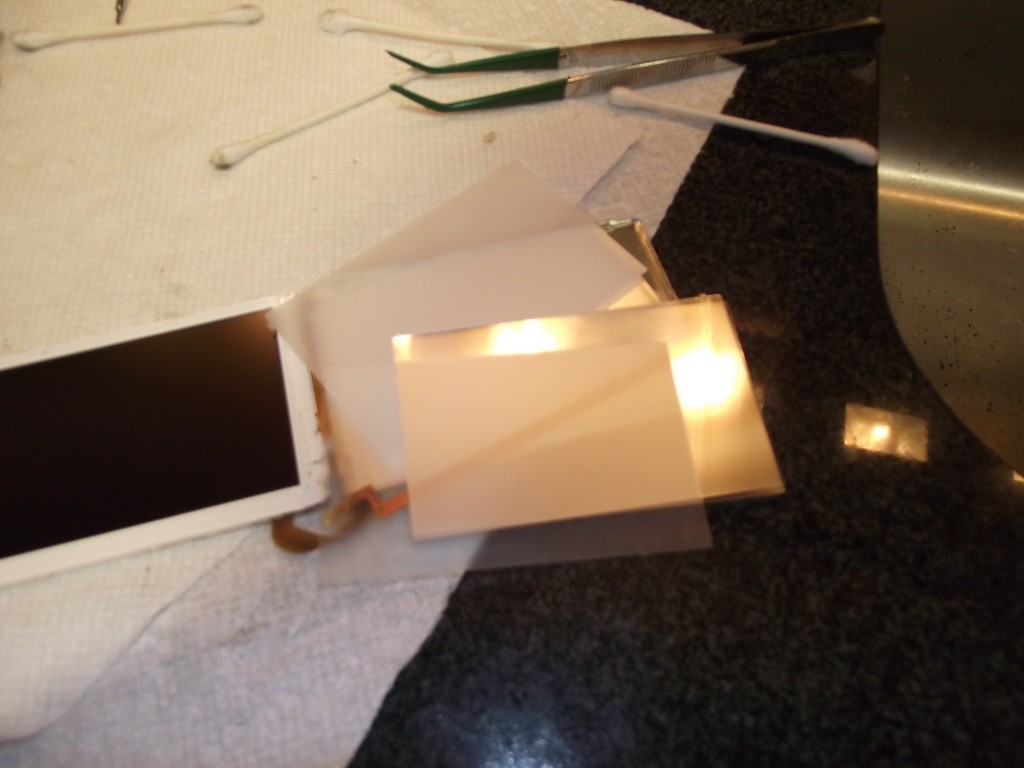
In this picture the LCD is on the left. On the right are the various layers and backlight that must be cleaned.

In this picture the LCD is on the left. On the right are the various layers and backlight that must be cleaned.

Anyway, just remove the metal frame in which the LCD is held. On the 3DS there are some clips that you can open using your fingernails. Above is what it looks like when you open up the top LCD of the 3DS. The first (backmost) layer is the shiny one. The easiest way I’ve found, so far, to clean these things without getting any marks or fingerprints on them is using a combination of one pair of microfiber eyeglass cleaning cloths and a pair of rubber-tipped tweezers. We must clean both sides of each layer, so it’s important to make a plan of action before we start. I put the microfiber cloth over my fingertip and hold the layer down as I clean it using a cotton swab and a half tap water half alcohol solution. I then dry it using a second microfiber cloth (while holding it down using my fingertip covered by the first microfiber cloth). I flip the layer over using the rubber-tipped tweezers and repeat on the back. After doing this for each layer I close the screen up and test.
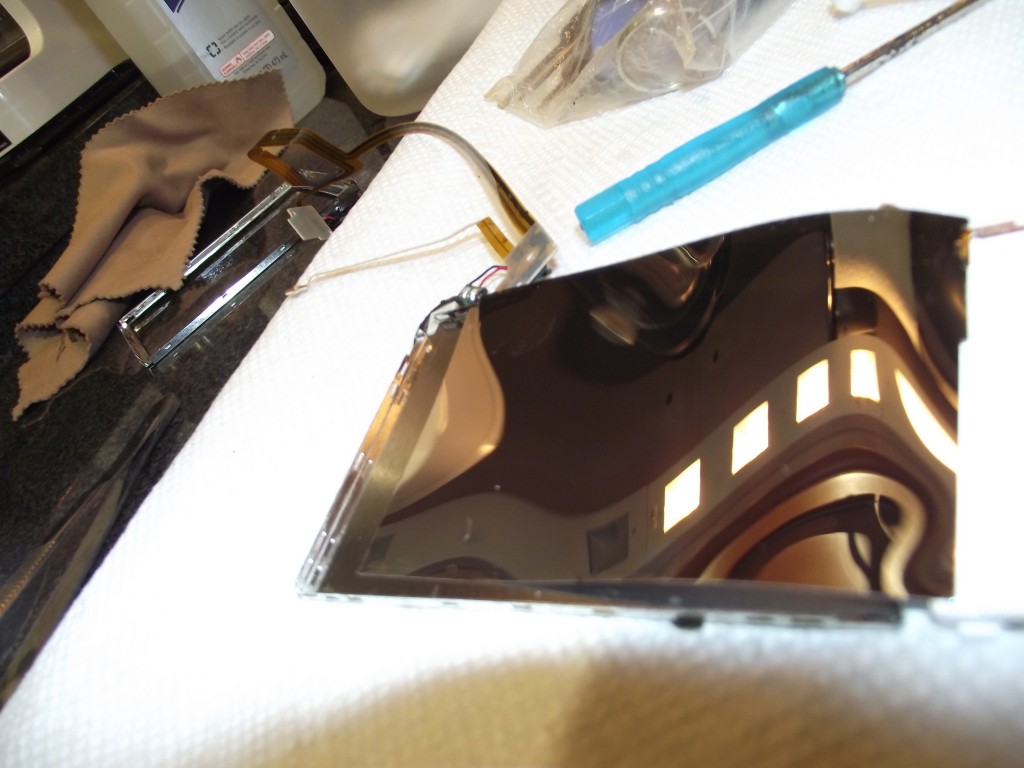
Yes, that's a coffee maker in the upper left. The kitchen is the only place with the right lighting for this type of cleaning. Checking for smudges or specks of dust is important and good lighting is indispensable.

Yes, that’s a coffee maker in the upper left. The kitchen is the only place with the right lighting for this type of cleaning. Checking for smudges or specks of dust is important and good lighting is indispensable. There’s nothing worse than screwing a console back together only to find that you have overlooked a speck of dust remaining under the LCD.
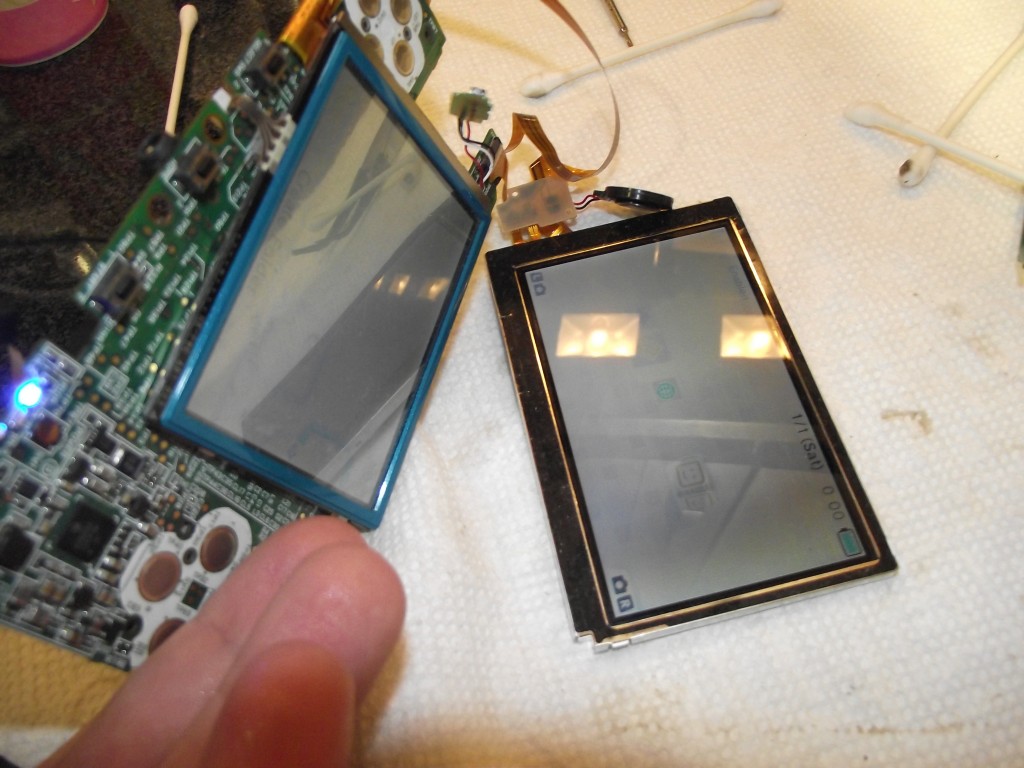
To test we need to connect the lower LCD, speakers, and upper LCD to the motherboard. The two little ribbons cables from the upper LCD must be connected to the appropriate connectors on the speaker/3D/brightness ribbon cable.

To test we need to connect the lower LCD, speakers, and upper LCD to the motherboard. The two little ribbons cables from the upper LCD must be connected to the appropriate connectors on the speaker/3D/brightness ribbon cable. It’s a tough balancing act connecting all those things, holding the battery in place, and taking a photograph all at the same time!

We check for streaks, dust, or any other blemishes at this point, since it would be a colossal pain in the ass to install the upper LCD, camera, speakers, WiFi antenna, and reassemble the housing only to find afterwards that there was some schmutz left under the LCD. Yes, this has happened to me before and no, you would not have wanted to be in the room at the time.
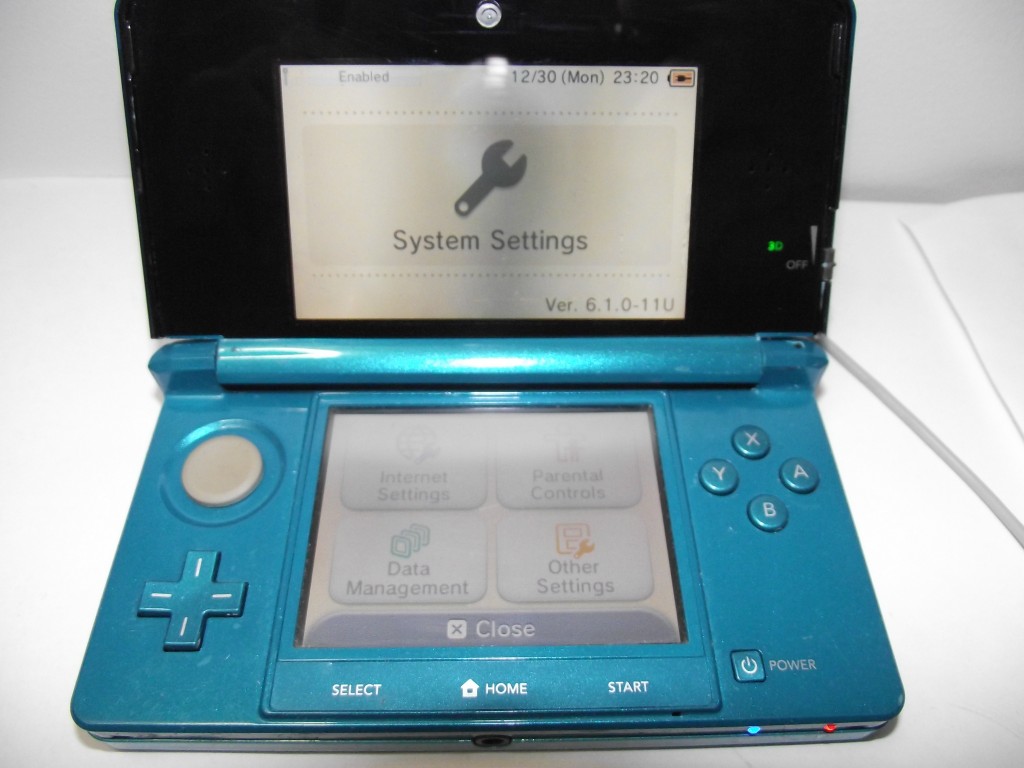
In the end this screen was 100% fixable. Sure, replacing it would be less work, but you can save money by cleaning it instead.

In the end this screen was 100% fixable. Sure, replacing it would be less work, but you can save money by cleaning it instead.

To connect this to my earlier point, it is far easier to clean these LCDs and get them in excellent condition suitable for resale when the liquid damage was of the spillage variety, rather than submergence. I’ve had some LCDs that I tried this process on that were just not salvageable because there was so much dirt in there that I couldn’t clean it all off without leaving streak marks. But if there are just some drying marks here and there on the LCD there is a good chance that you can clean them off well enough that you would never be able to tell there was liquid damage afterwards. Although 3DS screens are rather inexpensive, this can save you some money on parts, especially if both screens are liquid-damaged.
ePacket is just so ridiculously fast it’s unbelievable

Ever since I first read about the cooperation amongst China Post, Hong Kong Post and the USPS to make the ePacket service possible a couple of years ago, I’ve been trying, whenever possible, to buy from eBay and Aliexpress sellers who use ePacket for customers in the United States.

Prior to ePacket I would get lots of parcels from China, Hong Kong, and Singapore sent by ordinary air mail, which would take between 2 and 3 weeks to arrive. Of course, even back then it was a bit faster to the U.S. than to many other countries, but 2 to 3 weeks is still enough of a wait to make it so that, price being equal, I used to buy from U.S. sellers because it was faster.

With ePacket though, as long as price is equal, there’s absolutely no reason for me to buy from a U.S. seller rather than a seller in China or Hong Kong. If I get an item sent by first class mail from, say, California it would take about 3 to 4 business days to arrive here in New York. That’s assuming the seller ships immediately. Now let’s compare with this parcel sent by ePacket that I ordered just recently:

ePacket to the U.S. is at least as fast as EMS.

ePacket to the U.S. is at least as fast as EMS.

ePacket is not always this quick, but it’s not at all unusual for the item to make it here to NY in just a few days. I remember the first time I ever had something sent to me by ePacket it wasn’t much better than ordinary air mail. But over the past year or so it seems to have gotten much faster, at least to my location.

Two neat things I’ve noticed by tracking ePacket parcels is that, at least according to the tracking info, they seem to get sorted at the EMS sort facilities. The other thing, which may or may not be mere coincidence, is that I’ve never had ePacket parcels held up at customs. With ordinary air mail it’s rare for my packages to be held up at U.S. customs for more than a few days, but I’ve had items shipped to me occasionally that have been stuck for up to 14 days yet never opened or inspected in any way that I could detect. With ePacket I never even see a scan at customs. The first scan I see after the origin sort facility is always a local sort facility, rather than ISC New York. I guess ePacket must still get processed through customs like any other package, but it sure is a lot faster.

Frankenstein 3DS XL (my adventure in housing and LCD replacement)

When I saw this I knew saving the console was worth my time.

I bought this console with no information about it other than a picture. When it arrived and I saw this I knew saving the console was worth my time. God, I love eBay.

So Halloween just passed and I’ve graverobbed together a nice GW3DS compatible 3DS XL for myself out of two broken consoles. I had first bought a console with a broken hinge, thinking I might fix it. However, I quickly realized that, if I could play my cards right, I might save a bit of money and a whole lot of time by combining two broken consoles together to make one functional console, instead of buying replacement parts separately. The other reason I chose to go this route is that replacement 3DS XL parts are few and far between. There are no Chinese companies that I’m aware of that make replacement housing parts yet, and the only time that official Nintendo replacement housing comes up for sale is when somebody is parting out their own console, which is not an everyday occurrence even on eBay. There are some companies that make aftermarket replacement LCD screens, but they’re usually quite expensive.

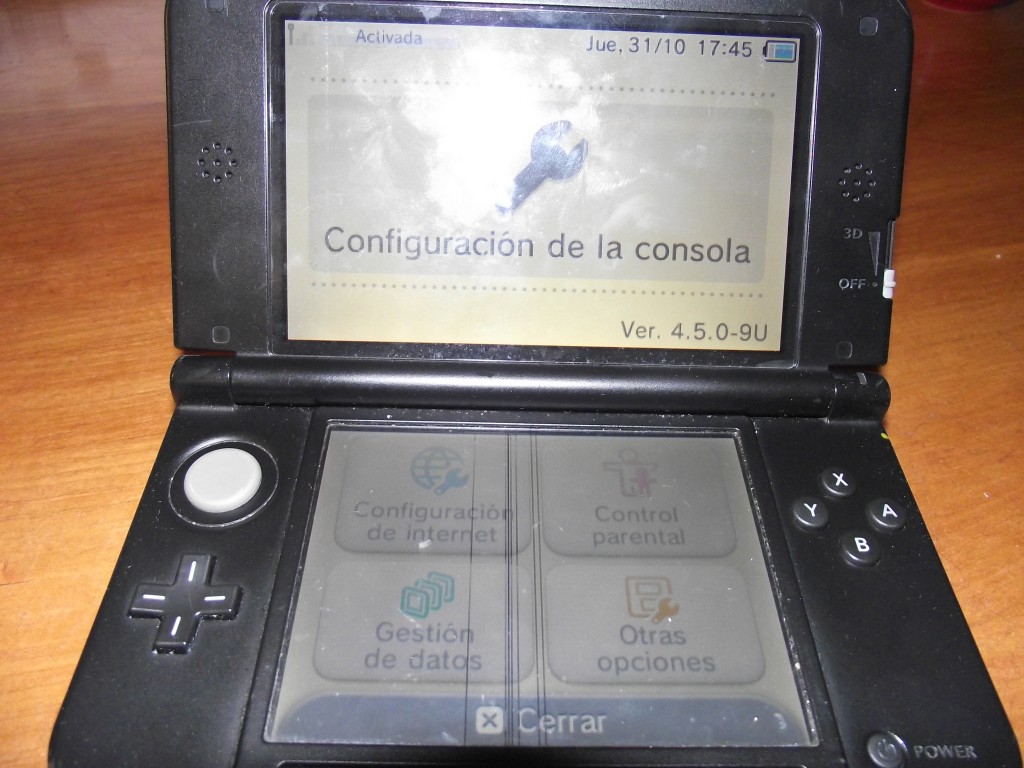
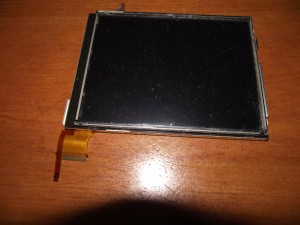
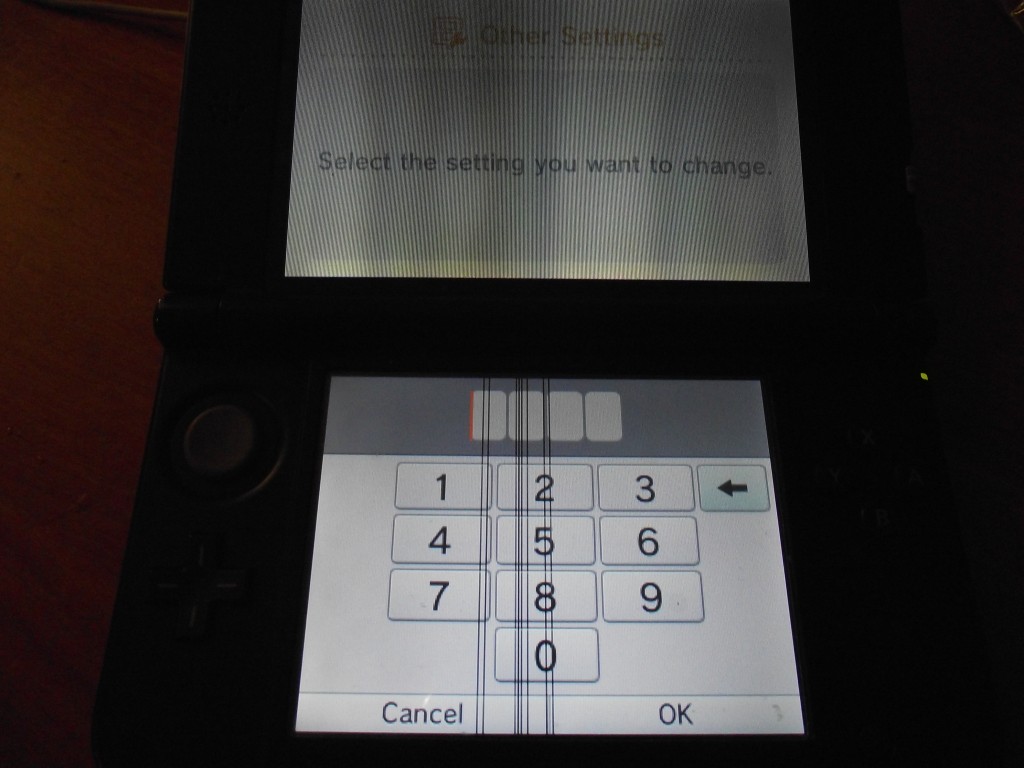
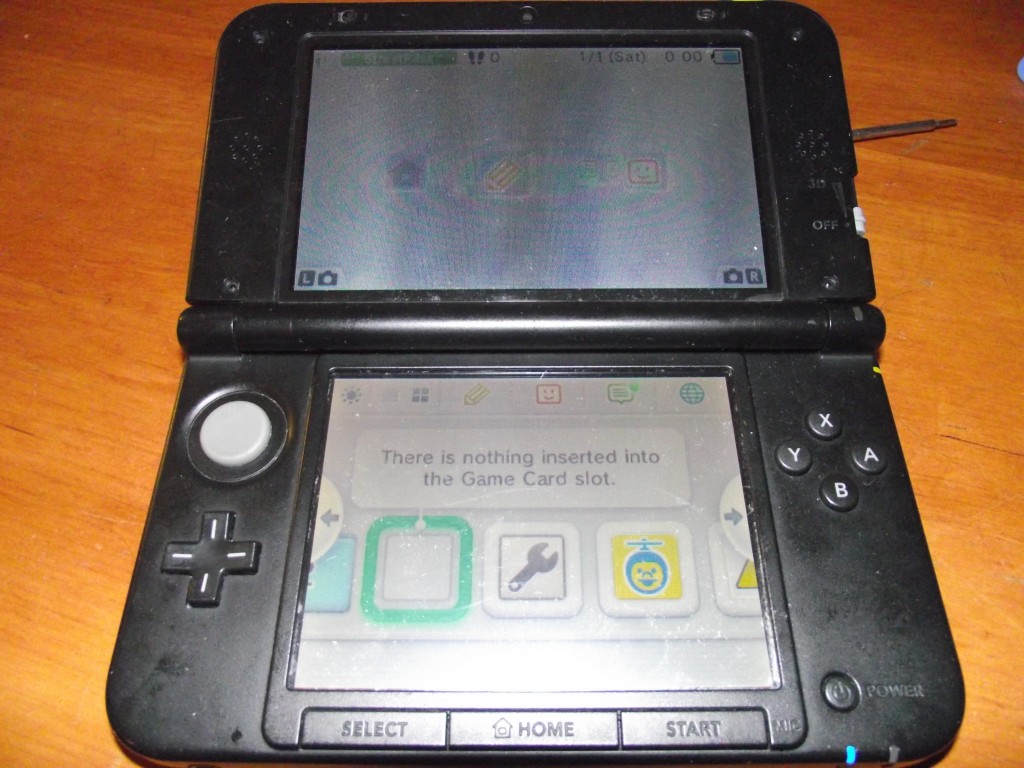
When I received the console the first thing I did was check that there was nothing else wrong with it besides the lower LCD. This was a risky move, since you never know what sorts of problems sellers will leave undisclosed on eBay auctions. They may mention one thing that’s wrong with the console but neglect to mention several other larger issues. Fortunately, when I got the above console the only thing wrong with it was that the lower LCD had some slight damage that caused those vertical lines in the picture. There were also cracks in the front housing. Luckily the uupper housing was not broken so I didn’t have to go through the trouble of rolling the ribbon cables through the hinge. I took a good lower LCD and digitizer from another console I had purchased with smashed up housing and bought a replacement front housing section for $15.

3ds xl lower lcd3ds xl replacement front housing

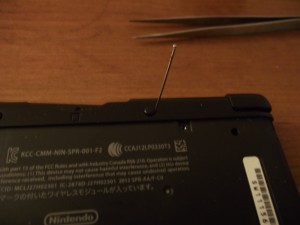
The first step, of course, is disassembly. The best method, by the way, to remove those two little rubber things on the bottom of the console without damaging them is to use a sewing needle to pry them up.
DSCF4154

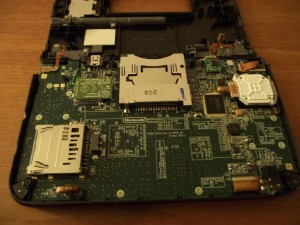
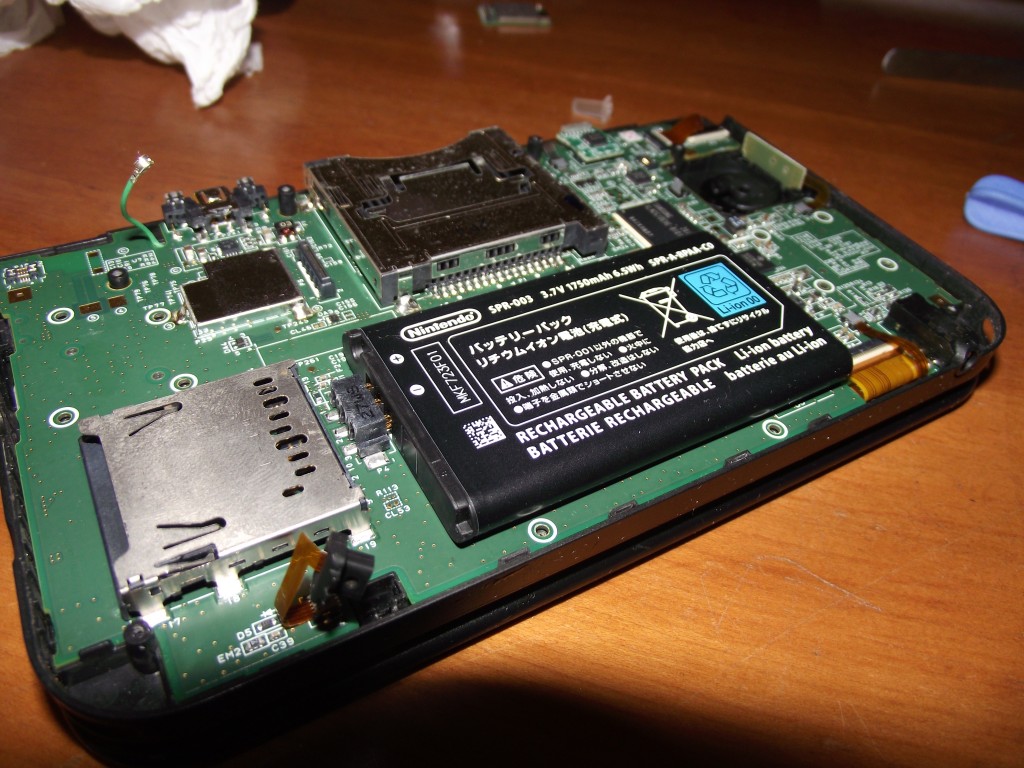
3DS XL disassembly is only very slightly different from a normal 3DS. Once you remove the battery cover, battery, and back housing the motherboard is revealed.
3ds xl motherboard

We then remove all those little tiny screws on the right, left, and bottom center of the board. There are 10 in total. We also remove the two very long screws that hold the analog stick control mechanism in place. There’s a round, papery thing beneath the analog stick control mechanism that you’ll want to put aside so it doesn’t fall out and go missing. You also need to remove the WiFi board (it pulls right off) and disconnect the antenna cable from it. Finally, disconnect the bottom LCD and digitizer, the speakers, and camera ribbon cables from the motherboard. Use your fingernail to open up the clips and gently pull the ribbon cables out.
Now we can lift the motherboard free of the lower housing.

Now we can lift the motherboard free of the lower housing.

The top LCD ribbon cable is still connected in the upper right of the above picture. Disconnect that. Now the motherboard is completely free.

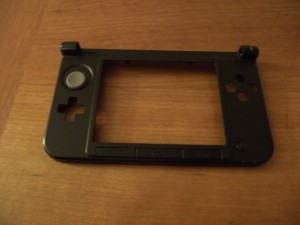
This is the ugly, cracked piece of the housing that I wanted to replace.

This is the ugly, cracked piece of the housing that I wanted to replace.

To replace the front section of the housing it’s necessary to open up the top housing. Remove the four square rubbery pads surrounding the top screen. Again, if you use a sewing needle for this you can probably manage to remove them without any damage so that you can later re-use them. They were already damaged on my console so I wasn’t particularly careful and ended up destroying one and losing another. Remove the four screws beneath.

Once you remove those four screws you need to push hard on the back part of the top shell. It’s hard to explain, but if you put the console on your lap with the back of it (i.e. the side with the charge port) against your torso and push forward on the top housing using your two thumbs it’ll slide upwards and off. I looked at these pictures to figure it out at first, but contrary to what the photographer writes, you definitely don’t need to use a screwdriver or anything else to pry it open. You can easily do it with just your thumbs. You push forwards, not upwards, and it slides off.

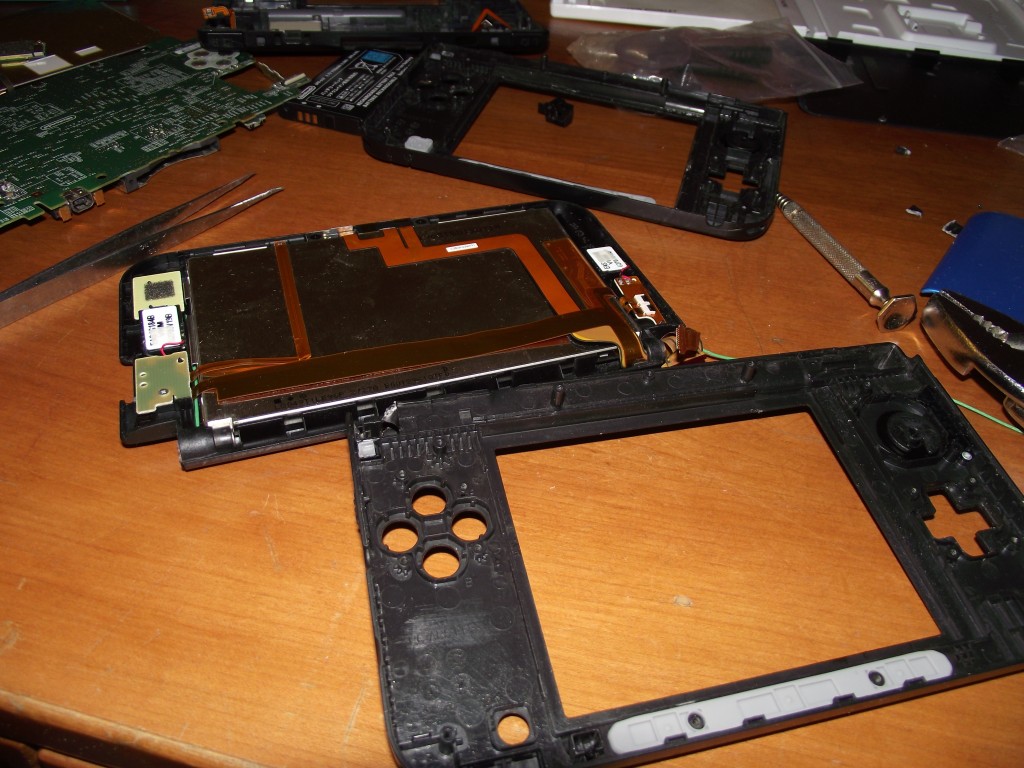
Here's the big mess I made out of two consoles. It all works out in the end though.

Here’s the big mess I made out of two consoles. It all works out in the end though.

I’m not proud to say it but I couldn’t figure out how to slide the left hinge inside of the top housing in order to cleanly separate the top and bottom sections of the console. On a normal-sized 3DS you can stick a small screwdriver or a pair of tweezers into the top leftmost section of the bottom housing and push the hinge inside the upper housing, allowing you to separate the two halves of the console. I couldn’t figure out how to do this for the 3DS XL though. So, in the end, I used a pair of pliers to crack open the upper left corner of the lower housing since it was already cracked a small bit. This revealed the hinge. I then pushed it into the top housing using a small screwdriver. This allowed me to separate the two halves. It’s not the most elegant solution, but it made no difference since I was destroying a part that was already broken anyway. Below is the hinge position that will let you separate the two halves. The hinge is in the same position in both photos; they’re just taken from two different angles.

Hinge pushed inside the upper housing.Second angle.

Once separated we simply slip the ribbon cables and WiFi antenna cable out through the slit in the original lower housing and pull them through. We then slip them into the slit in the replacement housing.

Top screen assembly installed in the replacement lower housing.

Top screen assembly installed in the replacement lower housing.

Before replacing the back of the top housing make sure the 3D slider is in place. It’s very likely to fall off. Also make sure the speakers are in place. When you’re ready to replace the back section of the top housing make sure you push the hinge back inside the lower housing. When you first push the hinge into the lower housing it will slide in and feel like it’s in place properly, but it most likely isn’t. Don’t be fooled! You need to push it quite hard once more after that and will go in a bit farther so that it’s nearly completely hidden inside the lower housing. Here are comparison images of the hinge in different positions:

Hinge open. Top half can be separated from lower half when in this position.

Hinge open. Top half can be separated from lower half when in this position.

Hinge not fully inside lower housing.

Hinge not fully inside lower housing.

Hinge fully inside lower housing. Halves cannot be separated. The console will now "click" open and closed like normal.

Hinge fully inside lower housing. Halves cannot be separated. The console will now “click” open and closed like normal.

Now you can replace the back part of the top screen housing. Just push the two pieces together. It’ll click into place. At this point reassembly is just the opposite of disassembly. There are guides for the ordinary 3DS and the 3DS XL isn’t much different. I would recommend that, before closing the console up, you test it by simply holding the battery in place, flipping the motherboard over, and pressing the power button with your finger.
DSCF4346

If you hear a popping noise then double check that both screens are properly connected. Also check for debris on the connectors. You don’t need to connect everything to do the test. You just need both LCDs connected. You can leave the WiFi module and analog stick disconnected when testing and the console should still power on.

Once I confirmed that everything was connected properly, I screwed the thing back together and gave it a test. I had noticed before the repair that there were parental controls on the console because when I had tried to format it I got the following screen:

oh no! what i do now?

oh no! what i do now?

The last two times I bought a locked 3DS console on eBay I had to call Nintendo and pretend to be a morbidly forgetful parent who not only forgot his PIN but also the answer to his secret question in order to get a master code. Well, that was all before neimod cracked parental controls earlier this year. No more embarrassingly bad acting! This time I was able to remove the parental controls easily and quickly in my own home. Now all is right in the world. Eventually I’ll get around to replacing the battery cover and the top housing since they’re scuffed up pretty damned badly. But for now I’m satisfied with the console being 100% functional and Gateway compatible. I put my own parental controls on it to make sure I don’t accidentally update it!

3ds xl repaired

All in all, the two consoles and the replacement housing piece probably cost me about $180 so it’s not like I saved much money. I could’ve bought a brand-new 3DS XL from 2012 with firmware ~4.3 for not much more than that. But it’s so much more fun and satisfying playing a console when you know you’re the one who saved it from the trash bin.

Cleaning stinky, pre-owned eBay headphones

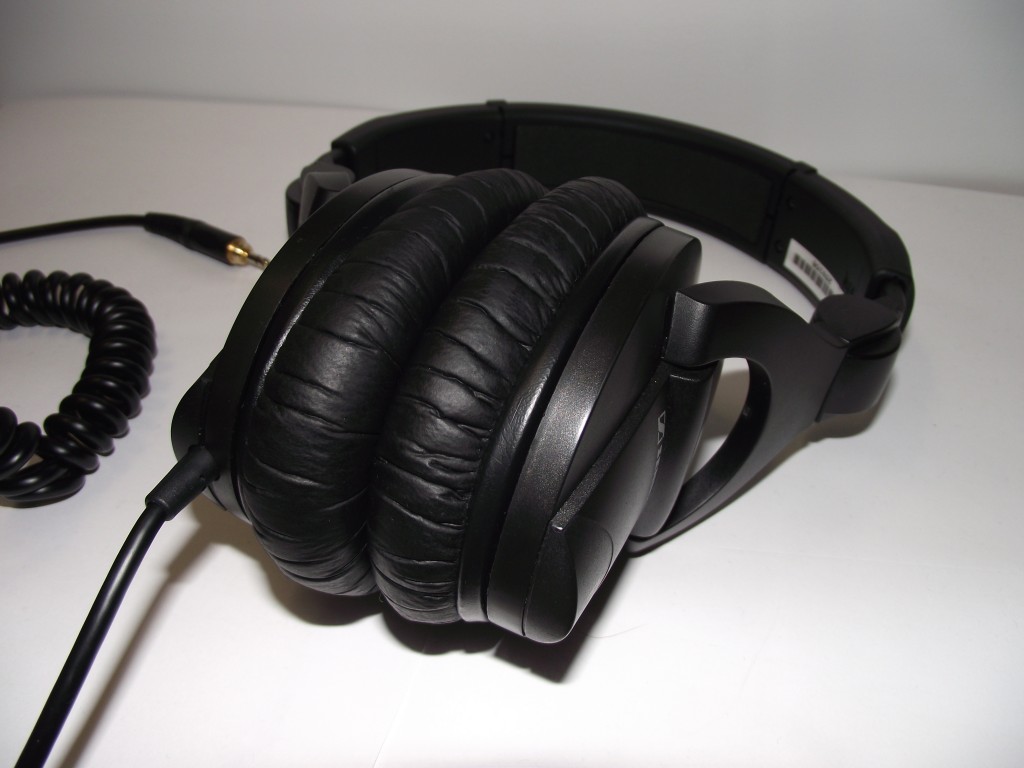
I never knew headphones could be as stinky as this pair that I bought on eBay.

I never knew headphones could be as stinky as this pair that I bought on eBay.

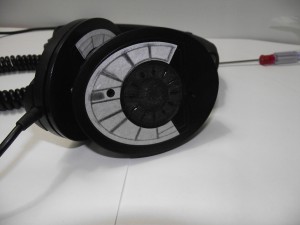
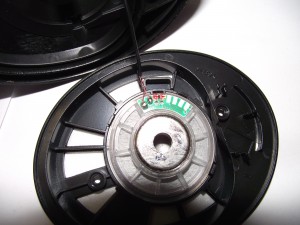
I got a great bargain on eBay, gambling on a “for parts or not working” auction. I bought a pair of Sennheiser HD 280 headphones. When I got them I disinfected them first with some Lysol and 99% isopropyl alcohol. I eagerly put them on and listened to a few songs I knew well to test them out. At first I thought, “Wow, these work just fine”. The next day, however, I noticed that the balance seemed very slightly off. The right speaker seemed just a bit weaker than the left. After checking that it wasn’t a problem with my sound card drivers I recalled that I had read somewhere that people occasionally assume they have a faulty pair of headphones when they notice a balance problem, failing to realize that it could just be that the driver has slipped out of place. I removed the pads and unscrewed the two screws underneath the right one and, sure enough, the driver had slipped out of the clip that holds it in place.
Sennheiser HD280 02Sennheiser HD280 03

It was only a few centimeters out of place so that’s why the difference was so very subtle that I didn’t notice it at first. I clipped it back in place so it was nice and snug, closed up the headphones, and then tested them, comparing them with my Sony MDR-7506. One of the most useful websites to test that your headphones are working properly is the ultimate headphones test.

After listening to these headphones for a few weeks I’m very happy to say that the only thing wrong with them was that the driver was physically out of place. The balance is now perfect.

Once I was sure that they were 100% functional my next task was eliminating the smell. The previous owner must have worn one hell of a lot of cologne, because these headphones reek of the stuff. The initial disinfection routine of Lysol and alcohol that I performed when I first took them out of the box was nowhere near enough. I tried using a bit more alcohol and cleaned the pads with a cotton ball but it didn’t help too much either. These things were soaked through and through with a powerful cologne stench.

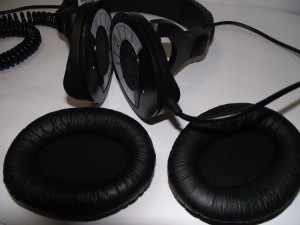
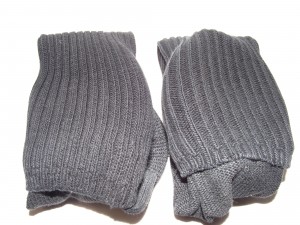
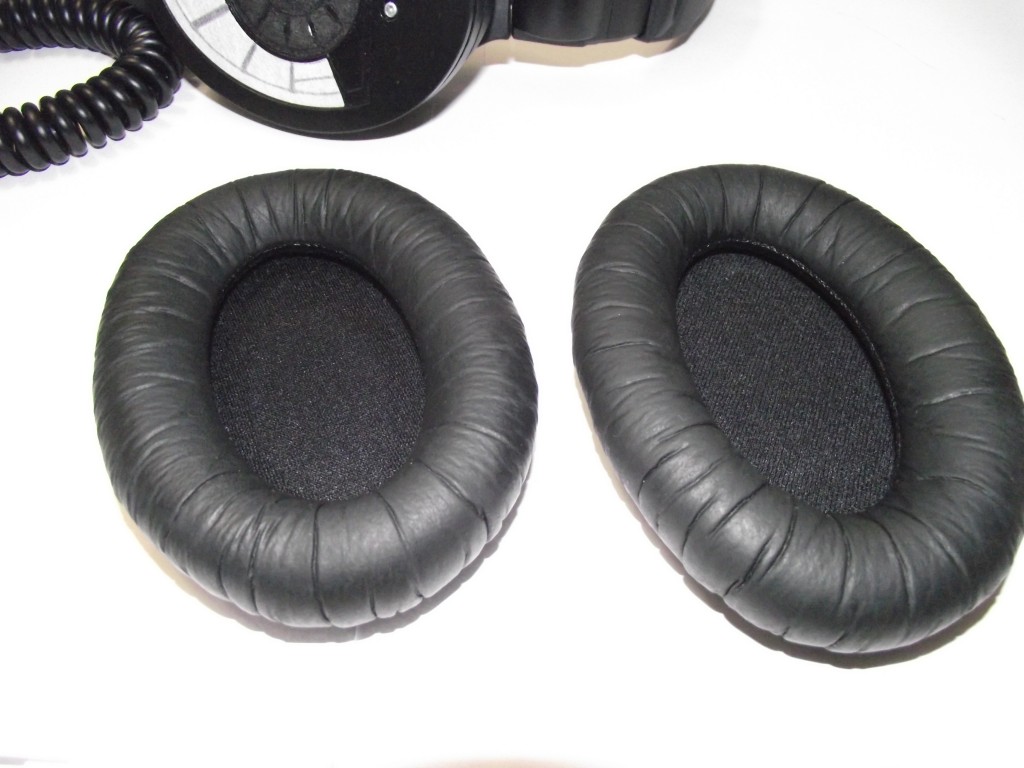
The pads are actually very easy to remove. I had trouble figuring it out at first, but all you have to do is pull them out from the groove surrounding the earpiece into which they’re tucked. They’re quite sturdy so they won’t break even if you stretch them a bit. Once I removed them I decided I would simply put them in the laundry. I wrapped them up individually in some clean socks so that they wouldn’t get damaged in the washer or scorched in the dryer.

Sennheiser HD 280 padsDSCF4268

I put them in the washer with the rest of my clothes. I considered washing them separately to avoid the risk of them getting snagged on a zipper or something and getting misshapen, but I figured the socks would protect them well enough. I used the “bright colors” setting on a Maytag commercial washer. It uses cold water. I used ordinary detergent and nothing else. When they were done I put them in the dryer along with the rest of my clothes on the normal setting. Again, I felt there was no need to use the “delicate” setting since they were protected by the socks. When I took them out of the dryer they were undamaged, but they still stunk pretty badly. They were also still a bit wet. I knew I had to take more drastic measures.

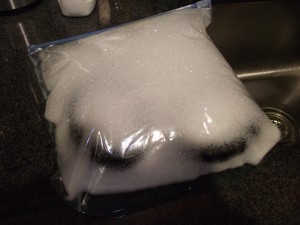
It was then that I remembered when I had bought a liquid-damaged DS Lite console that also stunk to high heaven of whatever liquid the console had come into contact with. I had also tried alcohol, Fantastik, Lysol, and even Febreze to clean the stench from the housing of that console but all to no avail. The housing had been in very nice condition so I wanted to salvage it. I then had the bright idea of submerging the housing completely in dishwashing soap. This was an old trick of mine that I’ve used for years to clean keyboards. You remove all the keys and put them in a Ziploc bag. You then squeeze in a generous dollop of dishwashing soap and fill it about halfway to the top with warm water. You don’t want to use water that’s too hot because you could warp the plastic of the keys. You then zip up the bag and shake it vigorously until your arms get too tired to continue and you let it sit for a half hour or longer before rinsing and drying the keys.

washing headphone padsDSCF4287

So I gave it a shot. I used a massive amount of green Palmolive dishwashing soap and placed the pads inside. I shook it up, let it sit, and then after about 30 minutes removed the pads and rinsed them a bit. I then figured I’d put them back in the washing machine for a second spin to get the dishwashing soap out. Since the pads hadn’t dried very well the last time when they had been wrapped up in socks I put them inside pillowcases this time, on the theory that, since the pillowcases were much thinner than the socks they wouldn’t hinder the drying process as much but they’d still protect the pads from scorching.

After leaving them in the dryer for an hour I took them out and they were still dripping wet. Fed up, I removed them from the pillowcases and put them in for a second hour-long cycle completely unprotected. When I took them out they were almost completely dry. They weren’t scorched or damaged at all. I let them sit overnight to dry out completely and now the stink is nearly imperceptible. If I really get my nose in there I can still faintly smell the cologne, but I feel that this is good enough.

Now nearly stink-free!

Now nearly stink-free!

I bought this (almost) brand new 40 inch LCD TV for $78

I've had this Coby TFTV4028 TV for a few months now.

I’ve had this Coby TFTV4028 TV for a few months now.

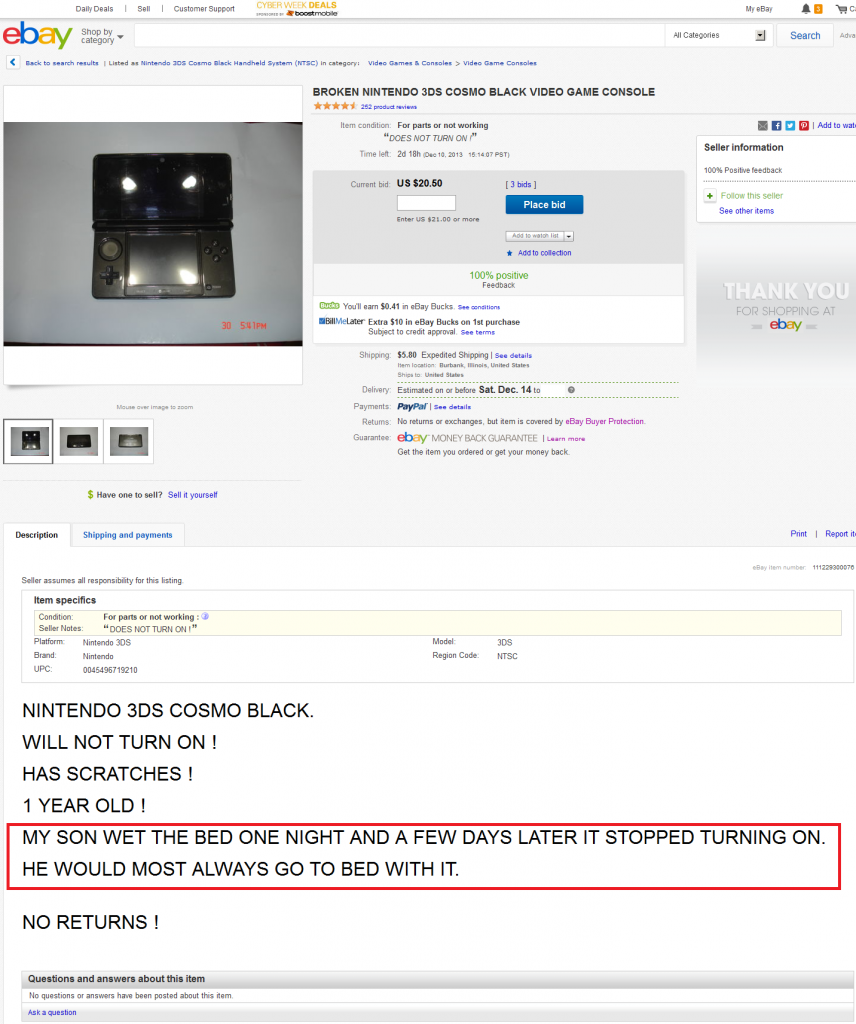
Sometimes gambling on those “parts or not working” eBay auctions pays off. The damnedest thing is that, from what I gather, this was a store return. It’s still under warranty though, which means that even if it were broken, the original owner should have been able to get it repaired or replaced for free. He or she would have had no reason to sell it.

There’s not a single scratch on the screen at all. The only cosmetic imperfection is a scuff on the lower left corner of the bezel.

The TV does have an iffy power supply. It sometimes won’t come out of standby mode. If I take the back off the TV, unplug the motherboard from the power supply for a few seconds, and then plug it back in it usually starts working again and will last for weeks or longer as long as I leave the TV plugged in and don’t have any electrical outages. If it loses electricity for even a second, it’s likely to get stuck in standby mode again and I either have to leave it unplugged from the wall for anywhere from several hours to several days or unplug the motherboard from the power supply again to get it work. It’s not much of a problem though since I don’t plan on moving/unplugging it any time soon.