This is a story of a teensy-weensy victory that has really put me in a good mood. I am way more proud of this than I ought to be because it’s really a very minor accomplishment that anybody with a small drill and the ability to read instructions can do, but these days even tiny little moments like these in which things all come together in a fulfilling way are very rare for me.
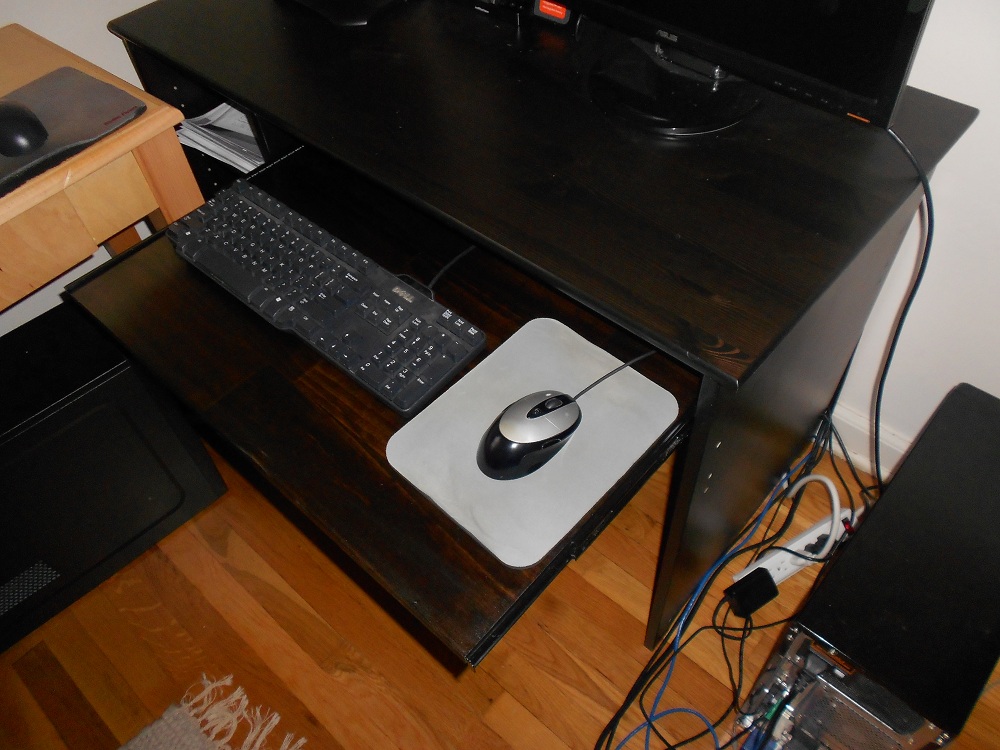
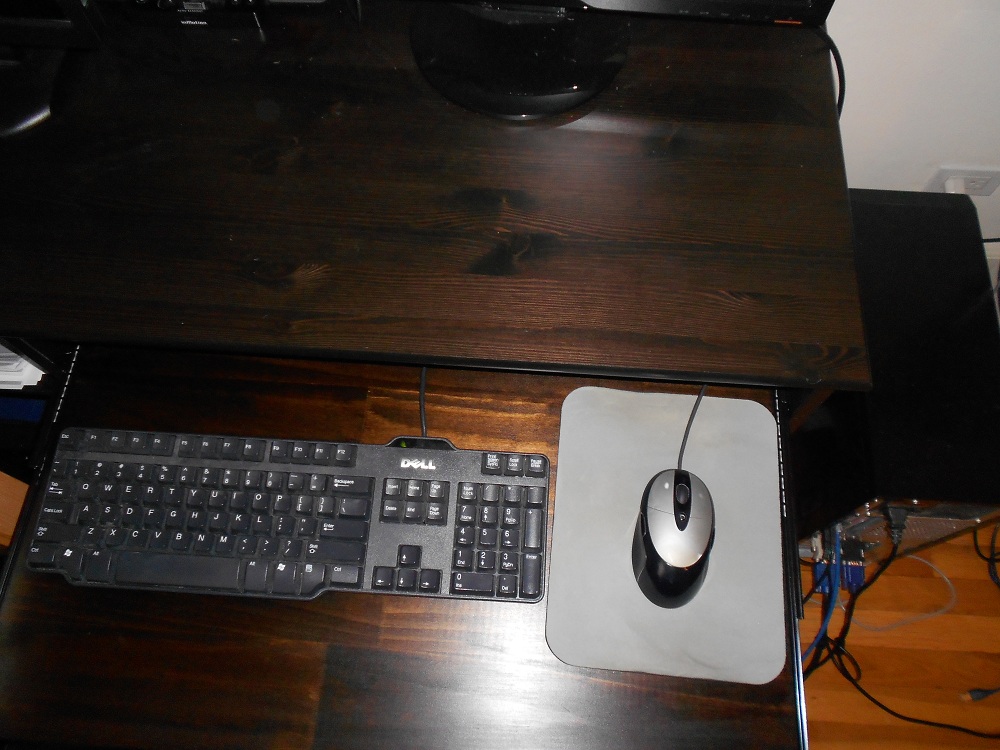
I always thought I had rather modest requirements for a computer desk, but it looks as though I was wrong. Ordinarily I’ve got the left side of my computer desk up against a wall with one computer partially underneath the left side of the desk, more or less up against the wall. Because of this setup, I always sit at the right side of the desk. That’s why I like to have the keyboard tray on the right side of my desk. Either that, or a keyboard tray that extends from one side of the desk all the way to the other side.
I had to replace my desk since it was ruined during Sandy. I thought it would be easy to find a desk with a keyboard tray on the right but it was surprisingly difficult. I found a few but none of them had any shelves or drawers or any other sort of storage space. I prefer a desk with either a couple of shelves or drawers to store cables and adapters and miscellaneous things like that.
I finally had the bright idea of buying a desk with storage features that I liked and then adding a keyboard tray myself. This was bold on my part, because I’m not someone you could ever call “handy”. I decided on the $99 IKEA Vallvik. It has shelves that you can choose to put either on the left or the right. It’s also just about the perfect width for a keyboard tray and it’s made of solid pine instead of that honeycomb stuff some IKEA products are made of, so I was pretty certain that the screws would hold in place well enough. Here’s the desk before I began my little project:
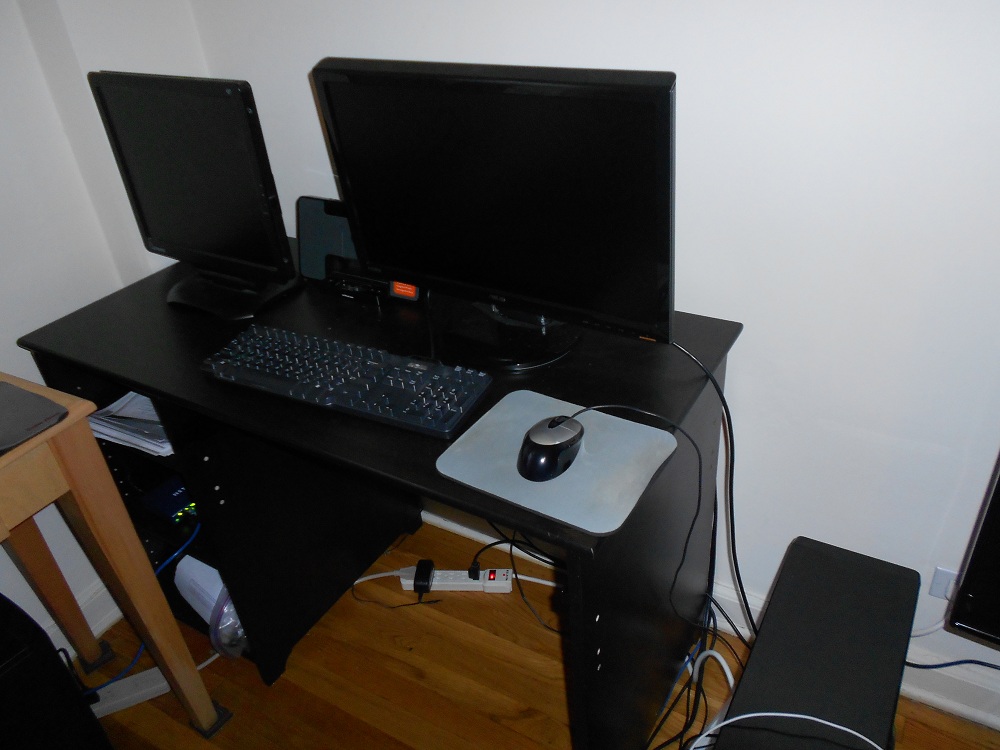
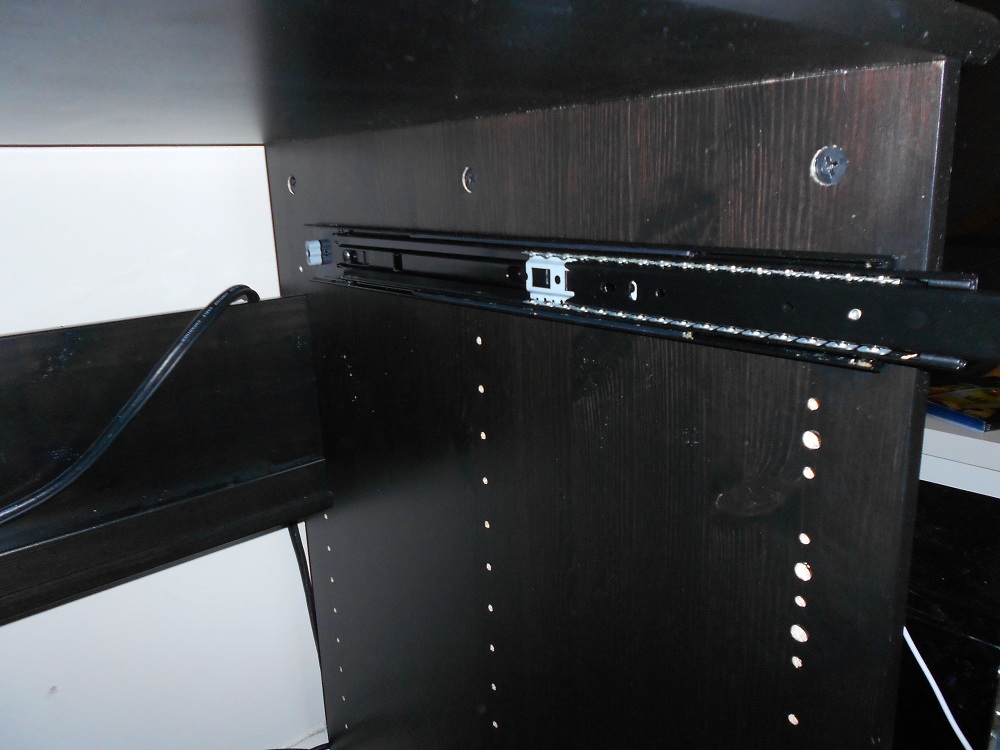
I had a look online at some ready-made keyboard trays but I didn’t like the idea that they wouldn’t run the full length between the shelves at the left and the right side of the desk. I wanted my keyboard tray to span that entire space. So I bought a set of 18-inch side-mount drawer slides (Fulterer 5000) and mounted them under the desk. I thought it was neat that these drawer slides come in different colors. I bought the black ones to match the desk.
I was super lazy and didn’t even remove the stuff from my desk while installing these. That didn’t turn out to be a problem, though it sure was difficult installing them alone. I ended up stacking a bunch of books on the floor to hold the slides up while I drilled some holes to screw the slides in. If I had somebody to hold the slides for me I would have finished in much less time and I wouldn’t have bumped my head on the underside of the desk nearly as many times as I did. The best way to do this would have actually been to disassemble the desk and lay the two side pieces in which the drawer slides get installed flat on a table.
The next step was to measure the distance my keyboard tray would need to be. According to the instructions for the drawer slides:
Check that the side clearance between drawer and cabinet side
is at least 12.7mm (1/2in.) on each side. Maximum allowable
clearance is 13.5mm (17/32 in.)
The distance from one side of the desk to the opposite was 28 inches. 28 inches minus two halves of an inch is 27 inches. So I got a board 27 inches long. The other two dimensions don’t matter too much as long as the board is not so wide that it doesn’t fit under the desk and not so thick that it looks silly.
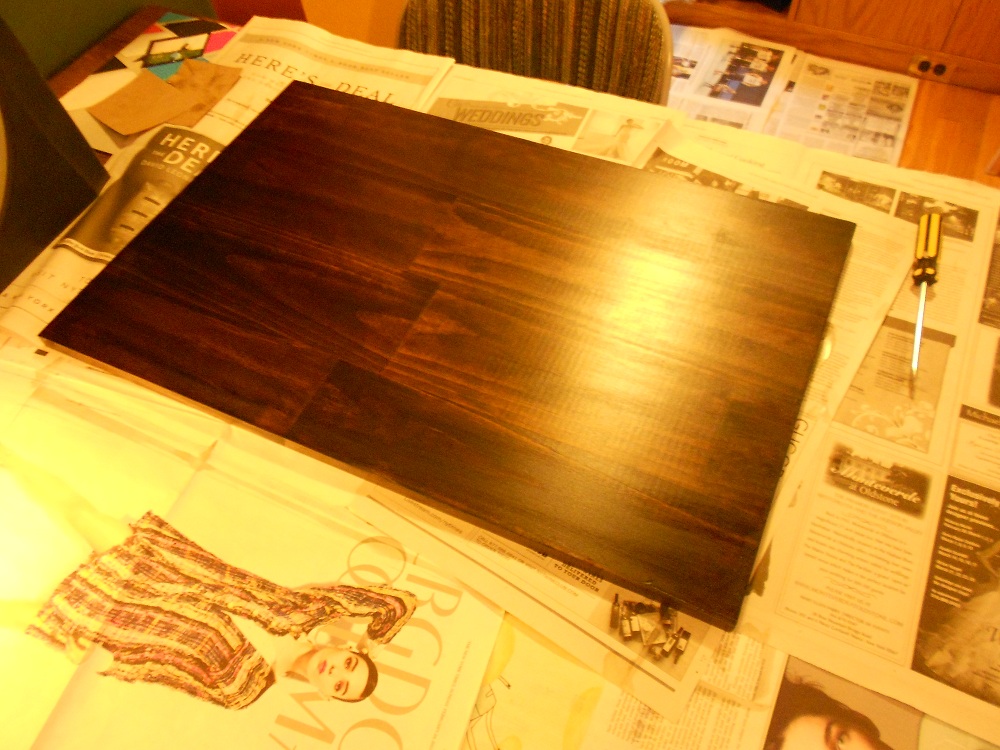
So I got a board 27x18x1 inches. It was unfinished pine so it was a very light color, similar to the color of the table in the far left side of the first picture on this page. It would have looked lousy if I installed it as-is. So I got “Minwax Dark Walnut 2716” wood stain and a polyurethane finish. I followed the directions on the can and did 2 coats of the stain, allowing 4 hours drying time between each, followed by 2 coats of the finish, letting it dry 24 hours between each coat of finish. Now my board is a work of art.
All in all, it took 4 days of on-and-off staining, finishing, and drying before the board was ready for installation. I probably would have been just fine without waiting the full 24 hours for each coat of finish, but I wasn’t in any hurry so I was happy to wait.
Again, it would have been much easier to have somebody hold either the board or the slide while attaching the “drawer profile” pieces, but I managed to get it done myself with only a few minor splinters. Thank goodness I sanded that thing so well beforehand or else I might have bled to death.

