
Well, have maybe you’re a swamp dwelling slimelord, like the previous owner of this console.
The above is about average for consoles I receive. I’ve seen much worse, but it never ceases to surprise me how much dirt can accumulate inside consoles that look to be in decent cosmetic condition externally. This is the first time I had the idea to actually photograph it though. I doubt most people realize how much material gets transferred from their hands to the console and becomes trapped inside when they fail to wash their hands before playing.
I always clean beneath the shoulder buttons before selling a used console. I used to only do this for liquid-damaged consoles, but I’ve noticed it’s often necessary even on consoles that look like they’ve been taken care of responsibly. So now I don’t even bother testing the shoulder buttons first to see if they need it. I just assume they do and clean them.
Unresponsive shoulder buttons are almost always due to dirt accumulation. It’s really amazing what slobs people are. Fortunately, cleaning the shoulder buttons is very quick and easy, so even destitute mud farmers like the people who let this happen to their consoles can fix it themselves.
The left and right sides are pretty similar, so I only took photographs of the right side to show the process.
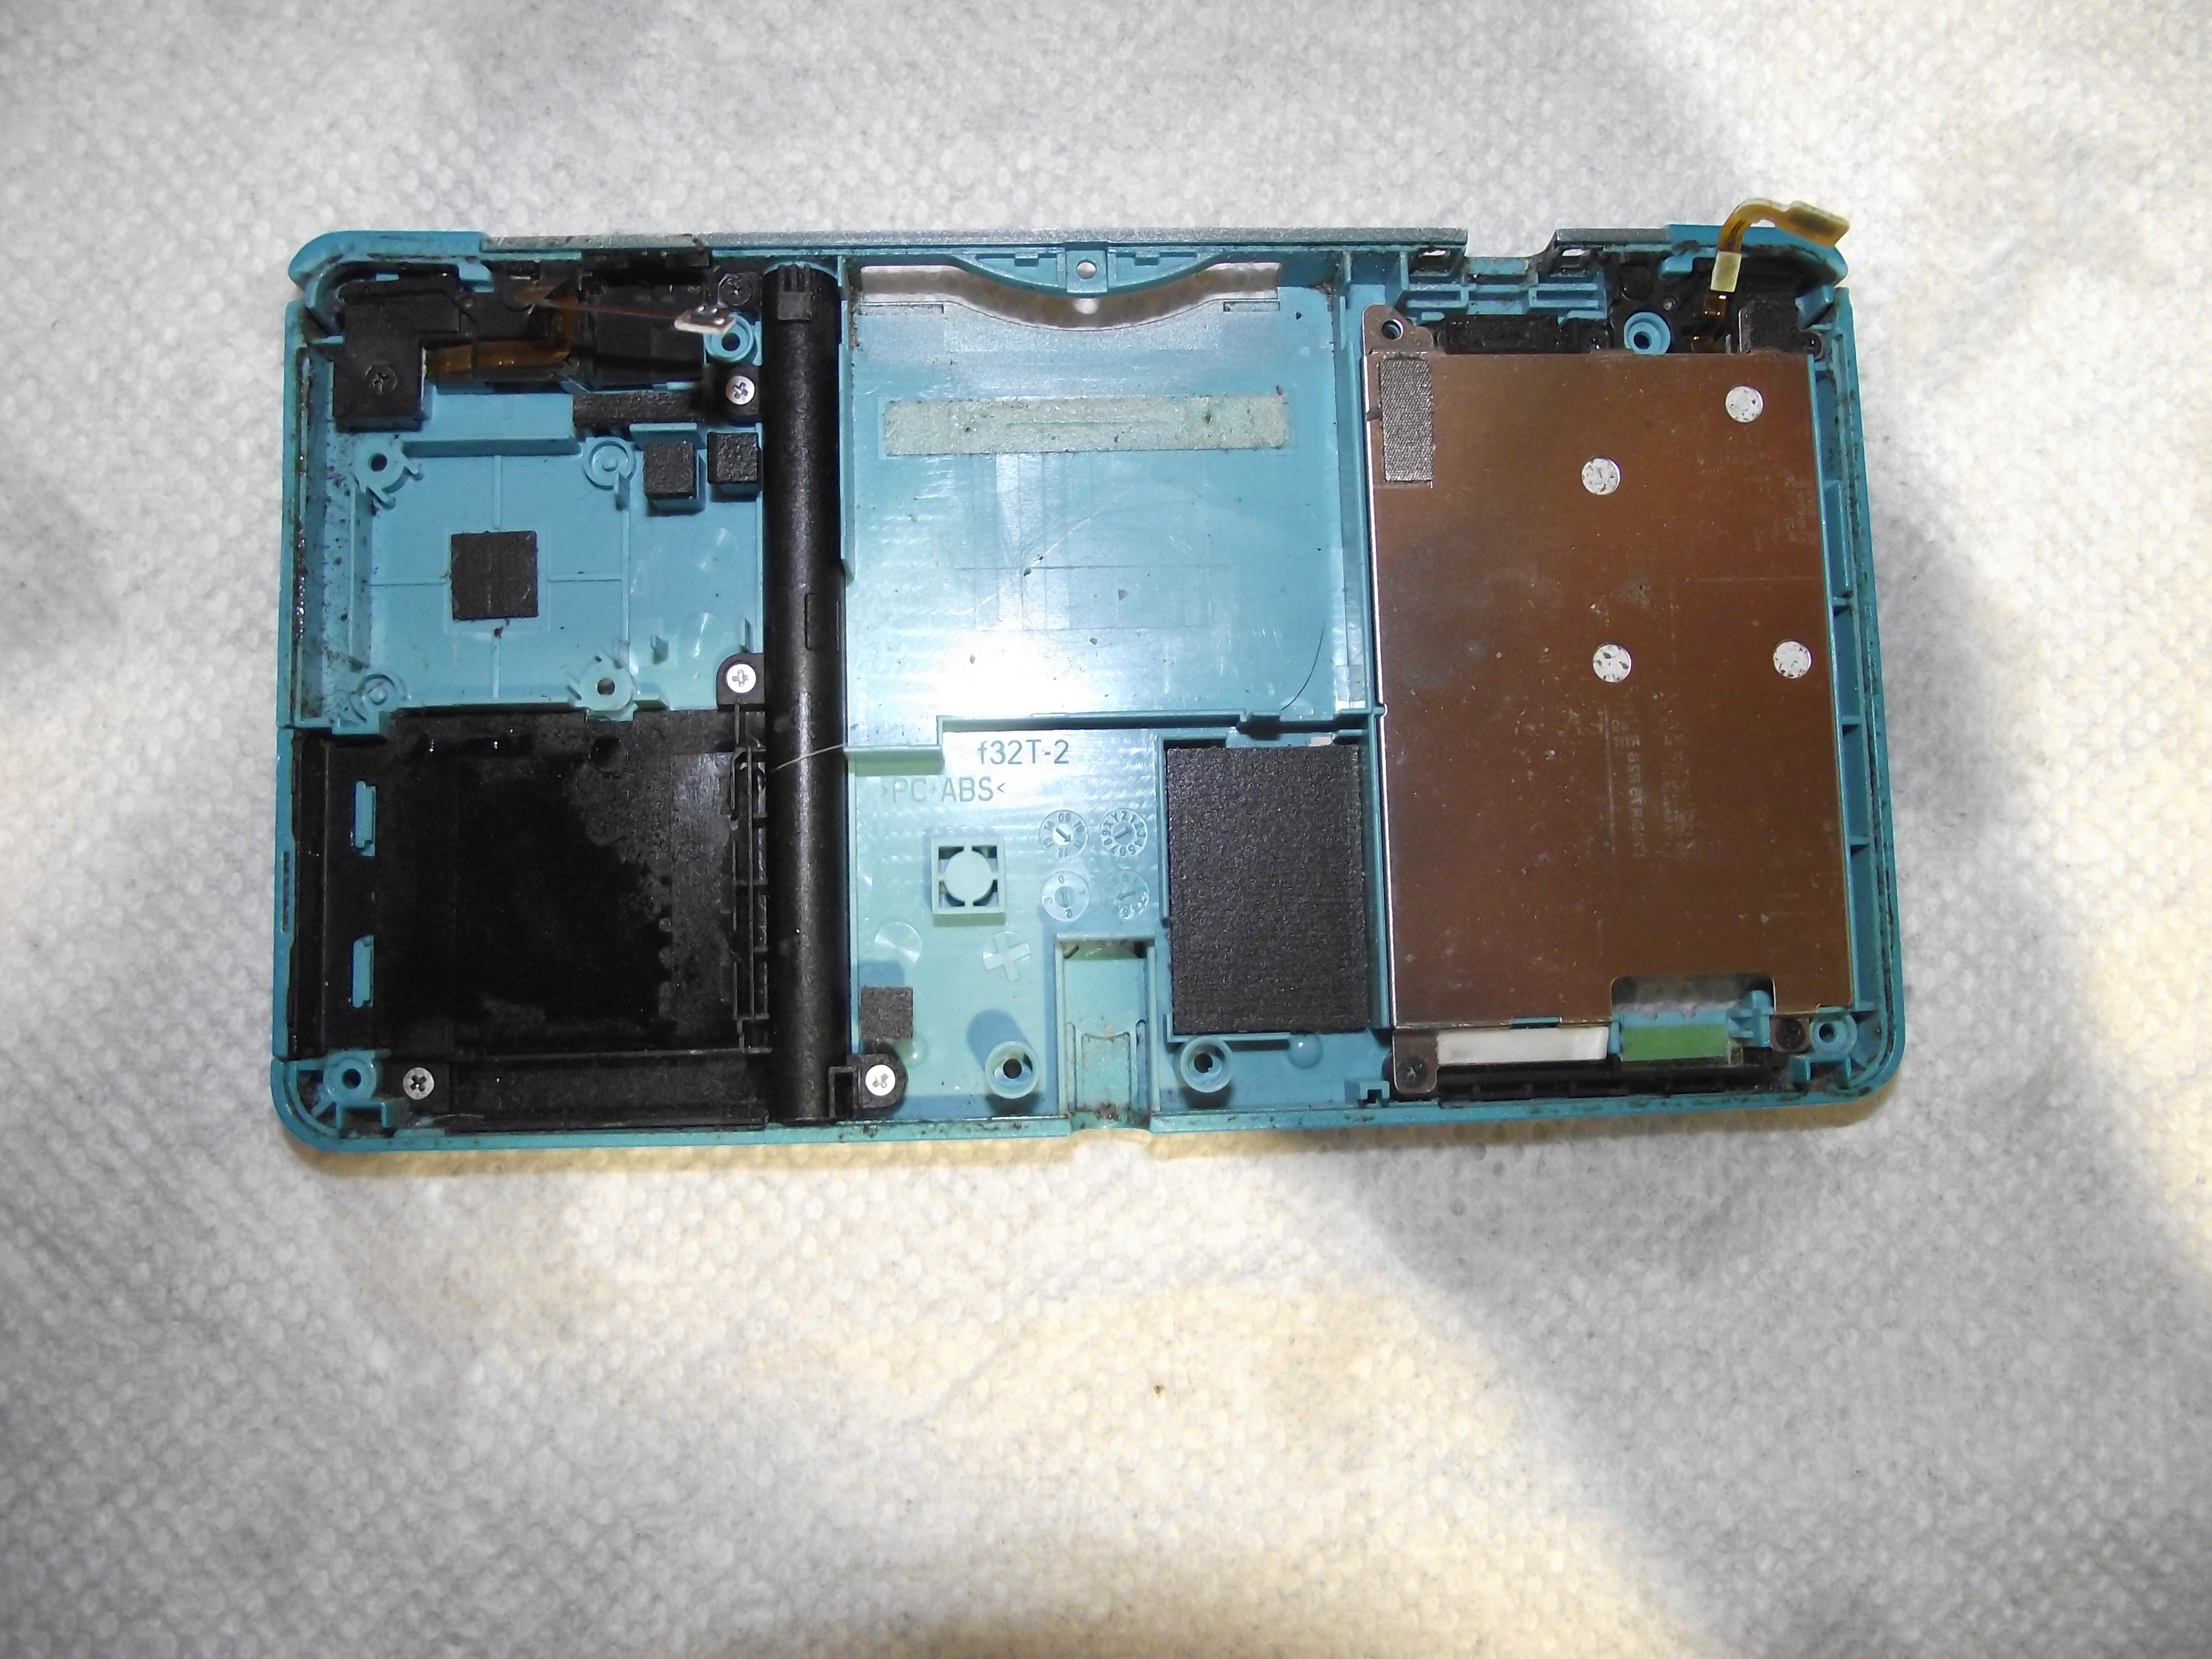
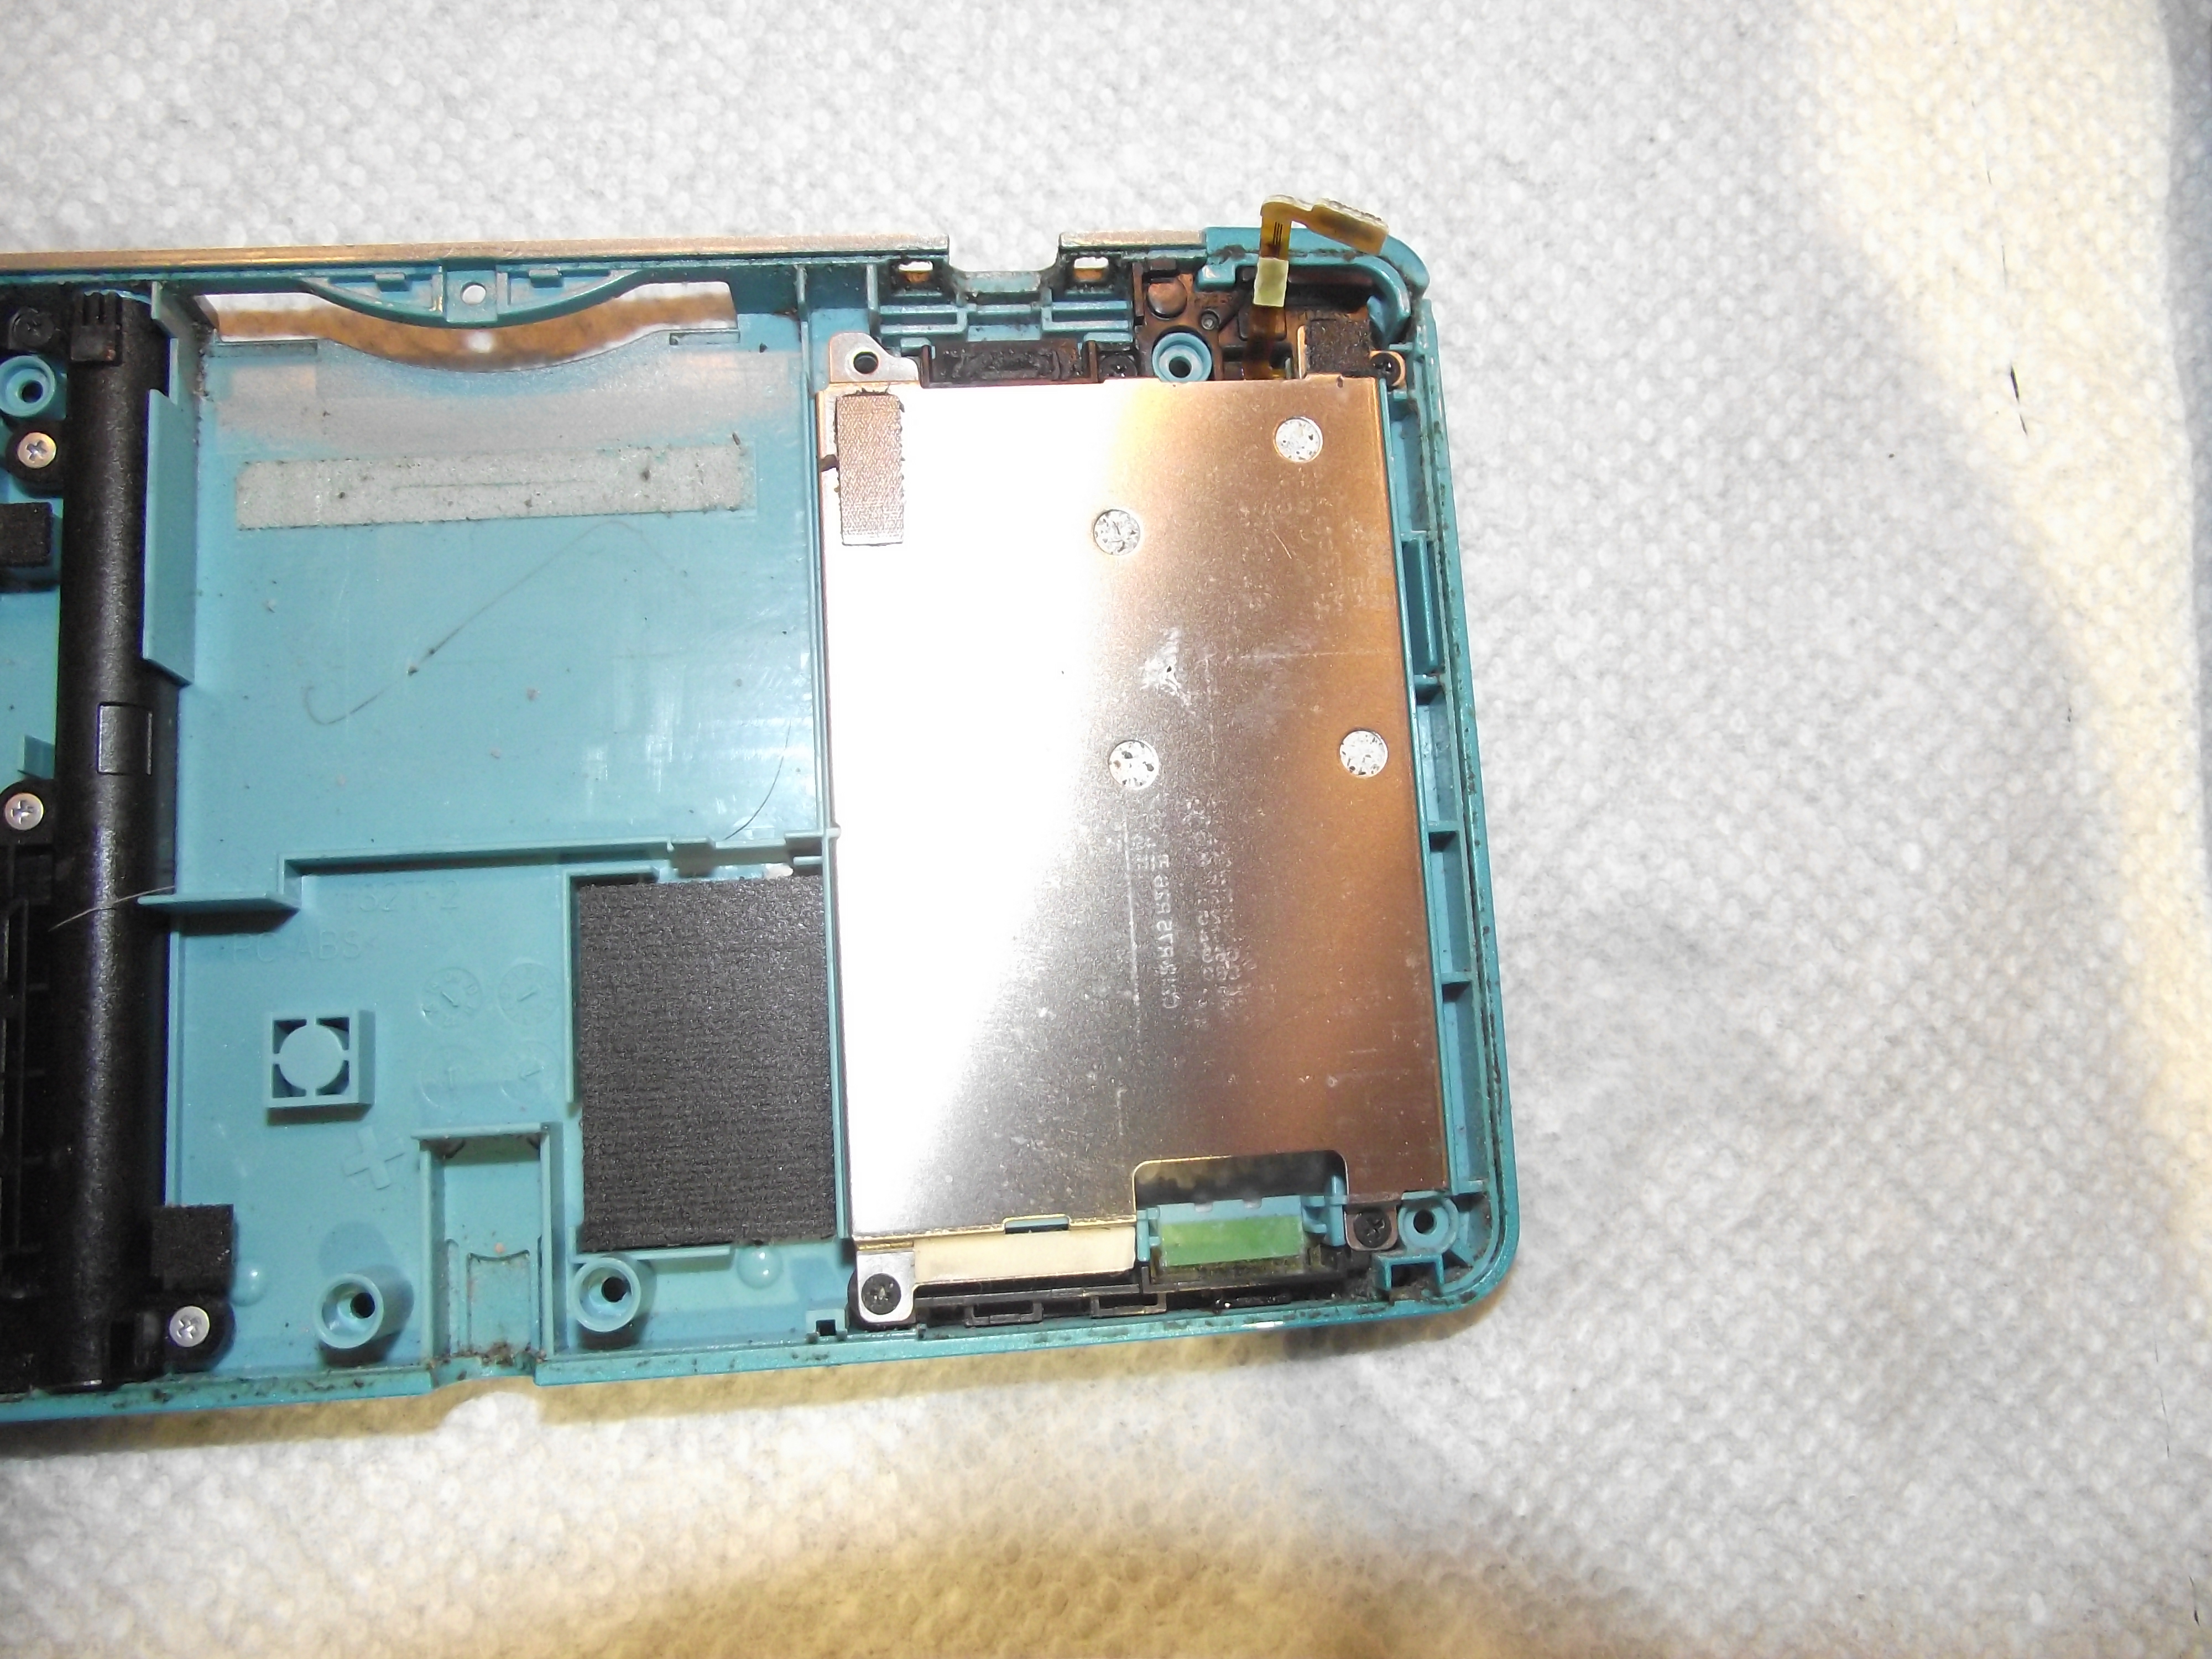
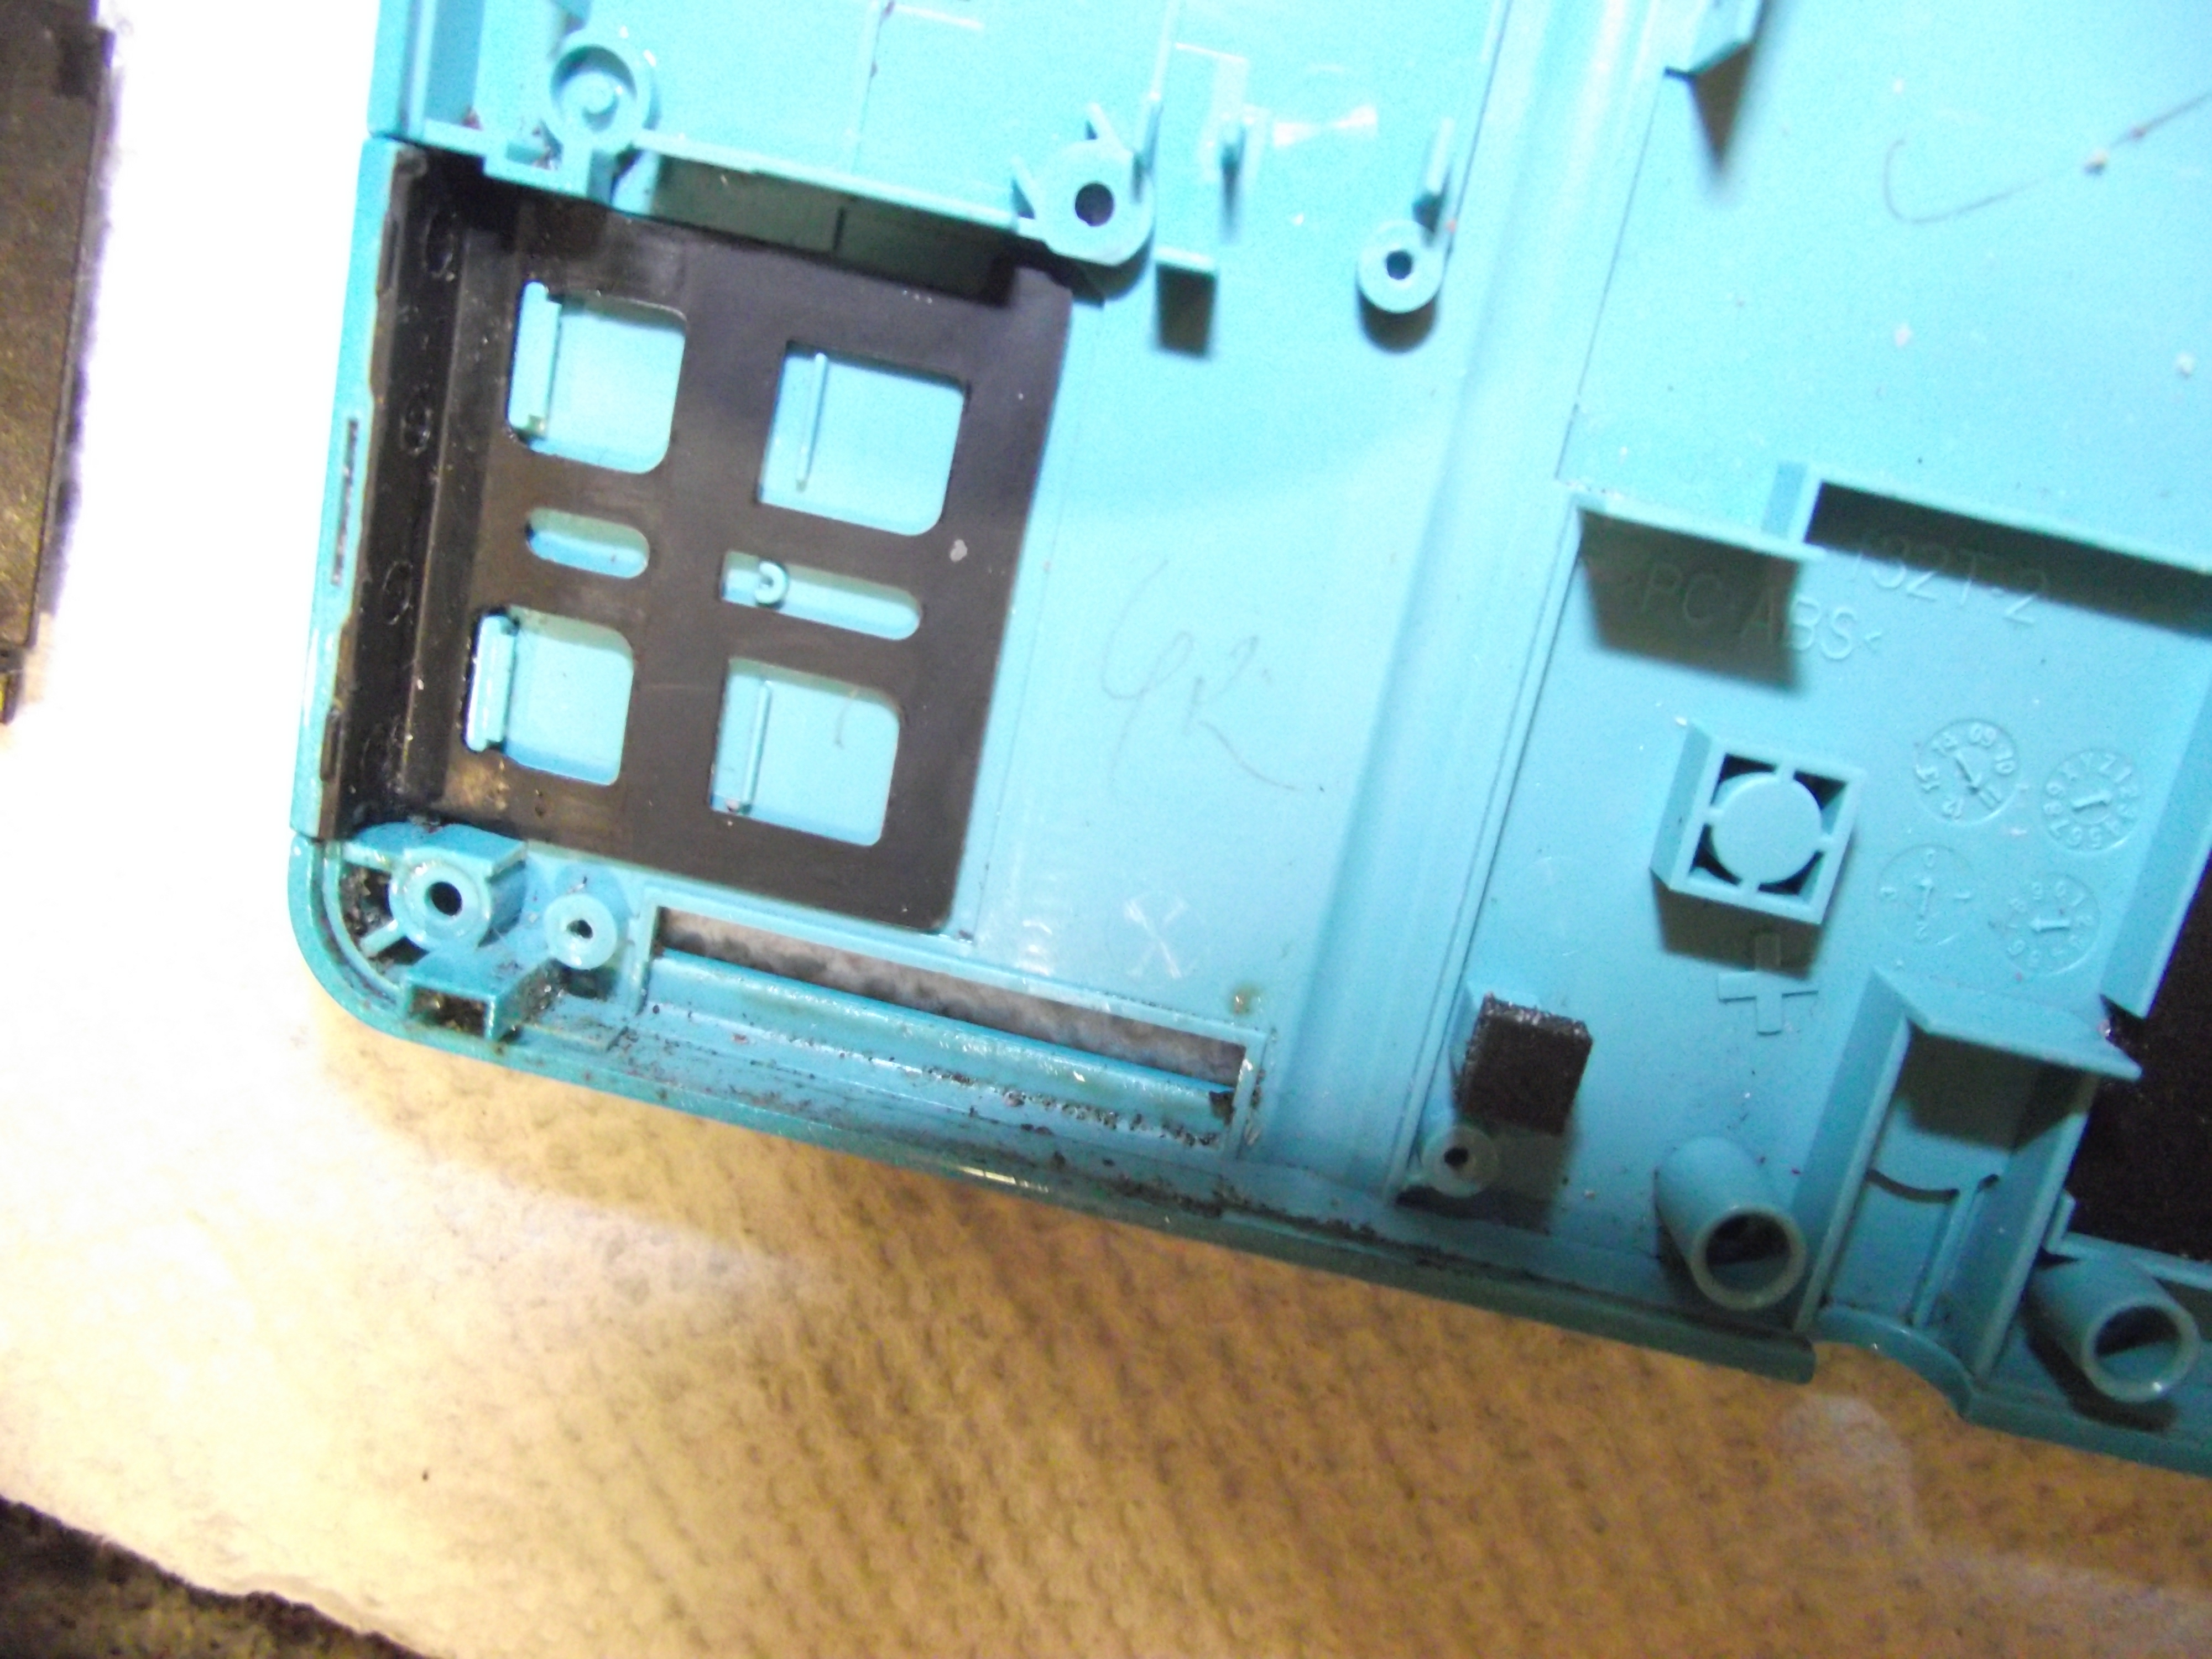
 This is what we will be contending with on the right side.  The left is not much better. |
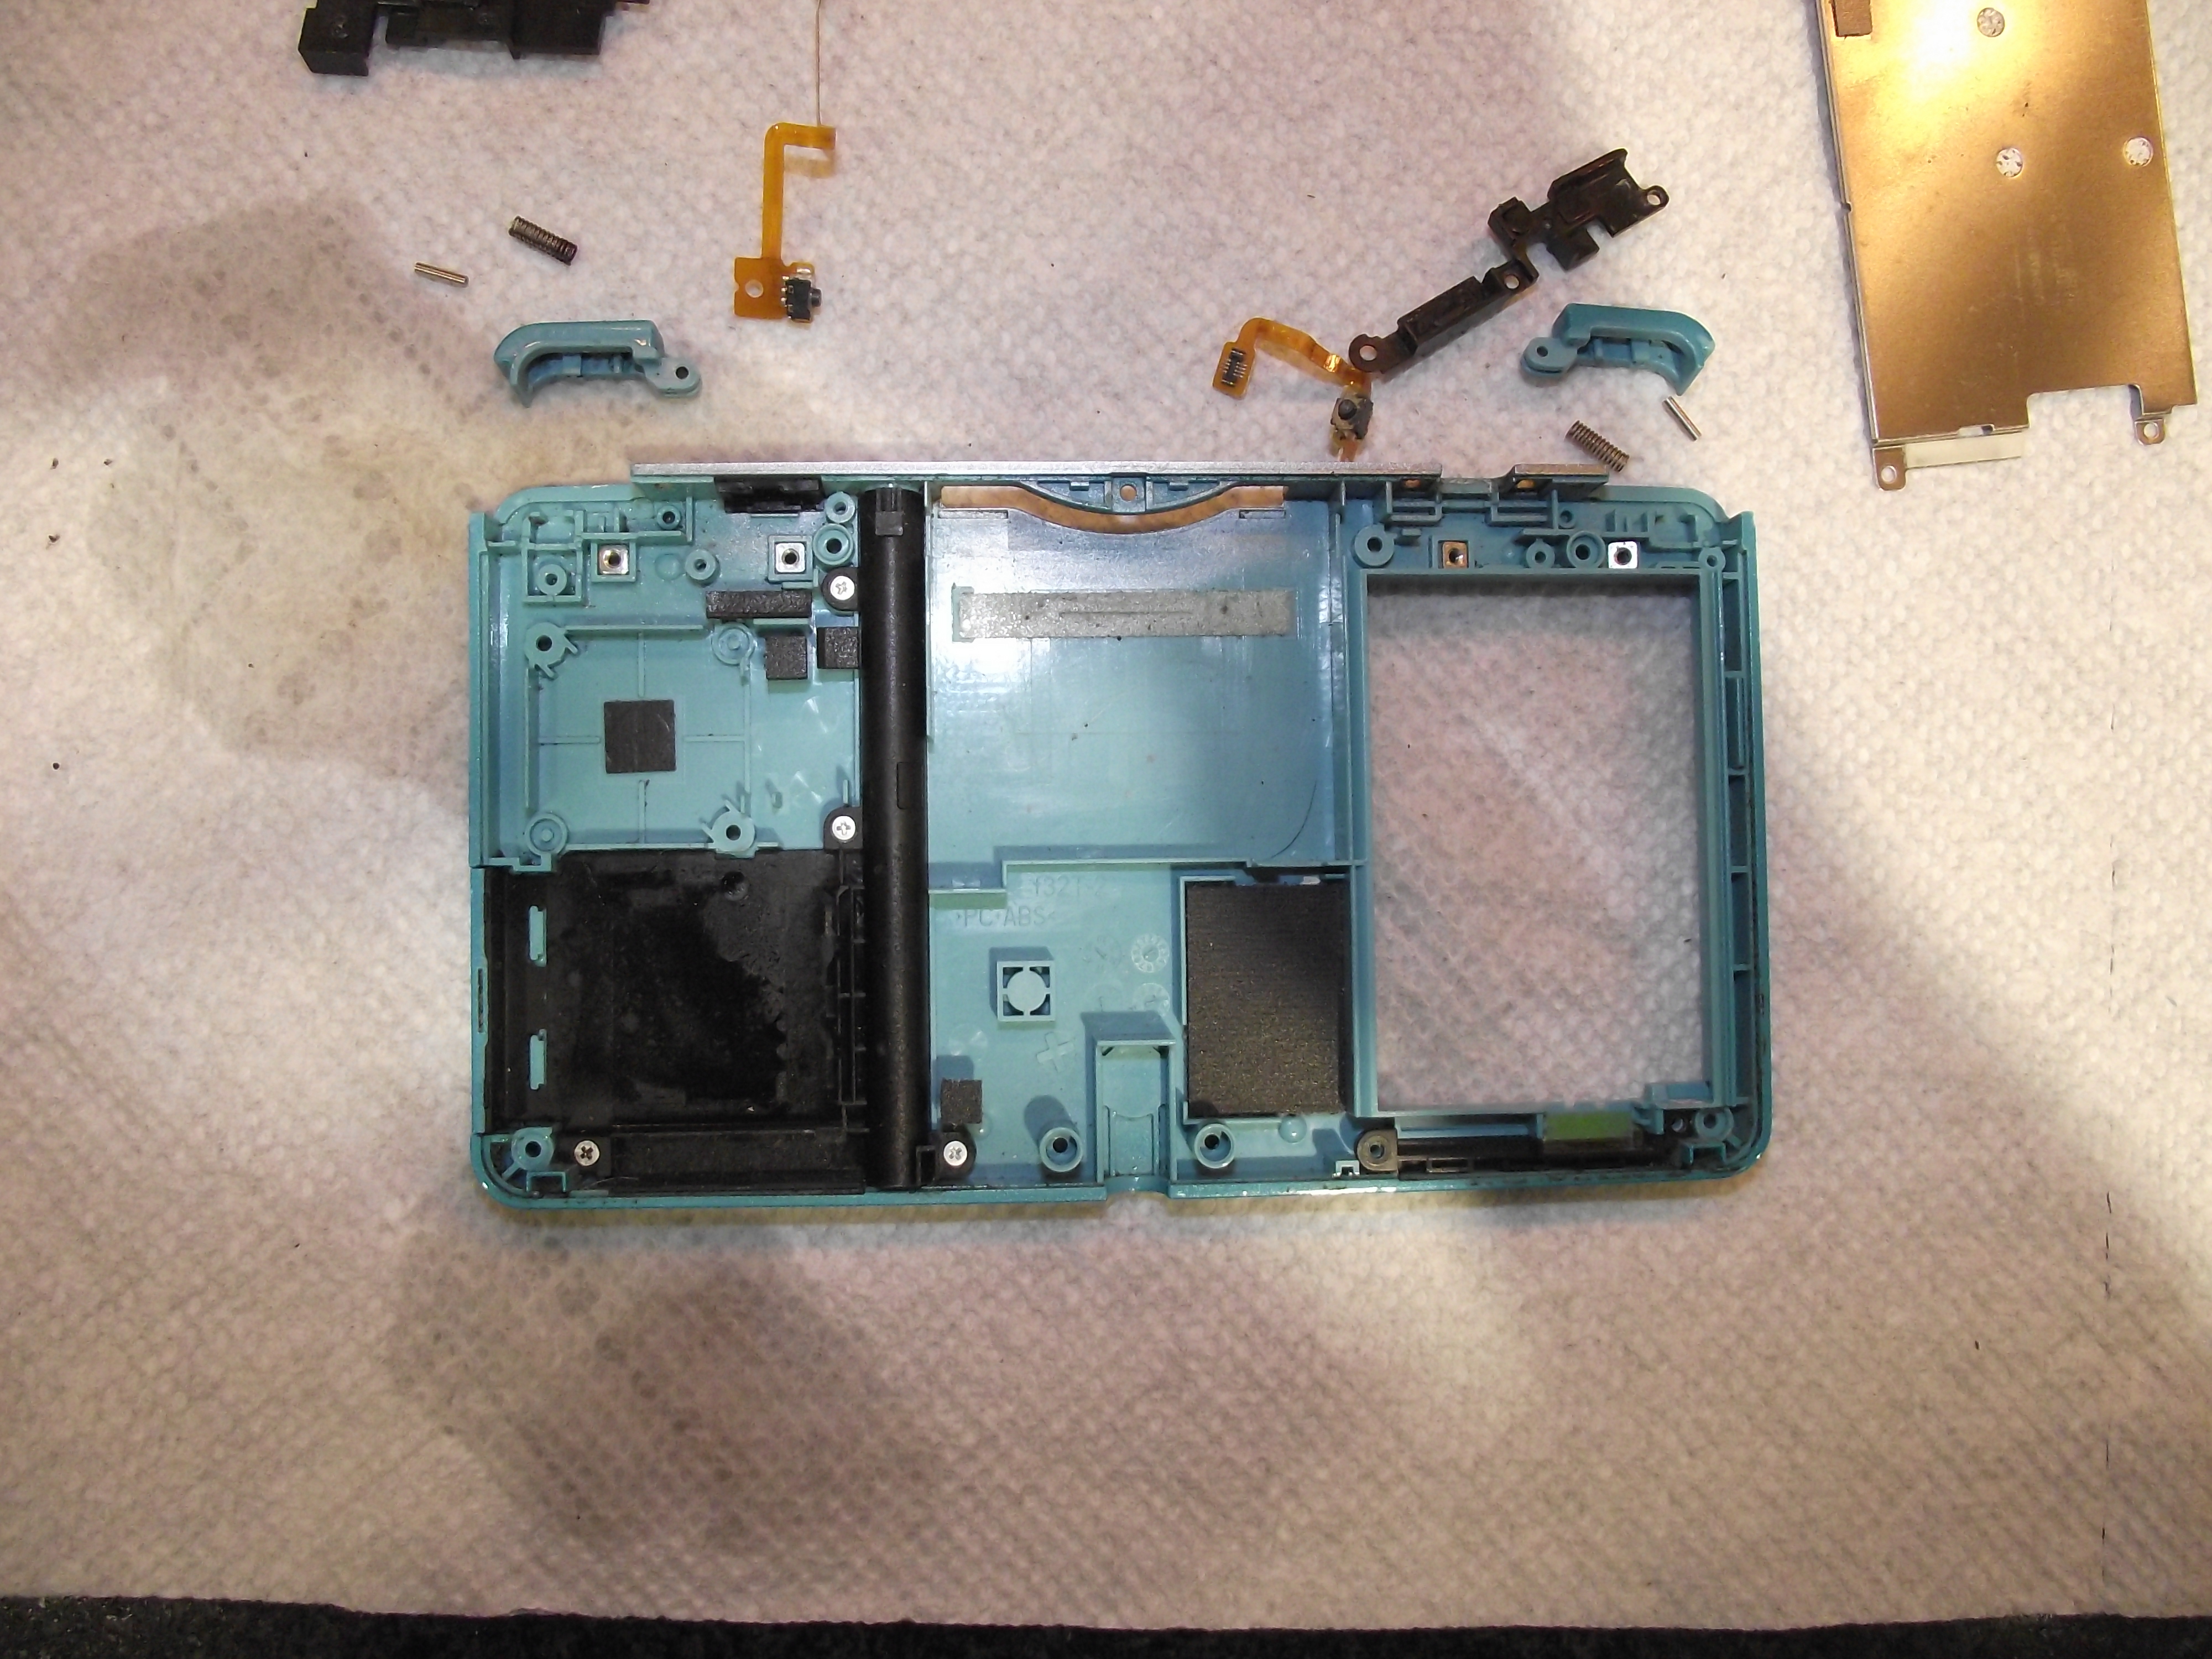
 First we remove these four black screws. On some consoles there will be only three.  Now we life the plate off and set it aside. |
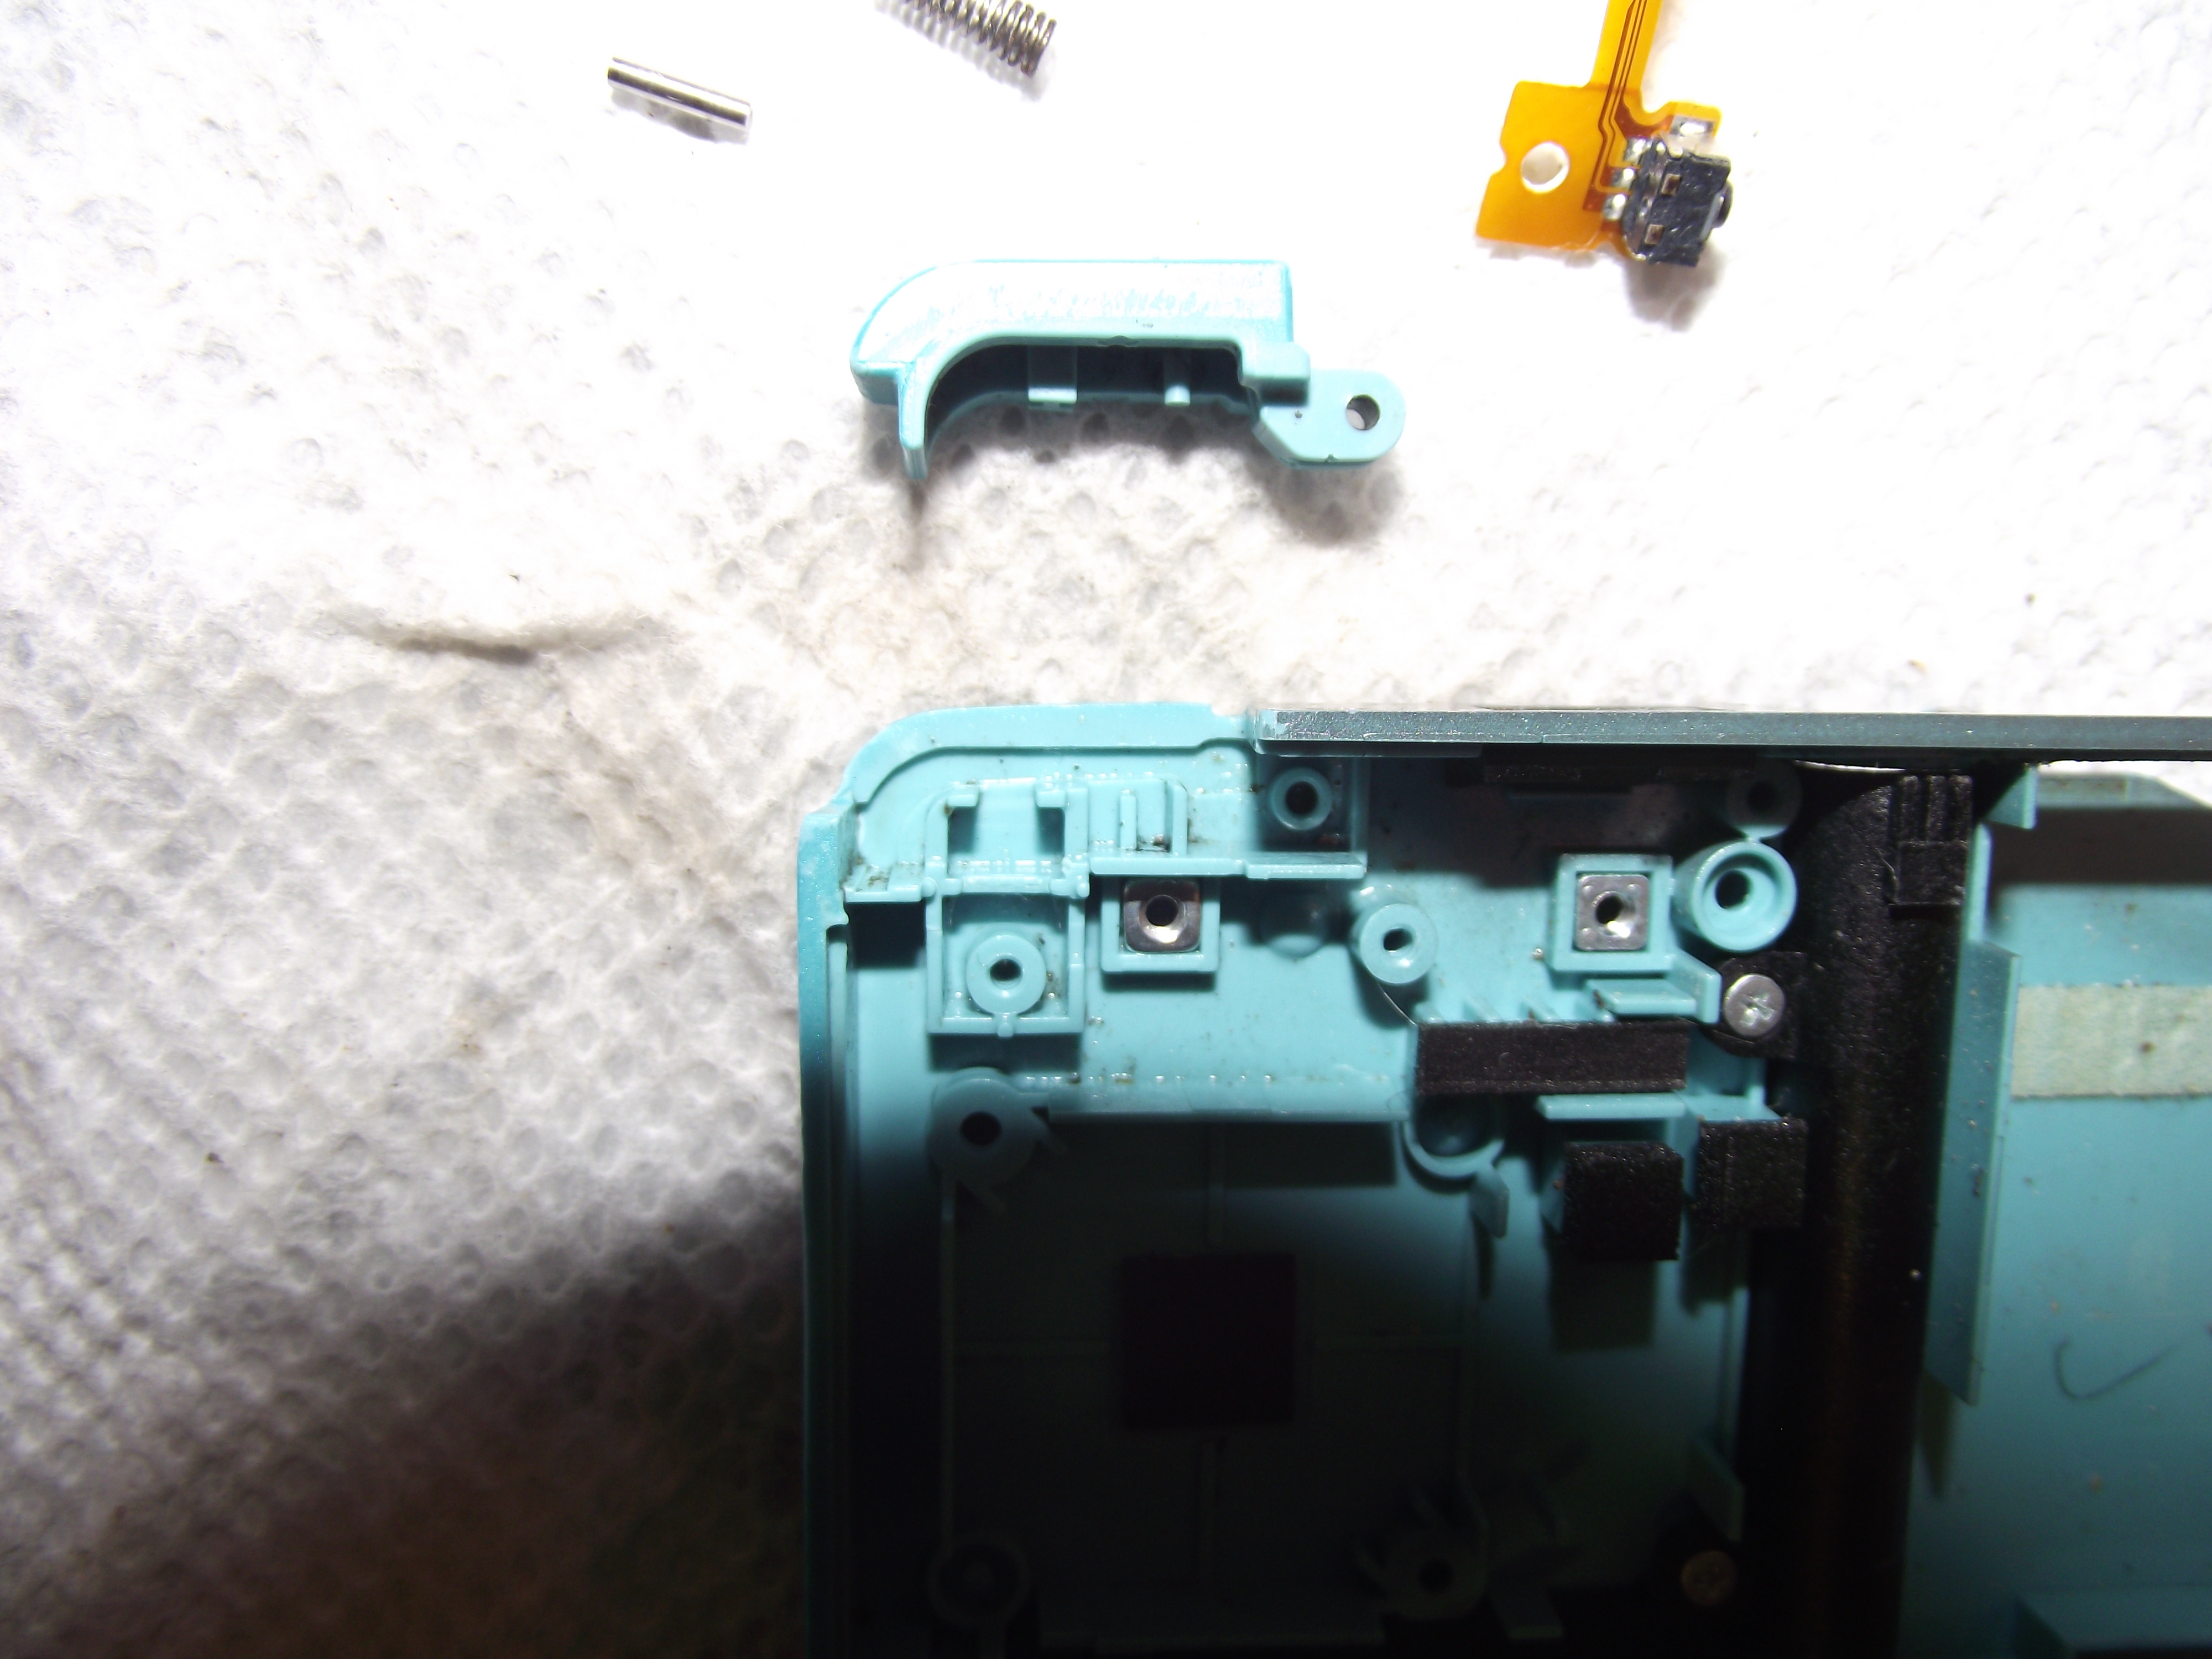
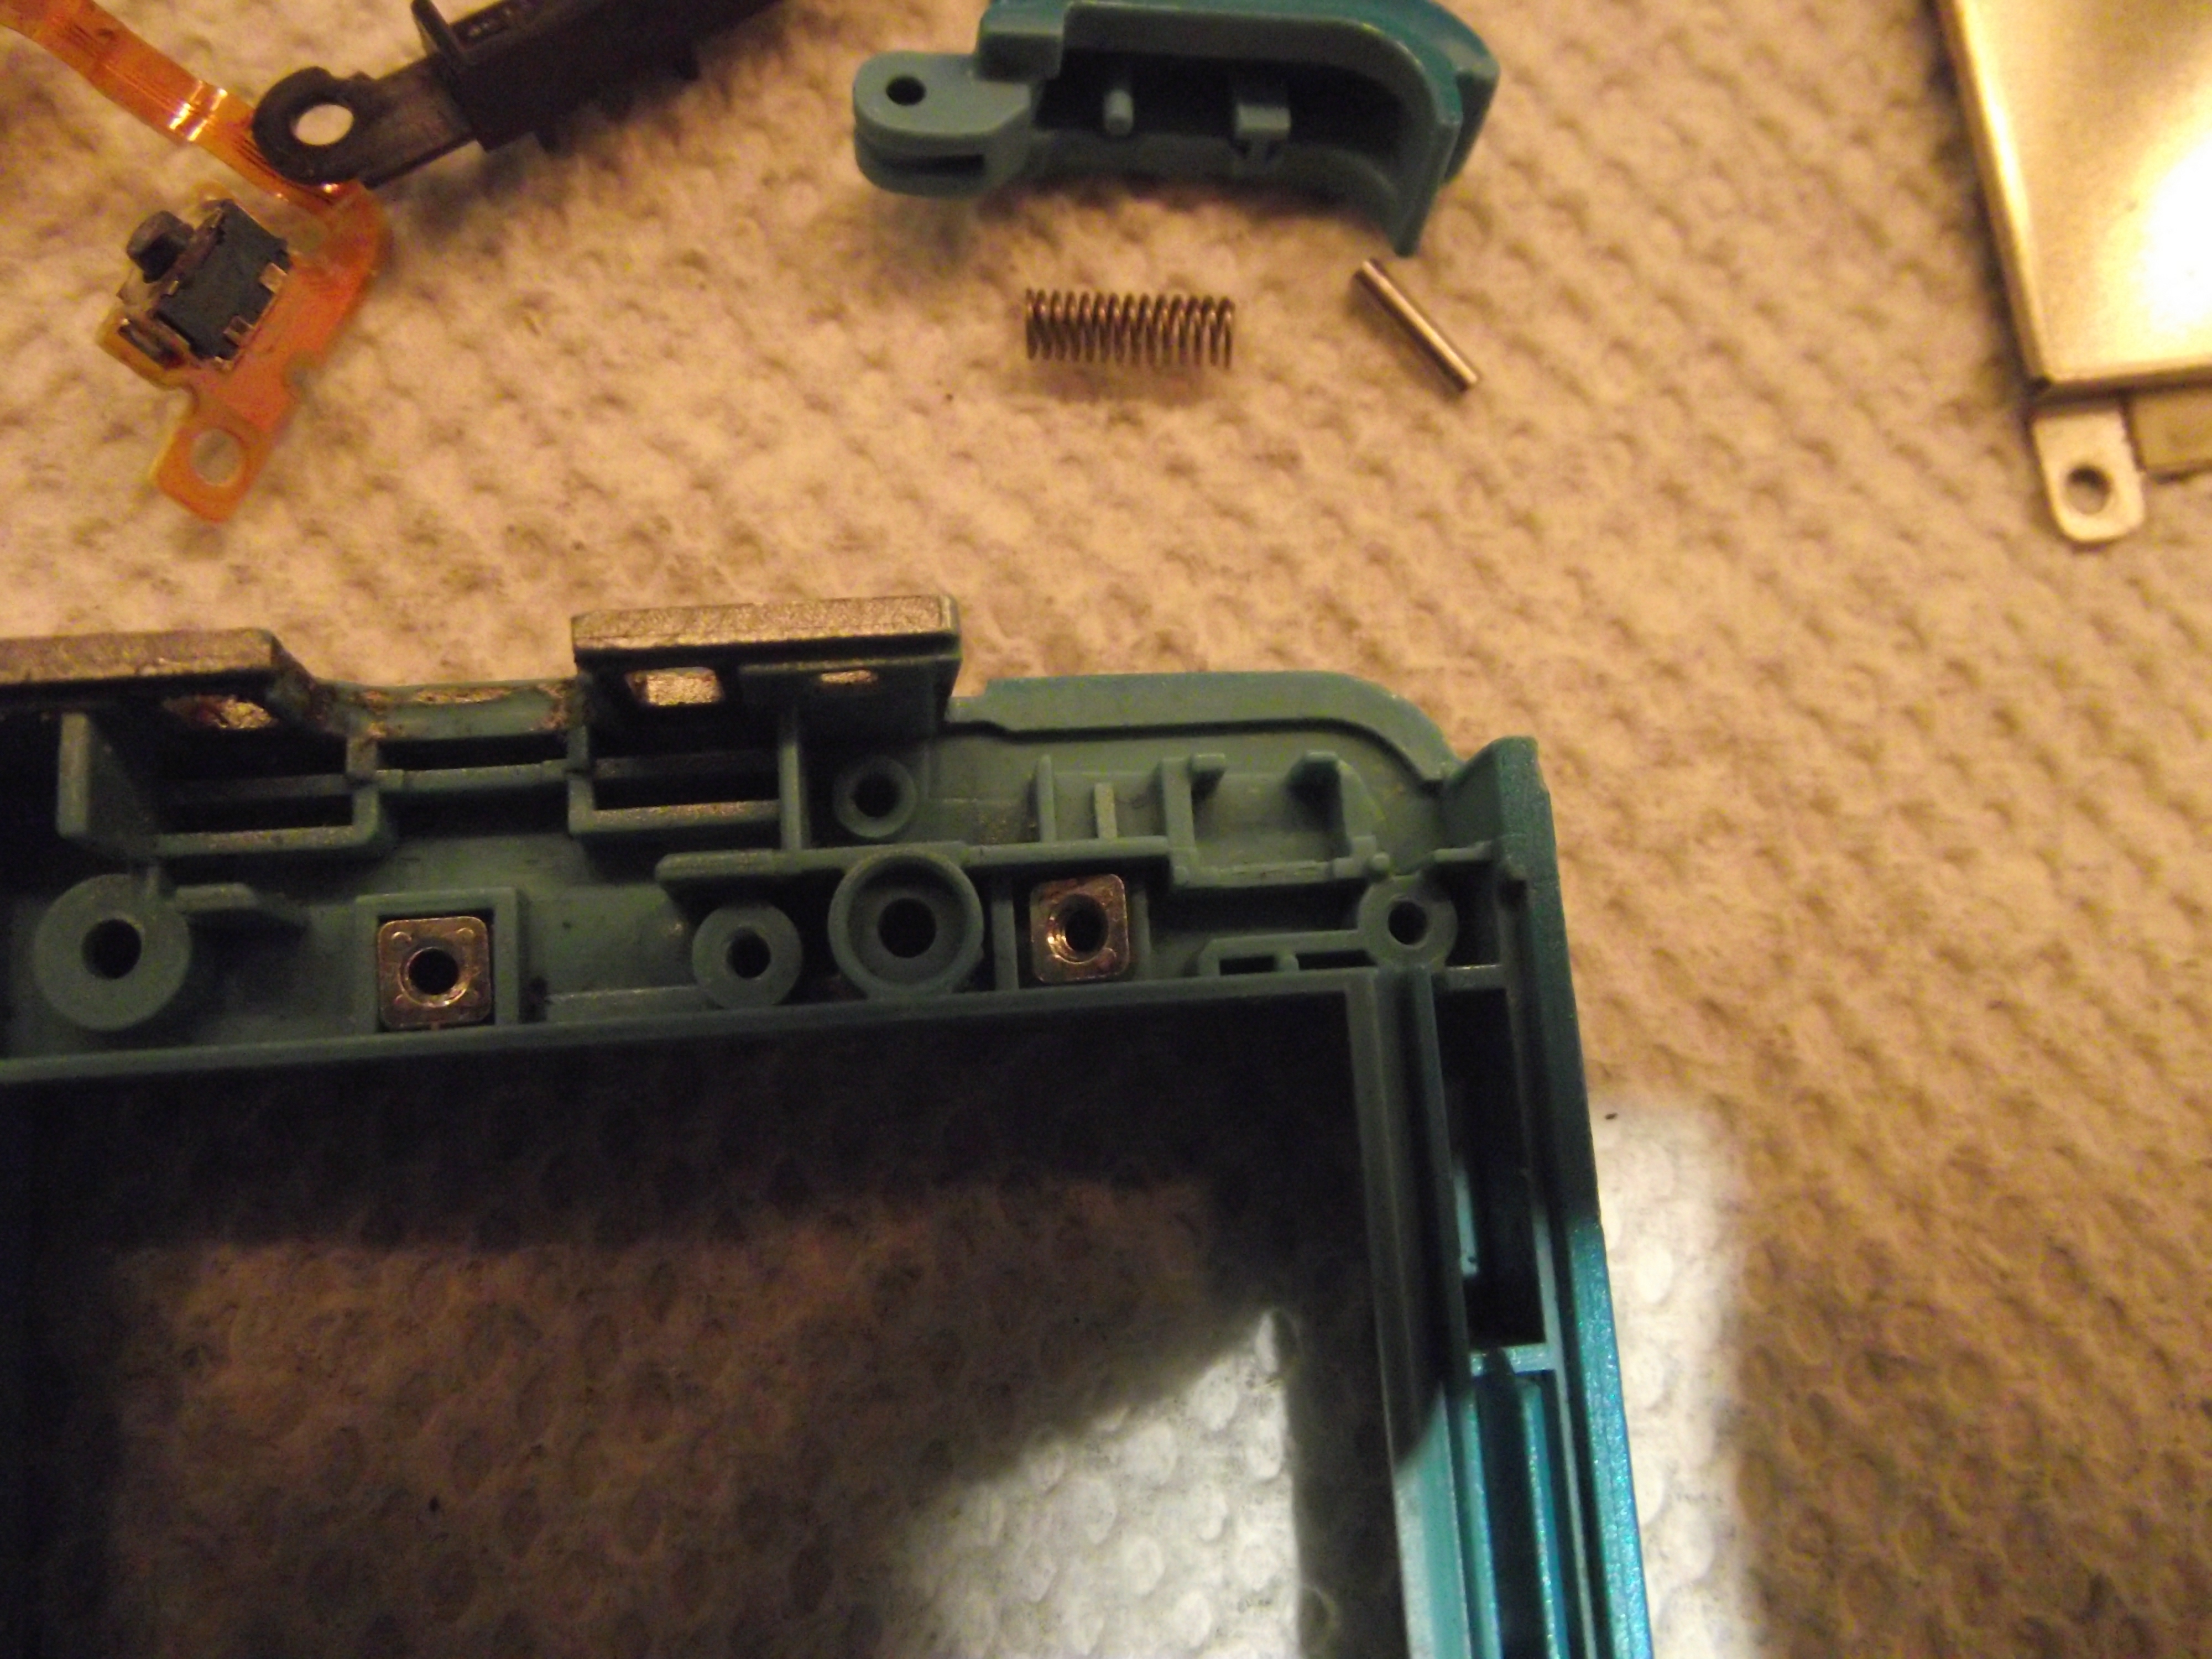
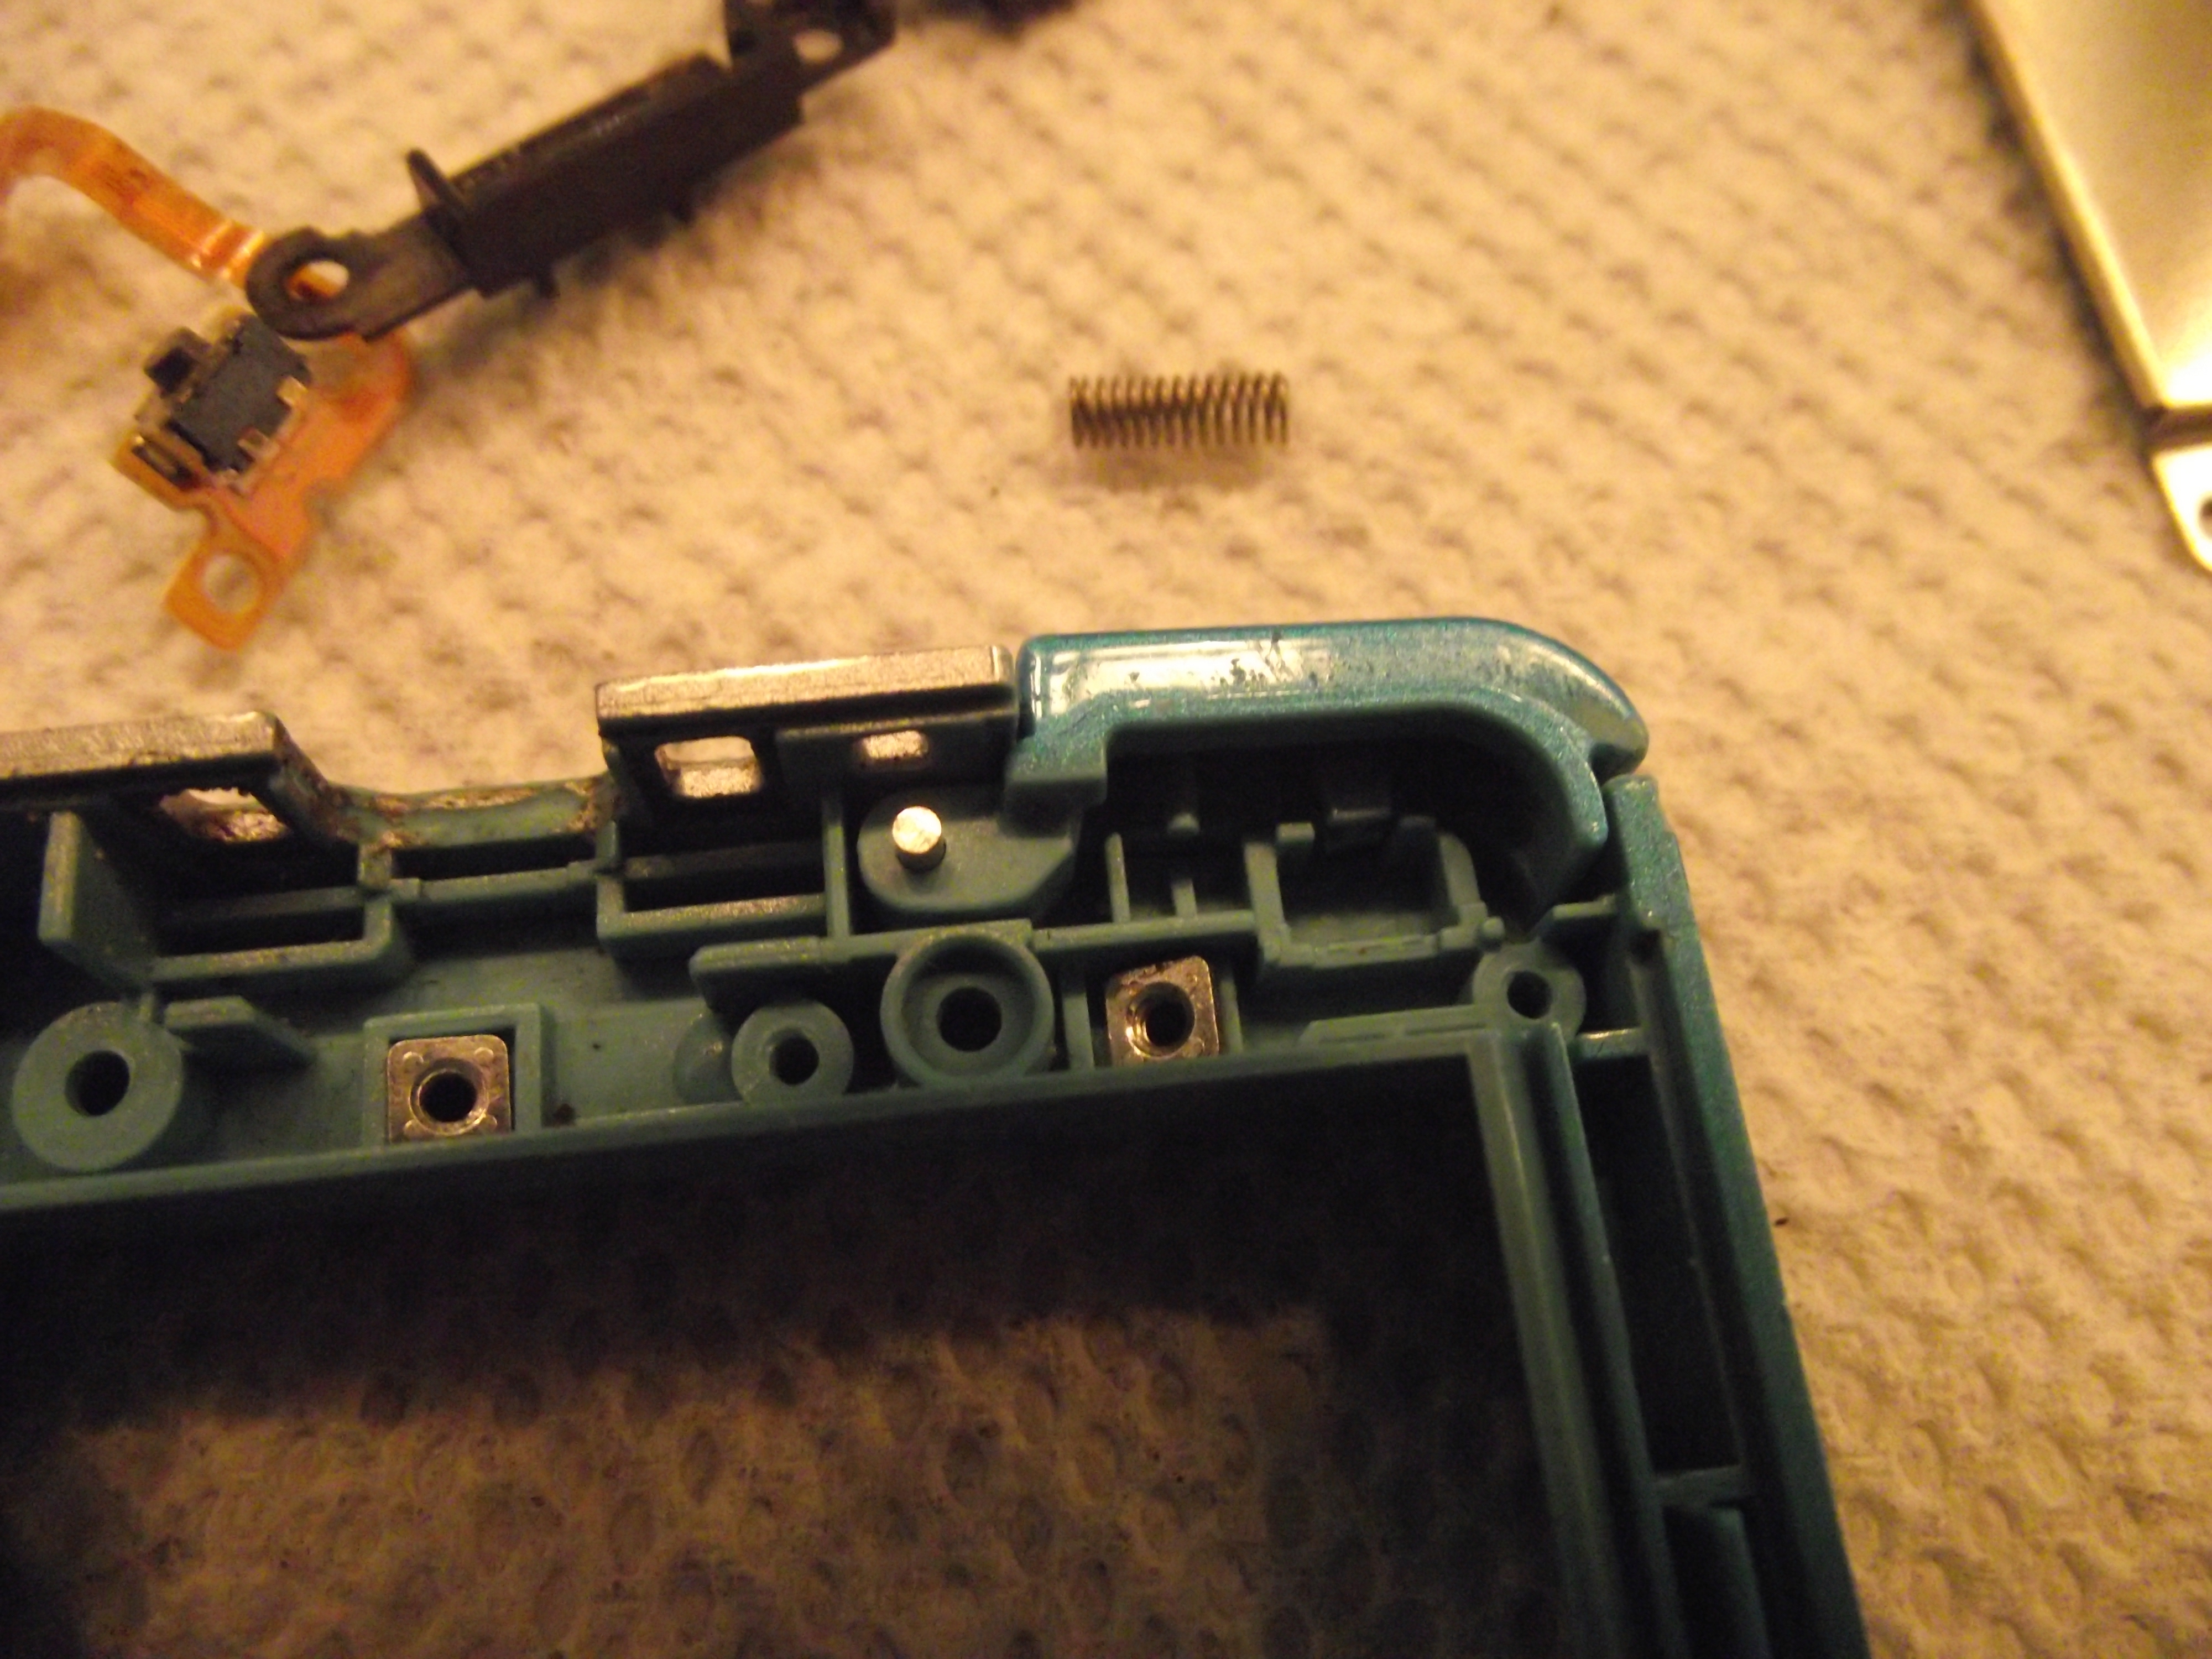
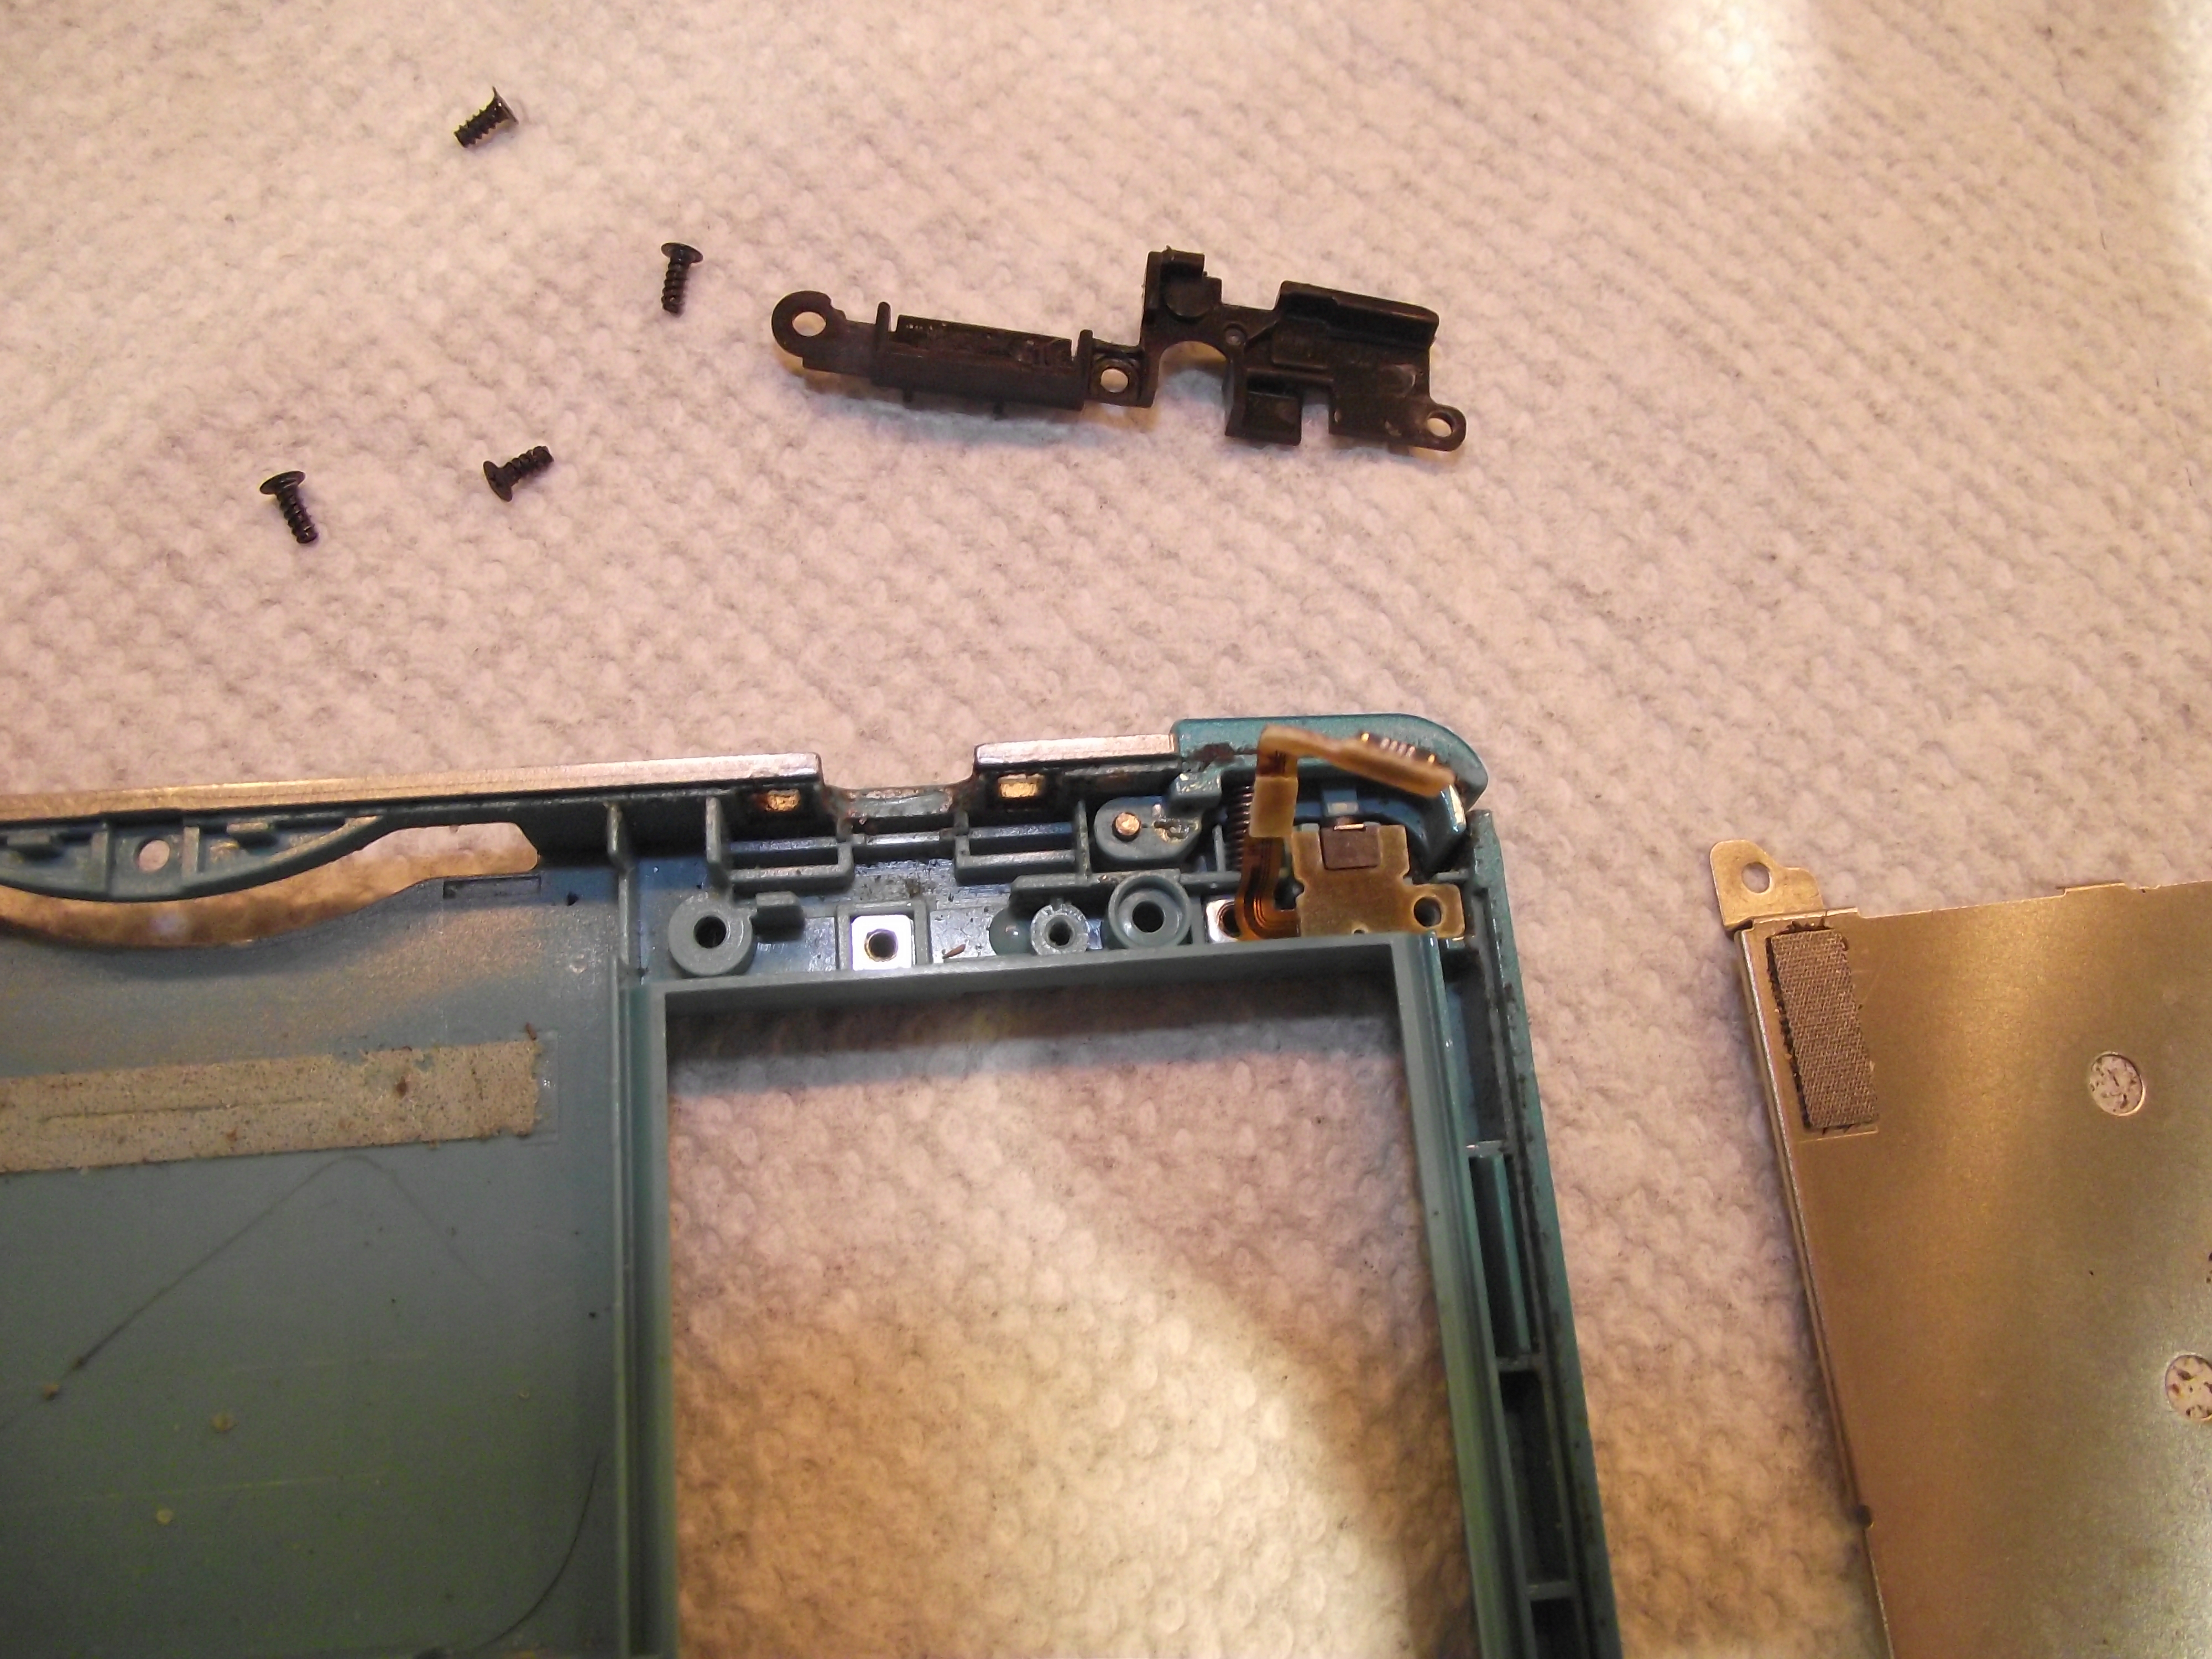 Next we life off this black plastic bracket. 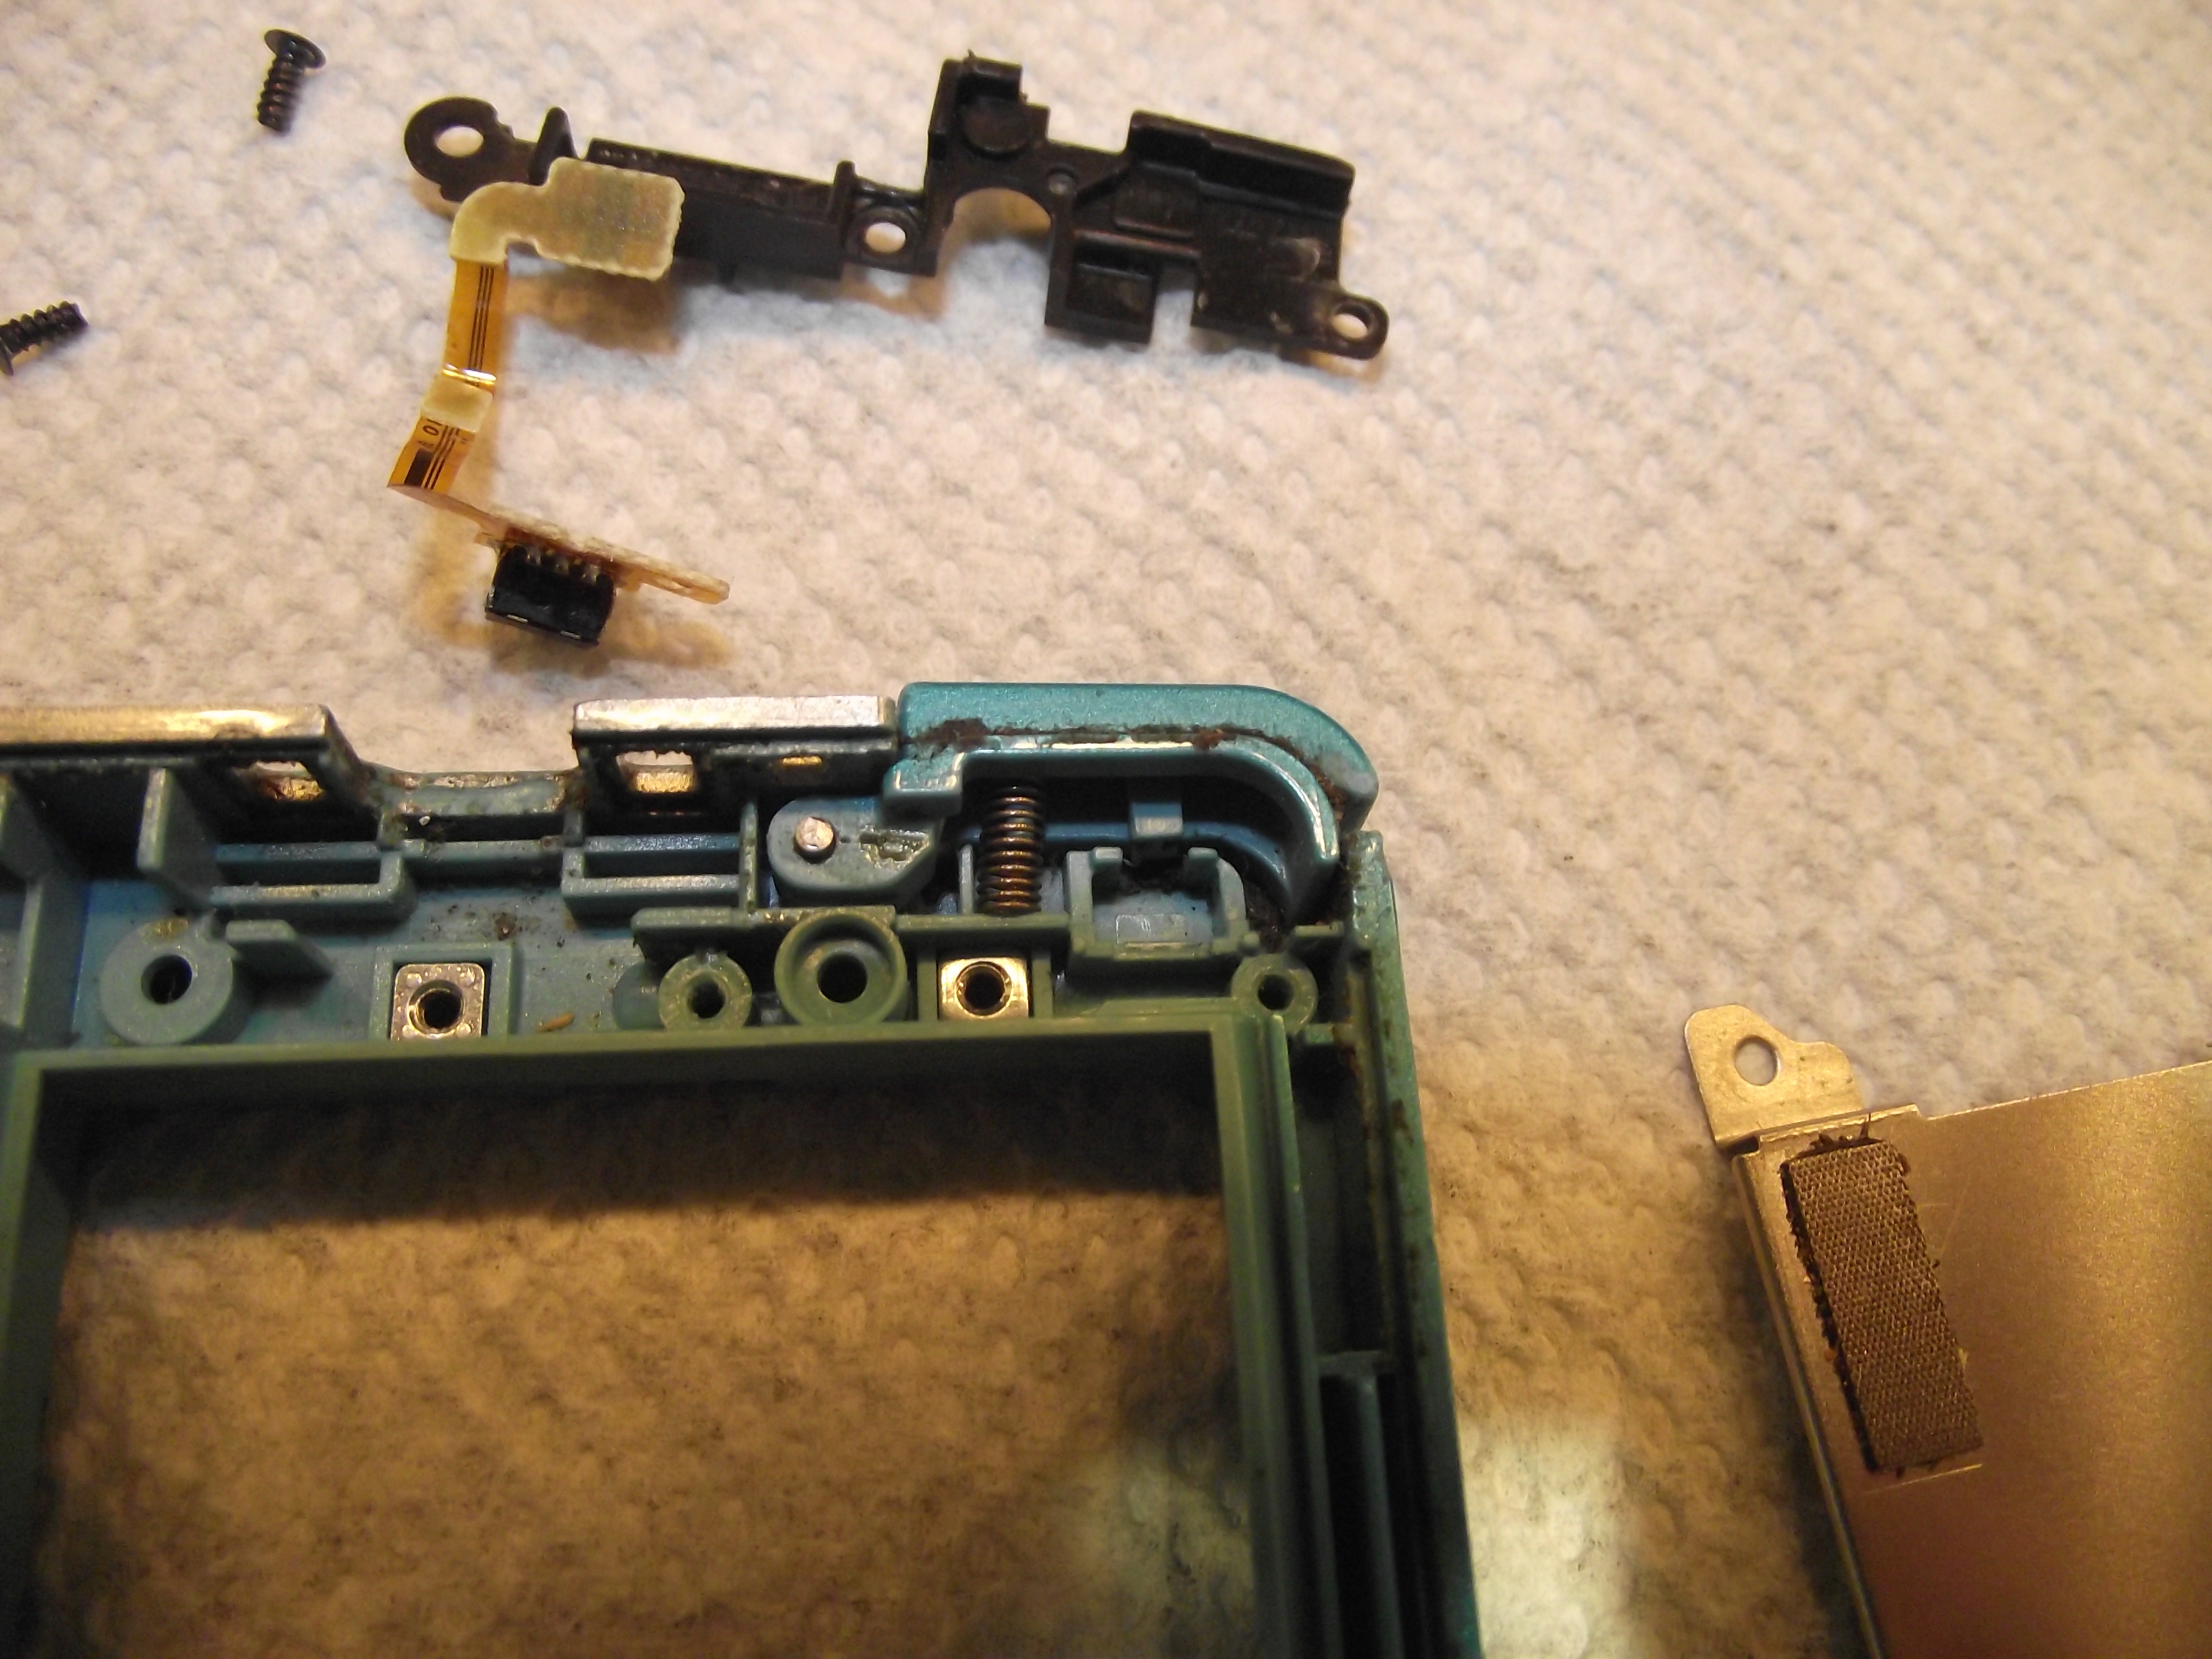 The button is held in place by a peg and a spring. Carefully remove them. |

This would be the moneyshot.
The best way to clean is with isopropyl alcohol. Not only does it make removing even tough dirt easy, it also eliminates most odors, which may be important if there’s liquid damage. You can do a good job with just a combination of a toothbrush, toothpicks, and some cotton swabs. Obviously you’ll want to focus your cleaning on the recess in which the plastic button sits, but you should also clean the button itself. If you’ve noticed that your shoulder buttons are unresponsive and don’t make as much of an audible “clicking” noise as they once did when you press them, cleaning them can sometimes help with that
 Now we clean and dry the left side… 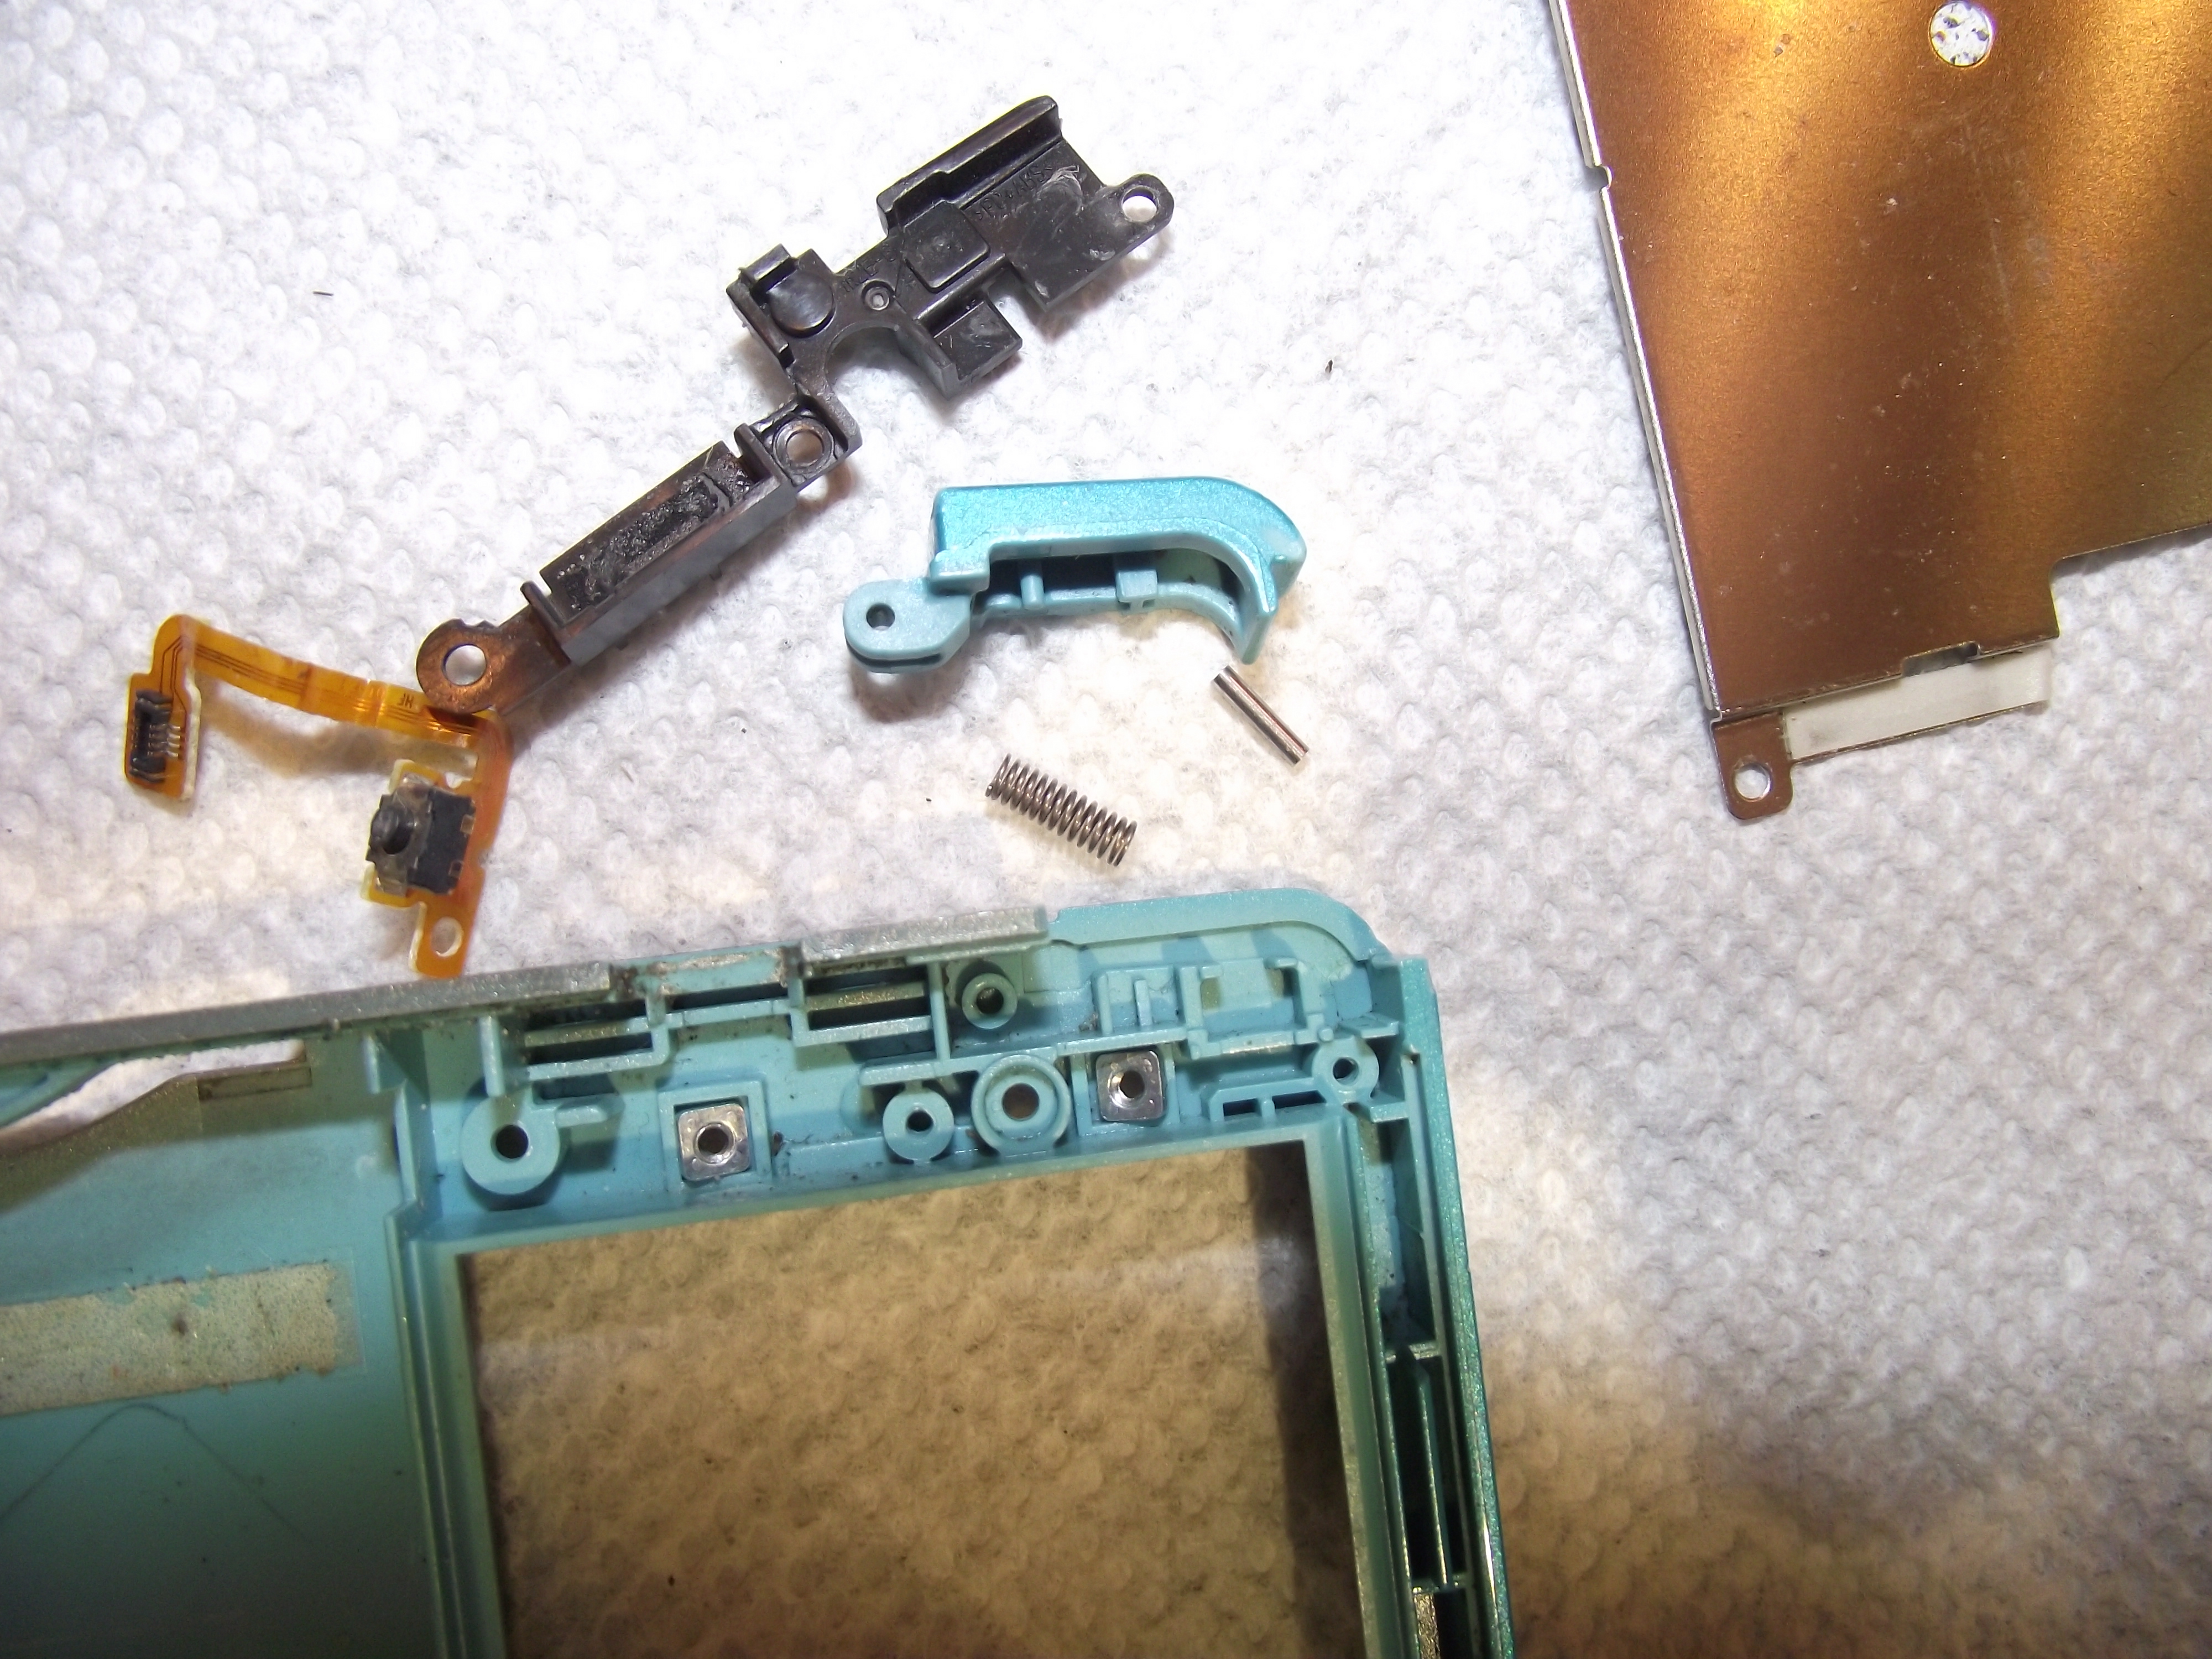 and the right side. |
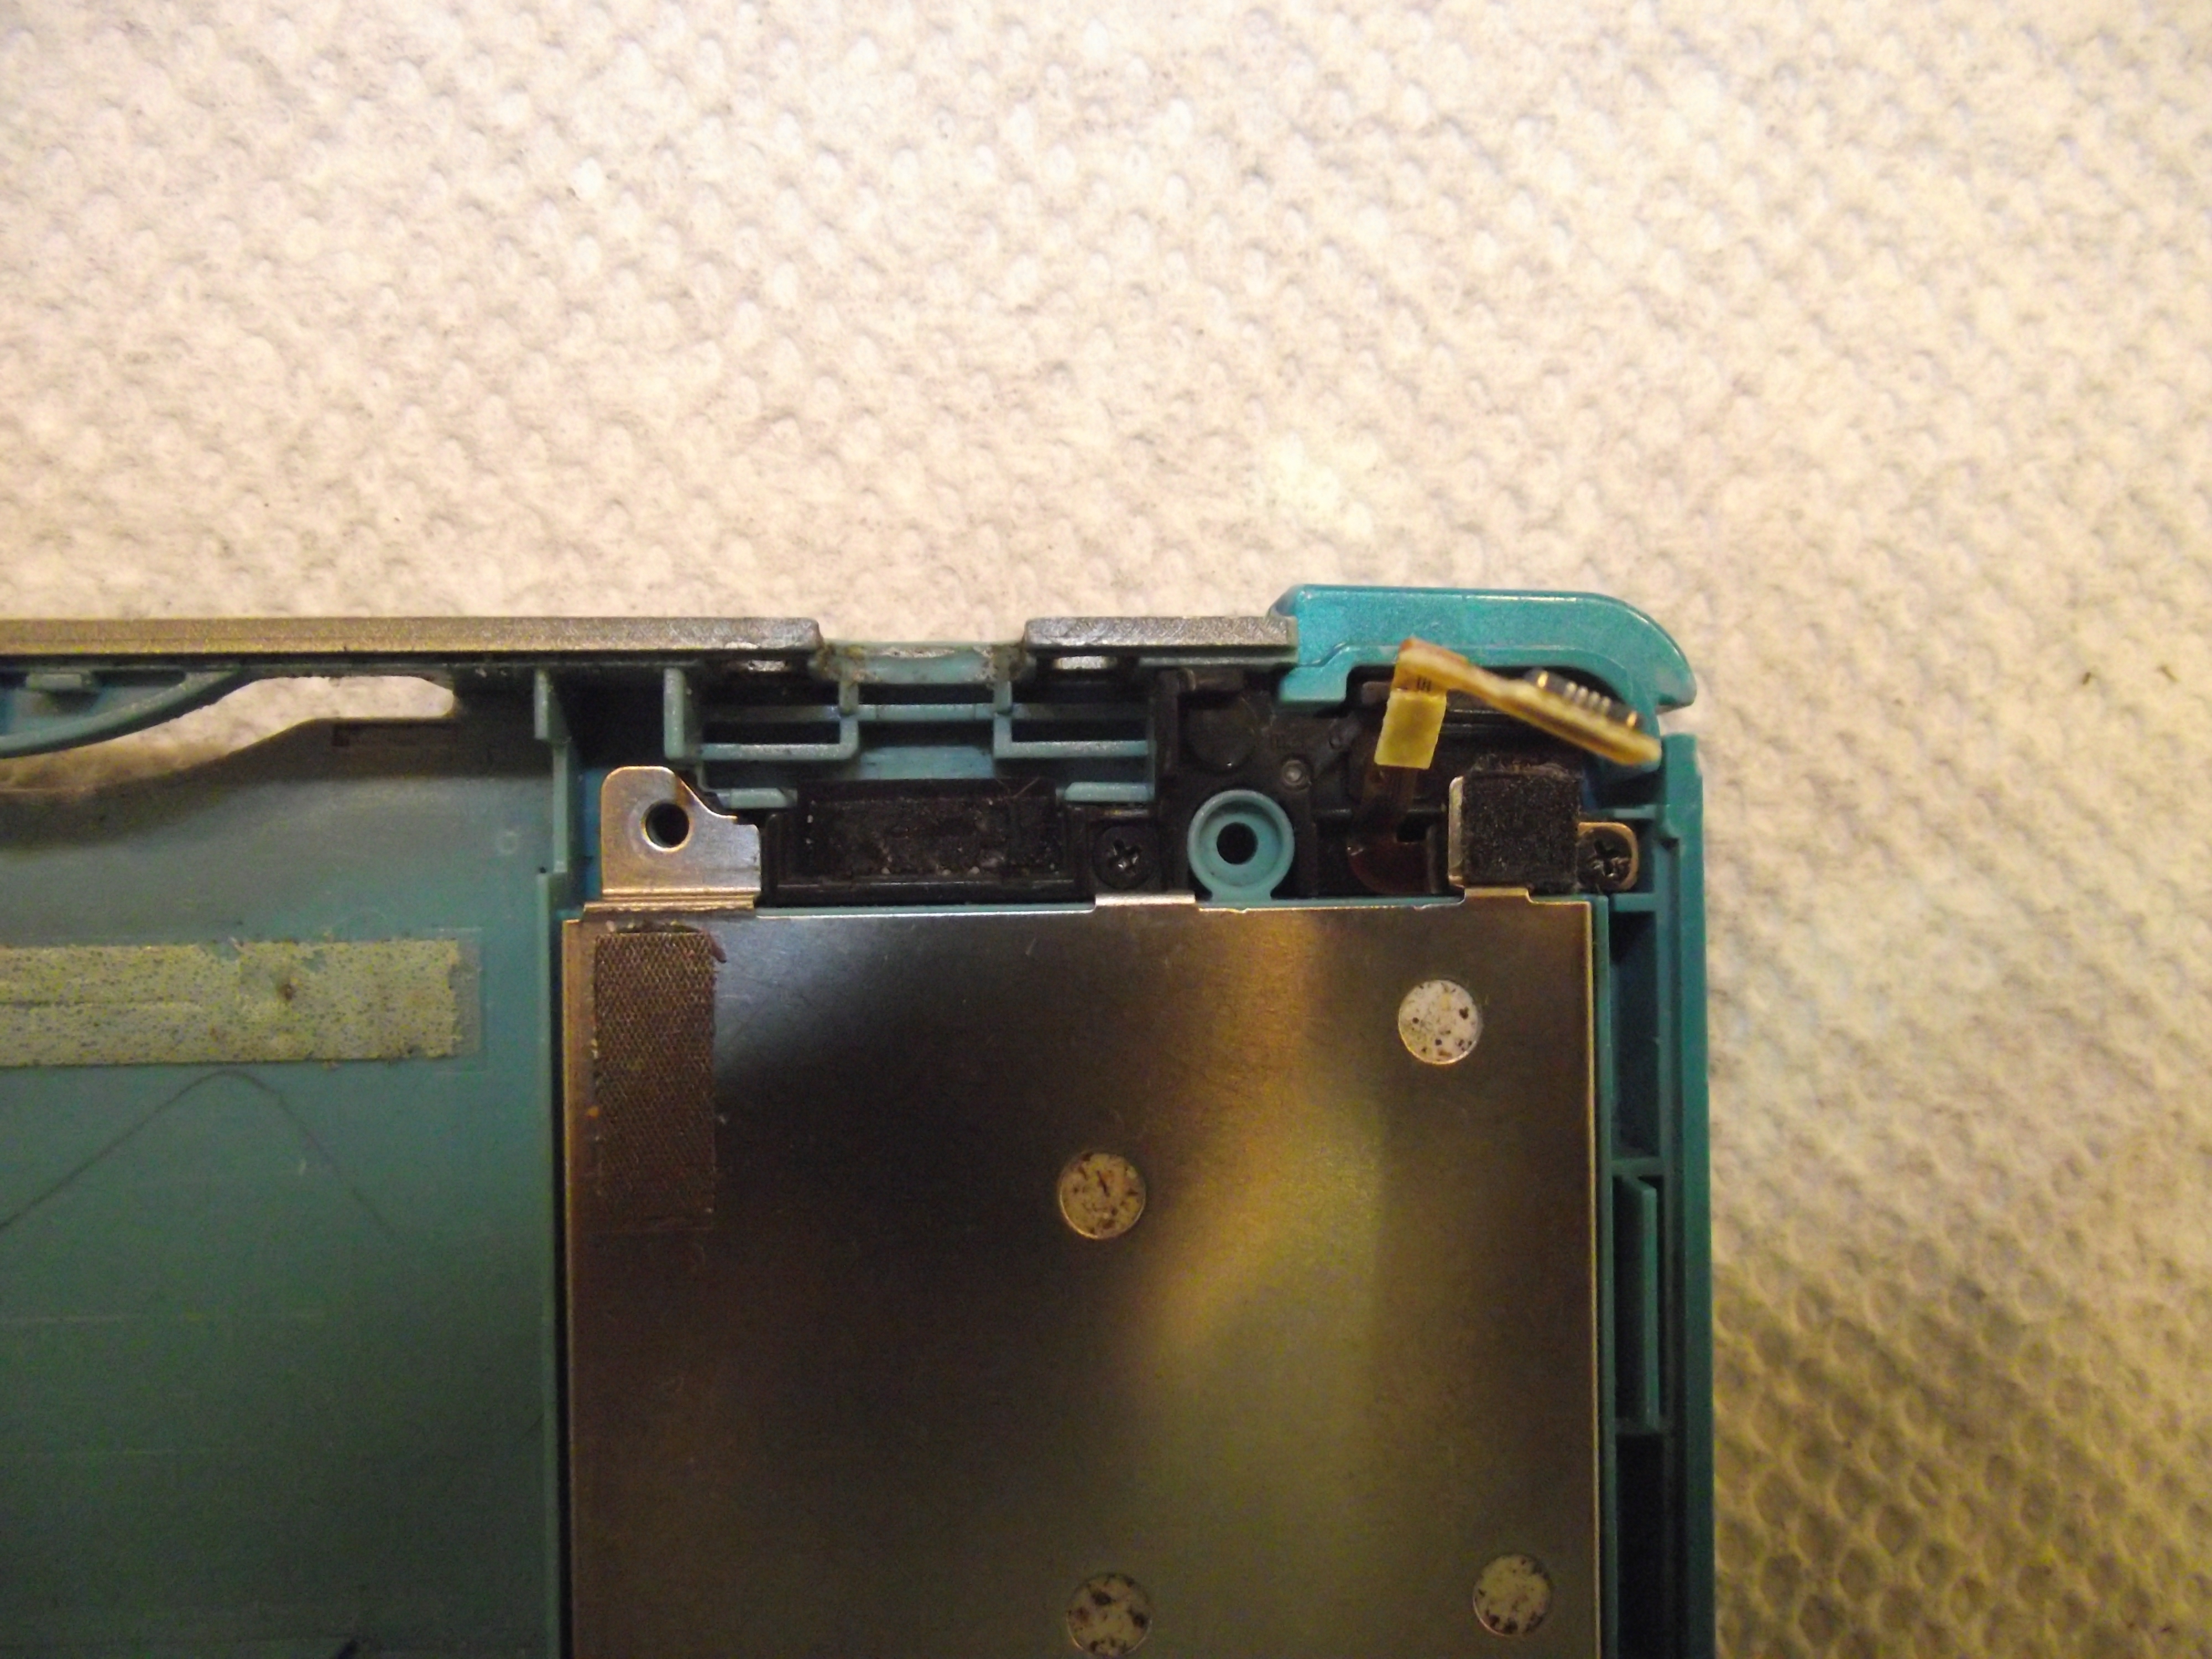
While you have the console open, it’s also a good idea to clean out the area beneath the SD card slot and the slot in which the stylus is stored.
 Until you open it up to check, you would never suspect how much dirt can be trapped in these areas. 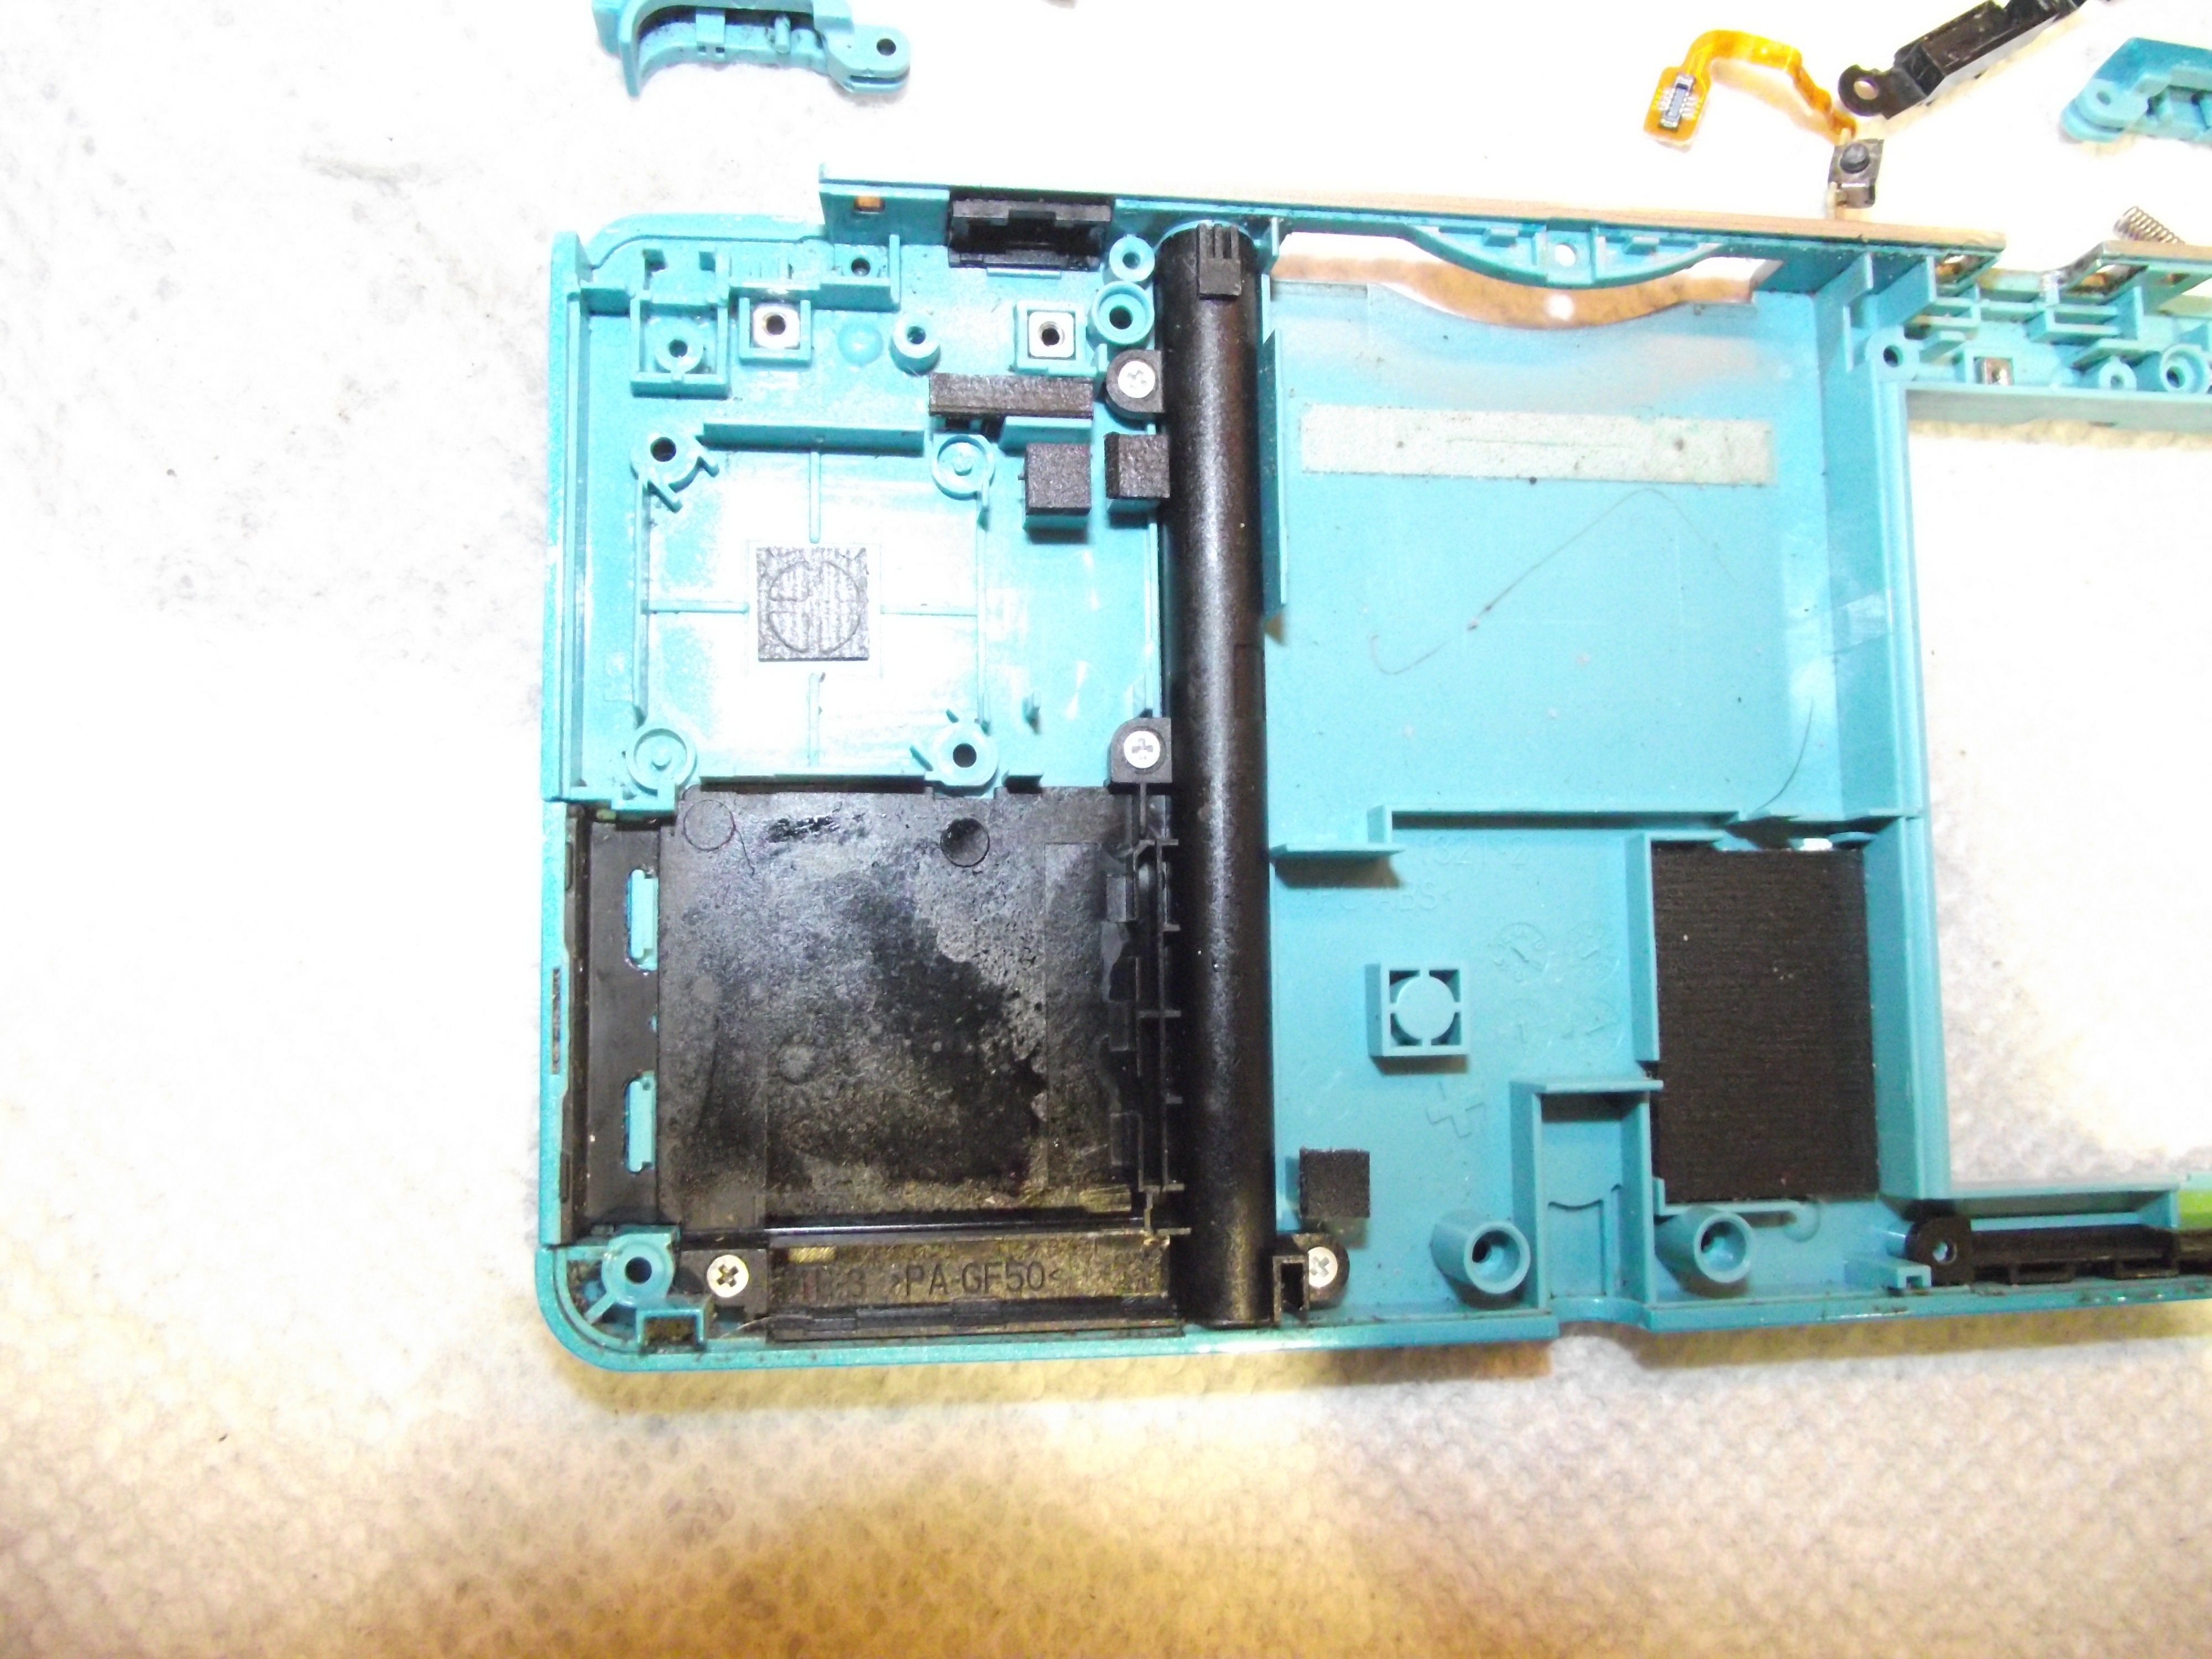 Remove the four silver screws that secure the stylus holder and SD card slot cover in place. |
 Disgusting. 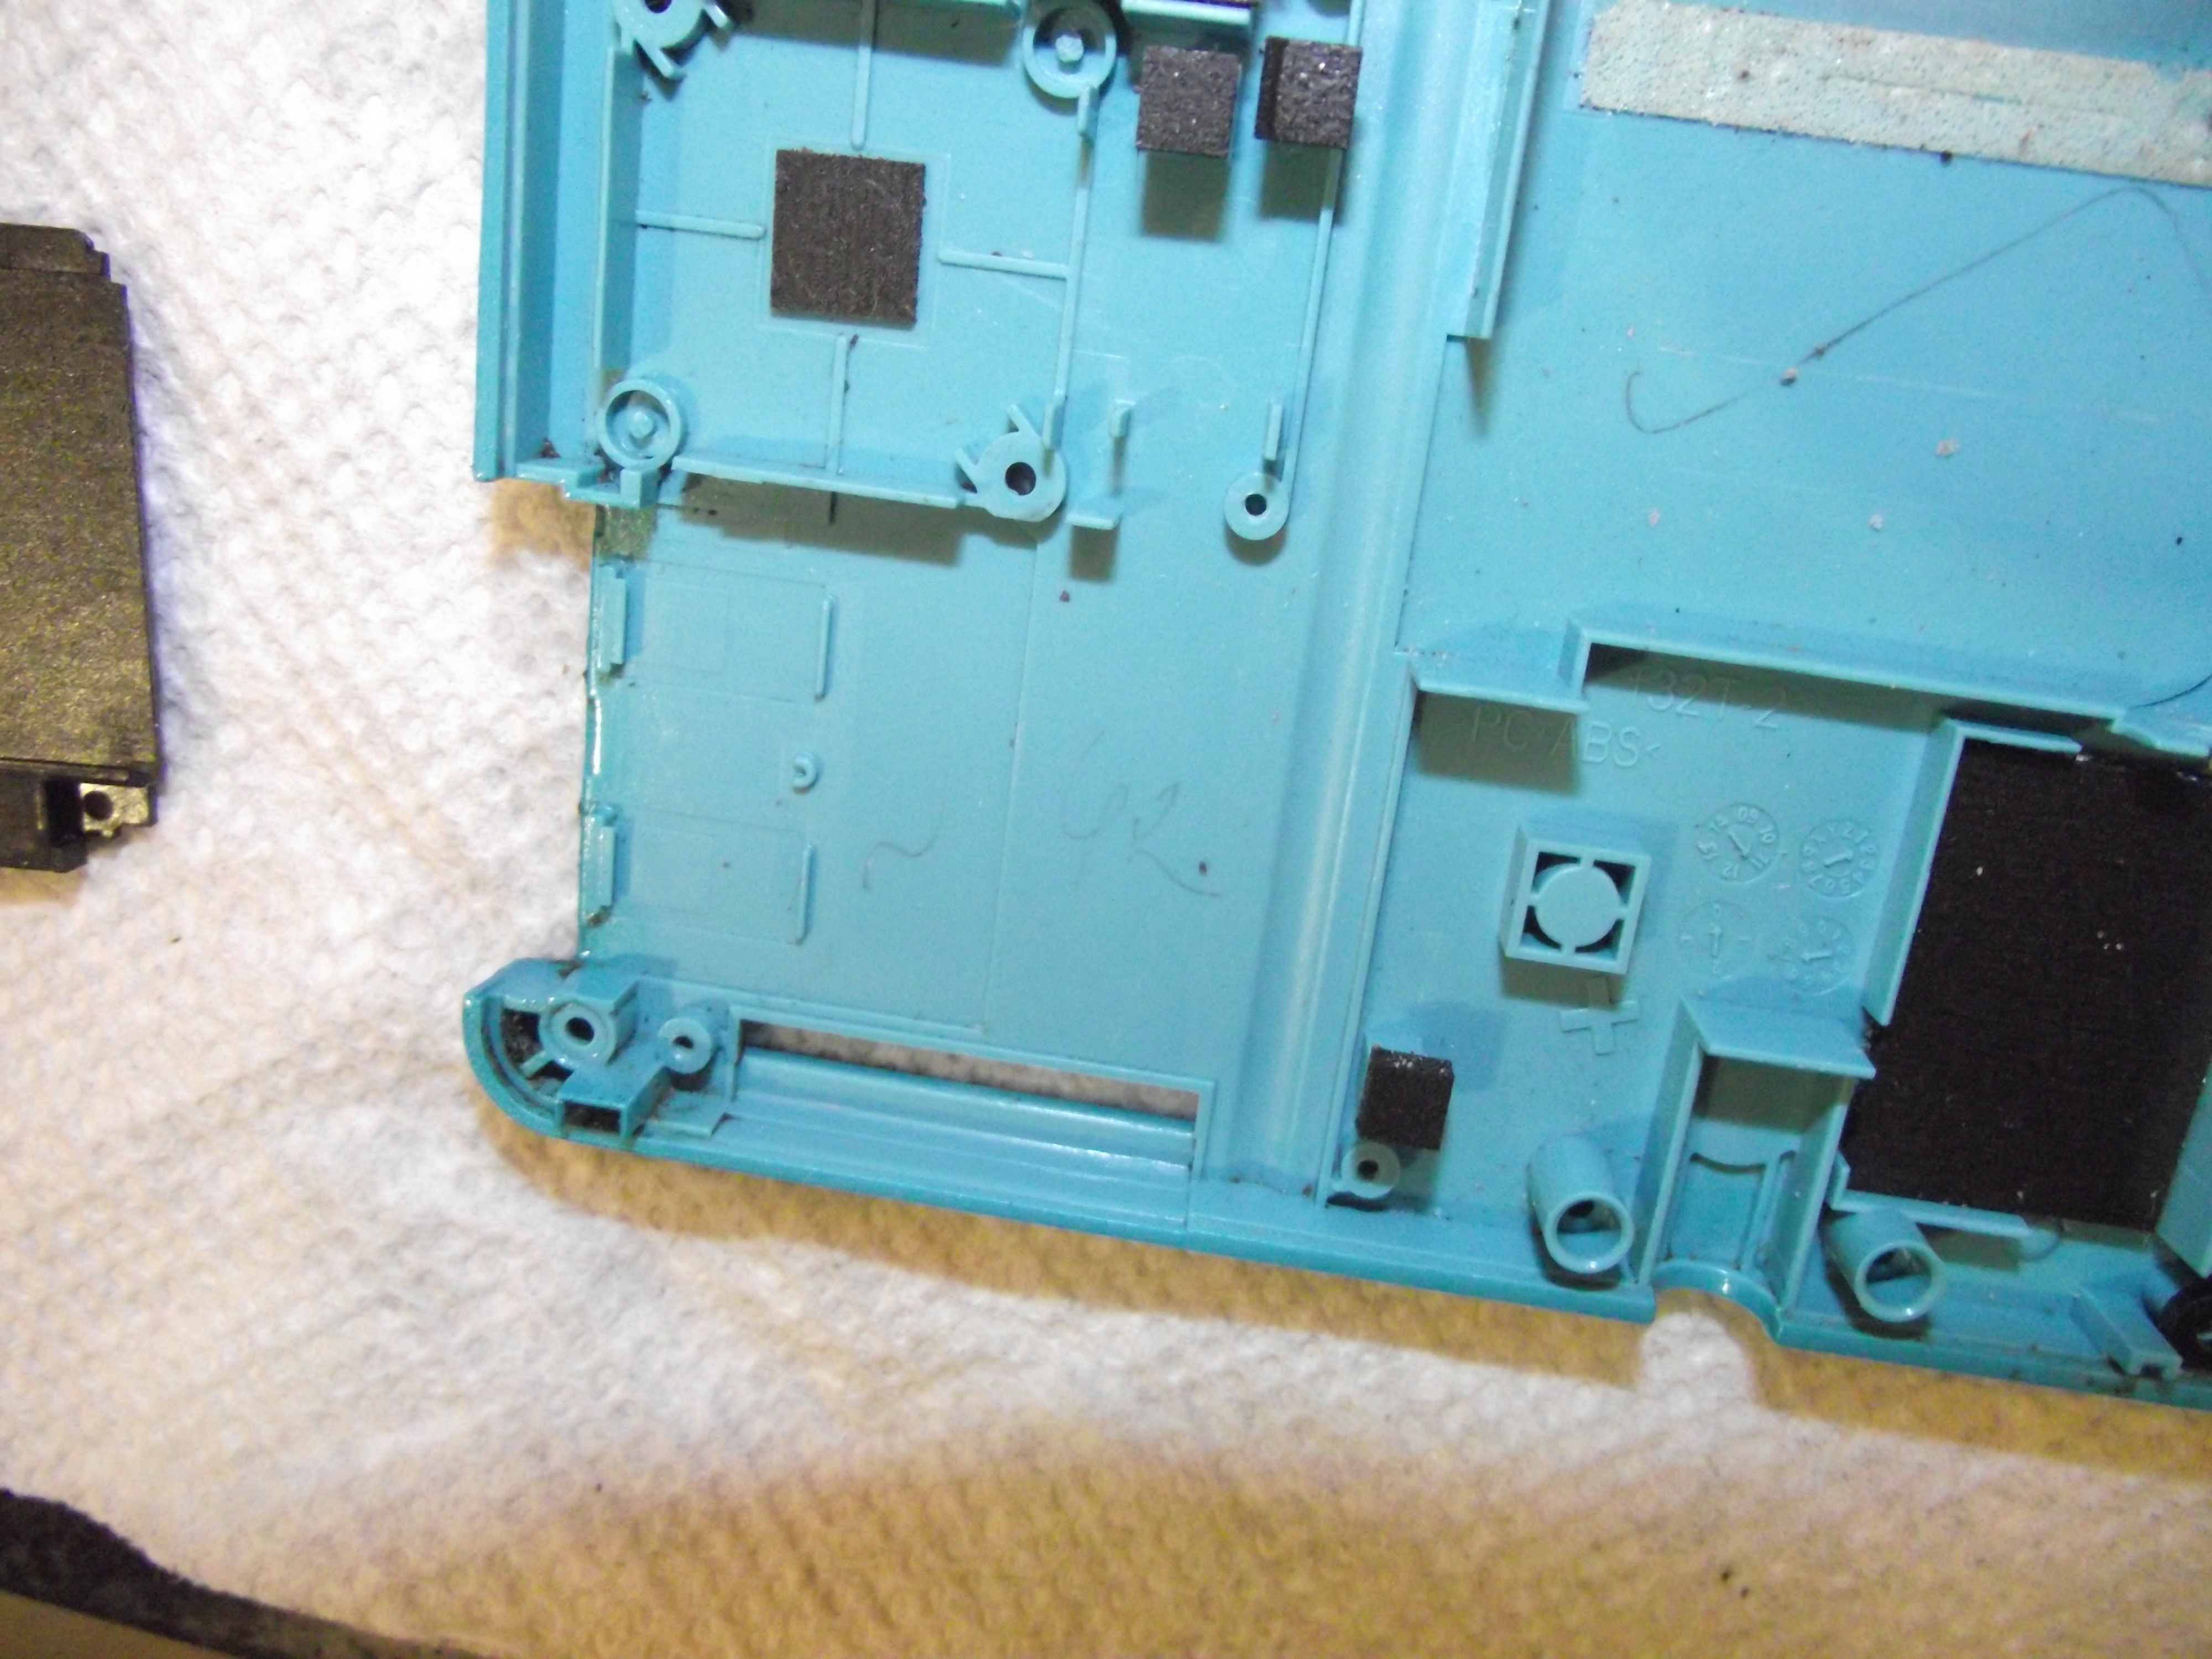 Much better. |
Reassembly is easy as long as you haven’t lost anything along the way.
 Make sure these two nuts are in there. The four screws on the battery cover screw into these. 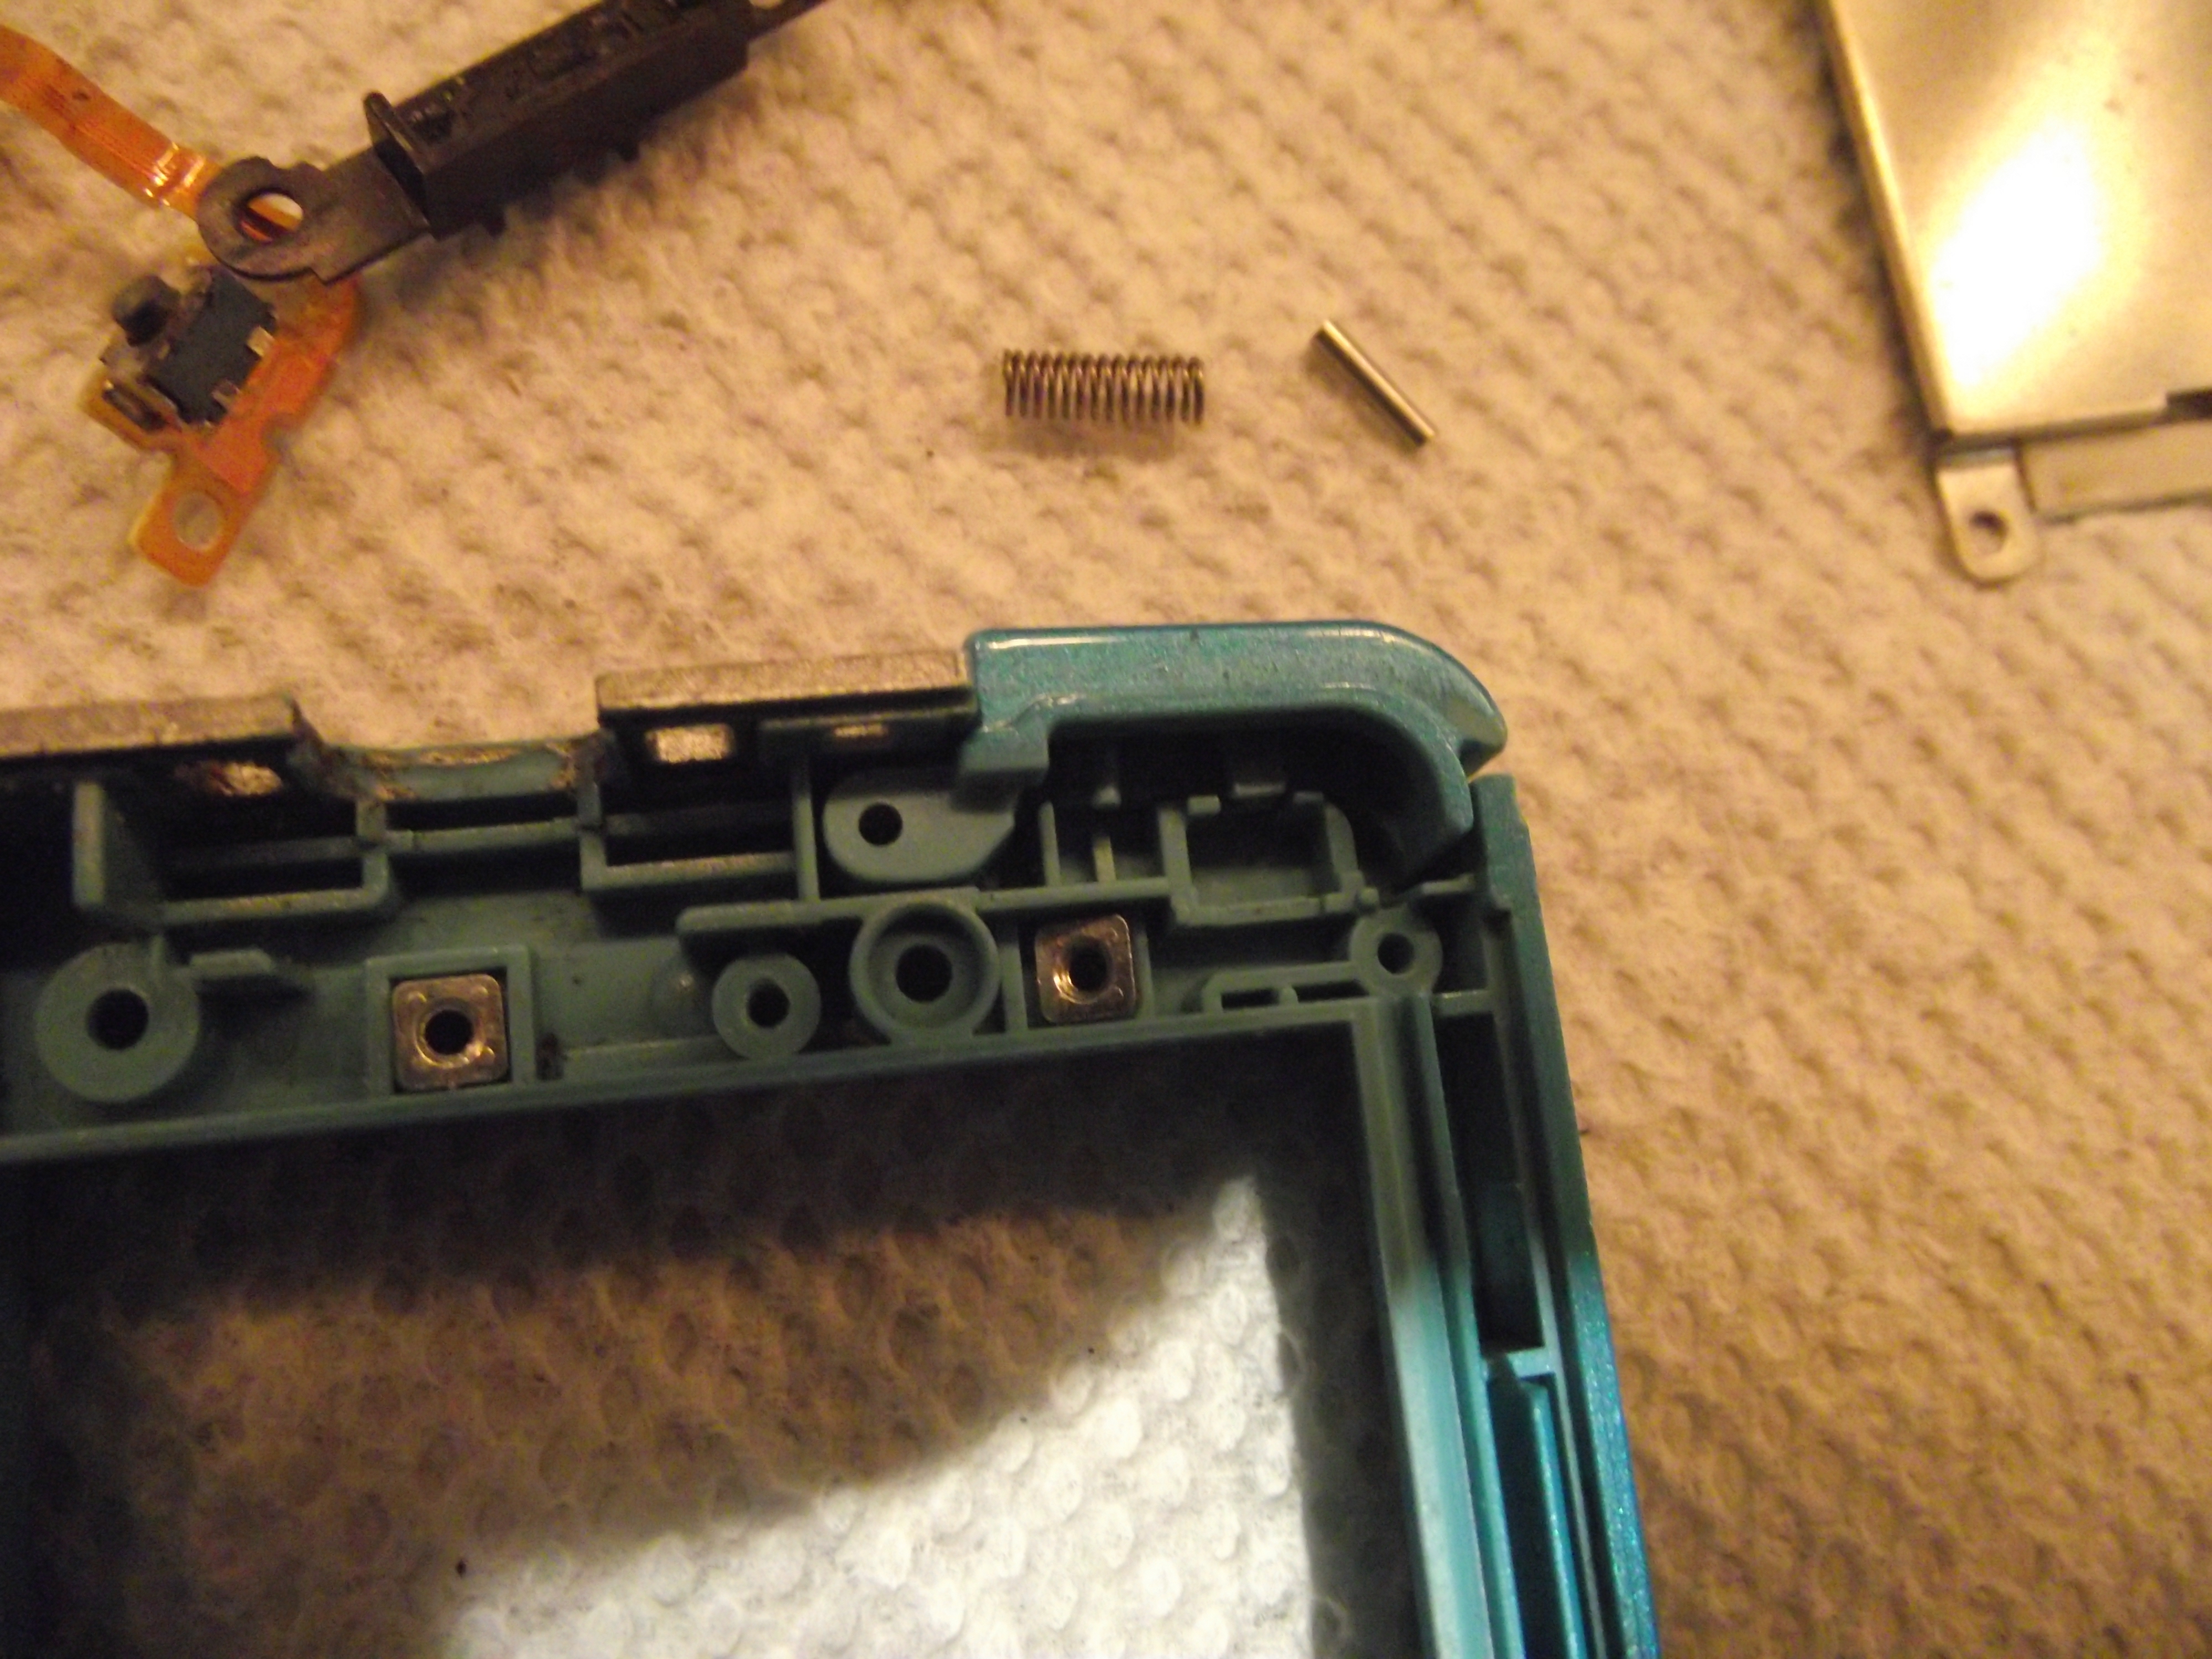 First, place the plastic part of the button into the recess. |
 Then insert the peg…  …and the spring. |
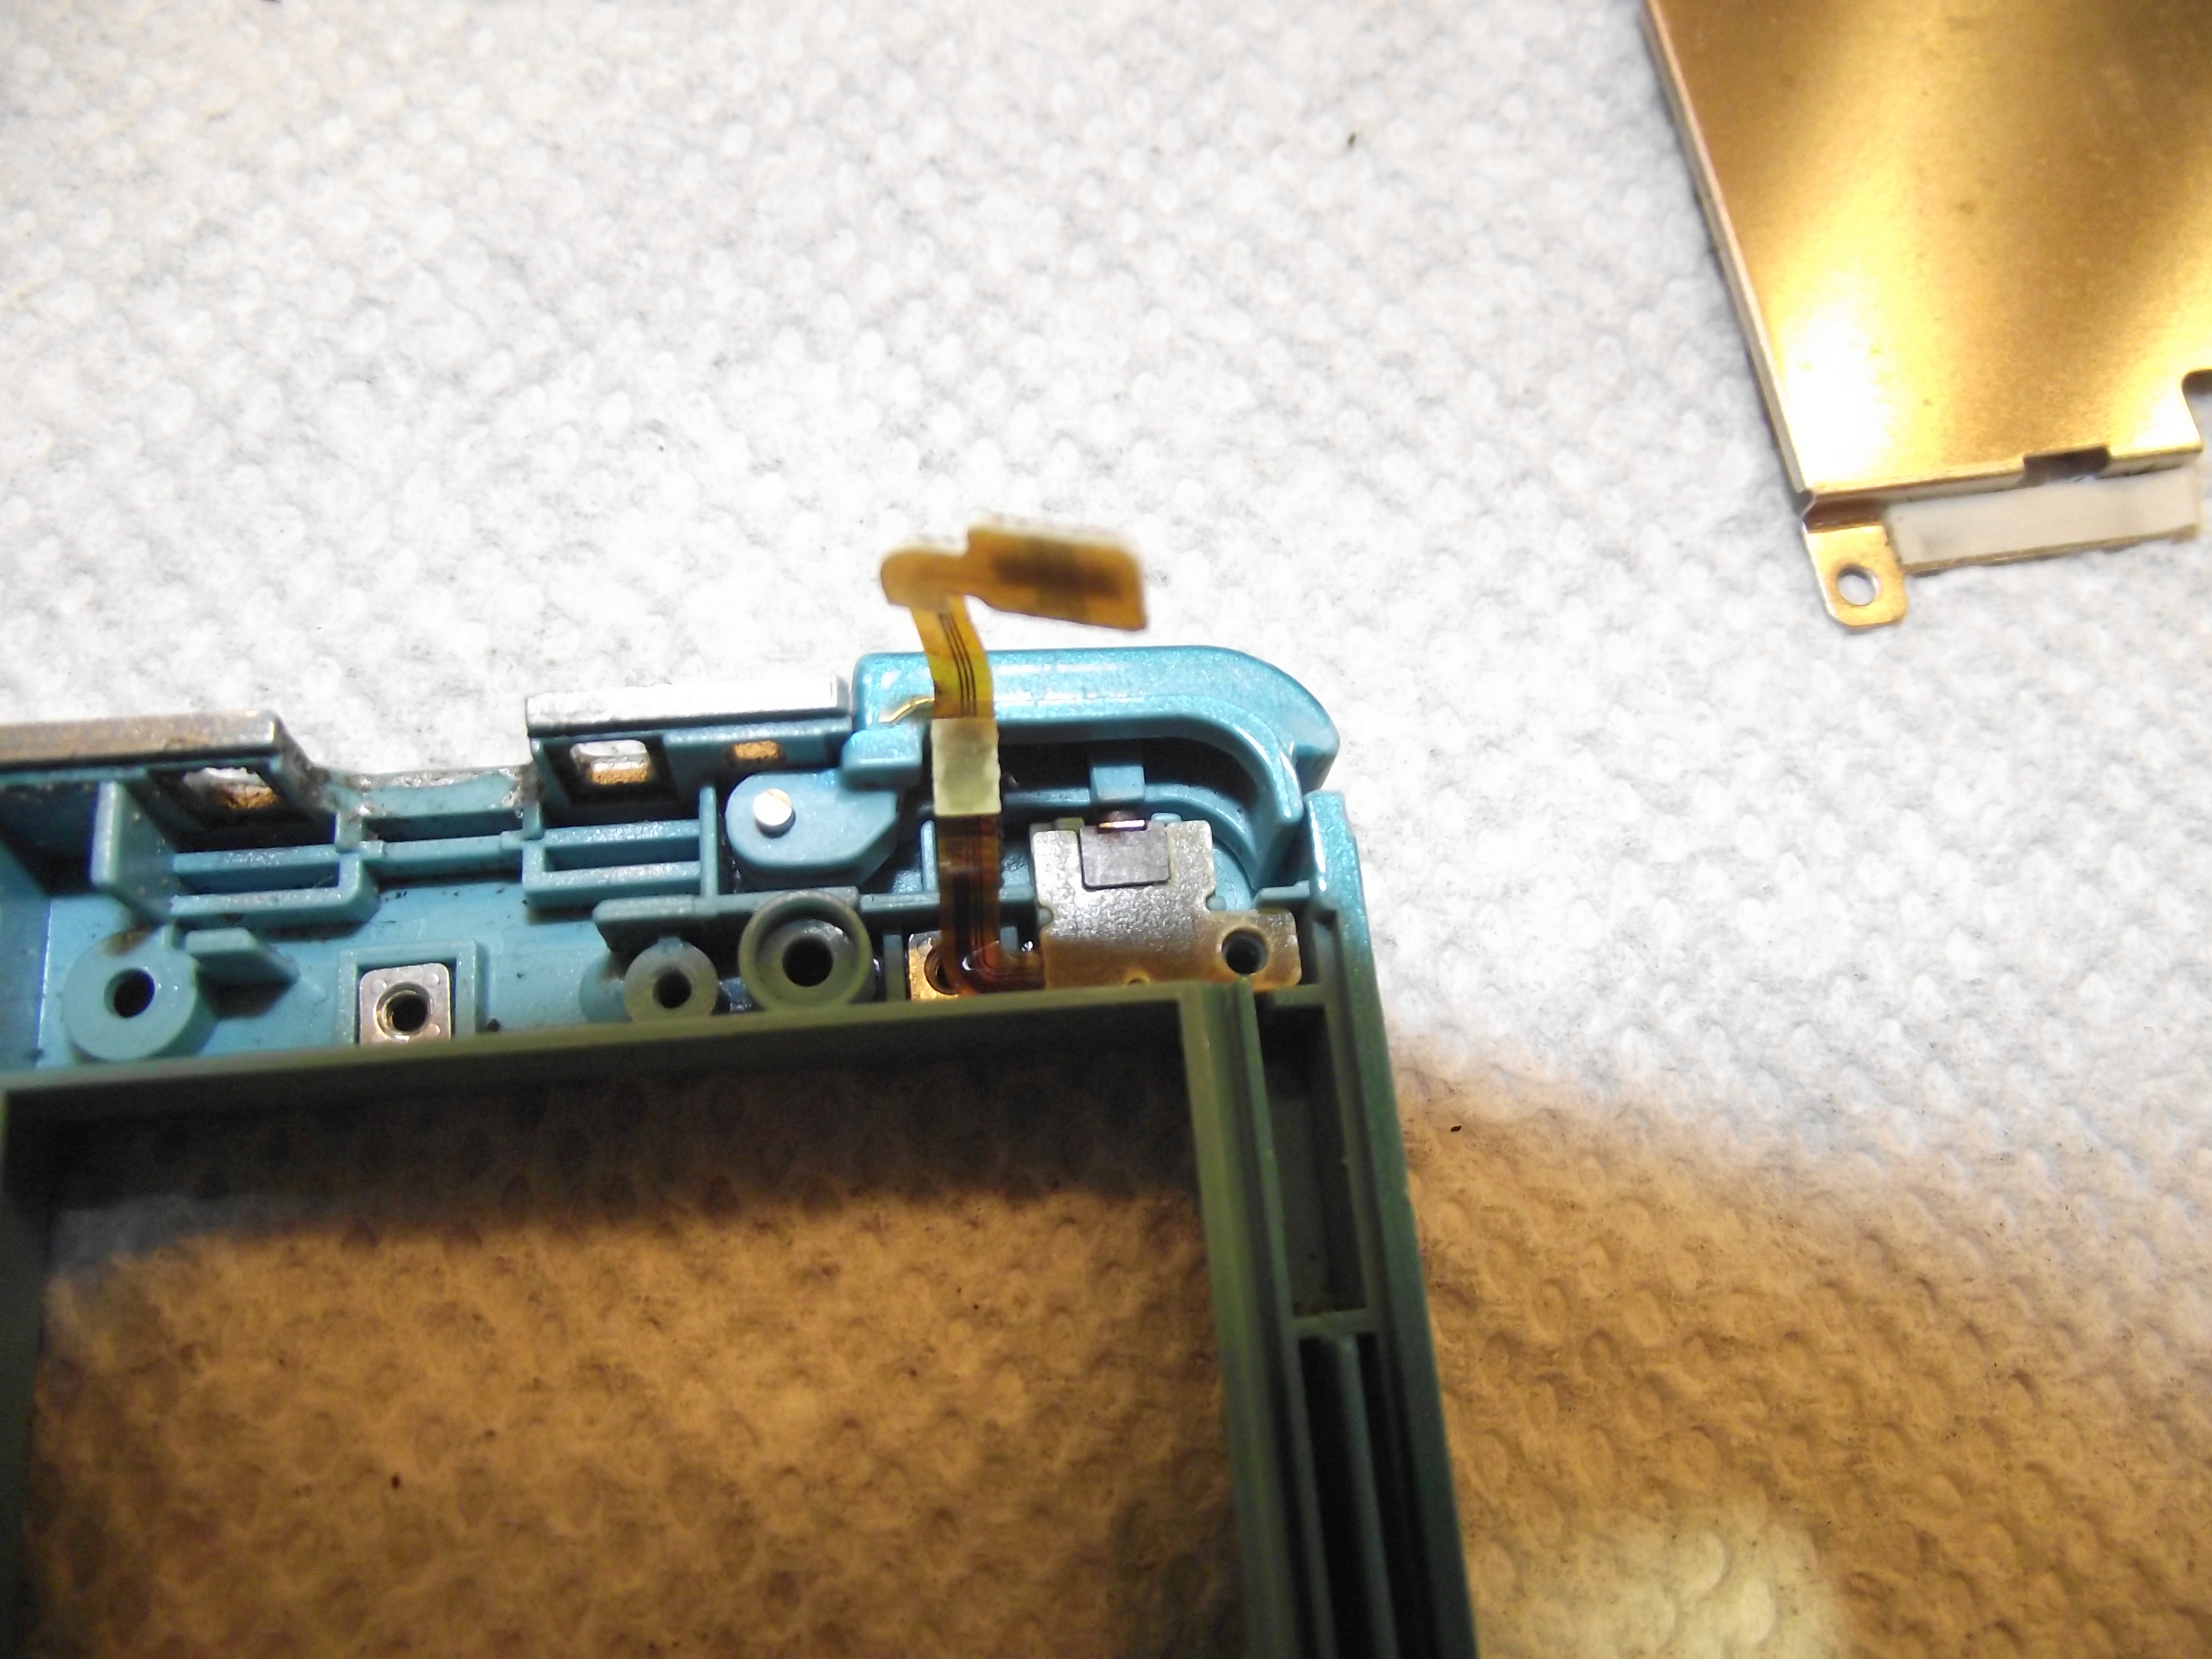 Now we can insert the button itself. 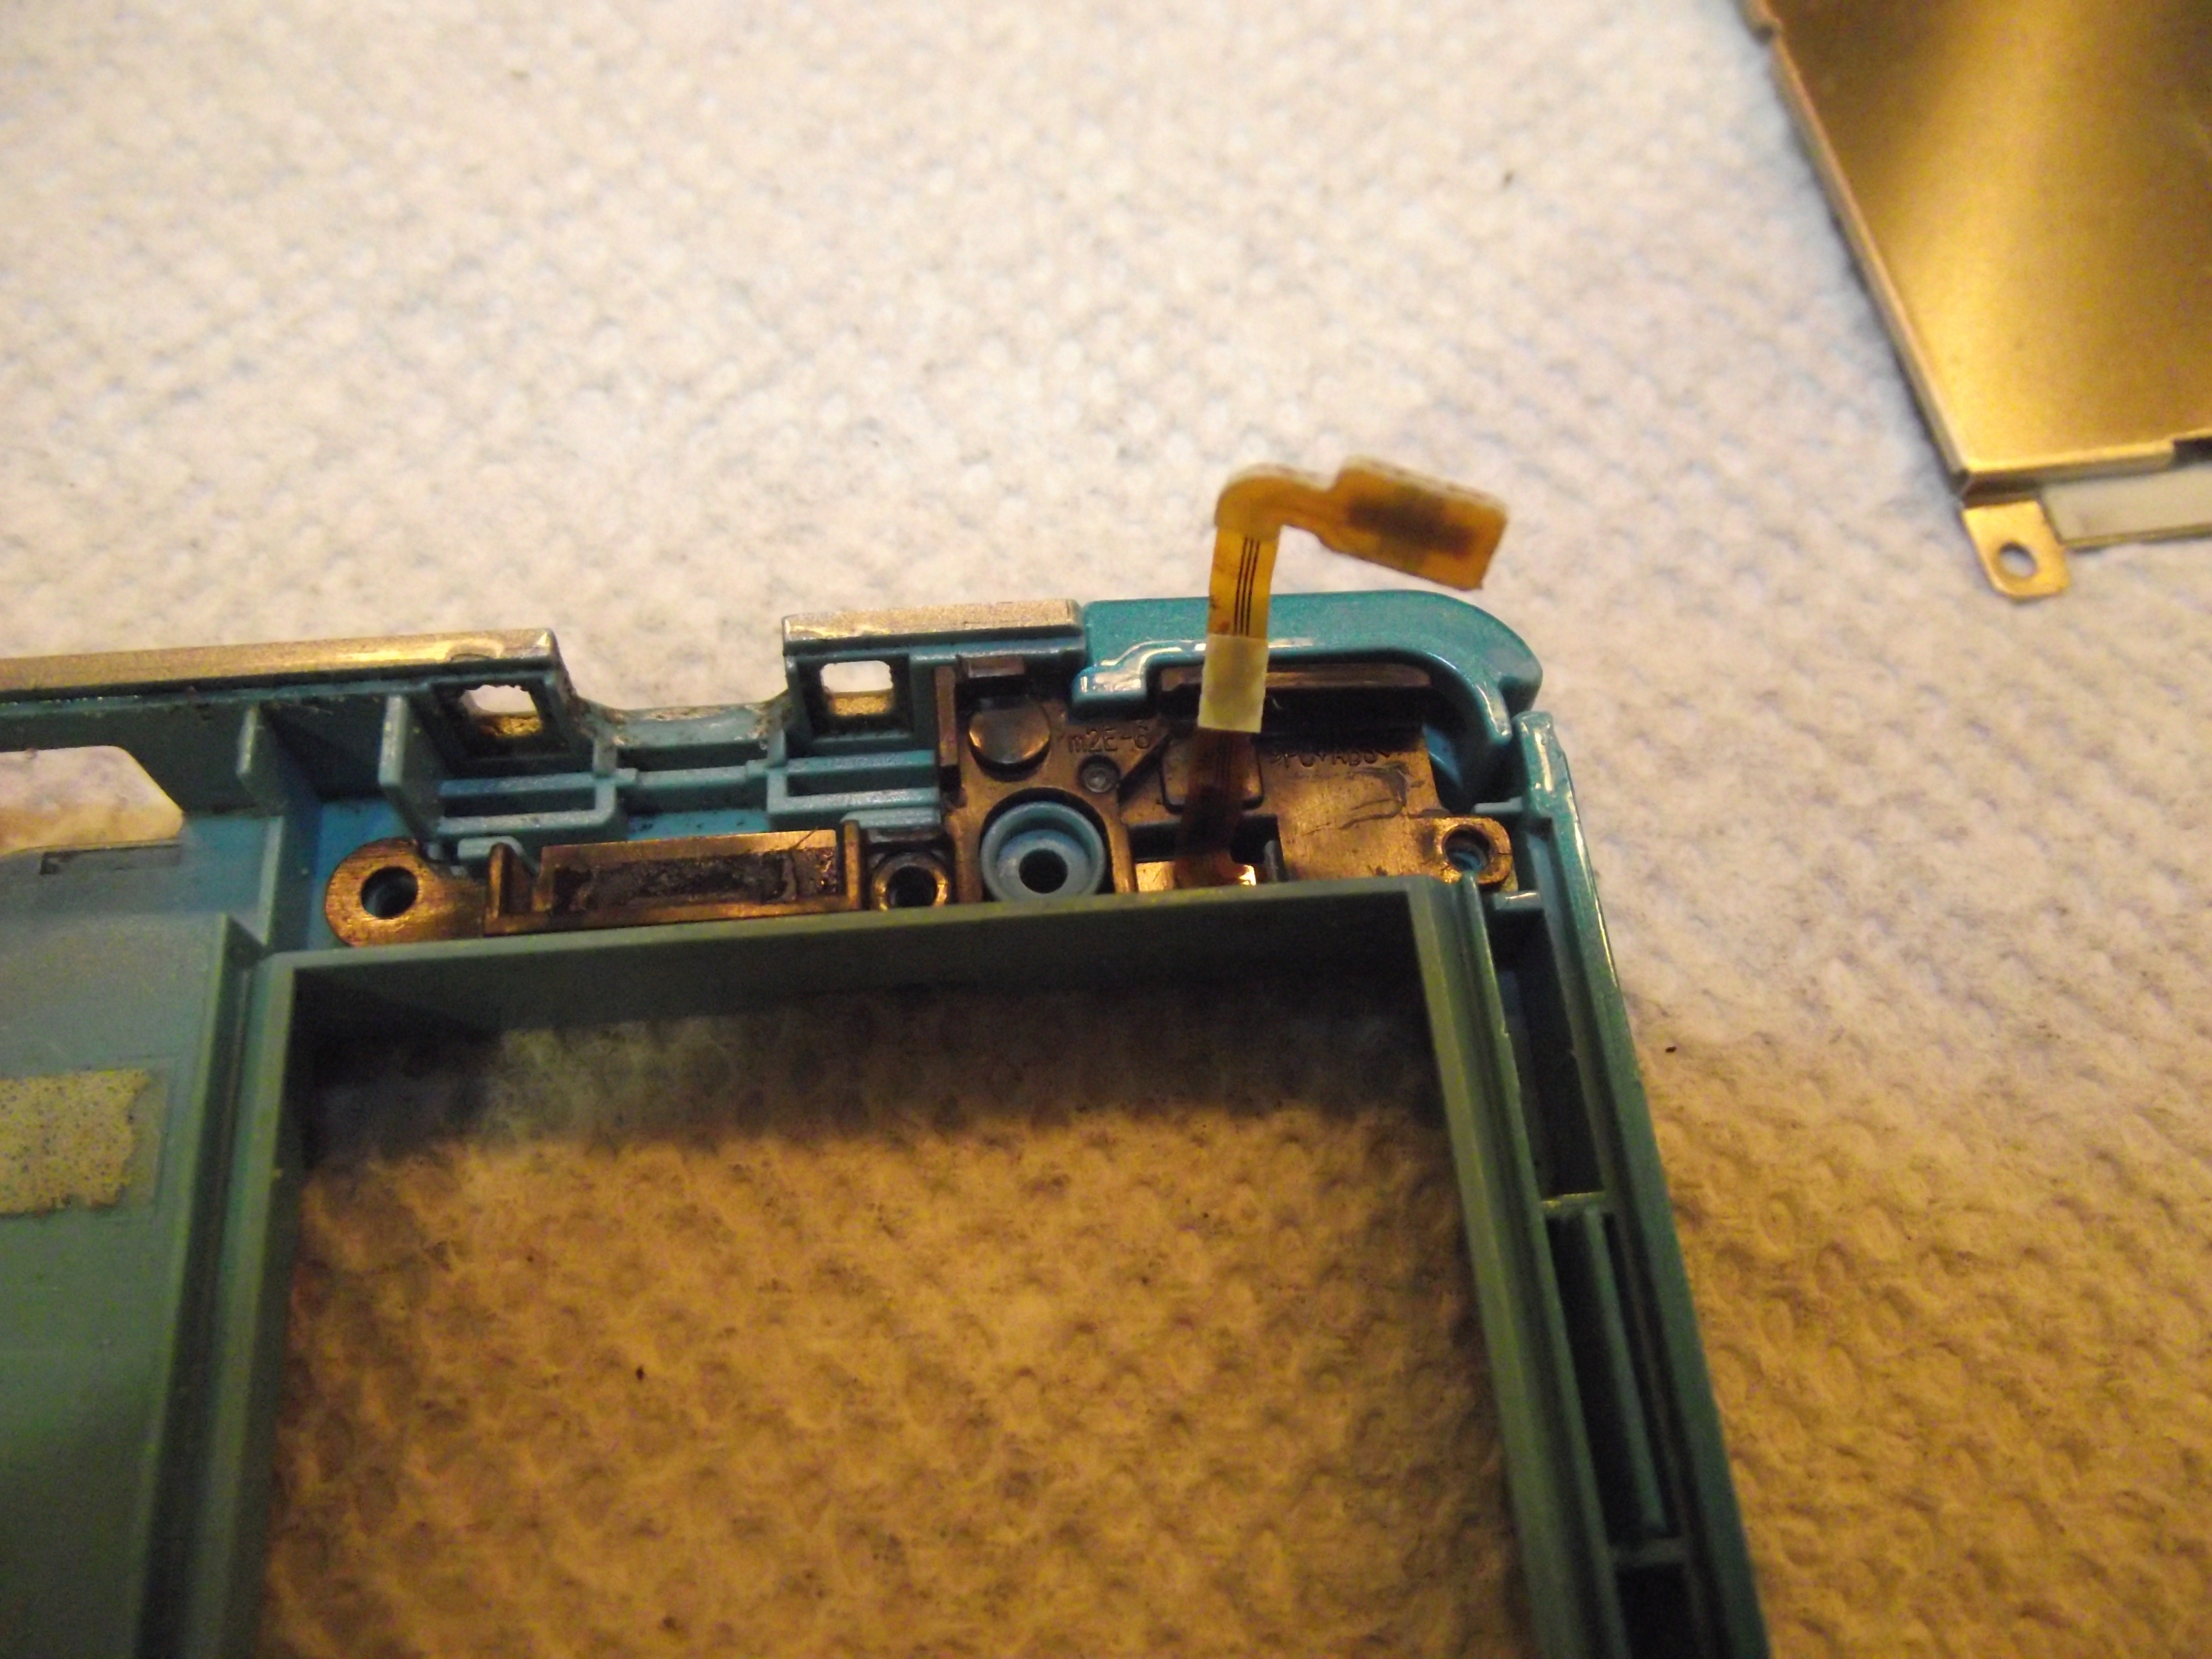 Next we replace the black bracket on top of the button. The ribbon cable for the button goes through a slot in the bracket. |
 Replace the serial number plate and screw it back in. Take note that no screw goes in the upper left corner. 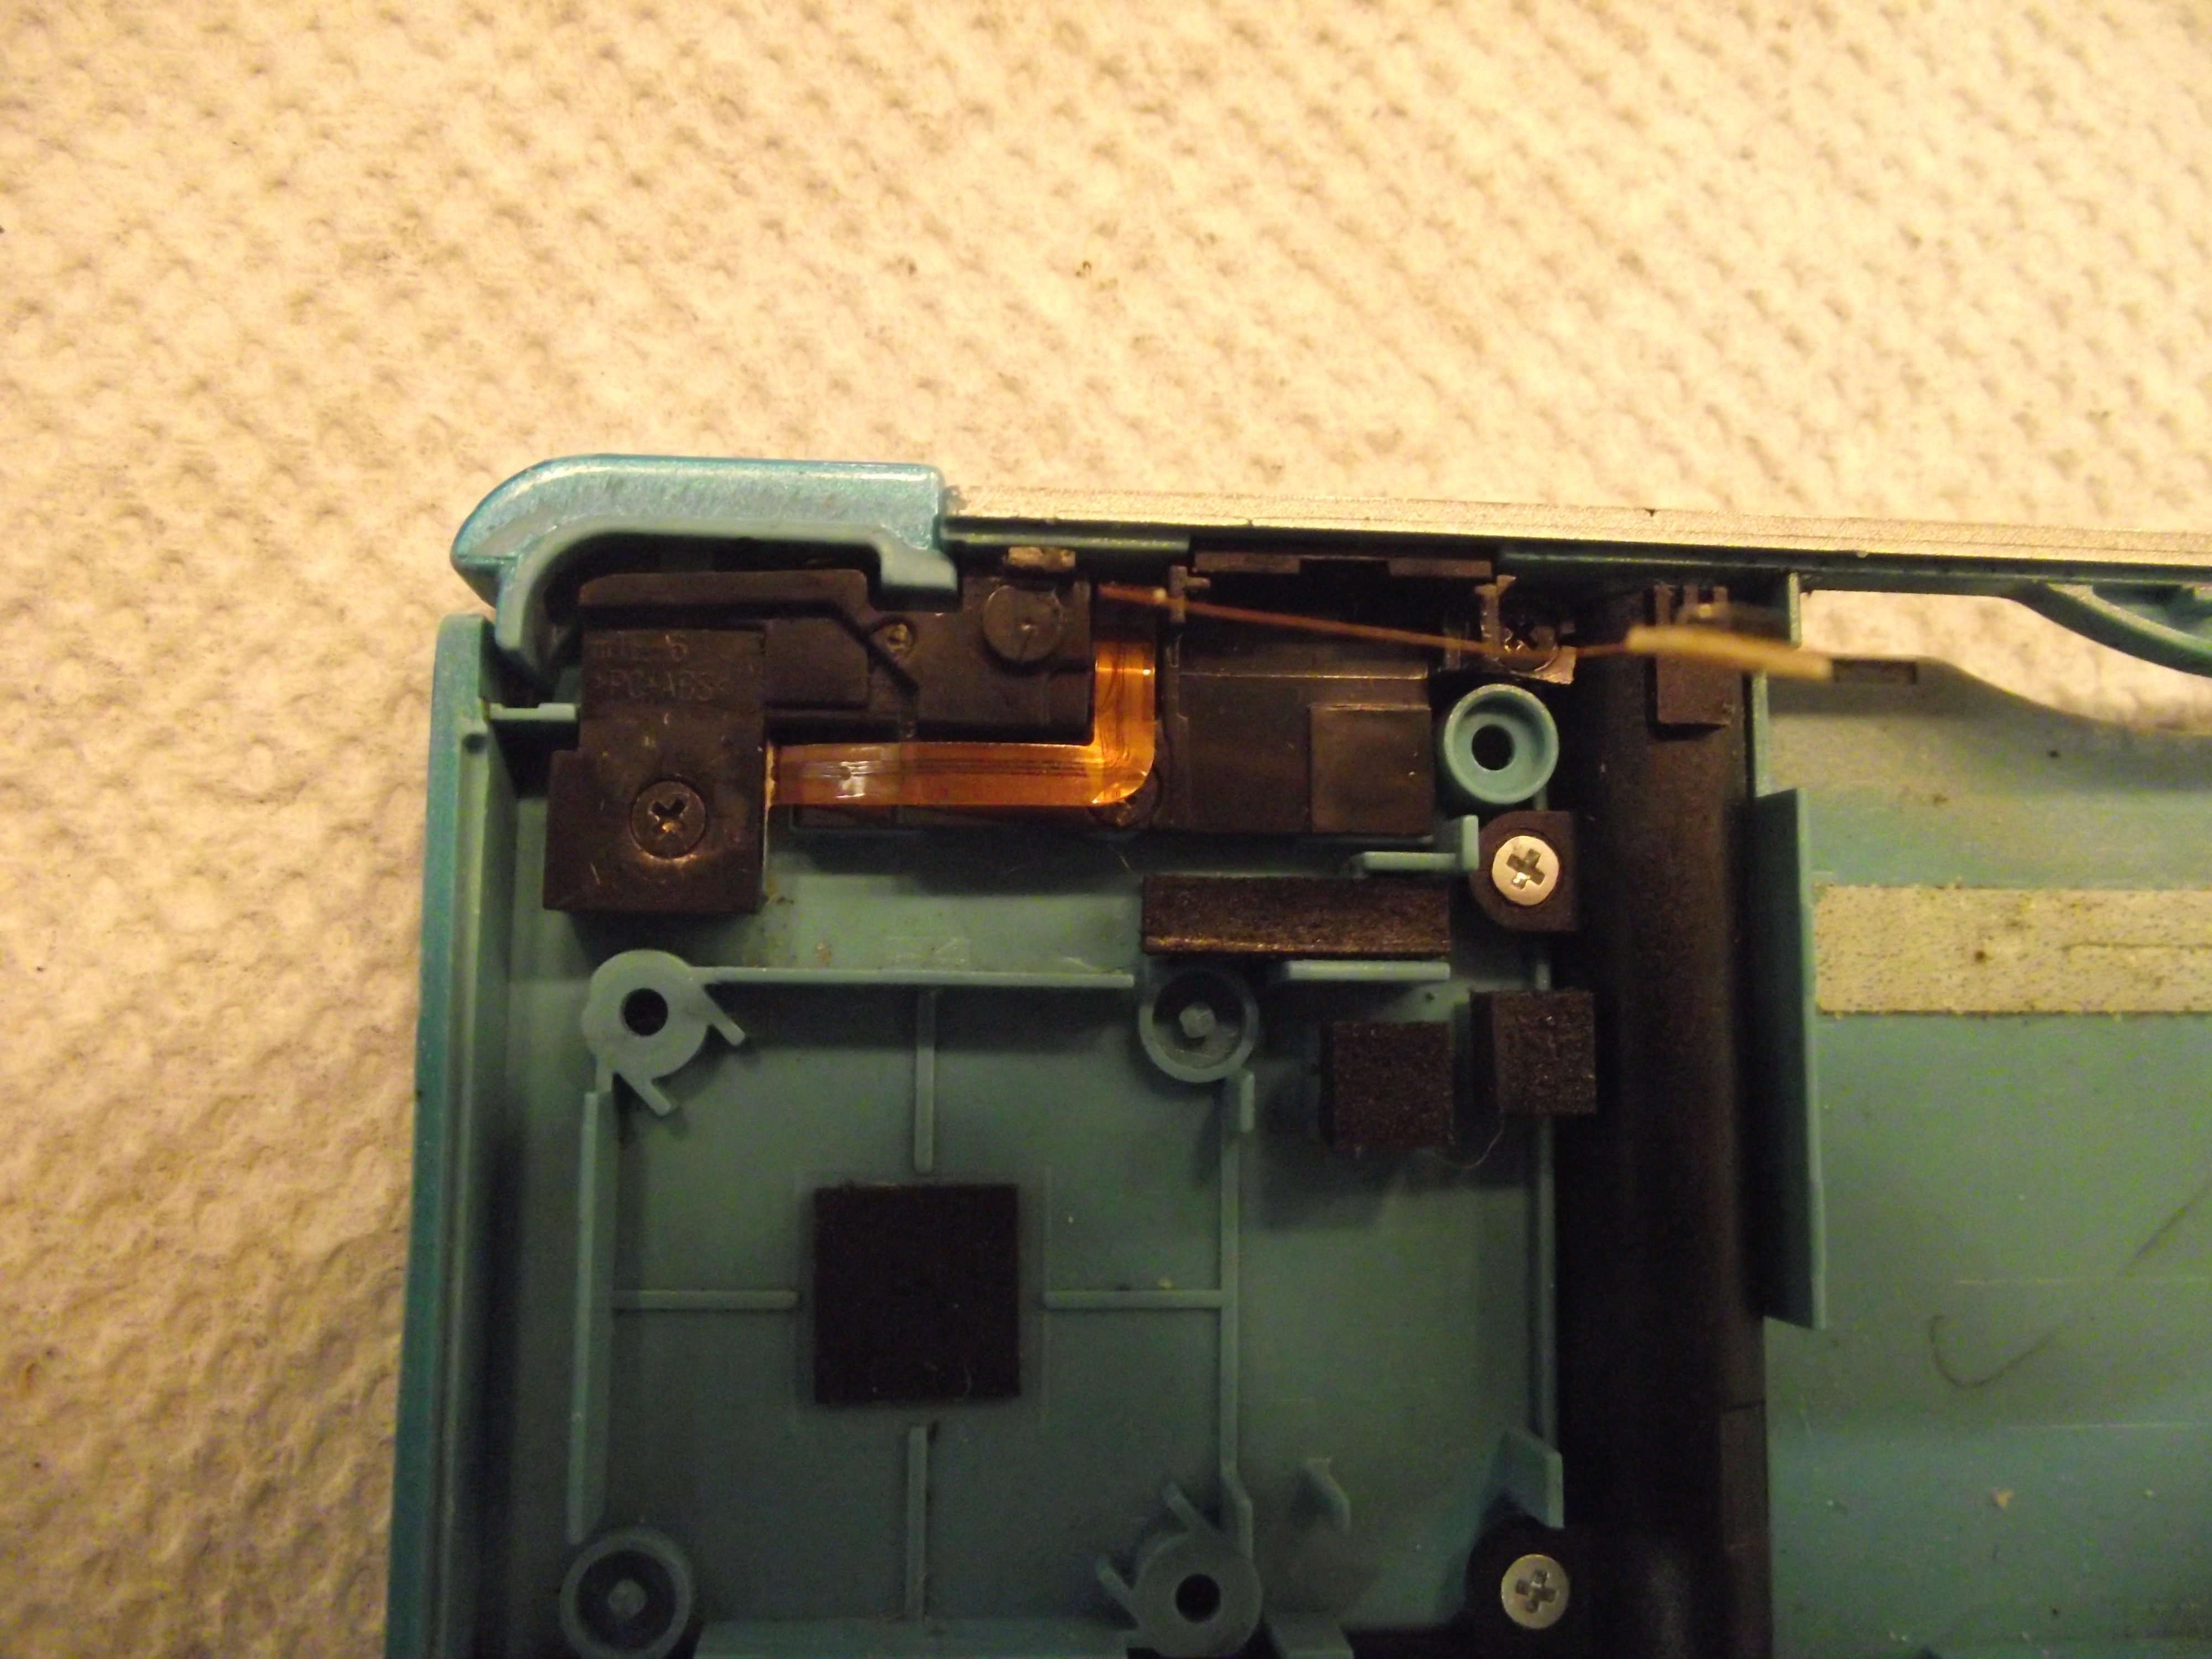 Here’s what the left side should like like in the end. |

The finished, disinfected product.
If I get around to it I might write about how to repair most cases of sticky/unrepsonsive face buttons next. If I get around to it.
Hi guys i have been having a problem with my shoulder buttons,and i need some help,can someone help me,is there like cleaning them or something
Cleaning them with isopropyl alcohol often helps. It may not restore them to full responsiveness, but it may get them working again.
Thanks much branon13, been having this problem for a few years but mashing the buttons PLUS simultaneously blowing for a good 2 minutes on on both sides removed the problem!